


Play asset pack
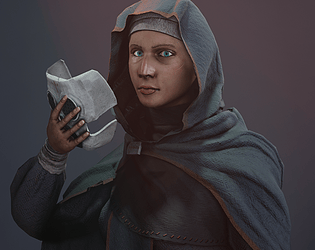
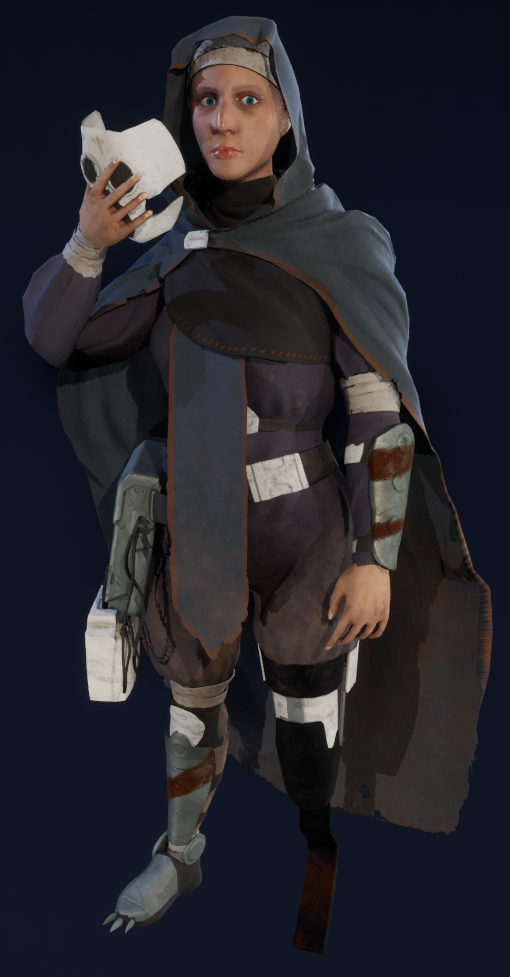
Wasteland Scavenger's itch.io pageResults
| Criteria | Rank | Score* | Raw Score |
| Project Documentation | #7 | 4.500 | 4.500 |
| Creative Development | #12 | 4.000 | 4.000 |
| Overall | #14 | 3.900 | 3.900 |
| Technical / Workflow | #15 | 3.500 | 3.500 |
| Research + Development | #19 | 4.000 | 4.000 |
| Final Presentation | #22 | 3.500 | 3.500 |
Ranked from 2 ratings. Score is adjusted from raw score by the median number of ratings per game in the jam.
Judge feedback
Judge feedback is anonymous and shown in a random order.
- Hi Hannah! I love this project, I can see the love you have for this character and in how you’ve researched at every stage to find the best way to approach tasks. Keep up regular anatomy studies and look into new methods to do things! I’m excited to see how you improve in the future :D //Research & Development// Excellent research throughout the project, from the start into the material breakdown, anatomy and skin texture and at every stage of the process. It’s great to show continuous improvement. //Technical Art// Using ZRemesher for retopology can be an art form in itself. Using polygroups to allow the algorithm to identify edge loops is the way to go, although it looks as though your ‘Keep Groups’ setting may have turned off at some point as it doesn’t contain groups in your final image. (Slide 26) You can also use the “Crease” functionality with subdivisions to assist those polygroup borders, this will create that perfect crisp edge and allow you to sculpt your tertiary details. The retopology on the face is good, you have considered specific loops for deformation. I think you are missing one more that goes around both eyes and over the nose (like a superhero mask). There are also quite a lot of edges that go down the neck, make sure to step these down (merge vertices) where possible so that you aren’t accidentally making your body polycount higher. Particularly because you are aiming for realism, the hand requires bespoke geometry around the knuckles and nailbeds because they are a key focal element. In some games with a lower budget per character, they can be missed out though - it depends on whether or not the player will see the hands a lot. The cape topology could have been lowered slightly as it’s quite flat. This may have been a case where Maya’s quad draw could have been better. Overall though, your polygon density is fairly even. Make sure you’re using the relax function with live surface (or edit edge flow) to make sure that your edges aren’t unevenly placed. Your UVs are excellent. Being nitpicky, I would recommend stretching the hand islands slightly so they utilise all the space on the UV map, and possibly because it’s realism again, the eyes would have been better on their own map altogether. If you choose to post these on Artstation (or your portfolio website) make sure to annotate these with the material name and the texture set size. //Creative Art// Your initial blockout has some anatomical issues that impact the other assets that sit on your character. The shoulder socket is slightly too far out horizontally, which creates a large armpit area. If you wanted broader shoulders for this character, the muscle (pectoralis) should have been built up around the pectorals to connect to the shoulders instead. Her legs are a little shorter than they should be, imagine that the torso and legs should roughly be the same in height, the concept can be a bit misleading because these areas are hidden under all that cloth. Later on, I notice that the hand anatomy could use a little work too. The fingers are quite thin and short for the size of the palm you have chosen. The index finger is swaying slightly outwards too, when in A pose try to ensure that everything is in its most relaxed position, and leave posing to the end. The face is done well, I think this is one of the strongest areas of your character. The only thing I’d flag up is that the nostrils flare just a tad too much, they should be more bulbous at the bottom and then flare inwards going up the face (this shape: /o||o\, apologies this is really difficult to explain in text!) To solve this, continue to complete anatomy studies (in 2D or 3D) to strengthen your understanding. Try to nail the anatomy in primary forms before adding any detail. JHill goes into this really well: https://www.youtube.com/watch?v=zwn7EZczPjY&ab_channel=JHill Sometimes Marvelous Designer can produce really incredible shapes and folds that we can use almost immediately, and at other times it is a better choice to use this as a base and to continue sculpting so that it’s bespoke to your character. In the Wasteland Scavenger’s case, I think it would have added that extra level of storytelling if the folds had reflected the types of material she is wearing. Think about how thin, thick, ragged or loose the clothing could be and how that’ll impact its weight and shape. Your texturing work is about 80% there, adding dirt and fraying is a nice touch but it doesn’t tell me much about her background. You needed to add that extra level of realism to sell that she’s really from a Wasteland. Think about the environment that she had been wearing these clothes in and what trails of the past have been left, was it sandy? Sunny? Was there bloodshed? Asking yourself these questions can help you make decisions on what else needs to be included. Realism is all in the micro details. Just as a tip, you may be interested in micro normals. See how they could help you add that extra element of detail. https://www.youtube.com/watch?v=uyXMFlRE7MI&ab_channel=TheDiNustyEmpire //Documentation// Your documentation is a pleasure to read, I understand your thought process throughout the project and I was excited to see it all come together. I love how you show before and after screenshots, containing links to research you’ve found and what you learnt from it all. Don’t forget your final material map breakdown and polycount for future documentation. //Final Presentation// The clay render of your high poly is one of my favourites and shows off all the incredible forms you’ve got going on. It almost reminds me of a Destiny-style render - please include this in your final showcases! Your final lighting setup and camera could have been more tailored to your character to show her in a particular way. It may have been a good idea to find references of poses that you liked and how they were captured (i.e. from below to look strong or evil, from above to look innocent etc.) Take a little more consideration to what shapes the shadows are creating on your character too, it can hinder the readability of the textures and silhouette.
- Contestant: Hannah Blatchford / @hannahblachford Assessor: Tristan McGuire / @Draconic_Cowboy Tier: Search For A Star Congrats on completing your project! Things that went well: ✧ Great use of Marvelous Designer and good to see use of that technique for exporting the garment from MD to Maya. ✧ Great to see your iterations of the model after receiving feedback. ✧ Nice to see use of anchor points in SP. ✧ Rigging the model demonstrates skills above and beyond the domain of a character artist. Things to consider next time: ✧ The facial topology is good, but could do with a bit more tweaking to reach industry level. Make sure to avoid stretched quads. ✧ For the topology, make sure to avoid some areas being overly dense with no reason, like the many vertical edges along the arm. Similarly, make sure no parts are disproportionately low res like the piece of cloth on the front. ✧ When UV unwrapping, try to make the islands as straight and aligned to the grid as possible, as this allows you to pack them into the square more efficiently. Even an organic form can be cut in such a way that many of the parts can be straightened. ✧ Adding an occlusion mesh to the eye would improve the realism. I hope this feedback proves useful and will help you with future projects and building your portfolio. You can find me on the social medias in the link below. Feel free to reach out in the future. All the best! https://draconic-cowboy.carrd.co/ - Tristan, Character Artist at Airship Interactive.
Challenge Tier
Search For A Star
Leave a comment
Log in with itch.io to leave a comment.