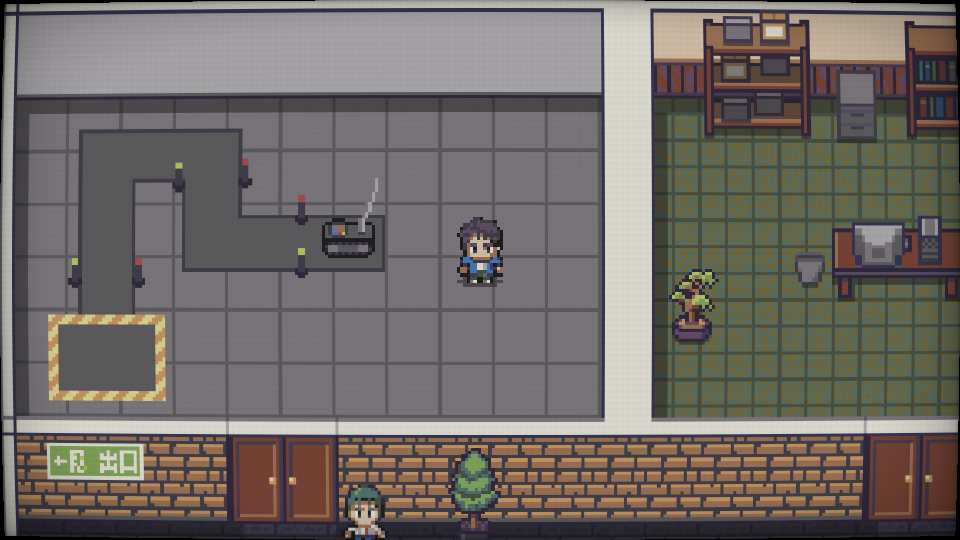
Devlog: Your First Day at ming Inc
In this devlog post we want to give you some more insights on how your first days at ming Inc will be. We want to avoid a tutorial and start with simple missions to get familiar with the toolchain, "notes from your coworker" and the "user manual". Your coworker will constantly supply you with new tasks as he develops new hardware features for the robot. The user manual gives you more insights on the assembly languages and explains the boards capabilities.

Getting Started
In the first mission the player will get familiar with the tool chain. The programming effort should be really low. Like turning the robots motor on. This could be achieved by implementing:
MOV 1 p0
While p0 is connected with the robot.
Taking control
On the lab, the robot starts driving but does not stop. So your coworker provides you with a remote control so you can stop the robot. It`s a simple analog device. When 1 is on the bus. The robot shall stop driving. A solution could be:
MOV p1 acc
CNE 1 ; Execute next line if acc != 1
MOV 1 p0
While p0 is to robots input and p1 is the remote control output
The player has to run the code on the robot in lab and stop the robot by pushing the button within a marked area.
Advanced Control - Part 1
This time the player will setup a own code for an advanced controller with left, right input and stop. The input is digital and output could be digital or analogue for advanced players.
Inputs: p5 {-1, 0, 1} - X axis left, neutral, right p6 {-1, 0, 1} - Y axis break, neutral, speed up
Output: p6 {0, 1, 2, 3, 4} - Nothing, break, speed up, left, right
MOV p6 acc
CMP -1 ; if acc == -1
JMP break
CMP 1 ; if acc == 1
JMP forward
MOV p5 acc
CMP -1 ; if acc == -1
JMP left
CMP 1 ; if acc == 1
JMP right
break:
MOV p6 1
RET
forward:
MOV p6 2
RET
left:
MOV p6 3
RET
right:
MOV p6 4
RET
As the player has not yet implemented the robots code, he could not test it in the lab. To verify the result he could use a blackbox sort of probe analyser tool to emulate inputs and verify the results.
Advanced Control - Part 2
Now that the player has a working input controller device he will have to implement the robot side code.
Input: p4 {0, 1, 2, 3, 4} - Nothing, break, speed up, left, right - Or as defined in previous mission
Output p5 {-1, 0, 1} - Left, Nothing, Right p0 {0, 1} - Break, Speed up
MOV p5 acc
CGT 2 ; if acc > 2
JMP directions
CMP 1 ; if acc == 1
JMP break
CMP 2 ; if acc == 2
JMP speedUp
break:
MOV 0 p0
RET
speedUp:
MOV 1 p0
RET
directions:
CMP -1 ; if acc == -1
JMP left
CMP 1 ; if acc == 1
JMP RIGHT
RET
left:
MOV -1 p5
RET
right:
MOV 1 p5
RET
Now that the player has implemented and verified the code of the controller and finished the implementation on the robots side, its time to test the robot in a parcour in the lab. The players bot has to pass several checkpoints and need to stop within an area to complete this mission.

