Day 2:
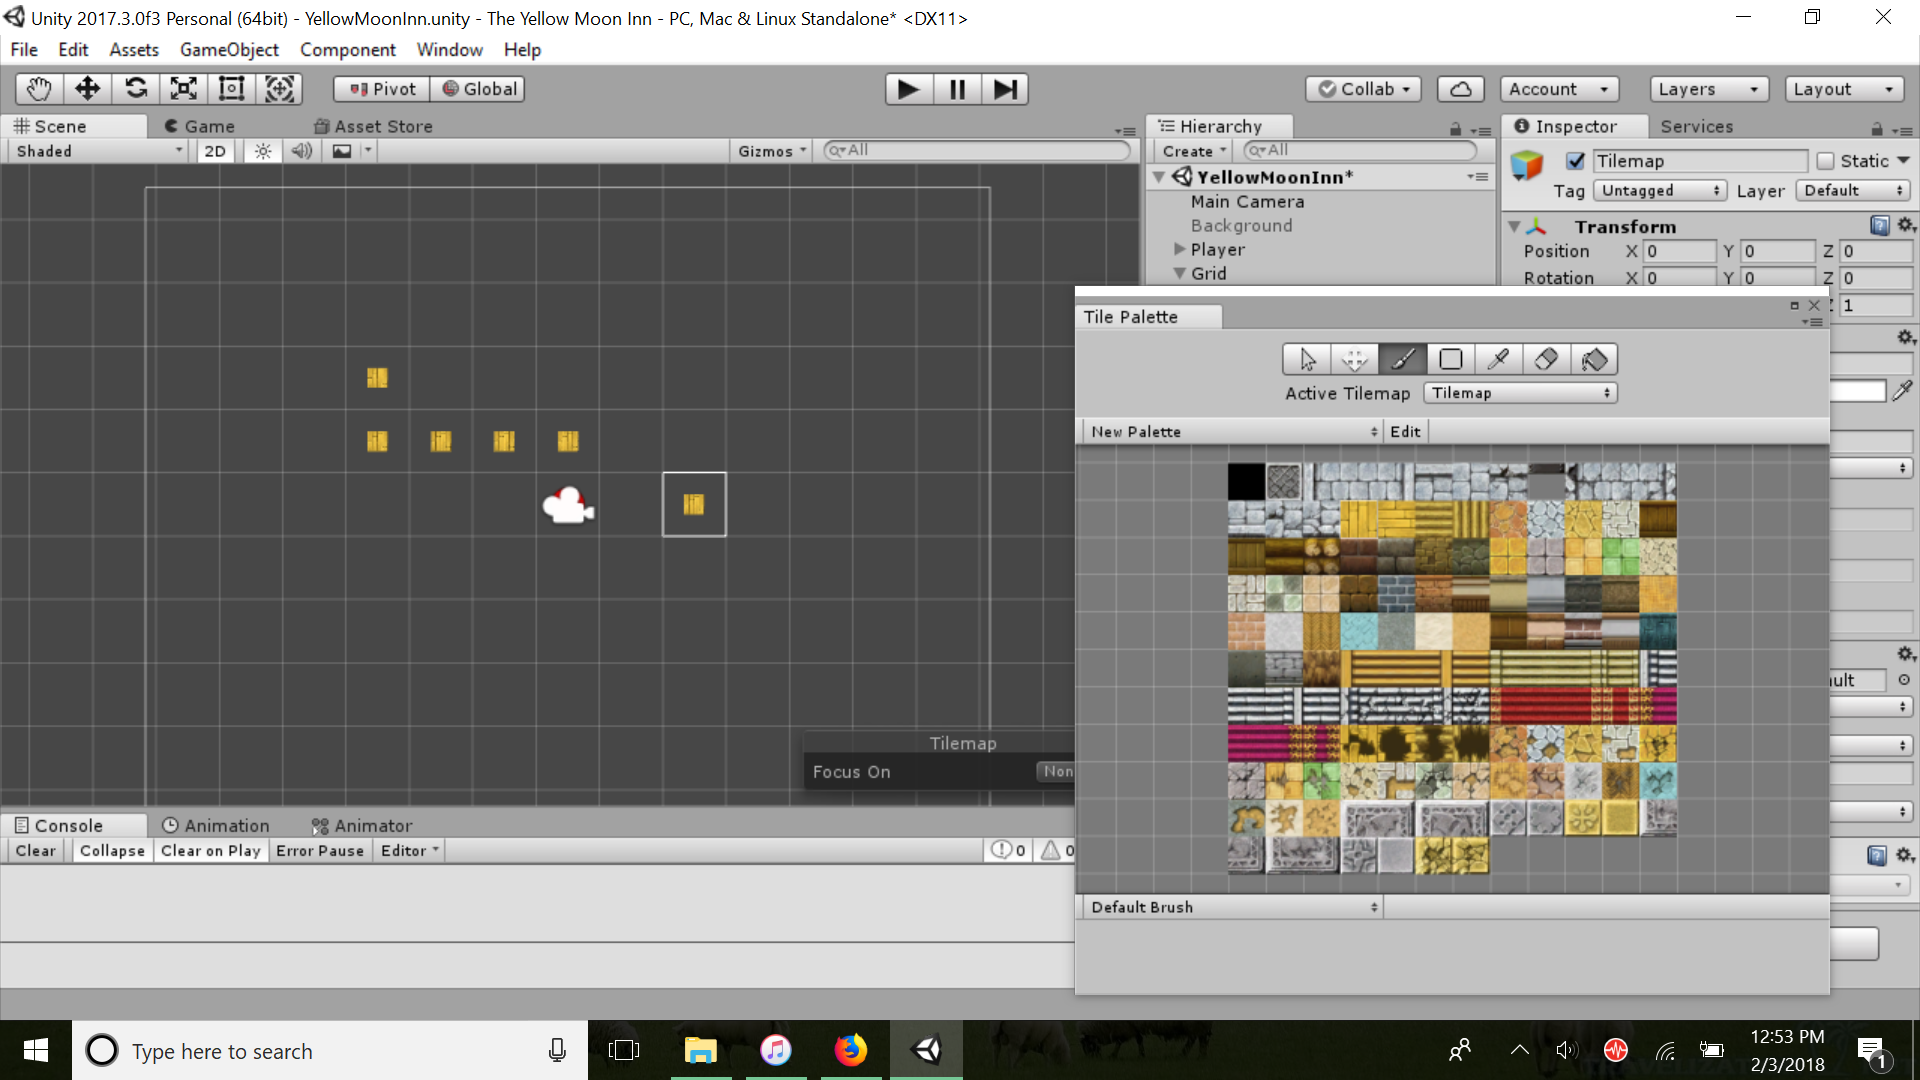
Today was all about figuring out how the 2D tilemapping features of Unity worked. I have owned RPG Maker (only because it was on sale a long time ago), but haven't really used it much, so I basically was learning from scratch. I followed the official Unity videos for the actual usage of the tiles and that part is decently intuitive - e.g. using brushes to "paint" on tiles in a certain way. Before I could get to that part though, I had to export the RPG Maker images and reimport them into Unity. To get them onto the Tile Palette in Unity this required me to cut up the tilesets using the Sprite Editor. My first attempt at doing this resulted in tiles like this goober:

Oops! Turns out there's a few settings that I didn't really pay attention to. One important one is the Pixels per Unit, which since these were 32x32 pixel tiles, needed to be set to 32 (they are set to 100 in this image).
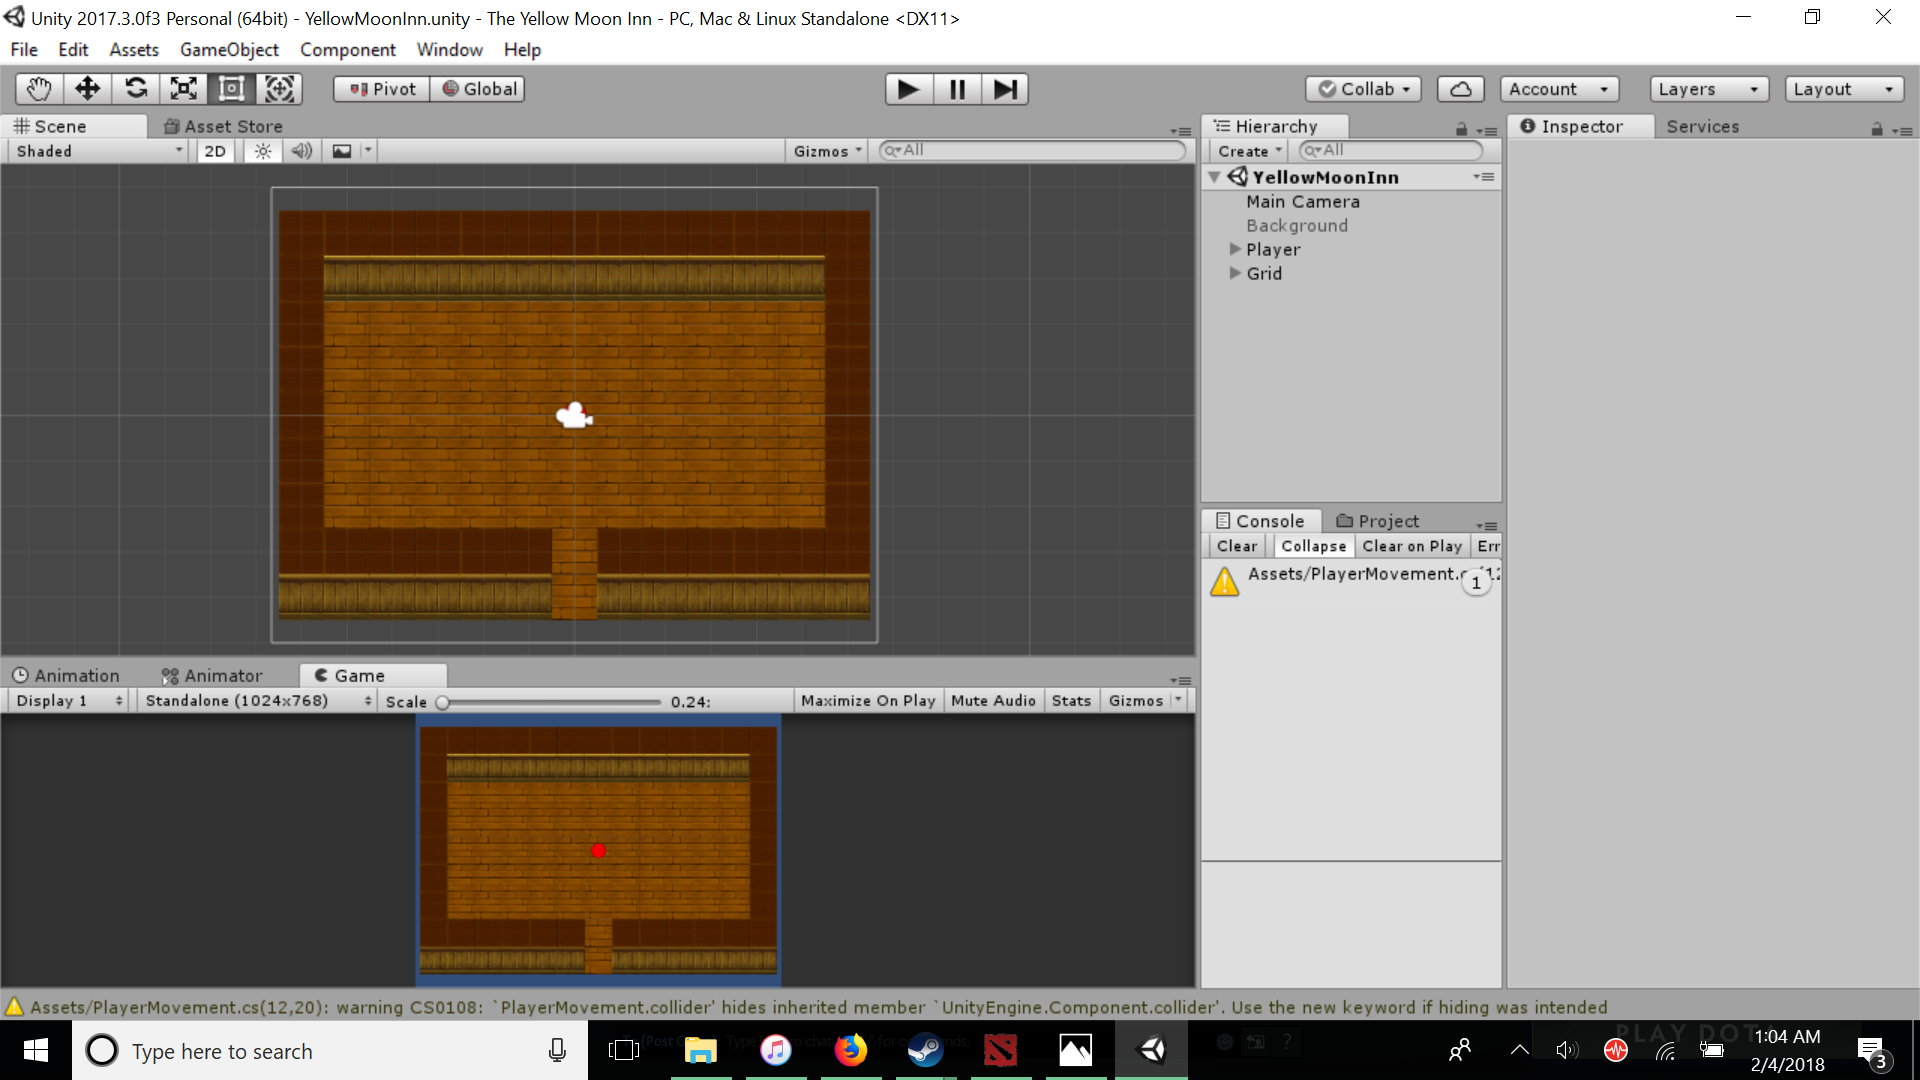
Eventually, I got to paint the tiles on! This resulted in the current bare-bones model of my glorious room:
Obviously the best tavern in town!
It still could use some sprucing up in terms of furniture and decorations. And actually, I am having some trouble with player boundaries - currently the player is not detecting a collision with the outer edge (wall) tiles. This could be due to my player movement actually setting the player to move via altering the transform.position (which after some research means that it bypasses any collisions). I will have to try redoing movement using rigidbodies (which do respond to collisions), or find some other way to get this functional tomorrow!

