Day 4 - Prologue Progress + Menu Corrections
Alright folks so today I did a lot of work but it only resulted in one minute of playable content. Why? Well I came across a few bugs and corrections that needed to be made. Additionally, I saw it necessary to make an amendment to my original story outline (thankfully it doesn't really change anything stated previously for you guys, just for me moving forward). This was the result of an issue I had with sprite creation for the prologue. I'm awful at that and coding so after trying at this for a few hours I scrapped that idea so I could get some other stuff done and still hit the goal marker for today's progress.
With that, here's what I got done:
- Imported about 100 additional character sprites + animations (won't use all of them, just saving myself time because I'm not sure which I'll use 100% yet). I will have to make animations for any non-standard units I choose to include which will take me about 10-30 minutes each. This can be done at a later date once I reach level creation for Válor Chapter 2-4 & Final Chapter.
- Imported some tile recolors and minor additions. I need to triple check these are ok to use commercially as I did not create them. Sent a question to the person who posted them as they did not provide that information. Either way, not a huge issue but it would save me a full day of work and open up the possibility for added flare/polish down the road.
- Corrected the spelling error on the main menu and made alterations. New Game is now, "Begin Ascension" and the game's logo has been enlarged. Changed, "Config" to, "Options" for clarity.
- Selected additional music to use in the prologue. Two tracks were selected, one created for the opening credits discussed in the next point, and another for the village location.
- Created an opening credits sequence with music which acts as a tone setting piece and setup for the punchline of the opening for the game (makes sense when you play it). Examples provided below with an explanation on my process.
- Coded the entire prologue map, temporary name, "Sleepy Village" and added an extra character to the prologue. This was necessary as the map is not comprised of a standard set of tiles. It has a completely different perspective and art style from the rest of the game but still matches aesthetically. Screenshot of that to come upon completion when I can remove the developer markers so it is clean.
- Updated the, "Extras" menu to reflect new assets added to the game.
- Set the groundwork for a New Game + which only needed to be done on the prologue at this juncture of the project, I will not need to do any additional codding for this moving forward. This feature is only going to be implemented if I have enough time but the groundwork is necessary since it will be more difficult to retroactively include.
- Storyboarded key moments of the story that still needed finalizing. This was partially due to the (minor) alteration of the prologue with the inclusion of an additional character. They were planned from the start but served a different function prior.
- General debugging throughout this process and QA. I played the opening sequence about 20 times making tweaks until I was able to feel good about it consistently.
- Additional workshopping since I spent some of my evening with a friend. He provided some valuable feedback on the script and really thought my idea was fantastic!
This might look like I did a lot but honestly, it was a fairly unproductive day. Importing the new character sprites and animations always makes me physically ill since the task is very tedious and the same thing ad nauseam. I could have mitigated this by sifting through everything but that's much easier after I already have it ported in VS via files only. Having to scrap my initial opening sequence and rewrite the whole prologue to accommodate these changes was also a decent time sink.
Still, the changes were positive and I was able to finish everything I needed to in accordance with my schedule. In some ways this will benefit me later down the road in development. A playable demo should be released on the project page early next week that will be the complete prologue and most of the tutorial (some things like shops, party members, and additional mechanics will be explained later as they become relevant).
Menu Corrections & Creating the Opening Credits
Starting with menu corrections, astute followers of my thread will notice that I completely misspelled, "Ascension" on my original menu screenshot. I also made changes to the name of some of the menus which are noted above. Here is the final product:

As you can see, this is a fairly large improvement that also brings added flavor to the game. These changes took approximately one hour to implement but initial impressions are VITAL to a game. I'm considering adding some, "excitement" to the logo or title card (which I'll cover below) but I have no idea what that would entail. Tabled until a great idea strikes or will revisit if time permits.
I also made the following images that are being used for an opening credits sequence. What you see here is not from in-engine, so bare in mind that they look slightly different in the final product. Mostly, the image is cropped a bit and slightly zoomed. This does not negatively impact the quality of said images with slight exception to the title card, which is subject to change. Take a look:
Obviously the contest logo, which I felt was necessary to include somewhere
Creator credit of course

The title card, which is really bland, but it does the job for now
These are things that I consider absolutely necessary since the way I do end credits will not include images at all. Everything here is perfectly timed so I don't have room to add a new image, nor do I want to. I'm satisfied with this and would only make changes to the title card provided I can come up with something good. An artist I am not, so creating something more attractive is not entirely in my wheelhouse.
You might be wondering how making these images and the credit sequence took as long as it did. Well the answer is in the process, which I also had to do for the main menu. It is tedious...
- First I begin by opening PowerPoint and starting a new project.
- If a background is need, meaning I am not working with just text, I have to upload the appropriate image to use as a backdrop. In this case, that is the brown vintage parchment. Text added as needed.
- Using the title card as an example, it actually starts with the blueprint & text.
- The project is saved twice. Once as a PPT and again as a PNG file.
- I go into either Canva or a web application, LunaPic, to edit the image as needed. Using the title card as an example, I start in LunaPic.
- Using LunaPic I eliminate the original background using the transparency tool and then resave the file. Sometimes I also crop things if needed.
- Using Canva I select the desired dimensions, in this case 640x480, based on what I need to make.
- From here I upload the new image and fit it to scale and center it within the desired dimensions. Note for the contest logo part of it is slightly cutoff because I made the initial PPT -> PNG version too large. However, it looks good so I didn't repeat the process. This caused the title card to appear slightly fuzzy on the blueprint edges in-engine but did not result in any changes to the other two. Not really sure why since it shows up great here.
- After using Canva I almost always need to use LunaPic if I haven't already. Sometimes it is just minor touch up stuff, but usually it is to make the unwanted background transparent. In the case of the title image, this was to get rid of the white space so it was just the blueprint and words that would act as a top layer.
- Need a new layer? I throw the newly created image back into PPT and repeat the necessary steps from earlier, which results in what you see above.
Here is an example of the process with just the title card in image form:
Phase 1
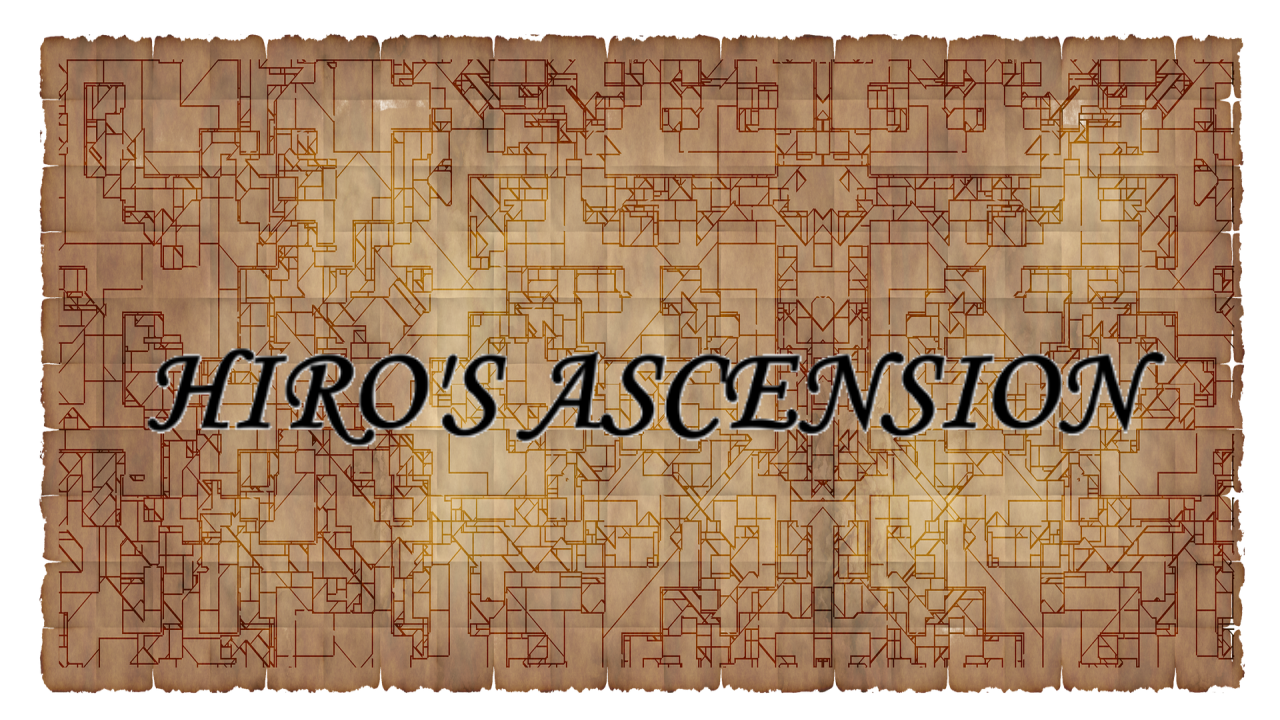
Note: The white background is not shown for you when I upload it but the file size is wrong at 1280x720 too
Phase 2
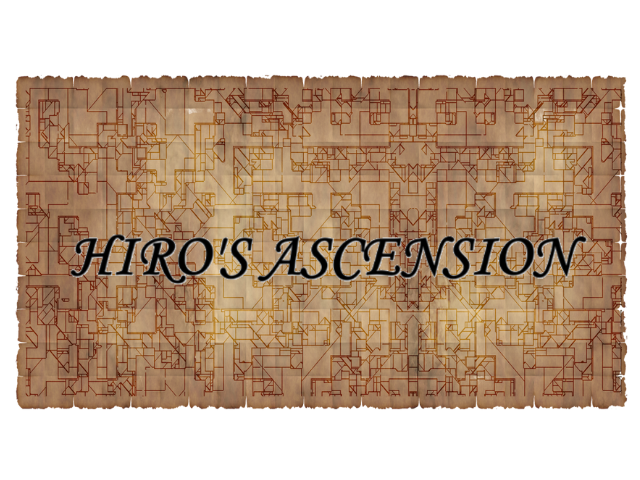
Now it is the correct size after being tossed into Canva at 640x480 but the white background is in the way!
Phase 3
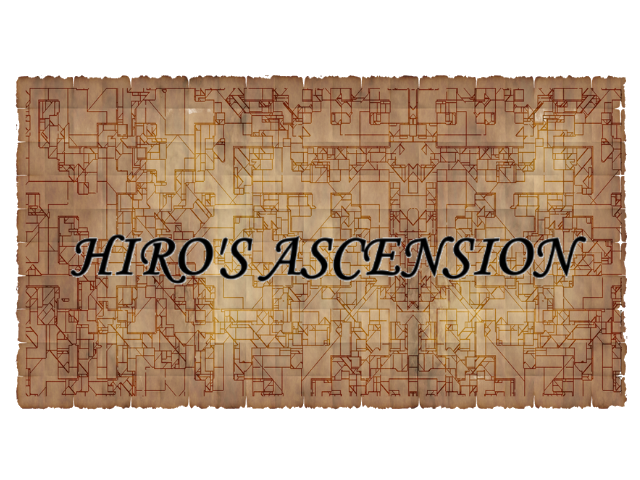
Great, halfway there. Still the right size but now the prologue map leaks through when displayed; not good!
Phase 4

Oh no! It's 1280x720 again T.T However, the parchment background is added an prevents the game map from loading in behind the image.
Phase 5
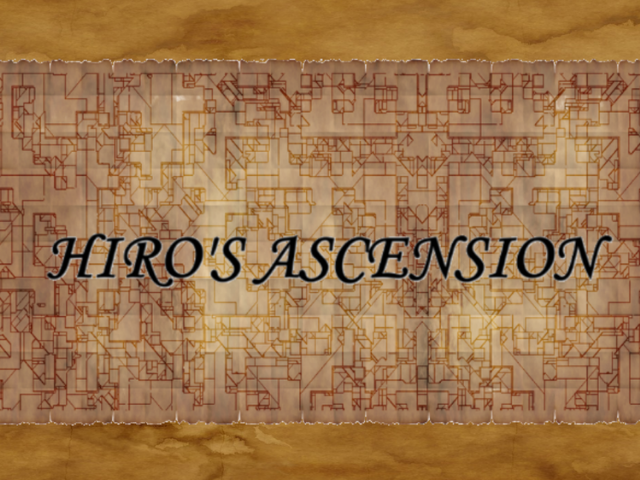
Now we are finally done!
Lastly, I put all this into the game and time everything out. This took me about 2 hours to get everything perfect with no bugs. I playtested the game a TON to ensure that everything run smoothly with no issues. Ultimately, this sequence takes a full minute to complete and makes the opening scene of the game land a lot better than it would without this.
Final Thoughts
Each image I make has to go through these steps which is a lot of clicking and minor edits. Most images take me 2-5 minutes each but they often go multiple rounds of edits before reaching a final product at my minimum quality standard. The title card barely passes but I like the other two fairly well, especially the one for the contest logo.
As far as time management goes, today told me I need to schedule a little more break time and allot some extra time for correcting errors that pop up as I go. I'm managing time well but want to avoid burnout, silly mistakes, etc... Additionally, setting aside special playtesting time to ensure that bugs are eliminated is vital. I wasn't setting aside enough time for that, so probably need to extended each creation session about 5-10 minutes.
Next up on the docket:
- Complete prologue & tutorial.
- Add map 2 which acts as continued tutorial and checker on key gameplay information (can you move, attack, ect...?).
- Tentatively add some character building moments as you, "travel" to Válor. These would grant minor bonuses like an extra item or stat increase. Max of 2 instances of this.
- Upload a playable demo of the above.
- Begin work on the introduction to Válor.
- Time permitting: Válor Chapter 1 completion.
Since the weekend is coming up I will only work on the project sporadically. I will likely not provide another Dev update here until Monday. Hopefully, have that demo added Monday at the latest. Just depends on how much other work I need to get done and such.
Finally, please feel free to provide any feedback for me here or at jonspencerreviews@gmail.com as I value it greatly. If you have questions or anything else you would like to chat about, don't hesitate to bring those up either. Thank you for taking the time to read this and I hope that you look forward to the next phase of Hiro's Ascension!
-JS

