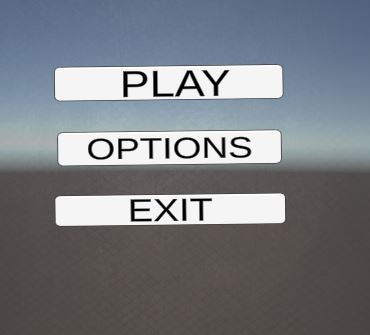
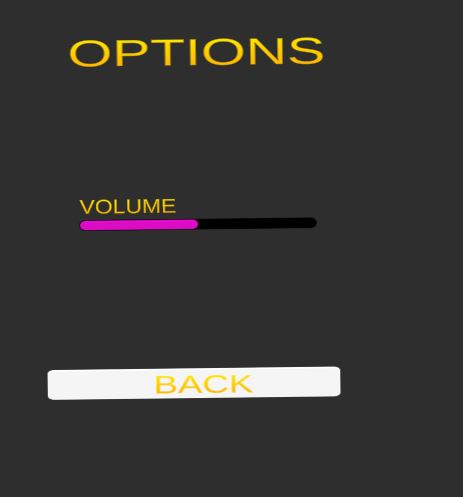
Hello Gamers. For this tutorial, we would be focusing on Terrains and we will create a simple walking simulator type game in Unity 3d.
COMPONENTS THAT WE WOULD USE
a) Terrains
b) Scripts
c) Asset Store
Scroll down to '==========' for tutorial.
--------------------------------------------------------------------------------------------------------------------------------------------------------------------------------
TERRAINS
terrains is type of 3d object in unity which allows user to create uneven land, mountains, hills etc....
to create a terrain, right click under hierarchy, go to 3d objects and click on terrain
default terrain needs texture so we can either create one or import some.
Terrain component offers 5 basic tools used for designing of terrain.

Play around with these 5 tools for better understanding of terrains
ASSET STORE
asset store is library of different assets created by both unity and community. There are free as well as commercial assets available for a developer to develop its game.
========================================================================================================
PREPARATION
Before main development, first, let us be ready with textures, materials and a 3d model (player) for our walking simulator.
Step 1 - Create a new unity project
step 2 - On top, click on 'Window' and click on 'Asset Store'.
Step 3 - in search bar, type 'Fantasy Forest Environment'. Download and import the asset.
Step 4 - in search bar , type 'Haruko'. Download and import the asset.
CREATING THE TERRAIN
Lets create and edit a terrain.
Step 1 - right click under 'Hierarchy' , go to 3d objects and click on 'Terrain'
For our game, we would be using only 1 square tile of terrain. We will add texture as needed.
Step 2 - Under Inspector, under a component called 'Terrain', there would be 5 tools. go to 2nd tool (Paint Terrain) and select the brush design and properties as per your choice and start modifying your terrain.
Step 3- When done with levelling of plane (i.e. creating mountains , hills etc.), Its time to add texture to our terrain
ADDING TEXTURES / TREES TO TERRAIN
Step 1 - under terrain's inspector, click on 2nd tool and from the drop down list, select 'Paint Texture'
Step 2 - To add a type of texture, click on 'Edit terrain layer',
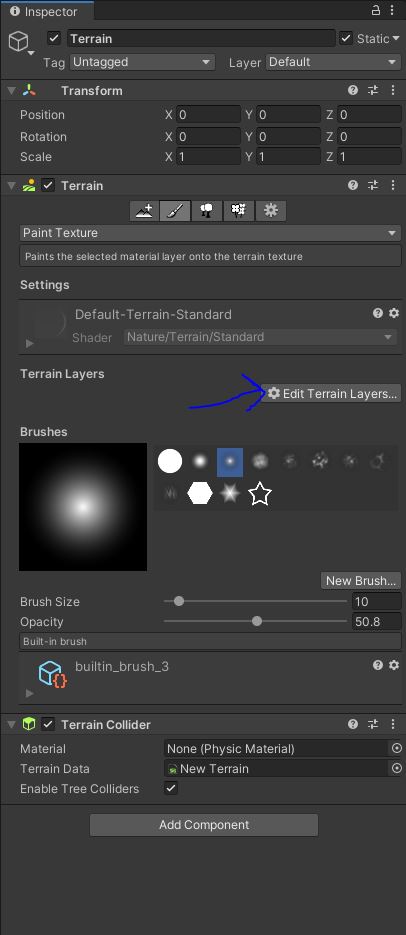
Step 3 - Click on create layer and and select the type of texture you want. Then select the texture and use mouse click to apply at desired area.
The first texture might cover whole terrain. But after that, each texture you add and use will be applied in desired area,
Step 4 - To add trees, go to 3rd tool, click on edit trees ---> add trees, select the prefab and click add. Use sliders for different properties like density, height etc...
Play around with different terrain tools for making a better terrain as per your imagination. Below is a picture of how mine look:
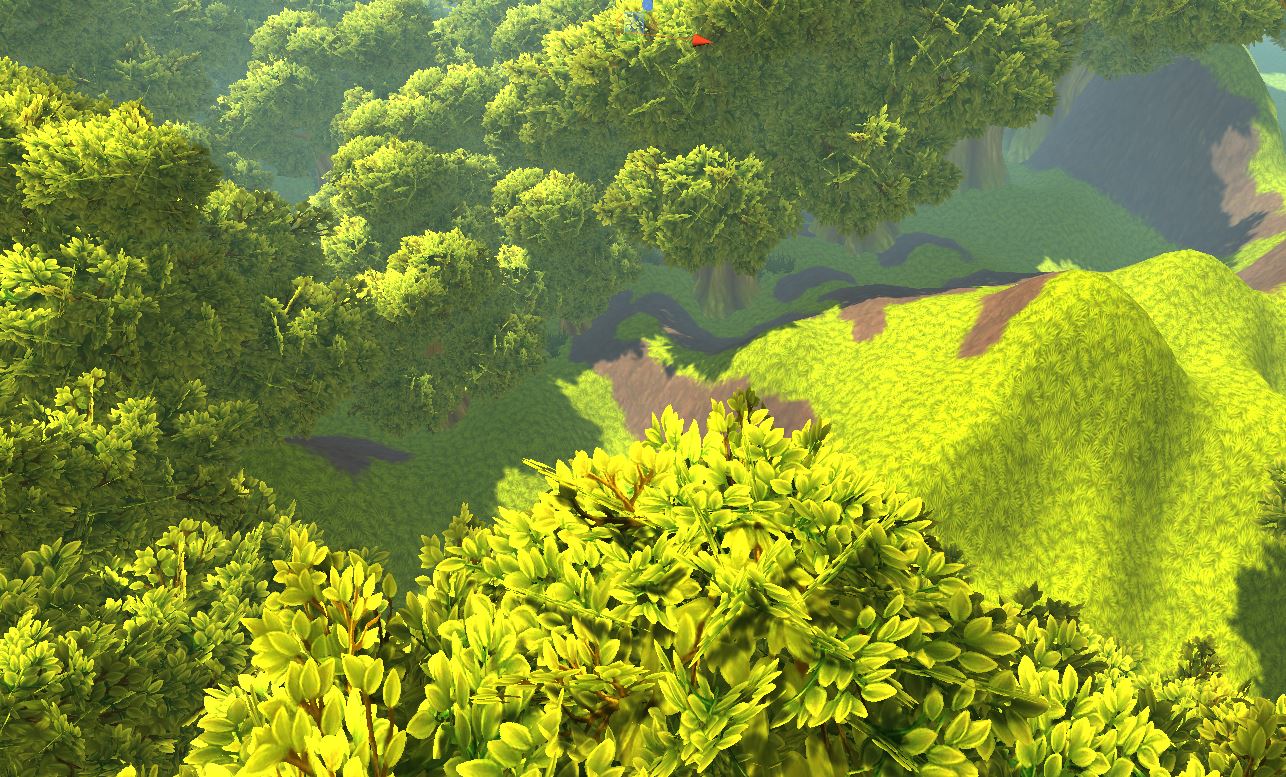
So far, we have created our terrain, Now lets add 3d model and scripts.
SETTING UP 3D MODEL IN SCENE
step 1 - under projects, click on 'Haruko'. click on prefab folder and drag and drop the model onto the project. Adjust the transforms such that its is place at starting point where you want it.
step 2 - add a rigidbody component to 3d model.
Now, we need to take user input for movement and camera rotation.
Step 1 - equate main camera and 3d model's position and then make camera , child of 3d model. This way, our camera will follow player
Step 2 - Create a new scripe and name it CameraScript
SCRIPT
using System.Collections;
using System.Collections.Generic;
using UnityEngine;
public class CameraScript : MonoBehaviour
{
public float speedH = 2.0f;
public float speedV = 2.0f;
private float yaw = 0.0f;
private float pitch = 0.0f;
void update()
{
yaw += speedH + Input.GetAxis("Mouse X");
pitch -= speedV + Input.GetAxis("Mouse Y");
transform.eulerAngles = new Vector3(pitch, yaw, 0.0f);
}
}
Step 3 - Attach the script to camera.
Step 4 - Create another Script and name it PlayerMovement;
before writing script, check what direction is your model facing. ie. on pressing what key, what coordinate would be affected and how.
eg - For me, pressing 'd' of 'right arrow' will decrease x coordinate
SCRIPT
using System.Collections;
using System.Collections.Generic;
using UnityEngine;
public class PlayerMovement : MonoBehaviour
{
void Update()
{
if (Input.GetKeyDown(KeyCode.RightArrow) || Input.GetKeyDown(KeyCode.D))
{
Vector3 position = this.transform.position;
position.x = position.x - 0.1f;
this.transform.position = position;
}
if (Input.GetKeyDown(KeyCode.LeftArrow) || Input.GetKeyDown(KeyCode.A))
{
Vector3 position = this.transform.position;
position.x = position.x + 0.1f;
this.transform.position = position;
}
if (Input.GetKeyDown(KeyCode.UpArrow) || Input.GetKeyDown(KeyCode.W))
{
Vector3 position = this.transform.position;
position.y = position.y + 0.1f;
this.transform.position = position;
}
if (Input.GetKeyDown(KeyCode.DownArrow) || Input.GetKeyDown(KeyCode.S))
{
Vector3 position = this.transform.position;
position.y = position.y - 0.1f;
this.transform.position = position;
}
}
}
Step 5 - Attach the script on 3d model .
That's it. We have Successfully created a basic walking simulator.
--------------------------------------------------------------------------------------------------------------------------------------------------------------------------------
REFERENCE LINKS
https://www.udemy.com/course/learnunity3d/
THIS TUTORIAL IS BROUGHT TO YOU BY GAMING DEPARTMENT OF VIT BHOPAL (INDIA)


