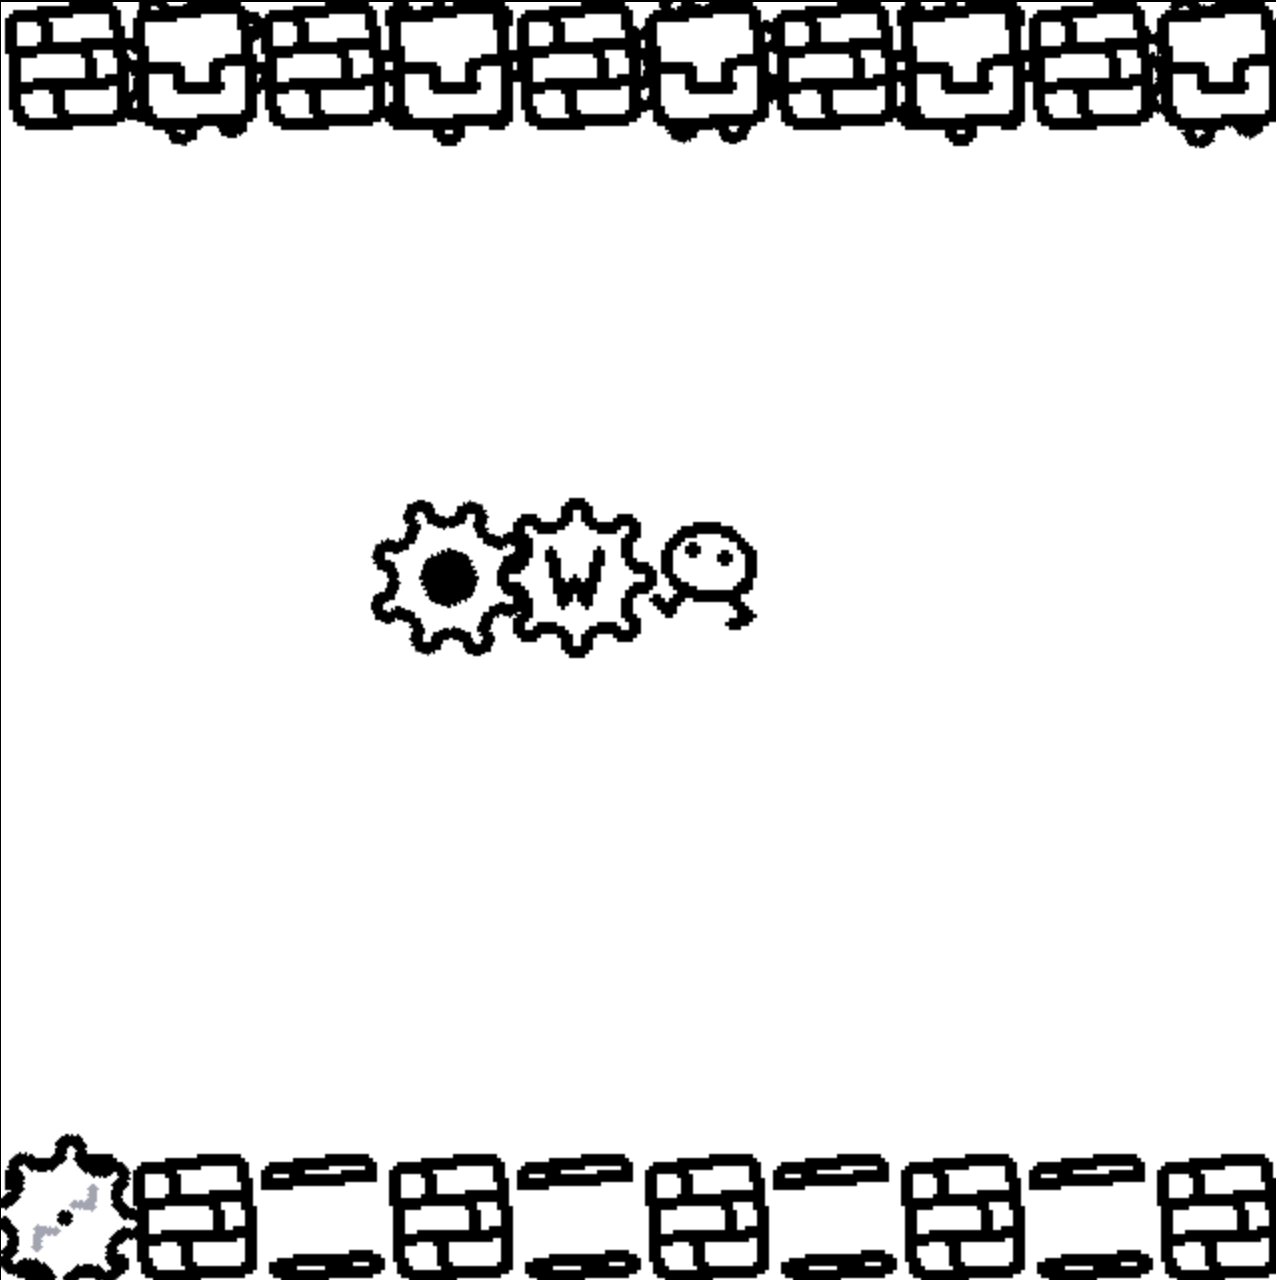
Duck tape and gun is extremely OP you just stop where the ball is and wait
fruzzmuffin
Recent community posts
The concept here is really good
any piece that moves is extremely OP, because they move at the end of the enemy turn, it's extremely easy to trick your opponent into making bad moves. It also allows for some unstoppable 3 in a rows.
For example, if first move of the game you place the axe in the bottom row, opponent moves, you place a piece under the axe, opponent moves top row to block your 2 in a row, axe destroys their piece and you get a 3 in a row with a single opponent piece left on the board.
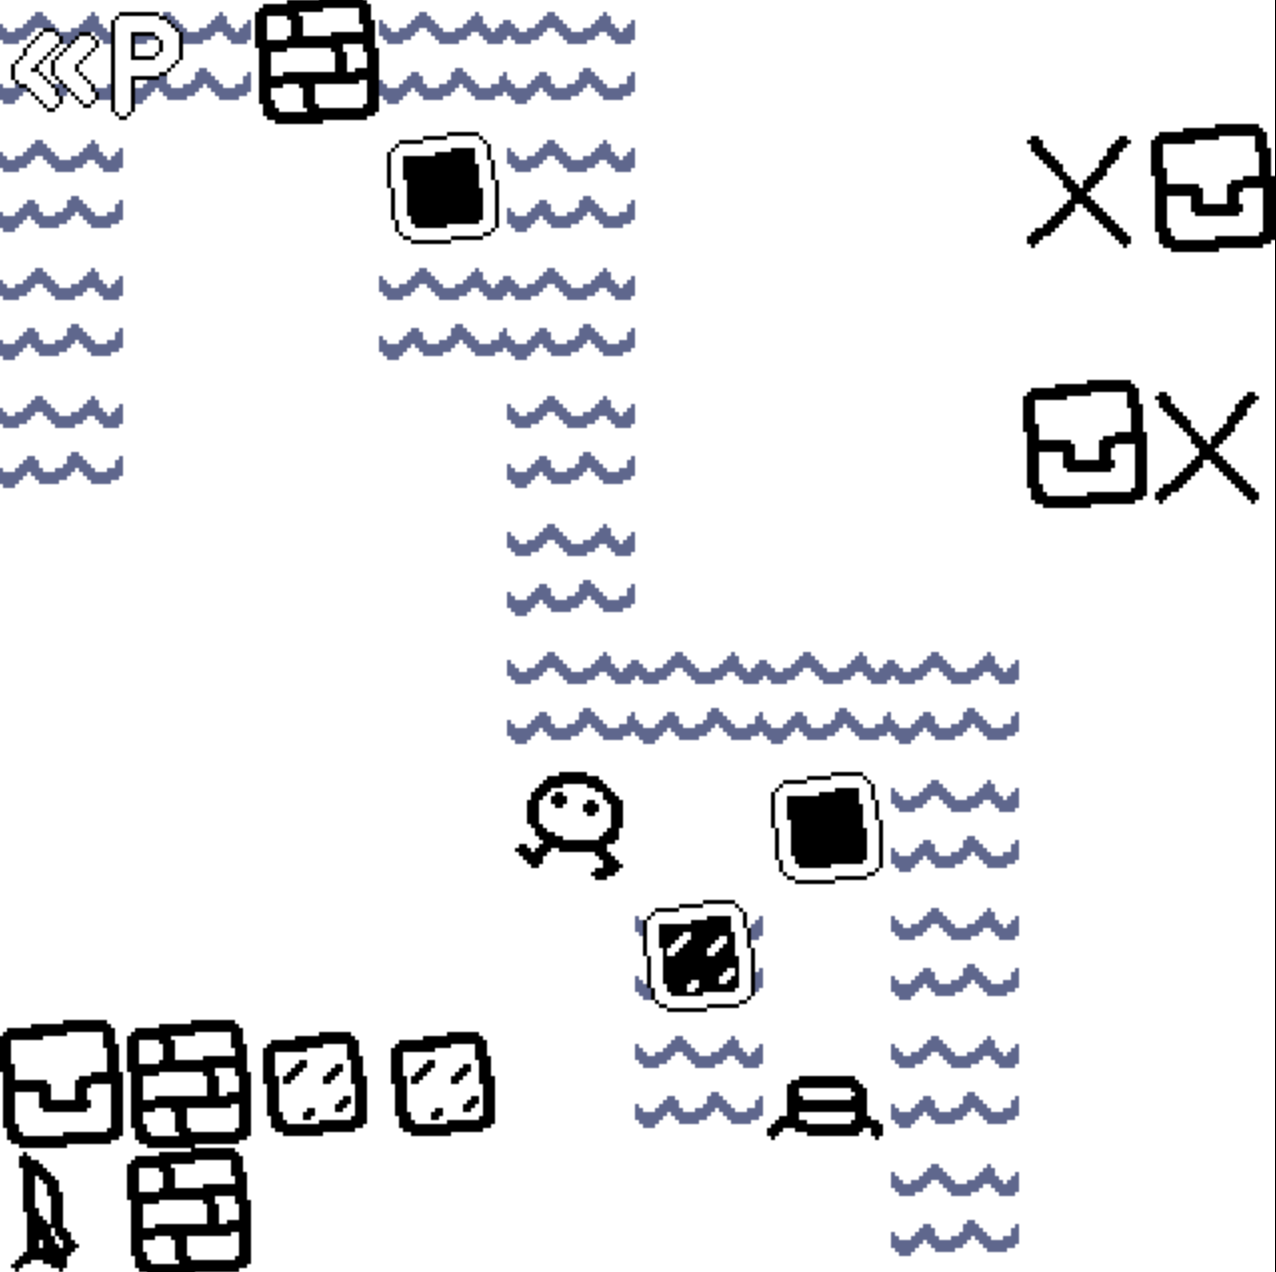
I'm pretty sure this doesn't remove the block, but instead just pushes it off the viewable board. I can tell this because if you push an hourglass into the space where the block WOULD have gone, you get the permatize particles, the hourglass shatters, and any original permablock supported by the hourglass gets unpermanented
Edit: just realized you can also permatize a covemonty and kill them to remove clutter
It's possible to completely remove a permablock from the play area without permatizing another block, and it's possible to leave no permanents on the play area even after having permatized a block. If you use the hourglass to permatize a regular push block, and multipush it off the map in level 1, you can get rid of it without having to permatize another block, cluttering the play area.
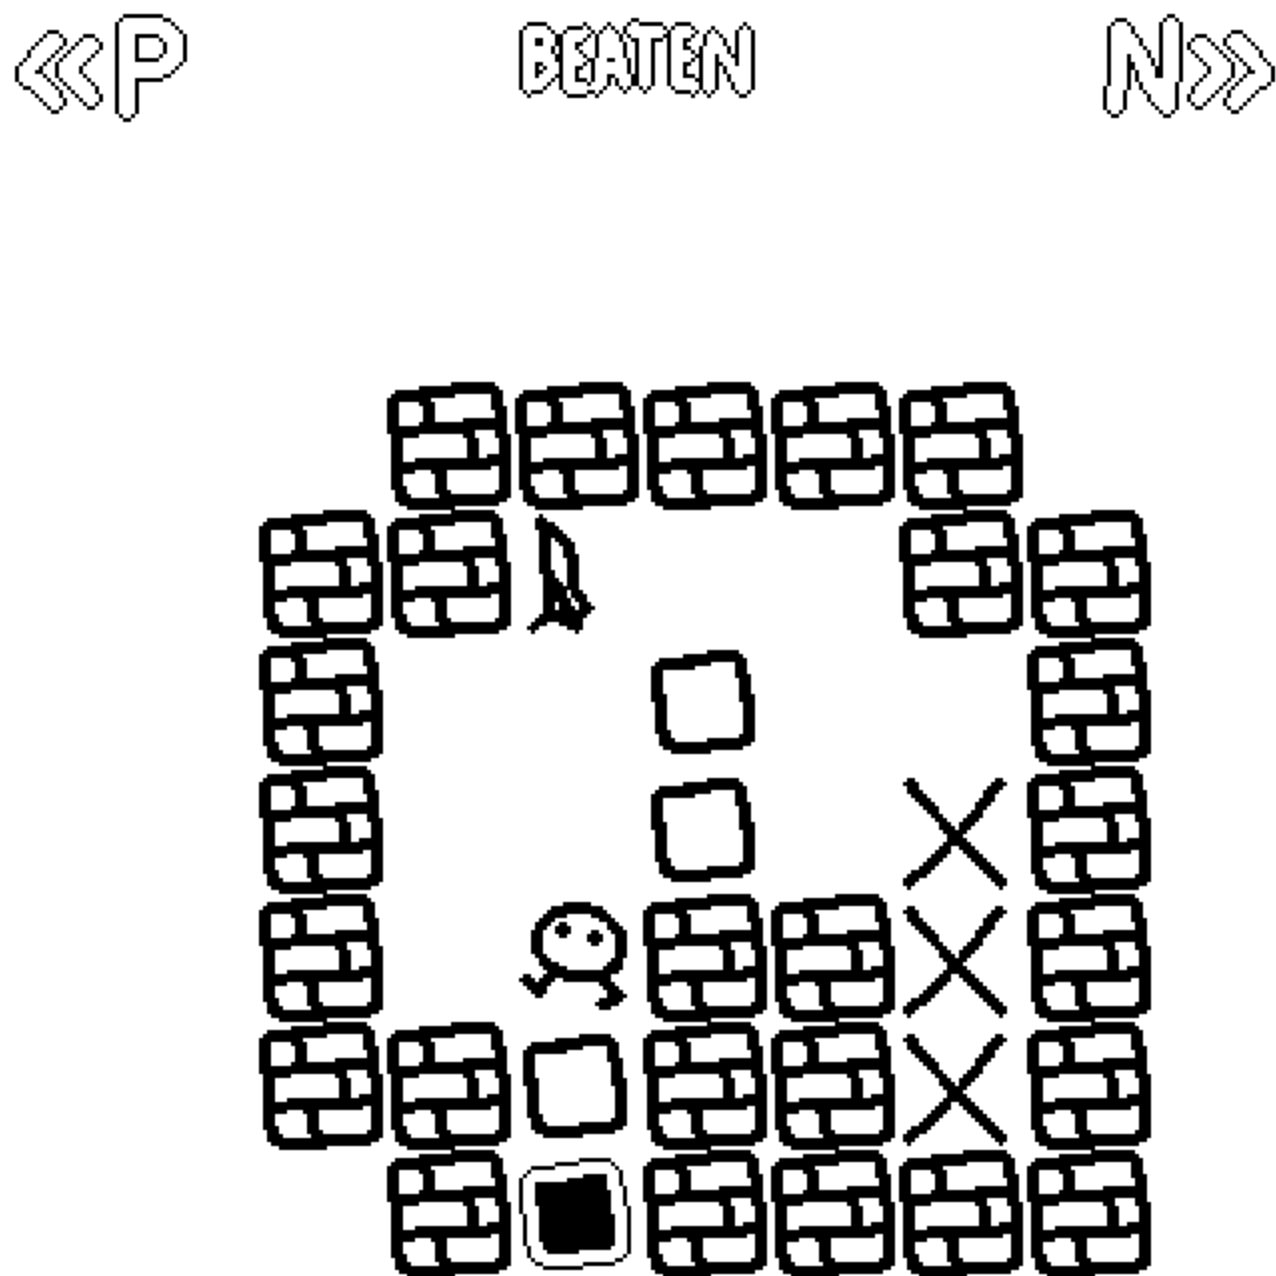
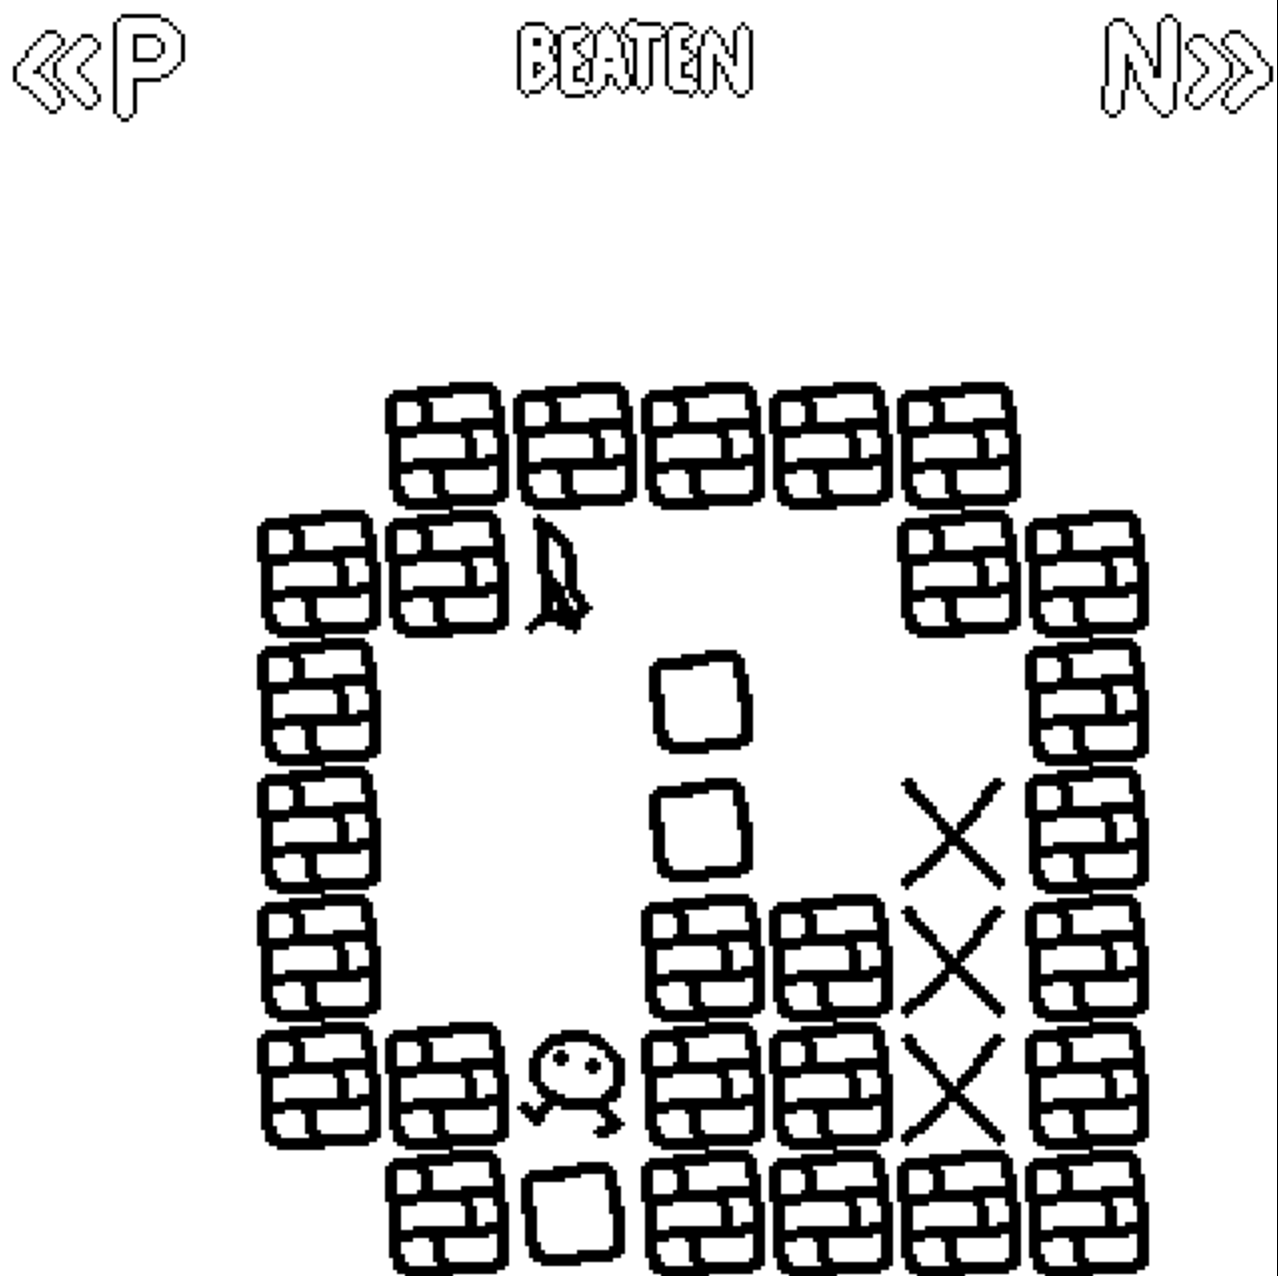
I spent so long looking for it, and I've finally gotten it! THE DUPLICATION GLITCH!!!!!!
You can execute it by getting a permablock in a wall, pushing an hourglass into it, undo, redo by pushing again, and reset level. Then you can push that same hourglass into another block and it won't release the old block. As far as I can tell you can repeat this infinitely. This screenshot was not taken with the level editor.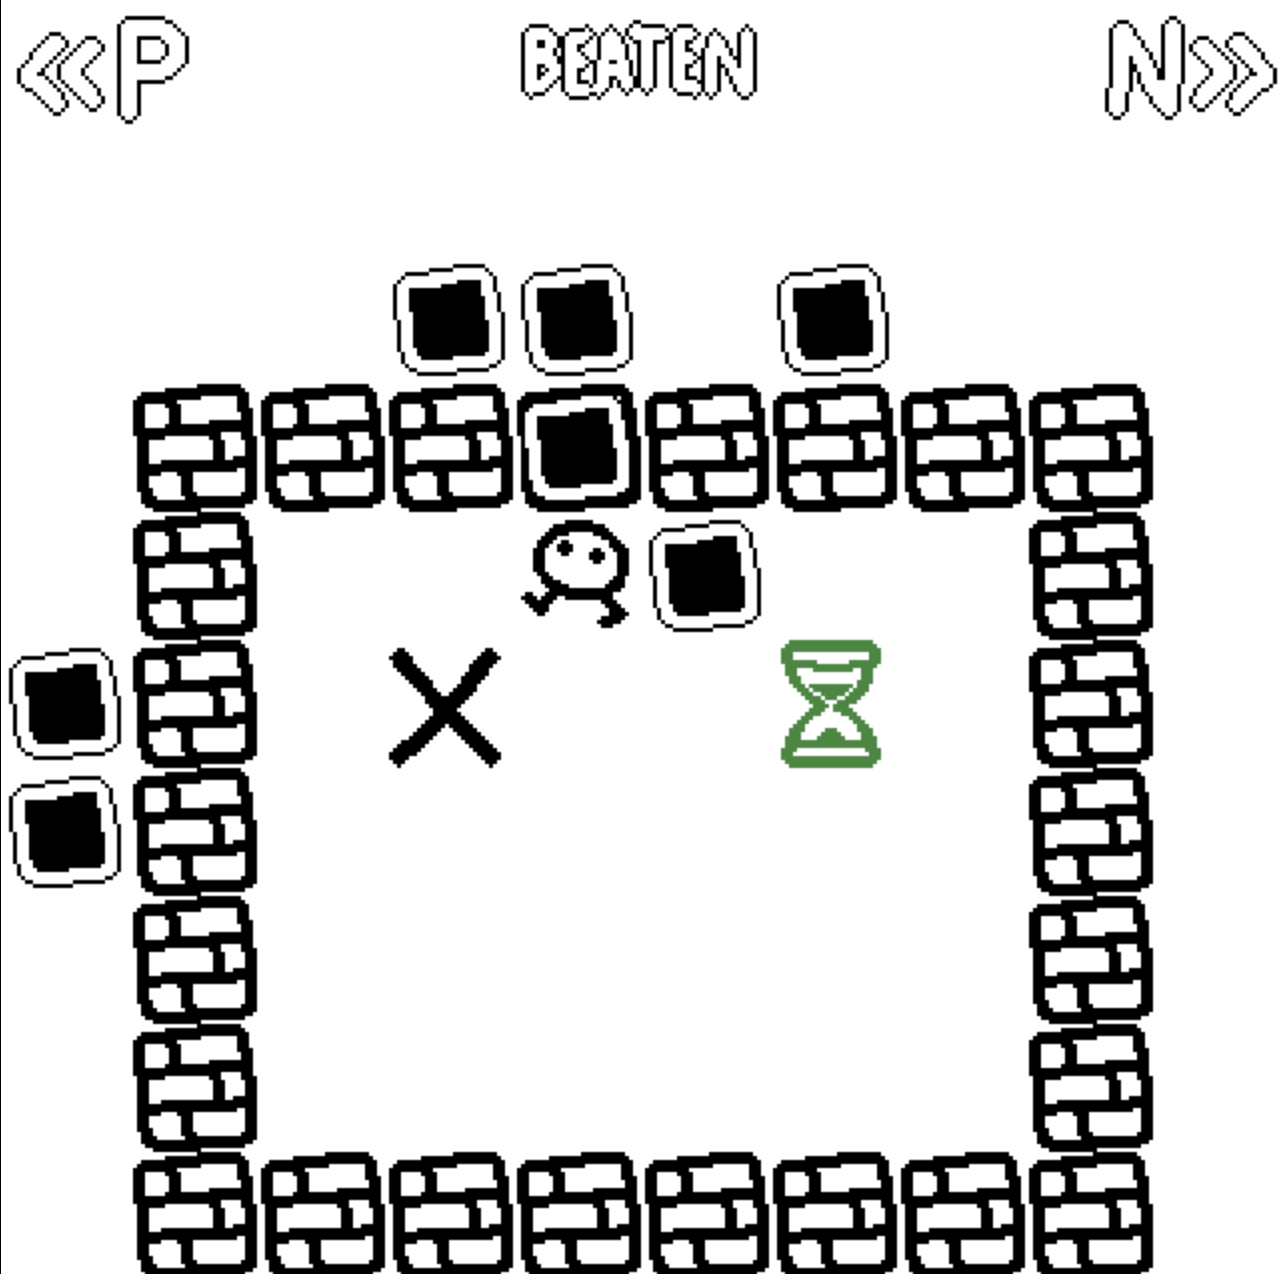
I'm pretty sure this works with any non-hourglass block that's stuck in another non-hourglass block with lower permanent priority. This includes non-pushables, like flags or Xs. I haven't been able to get it with a wall because it seems like every other block has higher priority when permatizing.
Another possible build is
-(Max) Gold Grow Terrain dice
-Gold Grow Block & Heal
-Gold Grow Block & Attack
-Silver Block & Boost
-Hollow Mirror
Under the strategy I found this gives turns 1-5 under worst case scenario
1. 17 shield
2. 68 eff. HP
3. 77 eff. HP
4. 110 eff. HP
5. 123 eff. HP
I think this would beat enemy output up to ~80 at 80 Max HP.
The strategy with this build is as follows
M=Mirror
T=Terrain
H=Block & Heal
A=Block & Attack
B=Block & Boost
_=Empty
Alternate between
# # M # #
# _ # _ #
A # B # T
# _ # _ #
# # H # #
and
# # A # #
# _ # _ #
M # B # H
# _ # _ #
# # T # #
If B rolls 3 instead of 2 then put B in the diagonal between A and M, to boost both T and H.
I think early to mid late game area dice are the way to go, but very late game I think the best dice hand is
-Gold Grow Block & Heal
-Gold Grow Block & Attack
-Silver Block & Boost
-Hollow Mirror
-Hollow Mirror
This allows for ~6 dice worth of effective health each turn. Worst case first turn is 27 shield (3 on both Grow Block dice and 3 on the Block & Boost die) and best case first turn is 34 shield (5 on both Grow Block dice and 2 on the Block & Boost die).
I can't make assumptions about the average performance because of different face distributions, but I can estimate the average effective health gain to be ~6(n-1)+40 on turn n. (This includes actual hp gained, if you're at max health it will be less).
I would say a good estimate for health is ~80 when you acquire the hand. This would let you survive until the enemies can output ~60-70(?) damage per turn. The strategy would be to outlast+attack enemies until one is left, stop attacking and heal to full, and then kill the last one to move on to the next floor. Bosses are basically the same.


