
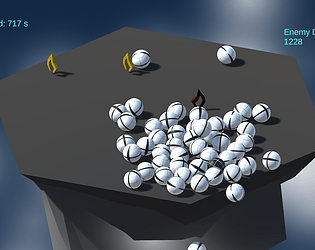
Thank you for playing, will work on it and make it less confusing.
A member registered Apr 29, 2021 · View creator page →
Creator of

Recent community posts
itch.io Community » Game Development » General Development · Created a new topic Tutorial on making realisic Fire effects
REALISTIC FIRE EFFECTS IN UNITY
Team-members
1. Check out Jewel (20BCG10075)
2. Check out Chakshu (20BCG10100)
In this tutorial we are going to create fire in unity. This fire is a little complex and not just a fire that looks like a fire but it is something even more realistic. The process is explained carefully in this tutorial for anyone who is watching forward to create a flame.
Step: 1 To create a flame effect in unity, the most primary and the basic thing needed is the particle system. This can be selected by right clicking on the hierarchy, select Effects, Particle System (Right click hierarchy --> Effects --> Particle System).
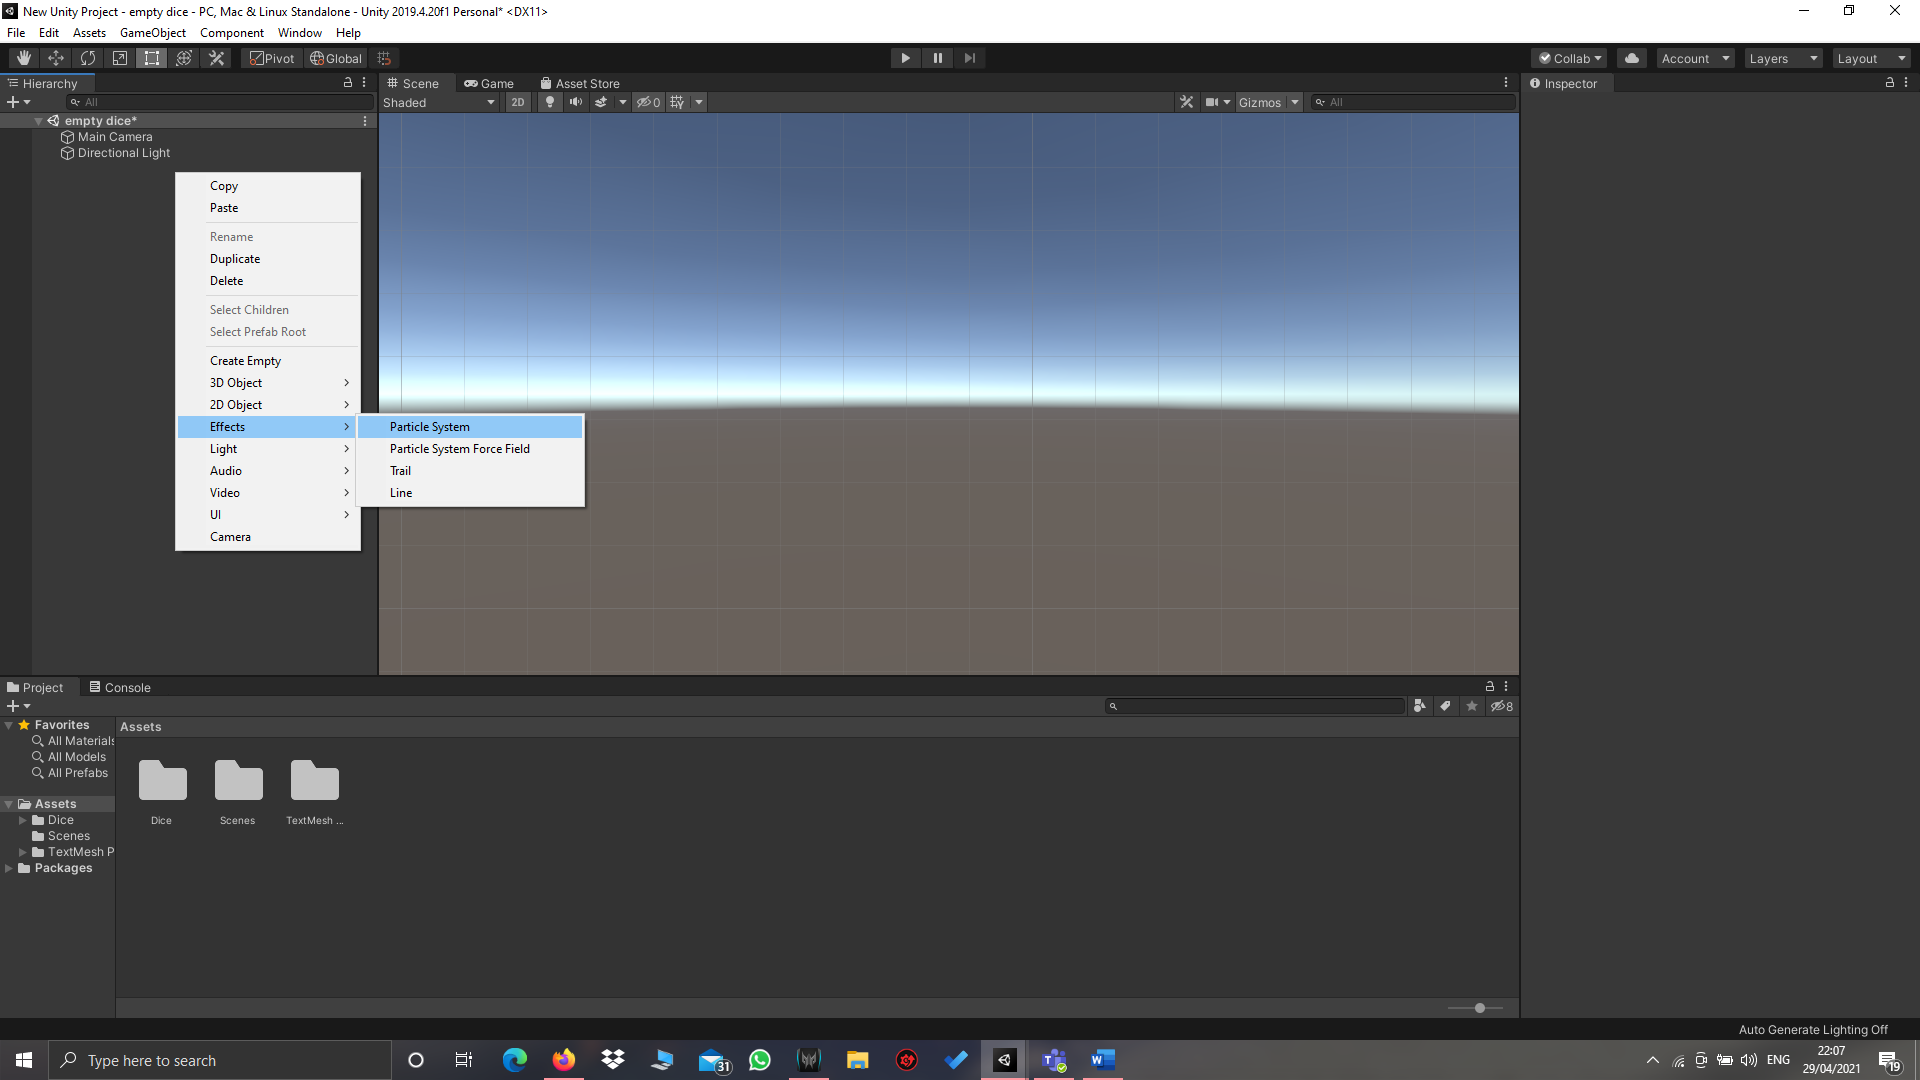
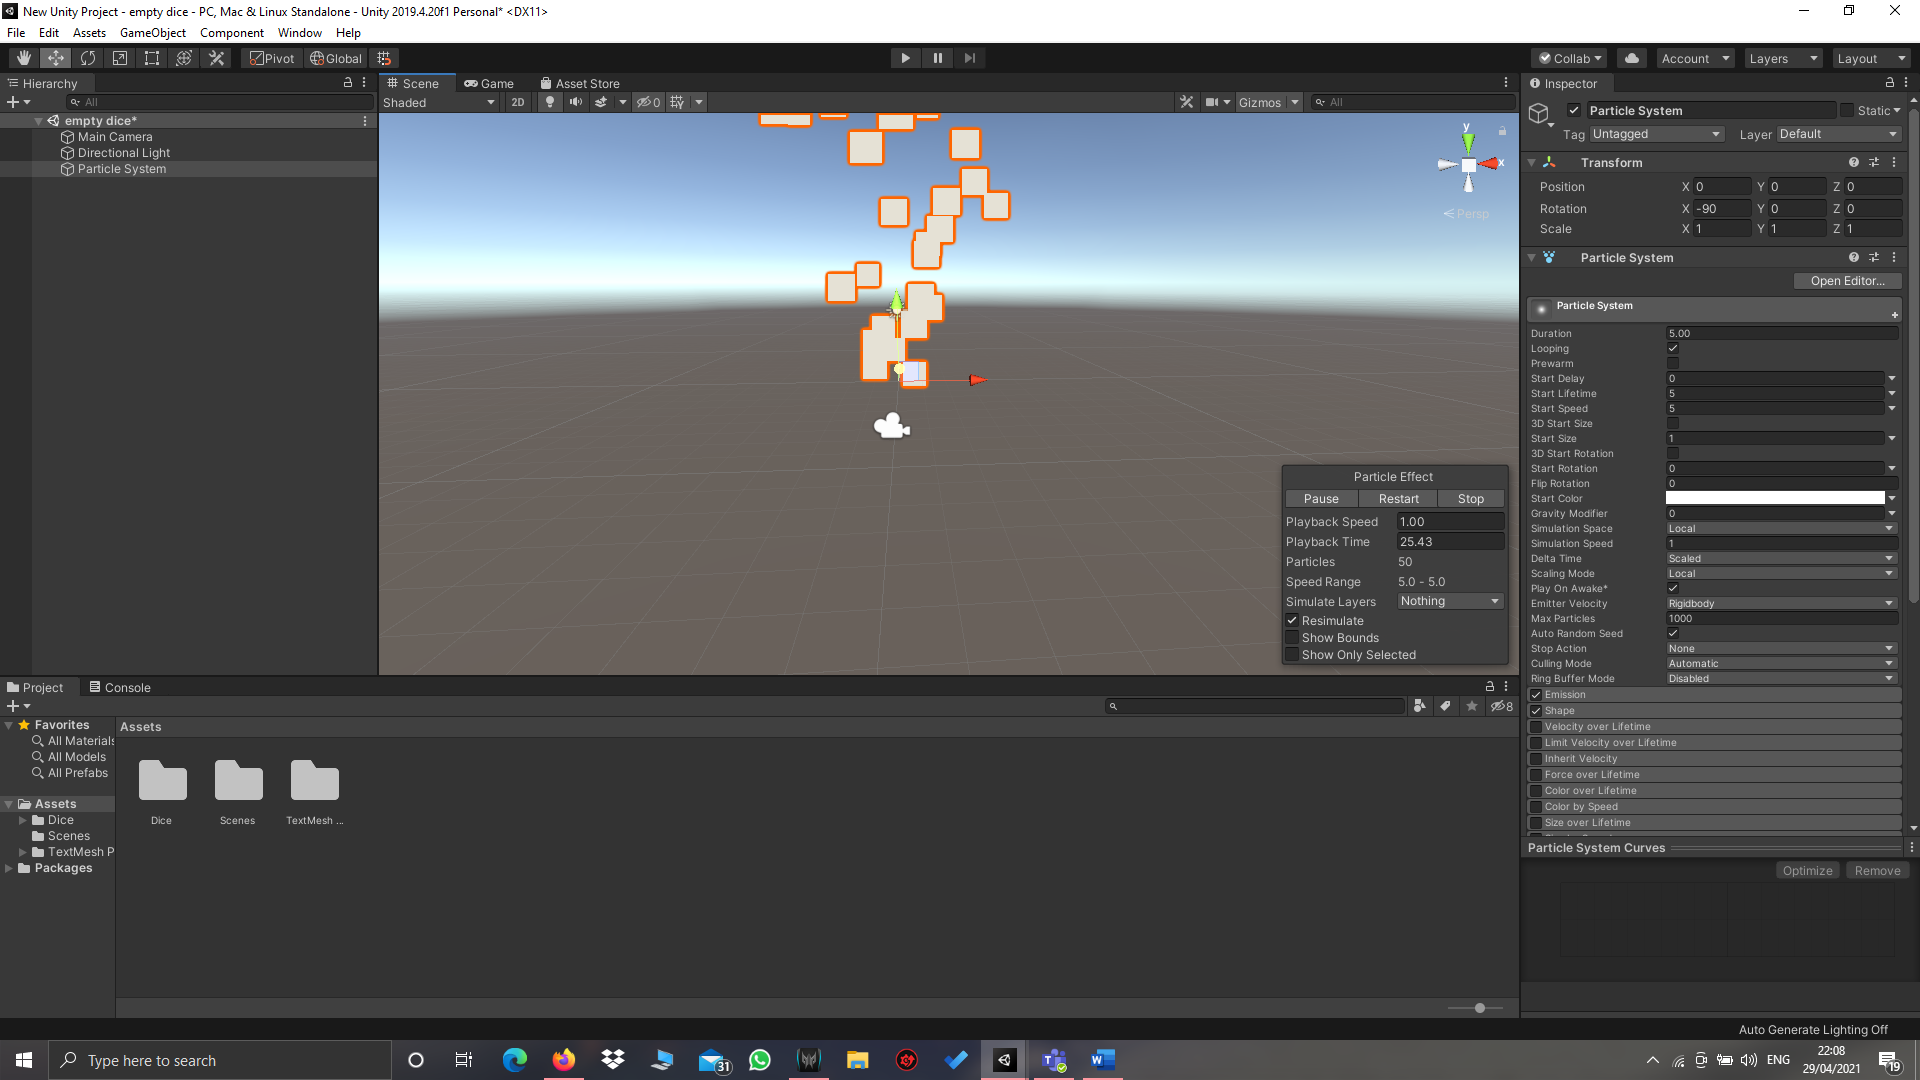
After you make a particle system something like this should appear.
Step 2 : For the particle to look like flame we will need asset materials, textures with pointy edges which can be made using any software like paint. In this case I created this texture.
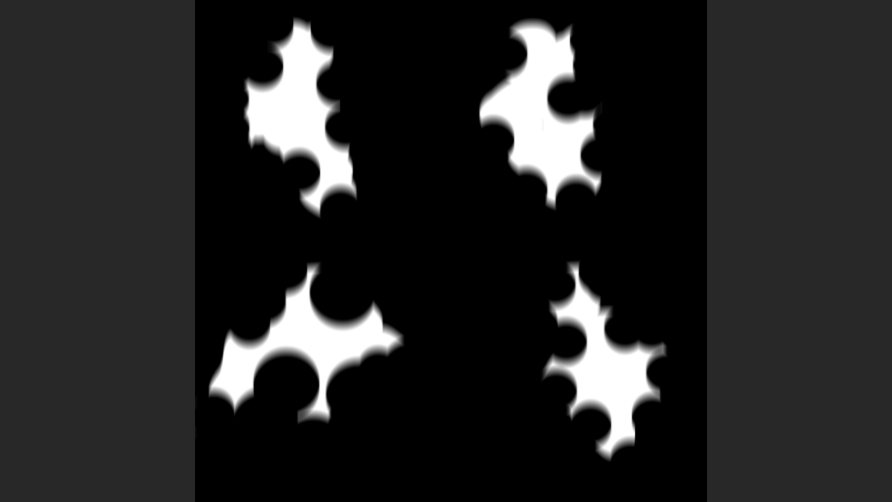
These are some random shapes which can be easily drawn with the help of Microsoft paint. (tip: Use the brush to paint wider shapes and then use eraser to make it much more like the shape of a flame)
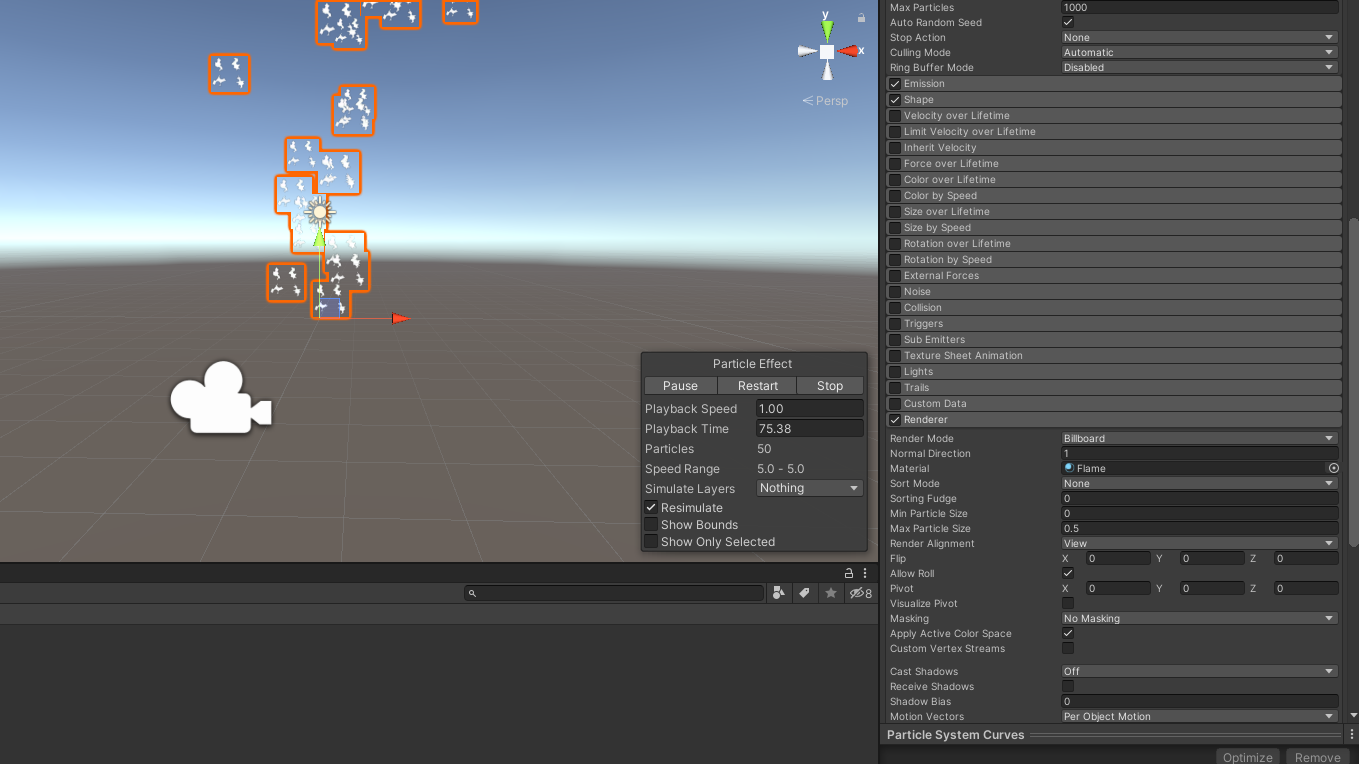
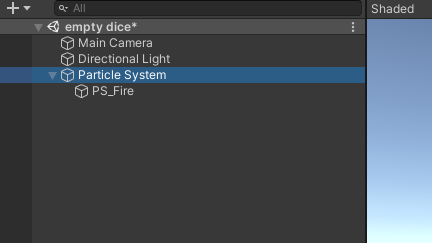
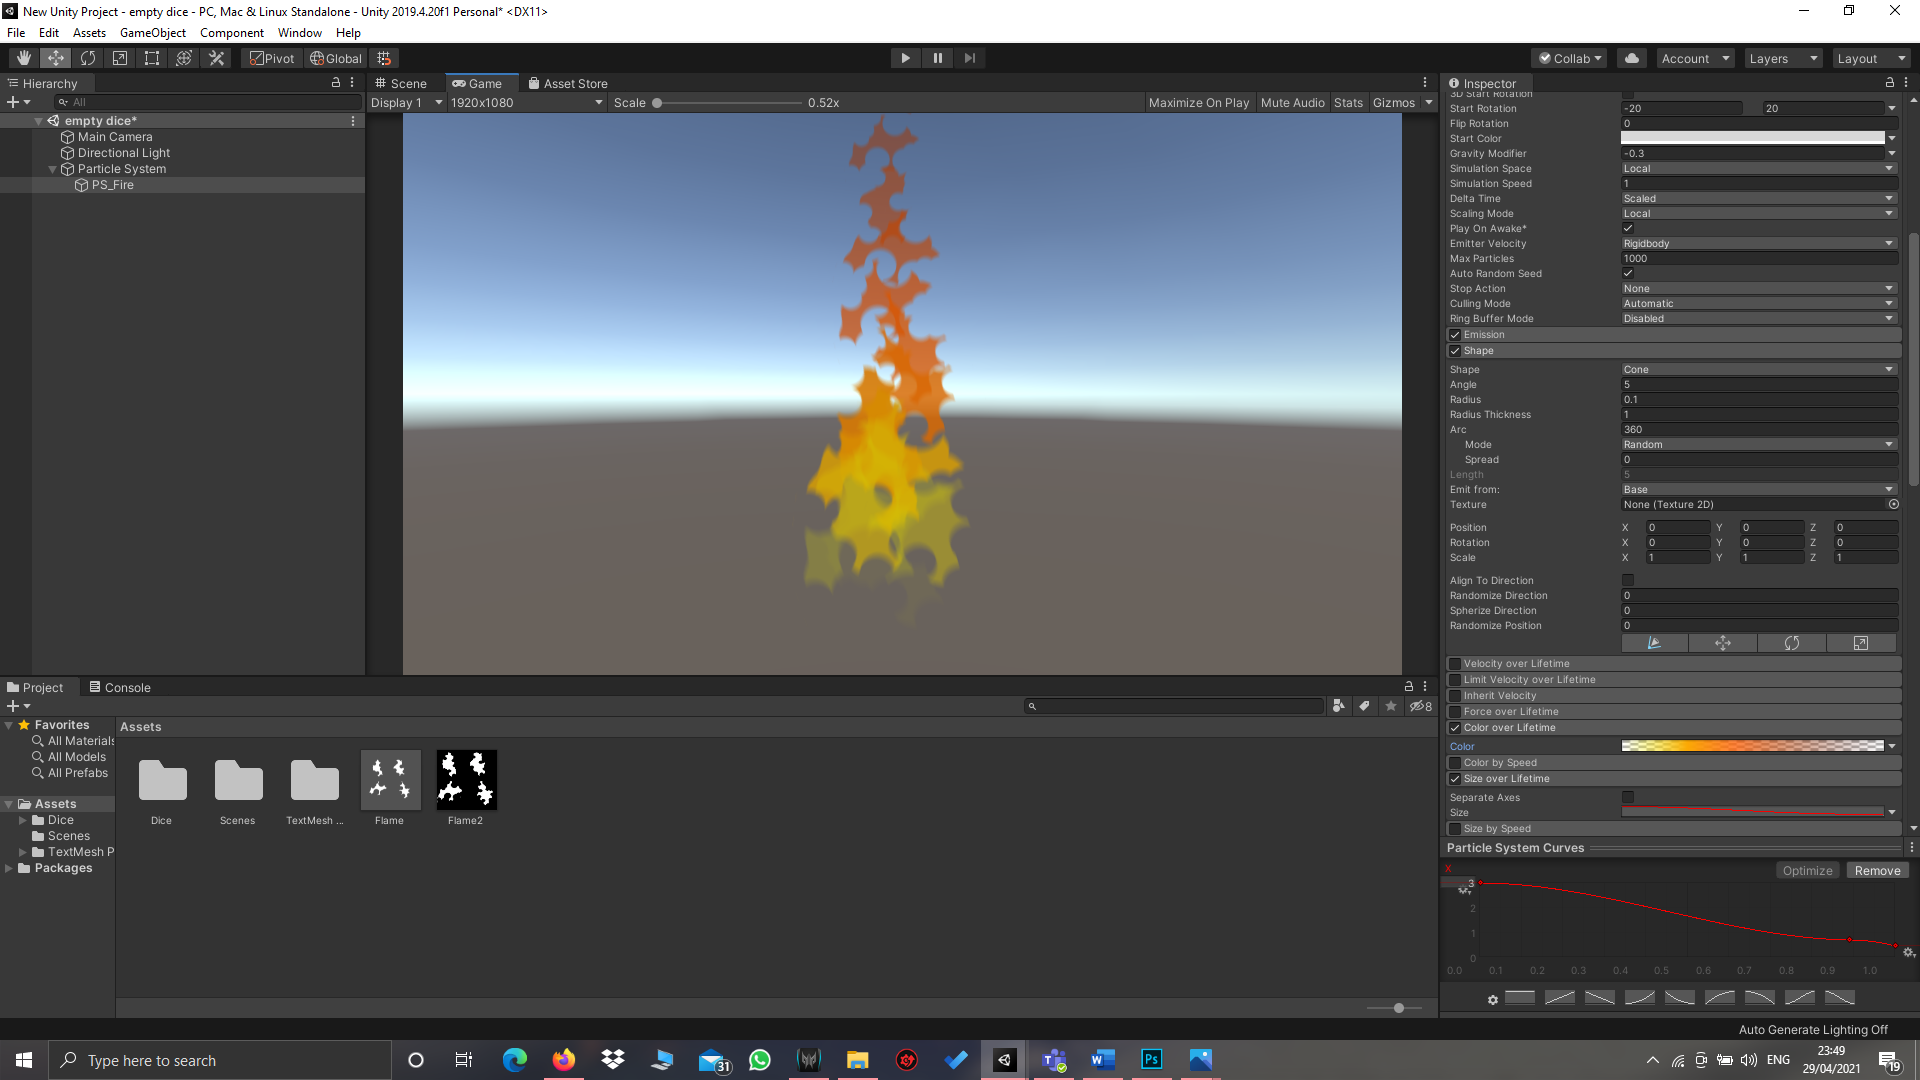
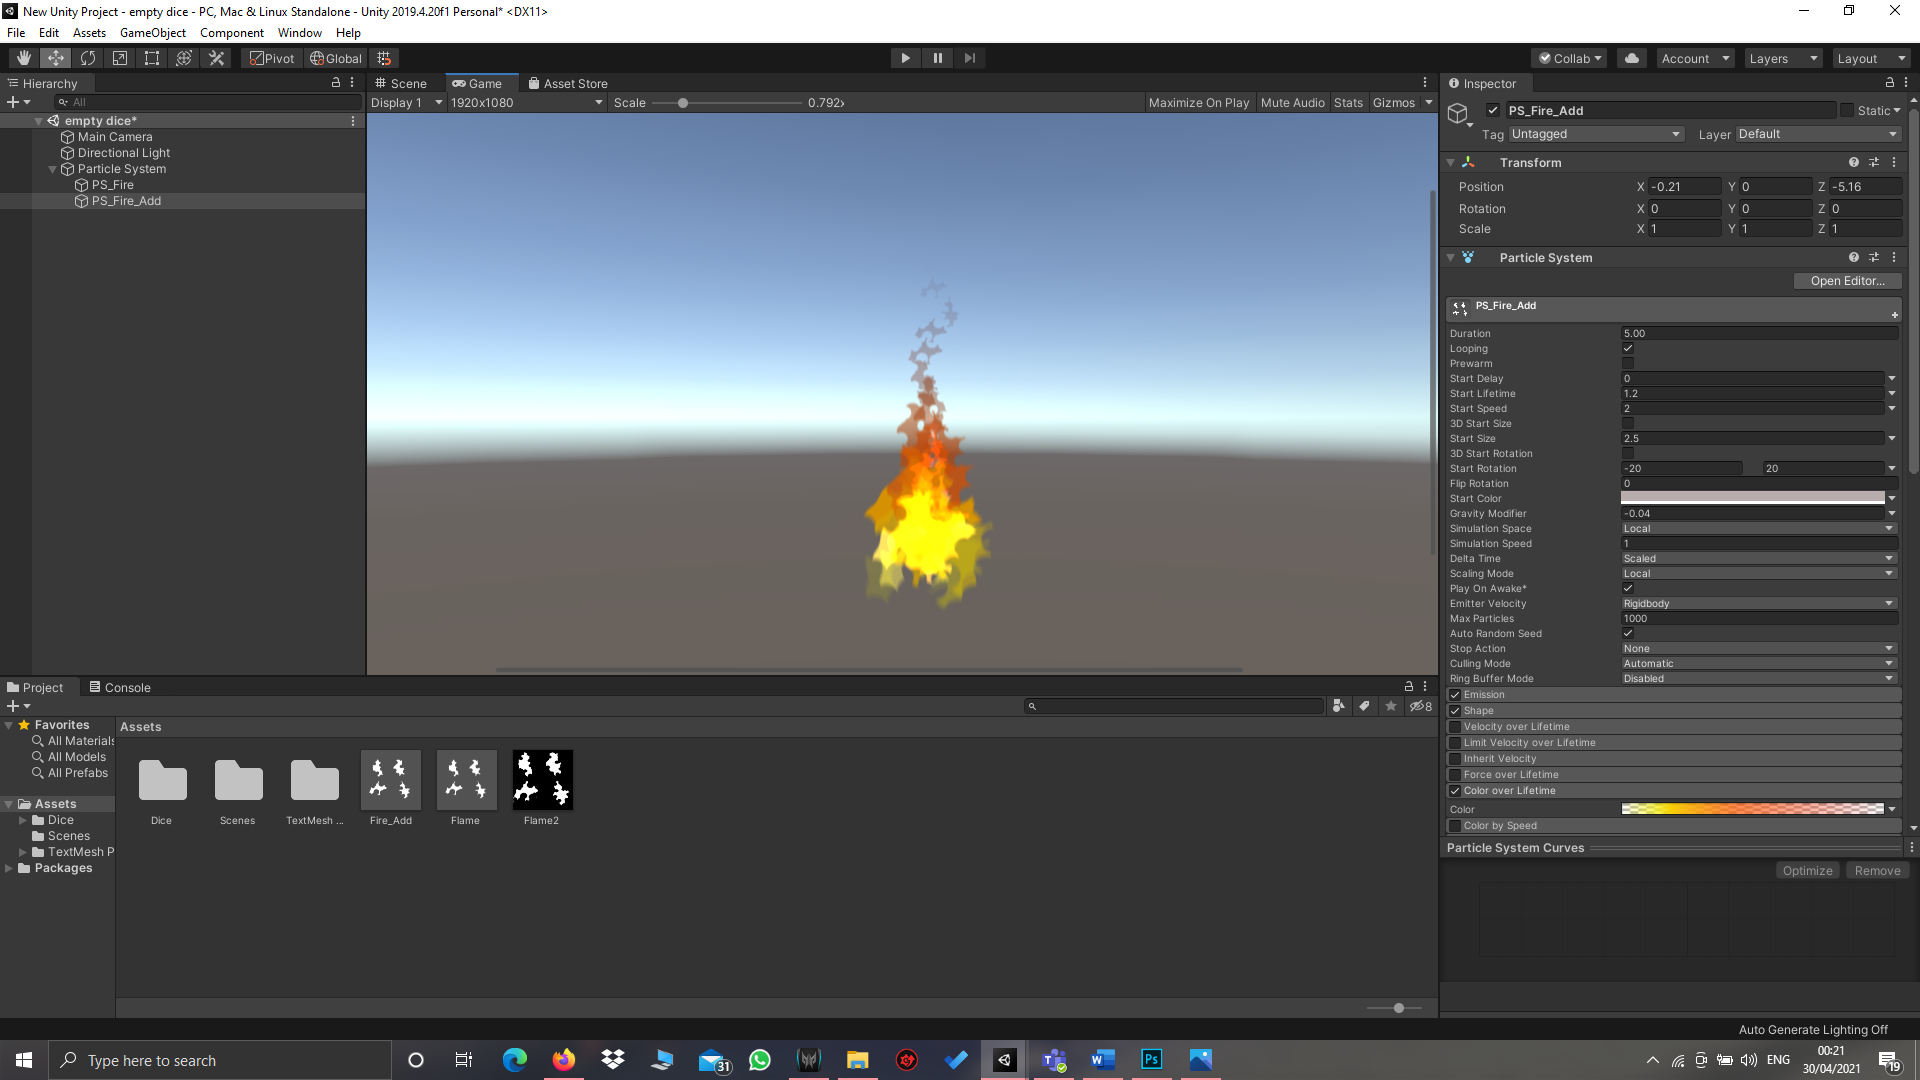
Step 3 : A flame actually has many components in it. It has lighter glowing base, a reddish-brown middle part and a dark upper part. Make the first particle system we created as the parent and underneath it create another particle system(I named it PS_Fire). Select the PS_Fire and go through it’s inspector tab.
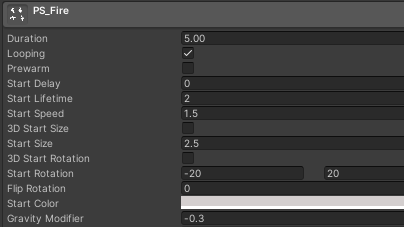
These are the settings that worked best for the outline of our fire.
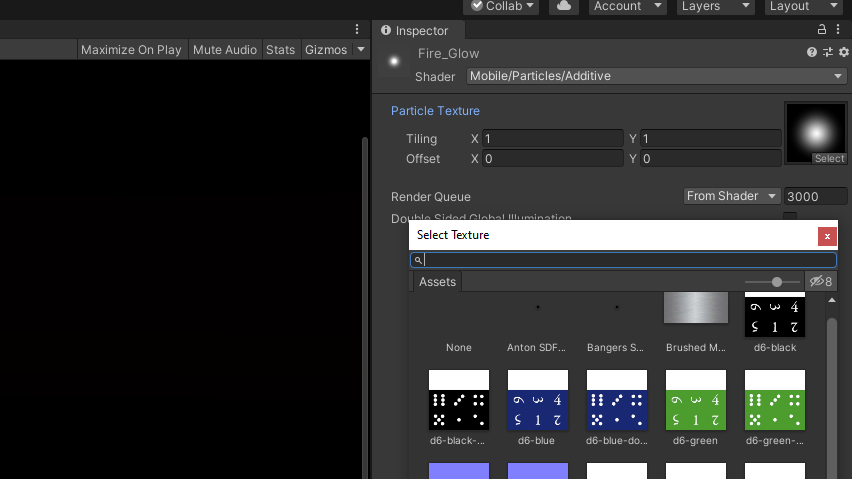
Step 4: Create a new material in the project tab and in it’s inspector tab click shader which is at the top of the material inspector tab. Click on shaders, then click mobile from the menu, click particles and finally alpha blended. (Shader --> mobile --> Particles --> Alpha Blended). Then put the texture that we created earlier into it.
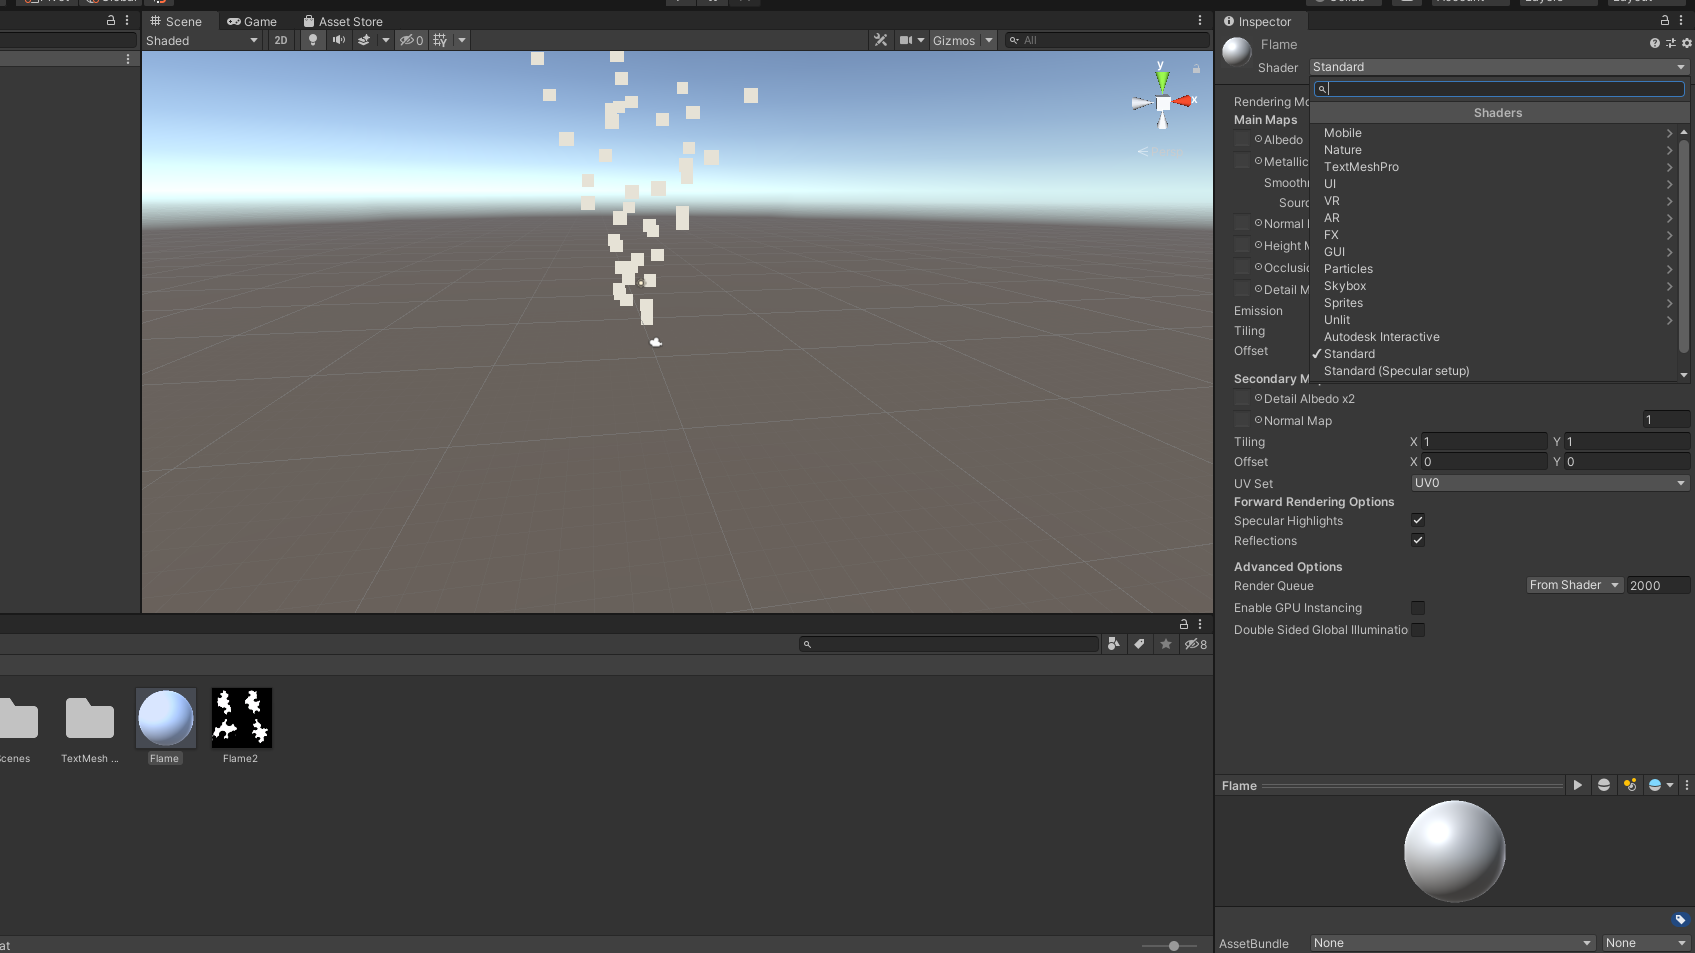
Check out the location of shader in inspector.
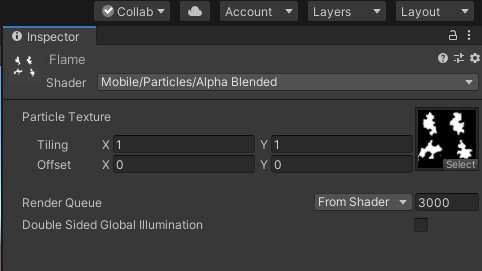
This is where you need to put the texture made in the previous step.
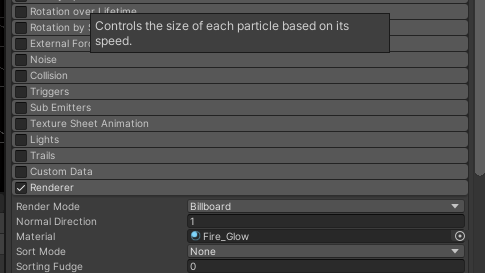
Step 5: Now click the PS_Fire in heirarchy tab. In the inspector tab select Renderer from the bottom. If the Renderer options are greyed out check the box of the Renderer button then the options should be available. Now, Drag and drop the material we created into the materials section. Click the parent Particle System and in the inspector tab make its Start size 0.
After we do this the particle texture changes as shown above.
 -->
-->
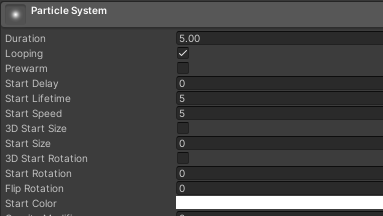
Make Start size 0.
Step 6: Now we need to give the shape to the flame. To do that we need to go to shape in the inspector tab of PS_Fire and select cone as shape. We will have to put
Texture sheet Animation(Tile to X = 2, Y =2). Change the colour to suit a flame.
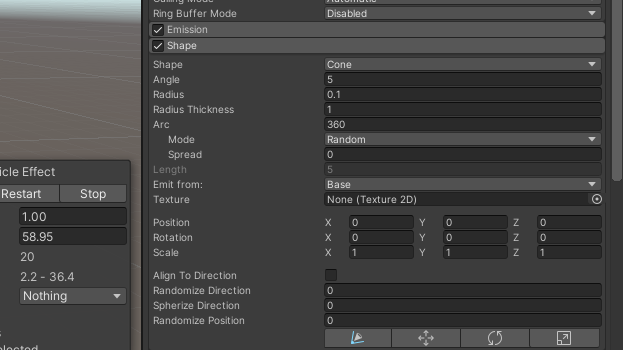
Put these settings in shape if you want you can change as your wish.

This is the colour palette I have used in my flame. (3 different colours in 3 different regions of the flame).
Our flame now looks like this:
But it looks rather dull. In the further steps we will refine the flame and give it an appealing realism.
Step 7: Now we are going to create a duplicate of the PS_Fire and name it PS_Fire_Add. Note that PS_Fire_Add should be inside the parent just as PS_Fire. Dupicate the material we created and rename it to Fire_Add. Change the shader to Additive instead of alpha renderer. (Shader--> Mobile --> Particle --> Additive) on Fire_Add material. Get down to the renderer option and put the value of order in layer to 1. This will make the lower part of the flame more brighter.
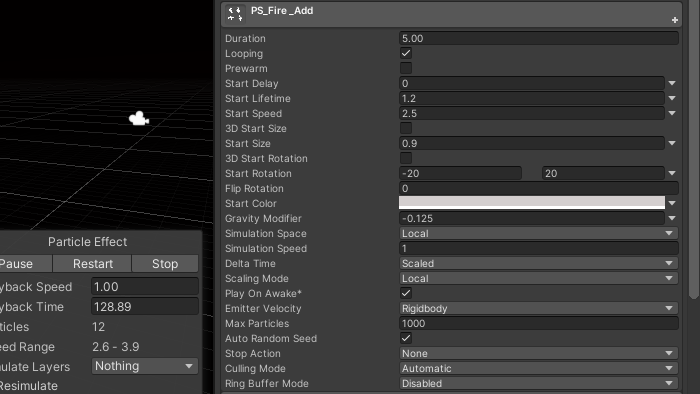
Make these changes for best results.
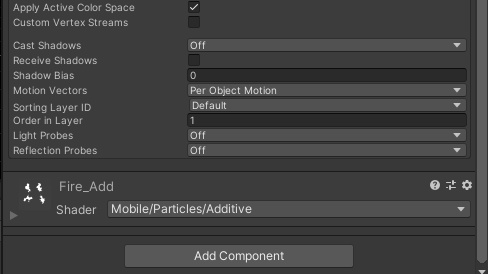
Put Order in Layer to 1 important step!!

These colour gradient were taken by me for PS_Fire_Add.
After this step our fire looks like this:
Now we should give a glow to the flame so that it becomes even more attractive.
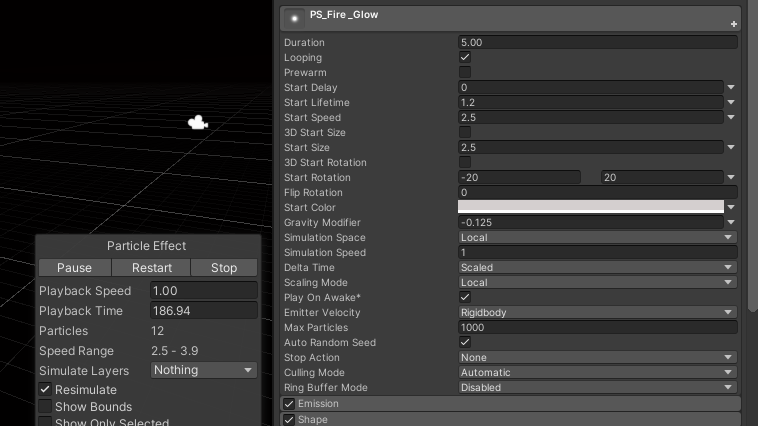
Step 8: Create another duplicate of PS_Fire_Add and rename it as PS_Fire_Glow. Similarly create a duplicate of Fire_Add material and rename it Fire_Glow.
After doing these prerequisites go to the inspector tab of Fire_Glow material and in there change the texture to default.
Press the select button and search default particle in it.
After that go to the inspector of PS_Fire_Glow child and uncheck the texture sheet Animation option(Important!!!).
Uncheck texture sheet Animation.
Make the start size bigger for PS_Fire_Glow so that the flame glows well.
Preffered setting:
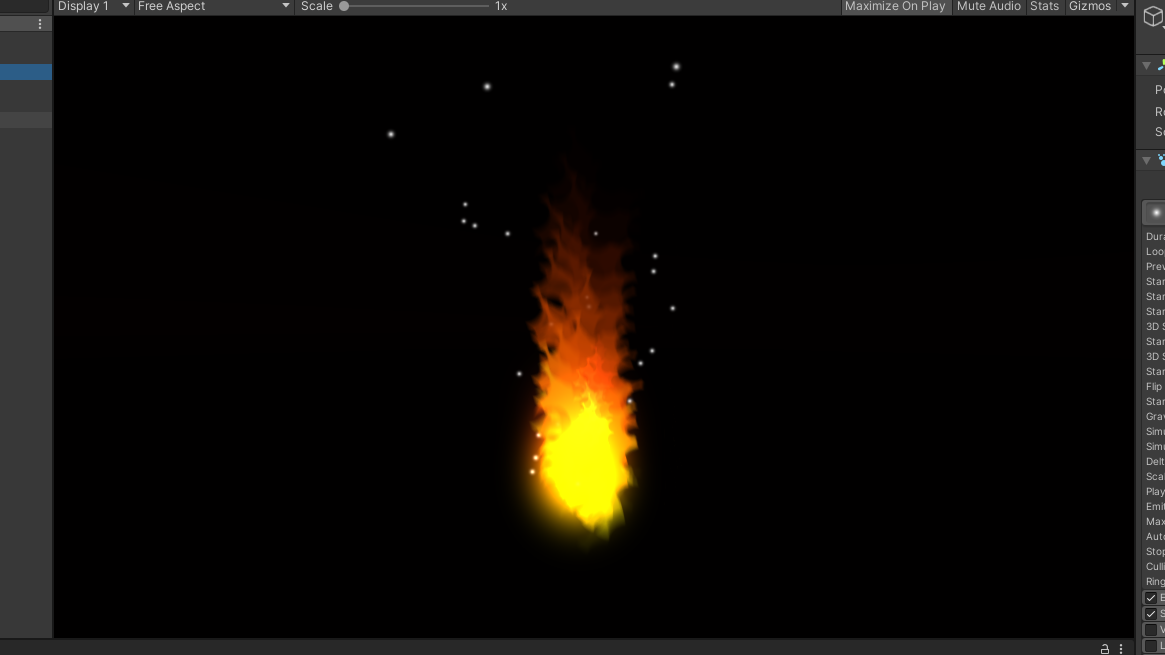
This step will complete our fire making process.
Final shot of our Fire:
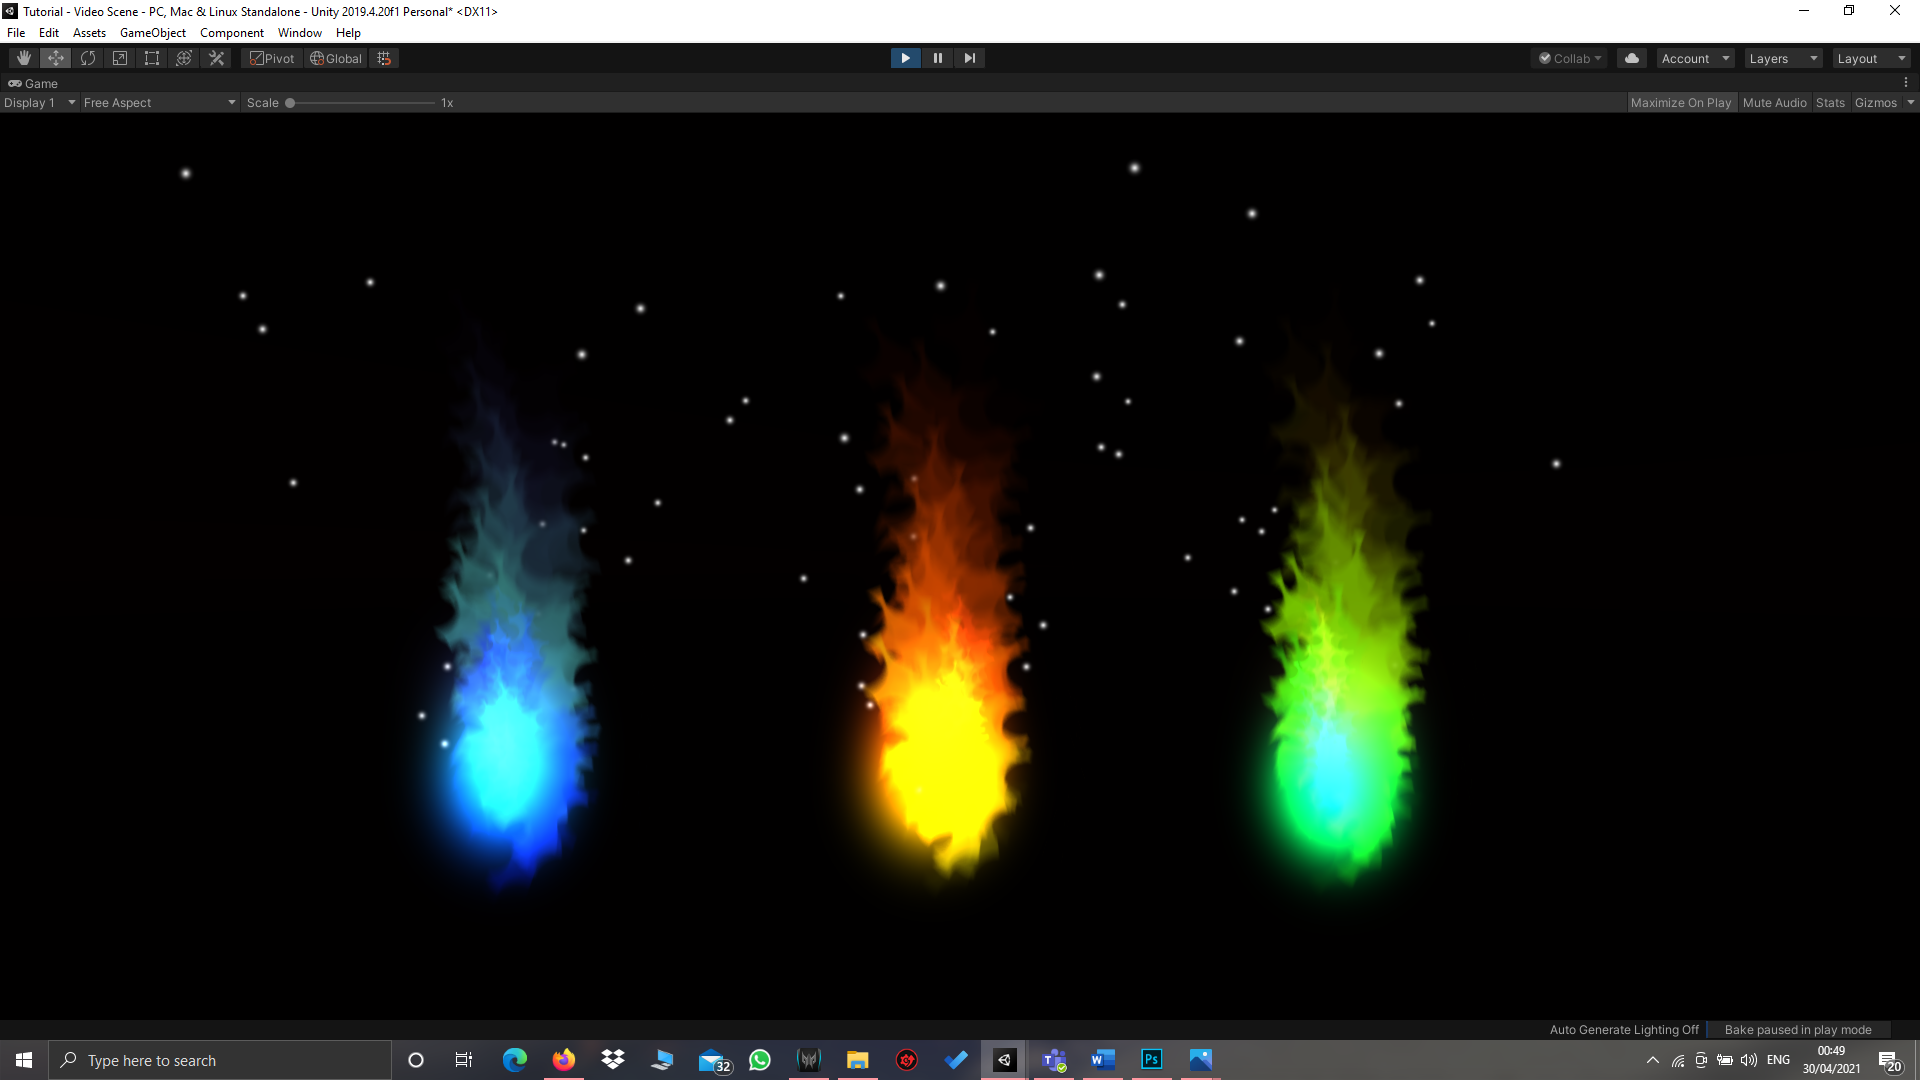
We have also created blue and green flames by duplicating it.
This tutorial is the teamwork between Jewel Alexander Thomas(20BCG10075) and Chakshu Bhardwaj(20BCG10100) who are currently pursuing their Bachelors in Computer Science with Specialisation in Gaming Technology in VIT Bhopal University.