Hi there. I don’t think I’ve seen an email from ya, unless it was under a different name?
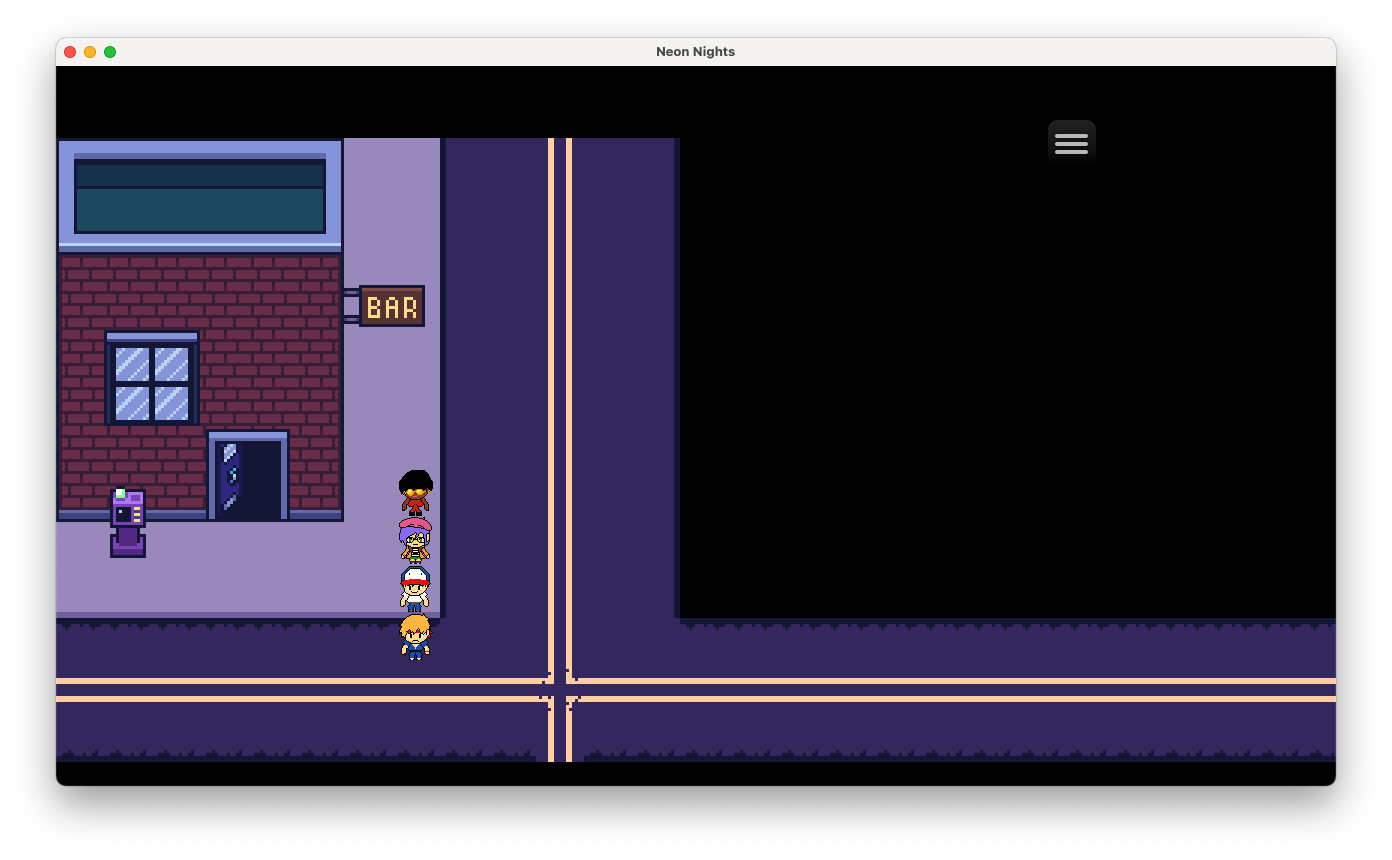
Anyways… yes, this tileset doesn’t have autotiles. Autotiles are nice but they take forever to make and I personally prefer not to use them so I don’t make them too often. If enough people wanted them though…
So the way RPG Maker MZ works, you have to set your resolution and pixel size manually. It defaults to 48x48 so you may need to resize the sprites (I can help with this if you need it) but you can also set it to 16x16 in the System Menu for your game project in RPG Maker MZ.
Once you’ve got the right size in, you need to create a tileset in RPGMMZ and use the art you bought from me. You don’t need a specific tileset or autotiles for this to work – the tilesets just need to be the right size and they need to be imported correctly. RPGMMZ creates a larger tileset from several tileset layers so the way I format my packs follows suit.
Again, let me know if you’re stuck on this. It can take getting used to.


