Hi Joe,
An inlay is a bit more advanced than I feel comfortable cramming into an interactive tutorial, but a video is always a possibility - we're just not working on one at this time. However, I do have a few example projects that could show you how the whole process works!

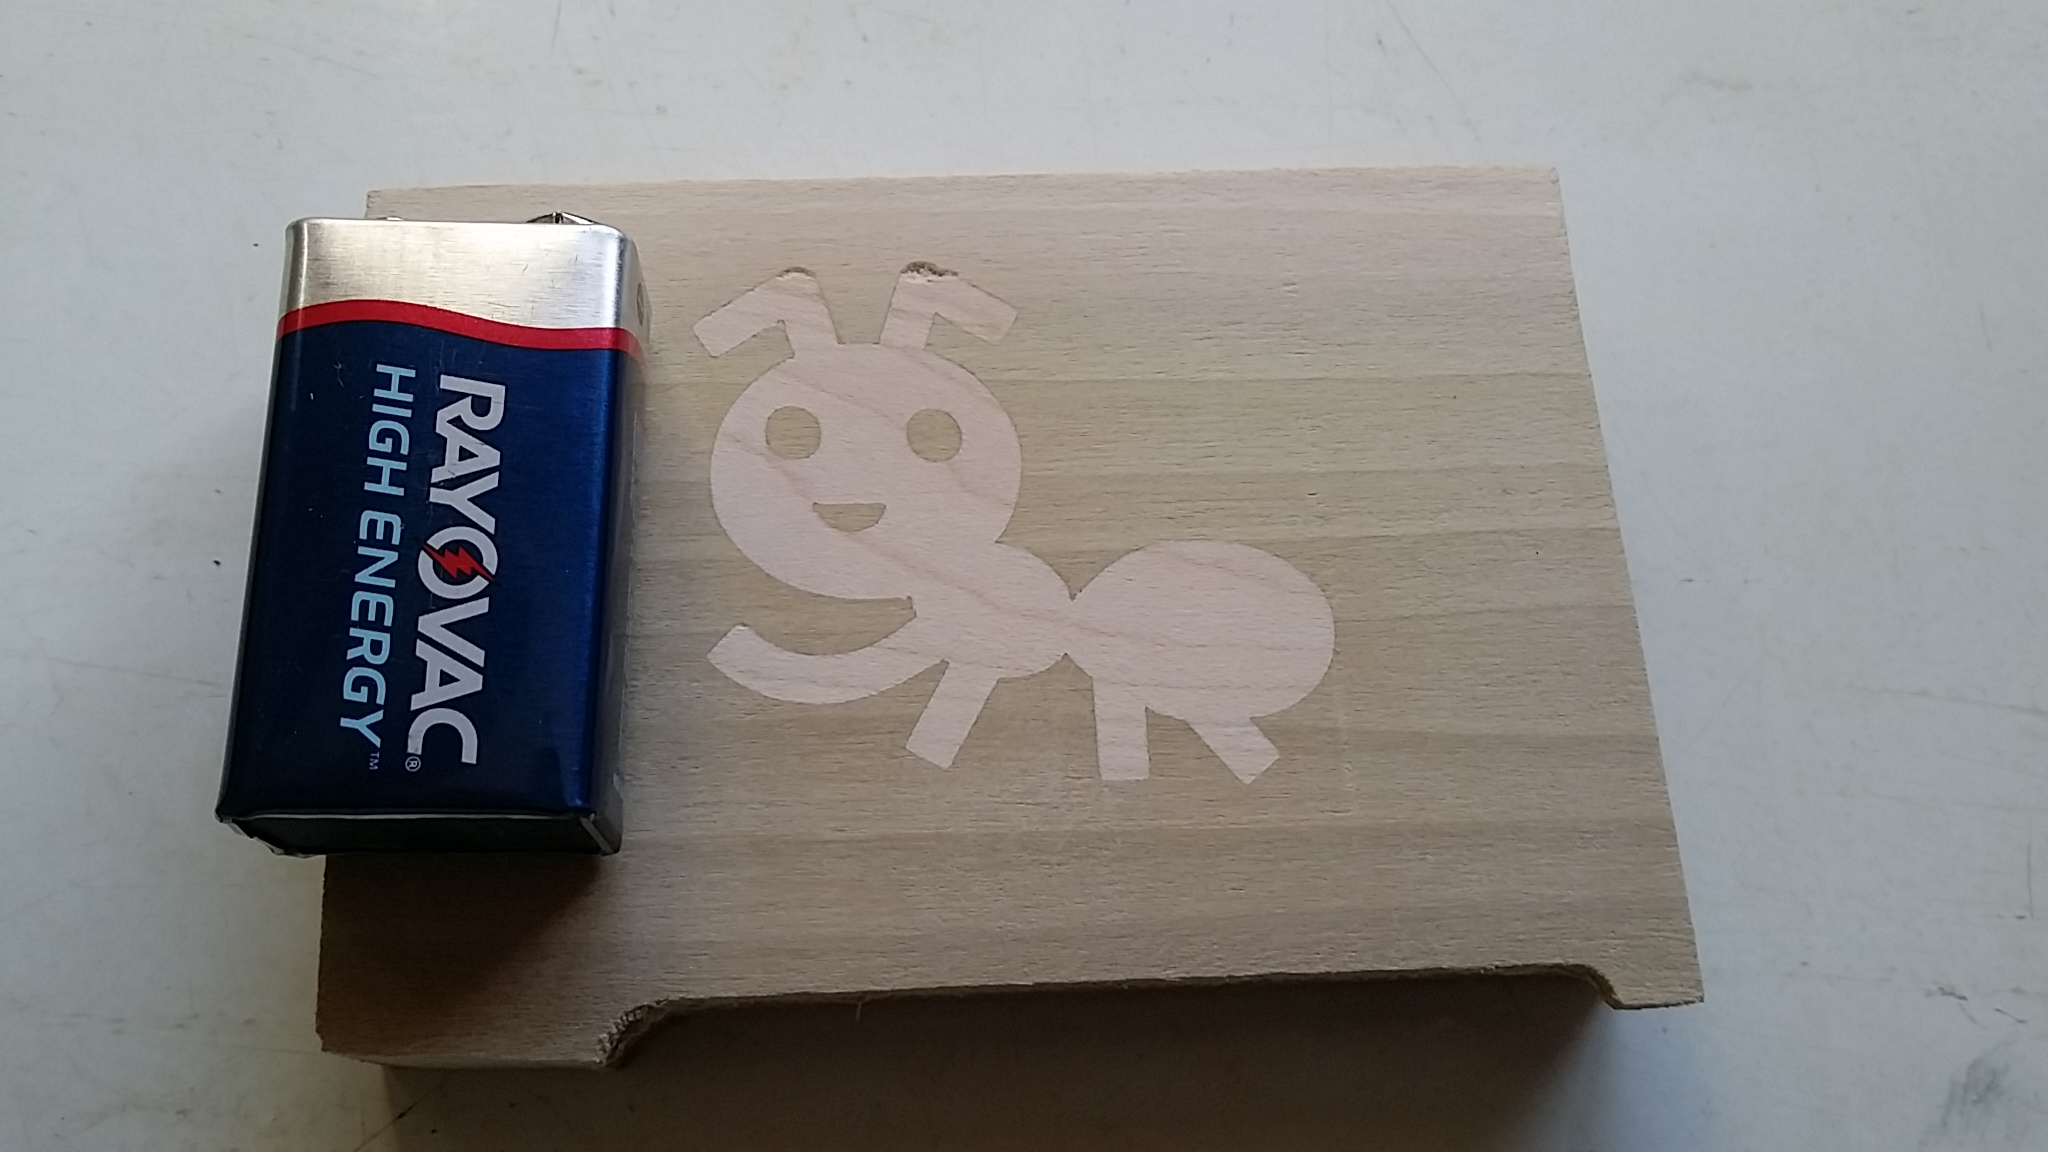
The backing on the male side was very thin and resulted in a small bit of tear-out when milling it off. I should've left it thicker so that the endmill would take cleaner chips out of it during removal.
Here are the project files that were used to create the above inlay:
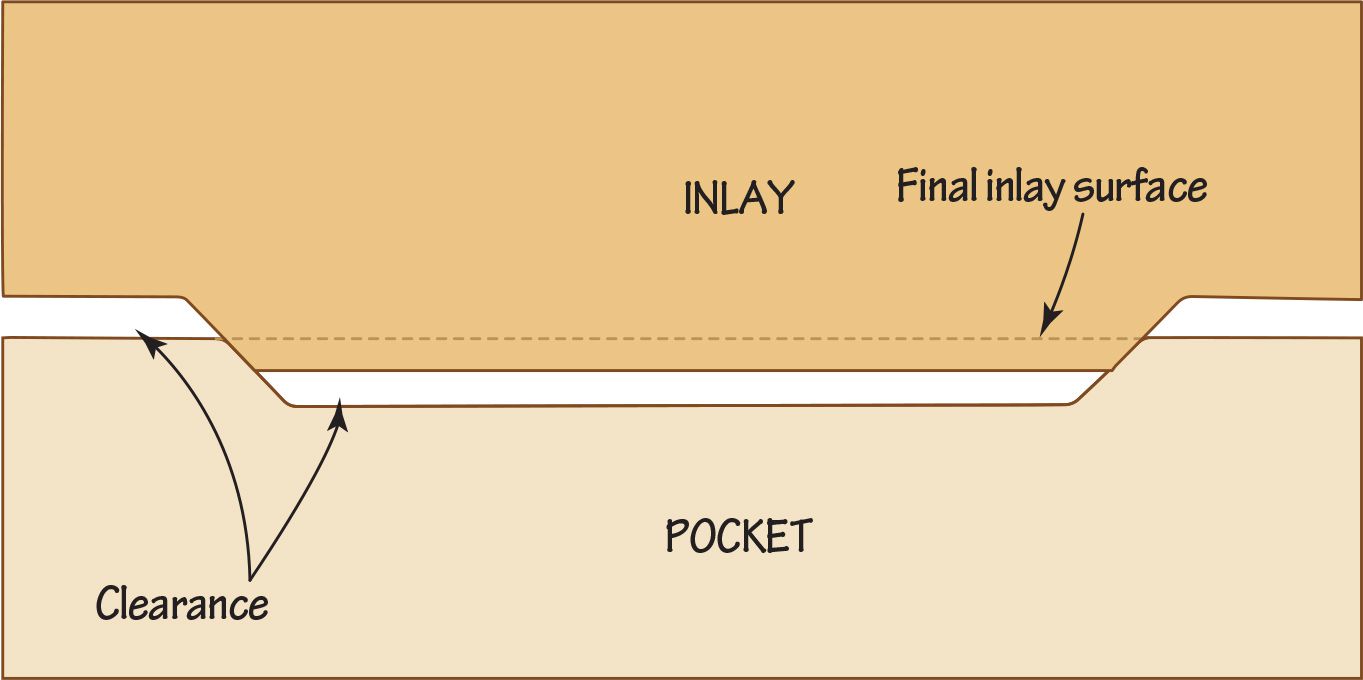
Give me a day and I'll do a more involved writeup here explaining the what/why of each operation and its parameters and then you should be able to create your own inlays. The male side is the more involved part because it is where the operations' parameters are how it's ensured that there's a bit of headroom between the top/bottom of the male/female parts when they go together, to ensure that they can be mated as thoroughly as possible, like so:

The male side is really just a combination of a profiling operation and a V-carving operation to get the bottom-most parts cut to properly fit against the top surface of the female as optimally as possible. It's also very important that your machine is as square as possible between the X and Y axes, especially with larger inlays where being out-of-square can really throw it off!
- Charlie

