Awsome 😃 that’s a cool new look 😎
9lives-K9
Creator of
Recent community posts
SOLVED:
Here is what I learned.
So, the solution was actually very simple and intuitive,
Don't bother with setting up props in Blender, all this can be done in PixelOver itself and its a lot easier than blender.
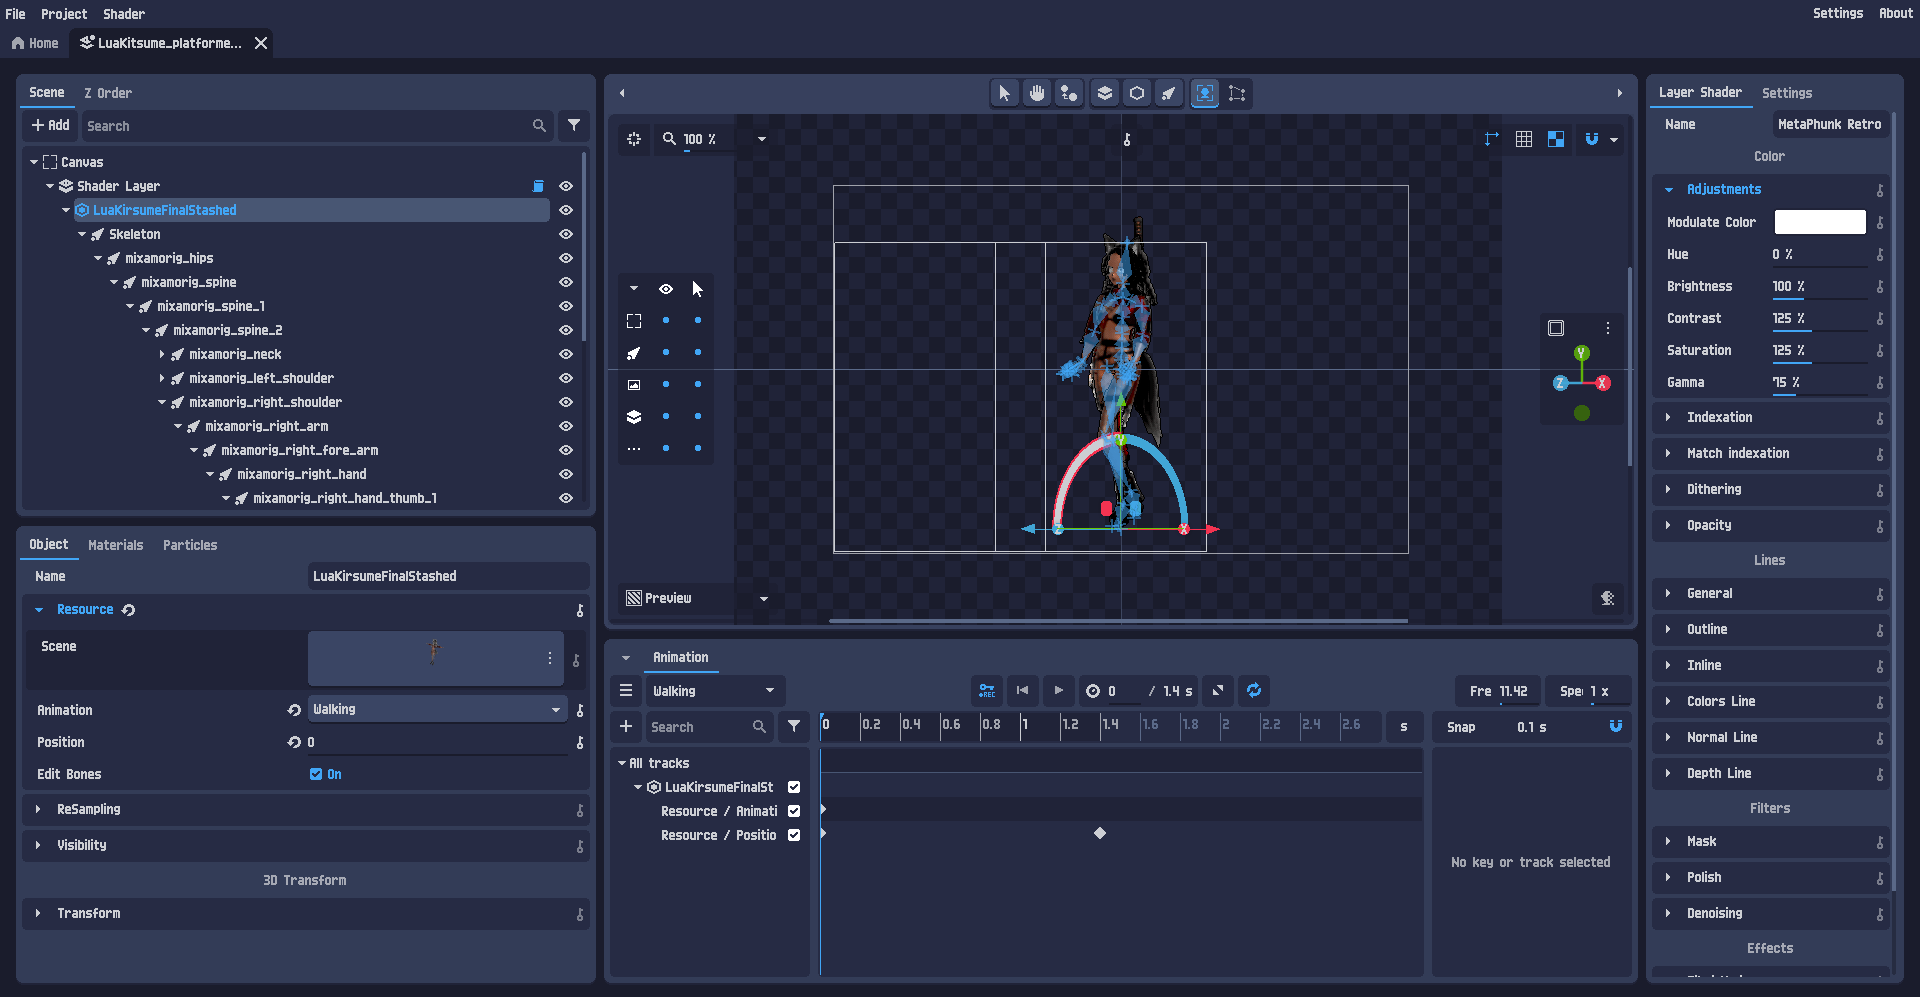
1. After setting up your rig, I use mixamo animations for the character, select your 3d character and make sure Edit Bones is enabled.
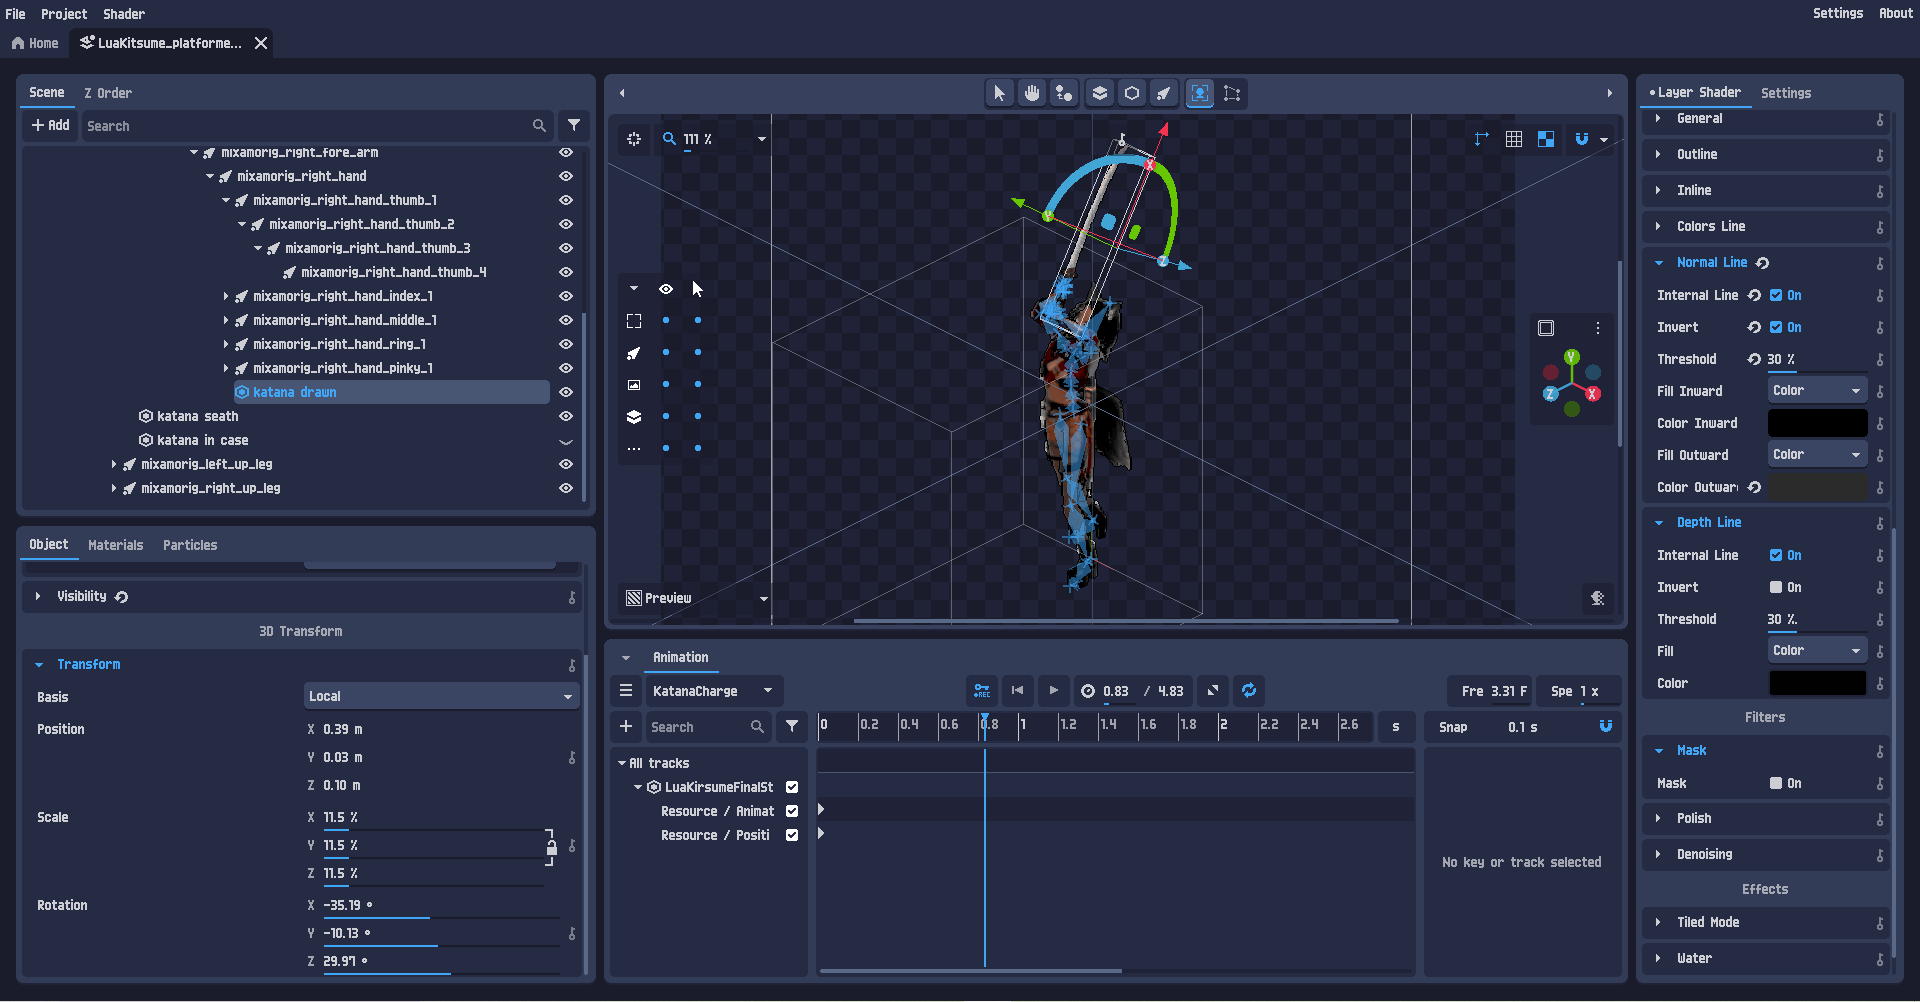
2. You should see your bones listed out in the hierarchy like in the screenshot above
3. Open up your prop in pixel over and copy and paste that 3D model into your pixelover project with the rigged character.
4. All you then need to do is change the transform for your prop so it lines up how you want for at least one frame in any animation, I used the sword casting mixamo animation and set the sword in the right hand facing the direction of the strike, this takes up the most time and you need to change the scale, position, rotation e.t.c until your satisfied, you can also adjust the bones lets say for the thumb so it grips the sword better but that's optional if you might have low res pixel art that doesn't need that much precision.
5. Then you drag the sword 3D model (the prop) to become a child of the bone you want it to follow, here I dragged it to the right hand mixamo bone, note that by default all objects will follow the parent as children so unlike in blender you don't need to go through extra settings to create a constraint or inverse kinematics (although that's also there in the settings of pixelover) and by default it should just work perfect.
Side Note:
I have two instances of the katana, one in the right hand for when its drawn and another in its case that is a child of the characters spine bone for when its seathed.
I then hide and show the katana for when I want to export it for attacks in the right hand and for when its not being used in its case and export the animations picking each animation accordingly.
If you hide the bones the katana wont show but for placement you can set it outside of the bones if you don't want to see them and then place it back so it follows that bone throughout the animation.
Hope this helps anyone else with this same issue.
I have a sword prop that I already added a constraint and attached it to my models right hand as a child, this worked and was done in blender.
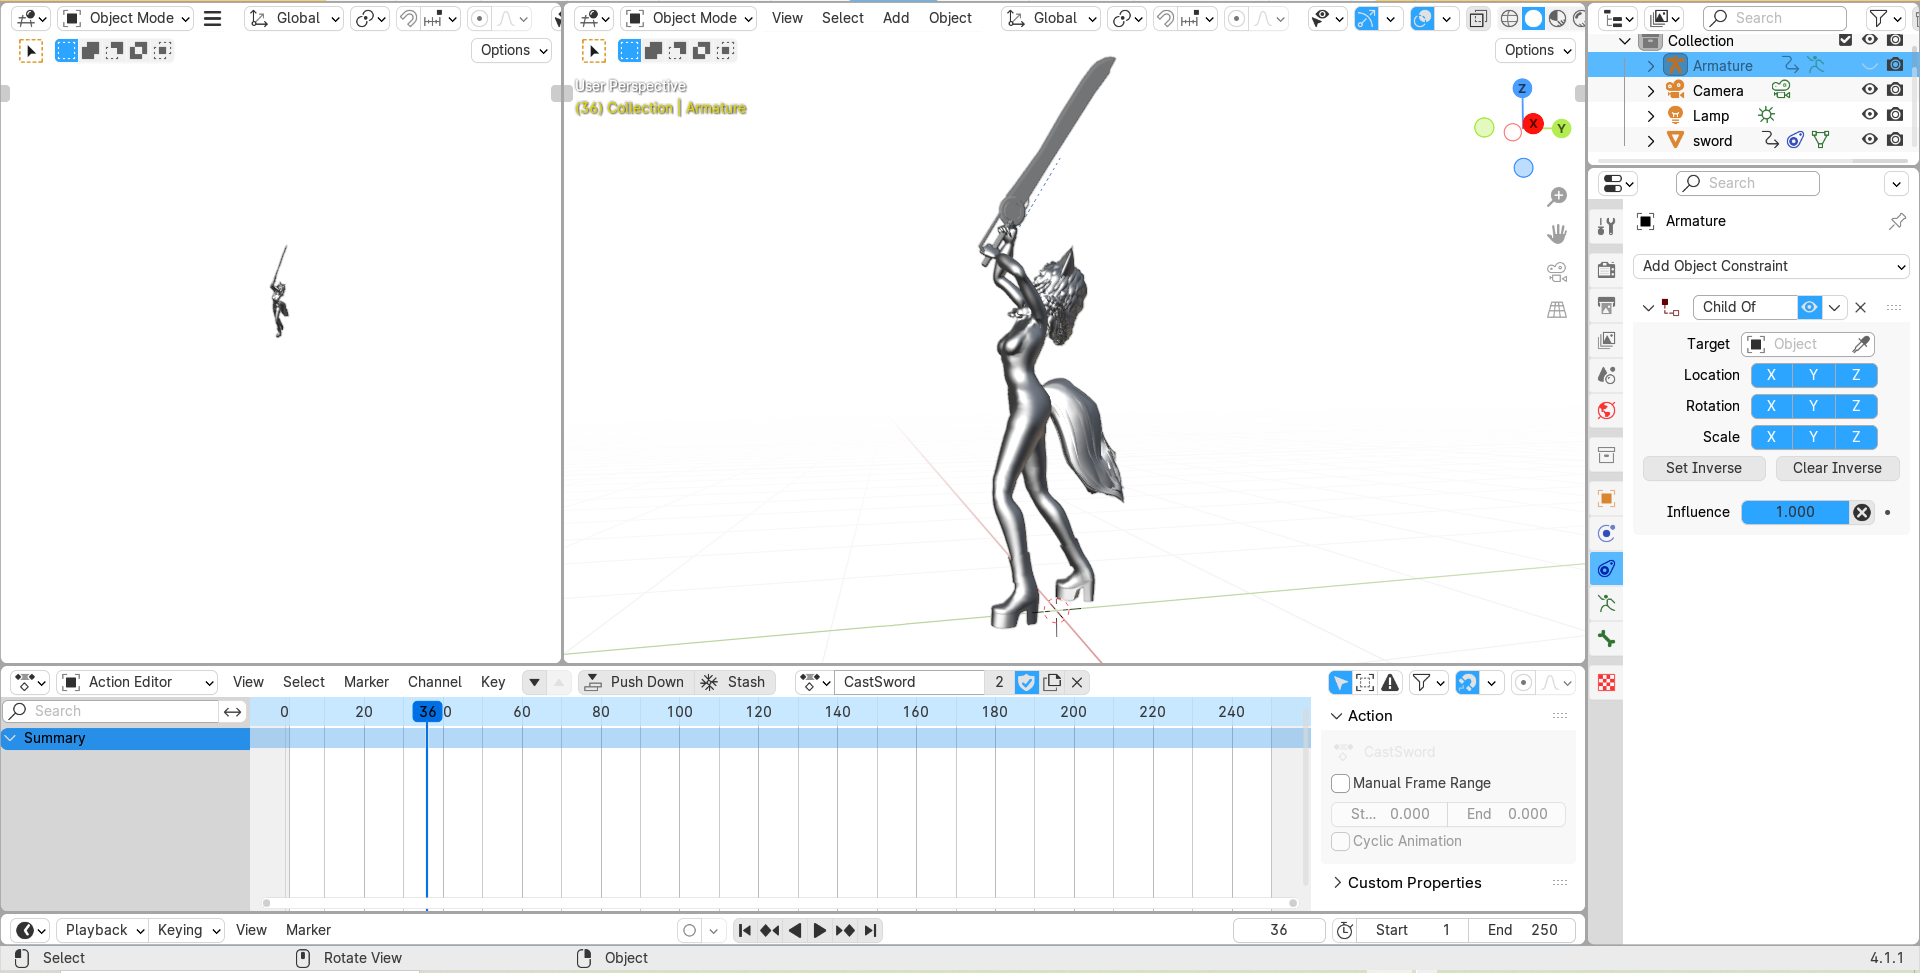
I then exported the model as a GLB and imported it into PixelOver, the sword dose not follow the right hand and just stays in the same position, after tinkering around I found that there is a way to edit the bones and add a contraint and target from pixel over but I could not find the sword amongst the hierarchy.
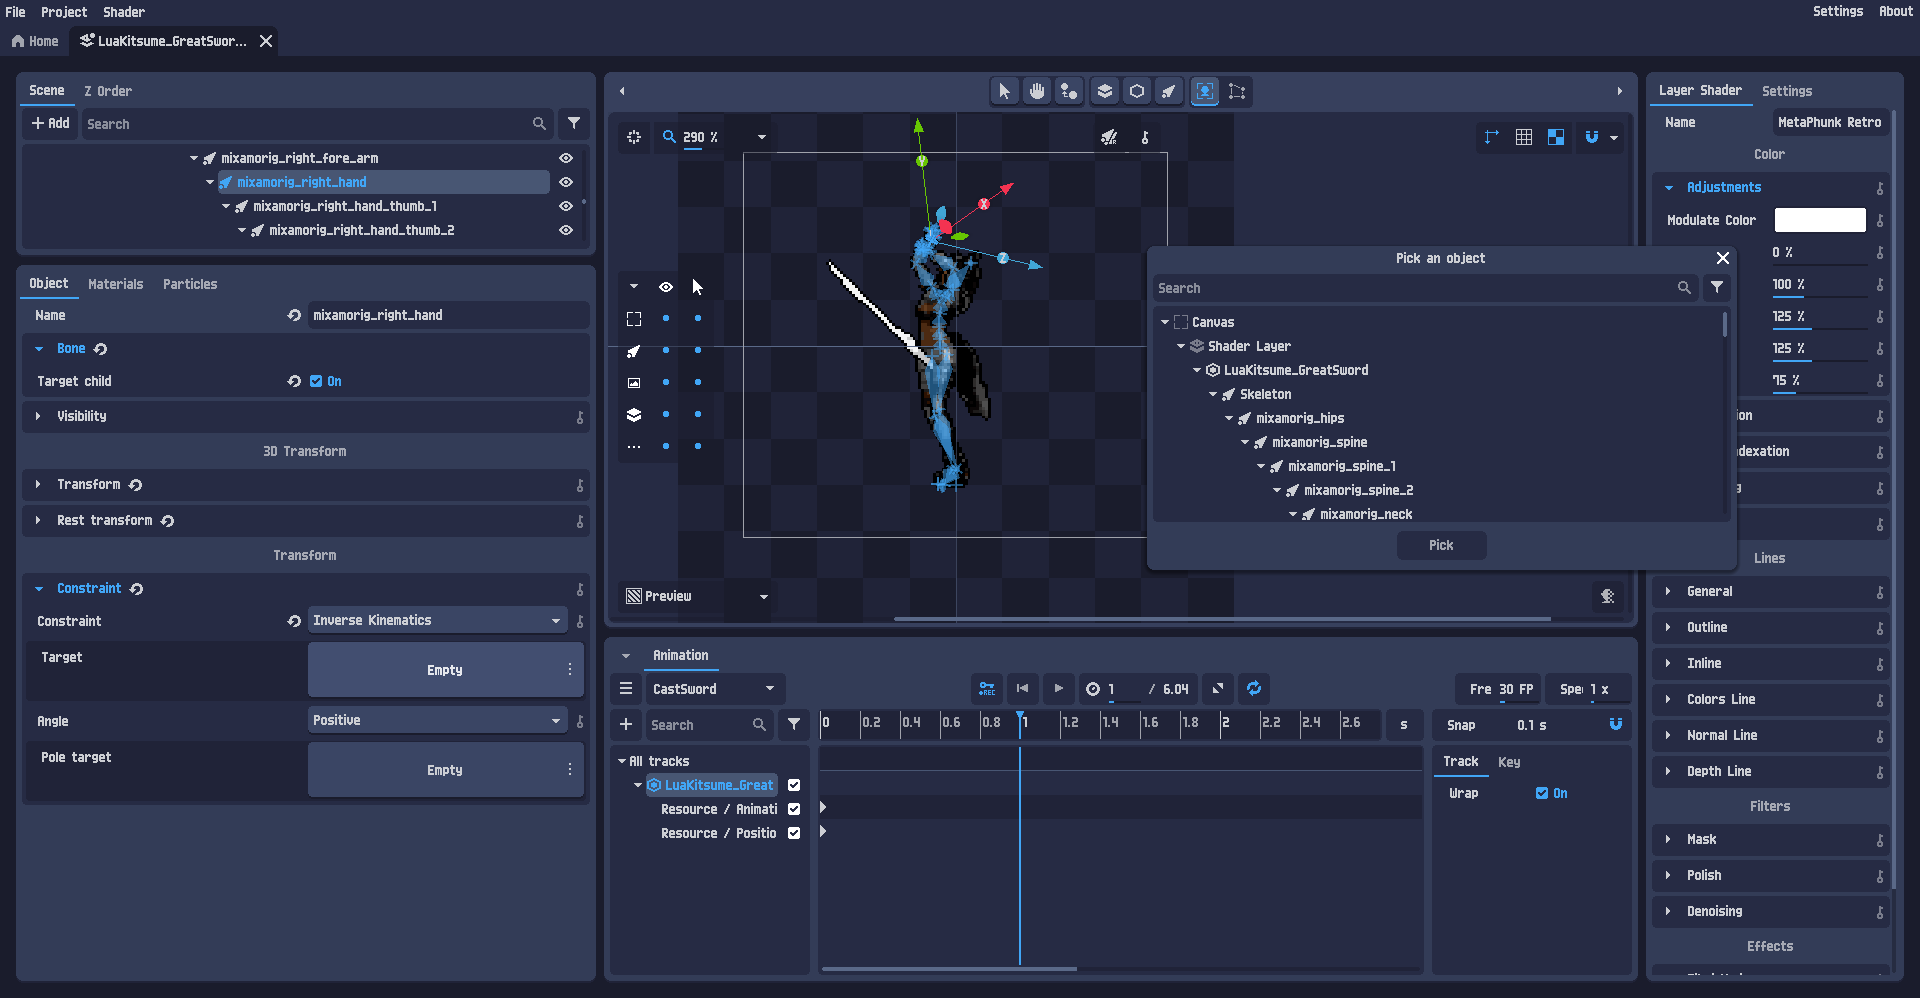
I think that I'm doing something wrong and I assume that you can import the models and add a constraint in pixel over, lets say a sword that gets added as a child of the character models armature and is attached to the models right hand like how you do it in blender but I'm a bit stuck and don't know how to do this or even load up 2 different models into the same scene in pixel over.
I also noticed that you can import a blender project directly into pixel over but I have not yet tried this and will do so after posting this issue, I could not find any help or documentation on how to set up a prop but I'm sure its there somewhere if I look around more but I would appreciate if anyone could help me understand what I am doing wrong and how to best use props in pixelover rigged 3d models.
Incase you know how to solve this issue or can post a link to documentation explaining how to use a prop and add it as a constrained item as a child of a rigged 3d model the please share.
Thanks.

This is the copied console log
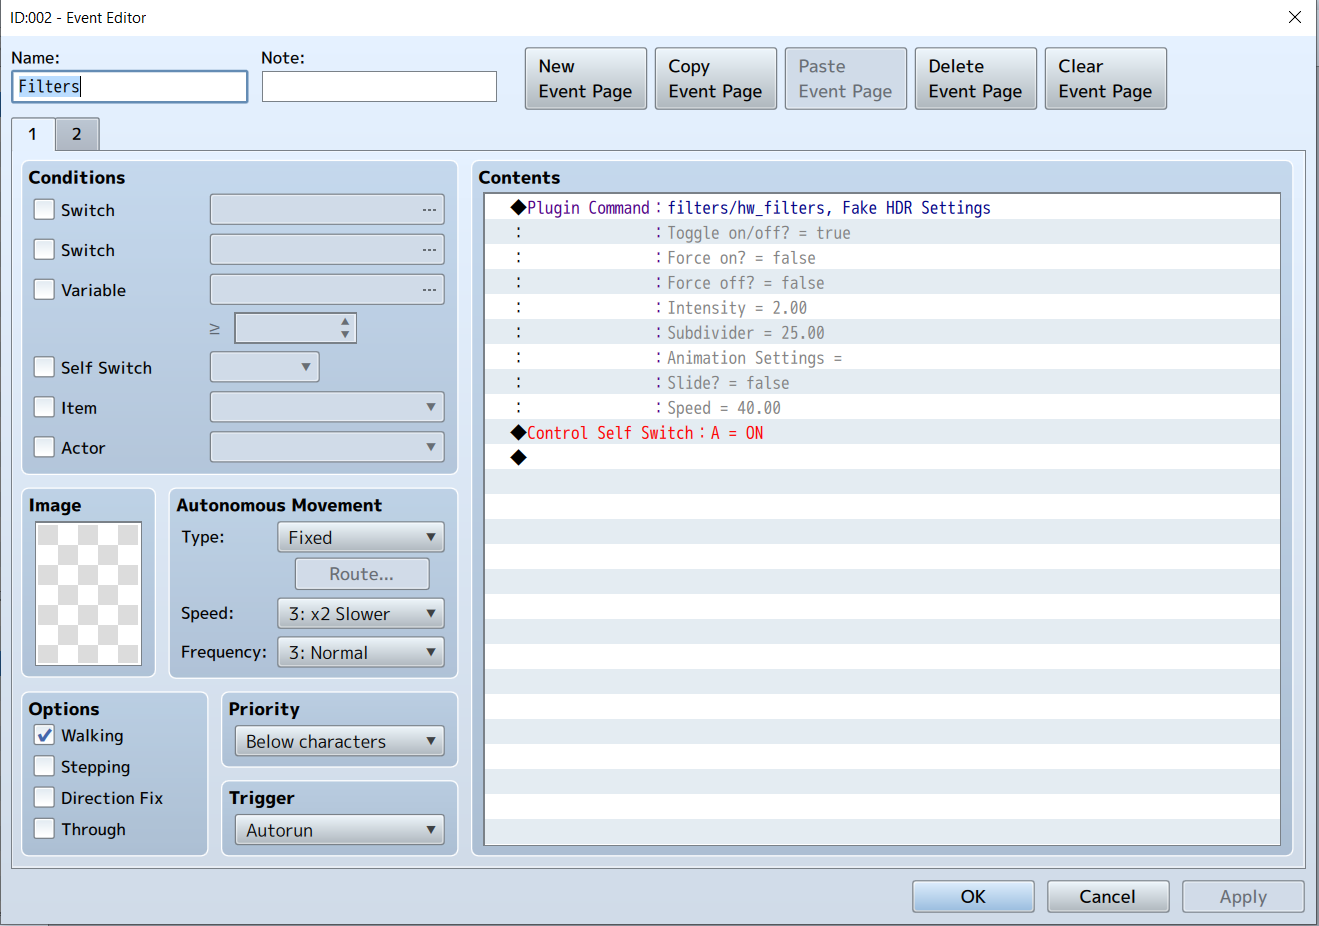
js/plugins/filters/drunk/default.vert:1 Failed to load resource: net::ERR_FILE_NOT_FOUND
js/plugins/filters/drunk/default.frag:1 Failed to load resource: net::ERR_FILE_NOT_FOUND
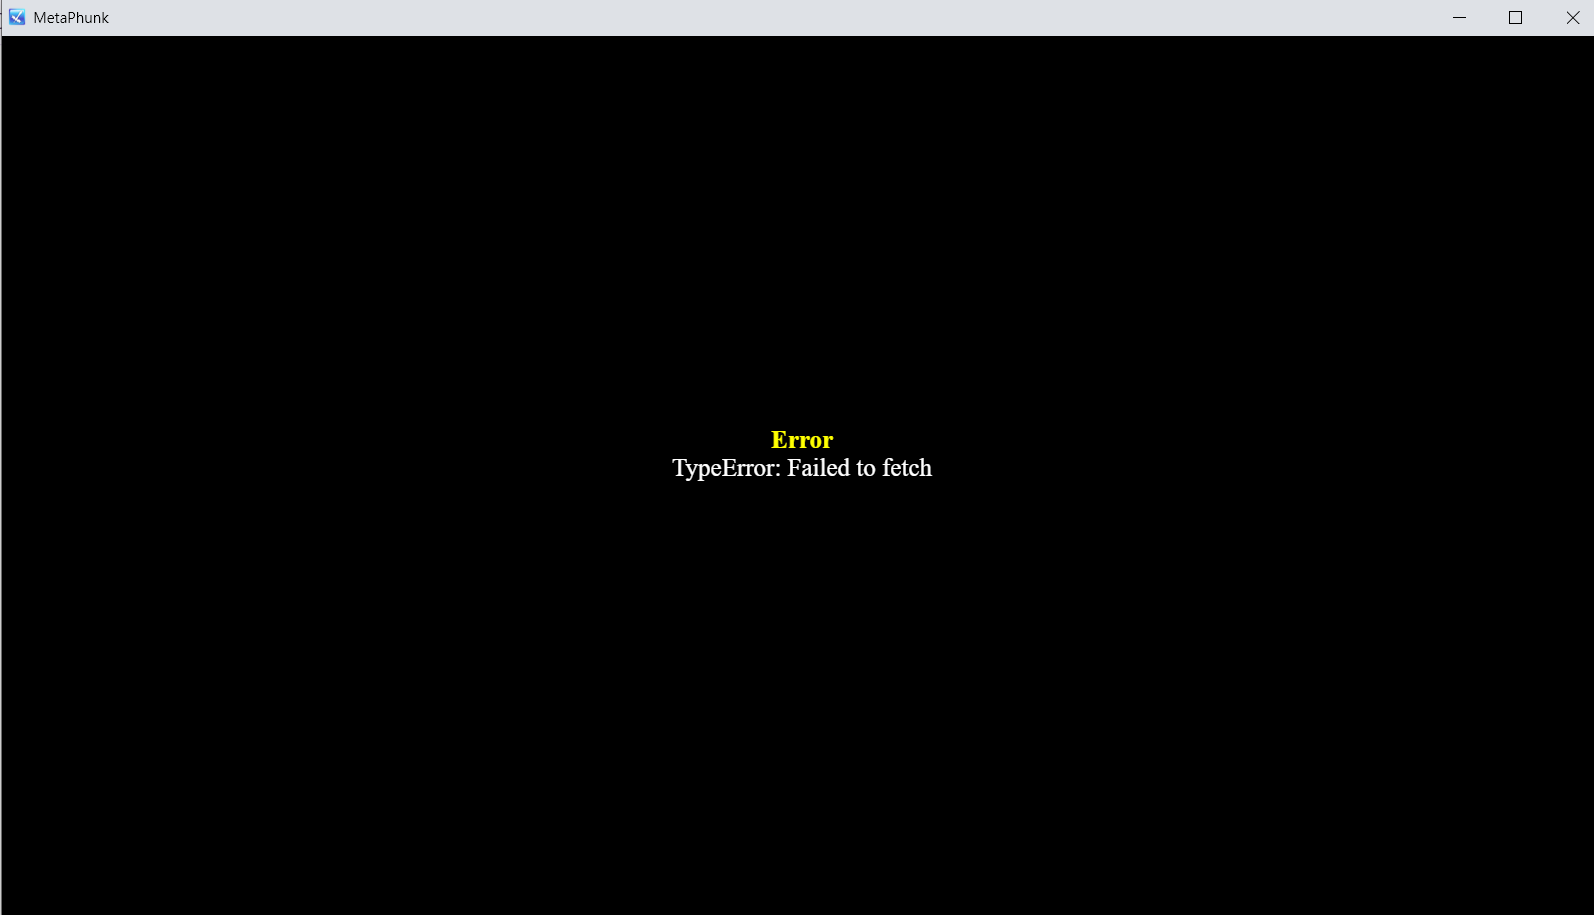
rmmz_managers.js:1974 TypeError: Failed to fetch
SceneManager.onError @ rmmz_managers.js:1974
rmmz_managers.js:1975 undefined undefined
SceneManager.onError @ rmmz_managers.js:1975
hw_filters.js:455 Uncaught (in promise) TypeError: Failed to fetch
DevTools failed to load SourceMap: Could not load content for chrome-extension://njgcanhfjdabfmnlmpmdedalocpafnhl/js/libs/pixi.js.map: System error: net::ERR_FILE_NOT_FOUND
DevTools failed to load SourceMap: Could not load content for chrome-extension://njgcanhfjdabfmnlmpmdedalocpafnhl/js/plugins/pixi-filters.js.map: System error: net::ERR_FILE_NOT_FOUND
That's okay, but can you adjust the camera by 33 degrees instead of 45 on the y or z-axis to get the 2:1 pixel ratio for isometric? Here is an example screenshot of what I mean: the tilesets you made are similar to the block on the left; the block on the right follows a 2:1 pixel ratio and is what you would call isometric, while the block on the left looks similar but it's not isometric it's dimetric because the top white space is a lot more visible and disproportional compared to the block on the right that is a little bit disproportional (because isometric isn't exactly 100% possible without 3D). Still, it looks close enough to all sides having more equal proportions than only two sides and one huge diagonal top.
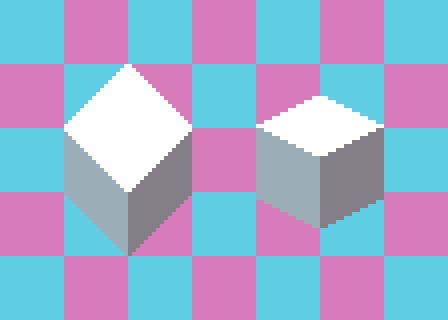
It could be much work to manually edit the tilesets without losing quality. However, I am assuming you might still have the original 3D files, or you used something from 3D to render these tilesets, and it might be easier to just adjust the camera and re-export the images.
If it's too much trouble, I guess it's alright because you have reasons to use dimetric instead (it's more compatible with an orthogonal grid; in the example above, the dimetric block matches a straight grid perfectly, while isometric needs a particular type of tileset like the one in Godot or Tiled to skew the axis and half the y axis). Thank you for your response.
This by far might be the best isometric graphics a lot like old school games but i have one small problem, there not exactly true isometric and maybe more dimetric or military top down, the 2:1 pixel ratio is actually 1:1 for diagonals and will need a lot of editing if your strictly following an isometric grid.
Is there any way you could share the raw 3D files alongside the tilesets so its possible to shift the camera just a bit for a true isometric perspective?
So, on the help docs, it says the best way to learn is to check out an example; I downloaded the example file and followed the steps to restore it as a backup or something, but nothing shows up but an empty project and an error message saying it failed to load a backup.
Just looking through the side panel and toggling things helped, but not really. I have no idea how helpful this thing is, and I am beginning to regret the purchase. I should have tried it out for free, but yeah.
Is there a video or something, or some good working examples that can help me understand how this thing works and learn how it was meant to be used, I have the opinion that I could have just used Google Docs to dump all my stuff into a text document and maybe Trello for like scheduling tasks but did I need this thing that doesn't seem to work or I don't understand how it works
This might be a lot more work than actually making a game, but I don't think it's that hard. I also think this should make life a lot easier and be much more intuitive than what I think is just a very good tool with okay-ish documentation.
The Export function, when exporting a 3D model into a sprite sheet, keeps crashing; second, when you export individual frames, no matter how fast or short you make your animation, it exports hundreds of frames per direction and takes forever to load and complete the process (often crashing when you try to export as a sprite sheet); it would be much better if you could limit how many frames get exported, let's say if you could jump every 10 milliseconds or maybe add a method to pick out only key frames (that I guess could be added as markers into the animations section) to shorten the number of frames exported images, this tool will help tremendously in converting 3d animations into pixel art 2d sprites, as of now its only promising but still needs a bit of work for 3d models.


