
Mobile may be possible, though I have no idea what the performance would be like.
A member registered Jul 22, 2018 · View creator page →
Creator of
Lightweight User Interface System for GameMaker
Retro dithering for GameMaker!

A robust multi-format TGA loader for Gamemaker Studio
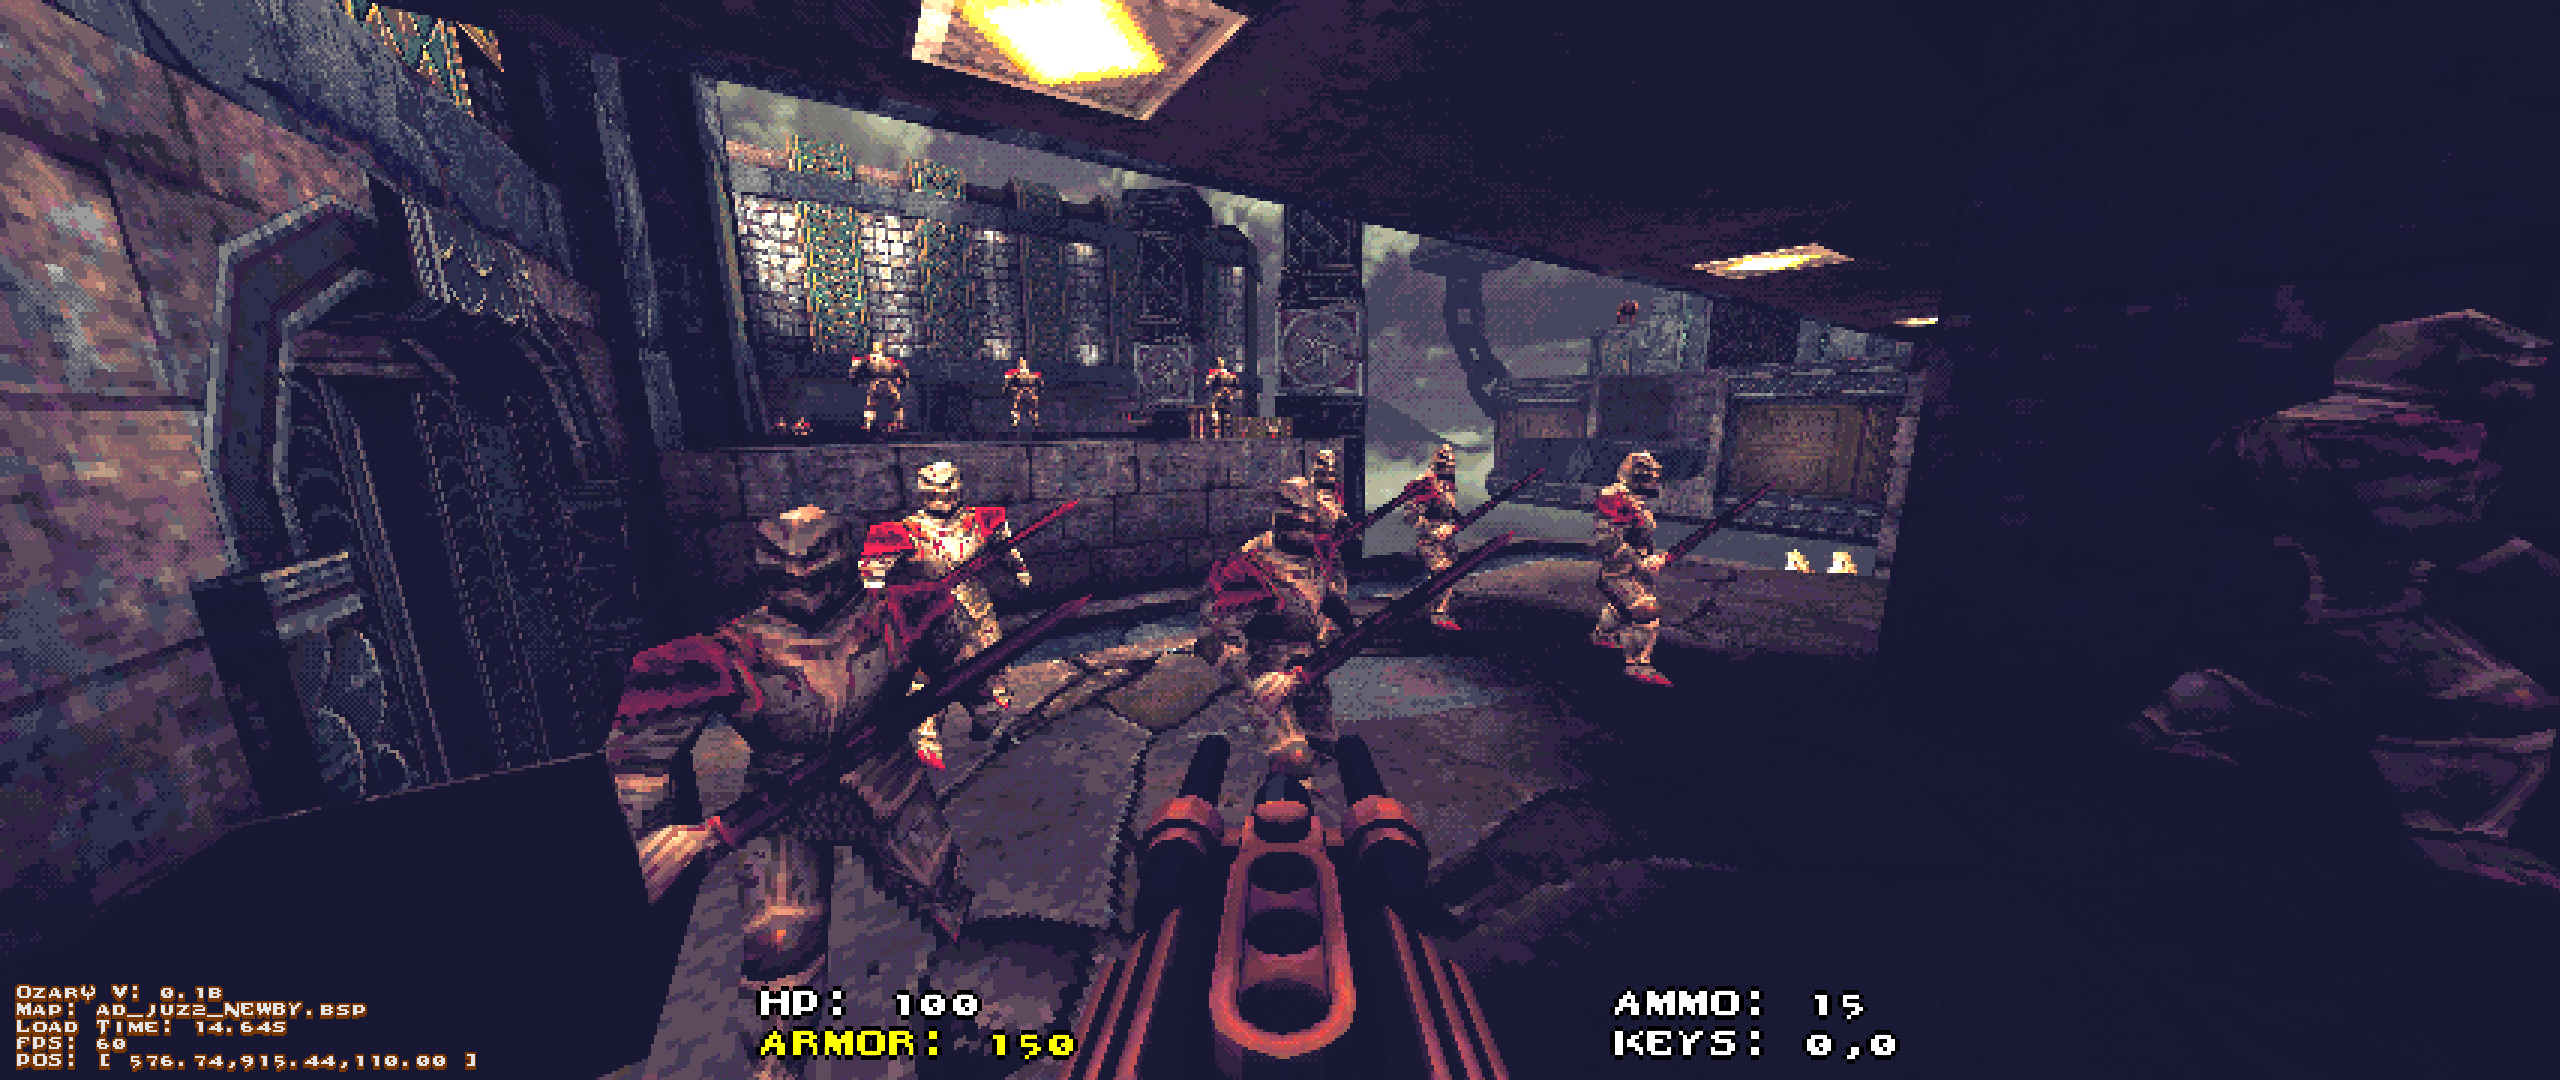
Unleash the power of Quake levels in Gamemaker Studio
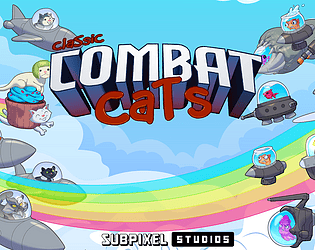
The cats are back in town, ready to defend their homeland from invading sea creatures!
Puzzle
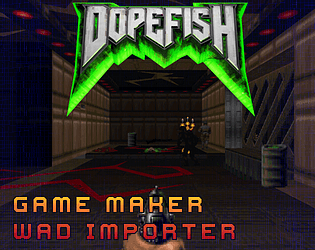
Doom/Hexen Interactive Map loader for Game Maker Studio 2
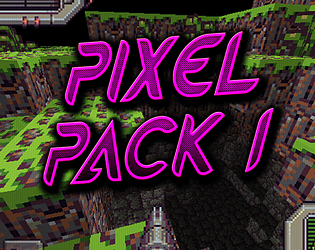
Pixel Art Pack for sci fi block game
Recent community posts
Legacy UI - Set and Forget Interfaces for GameMaker community · Created a new topic Getting Started: READ ME
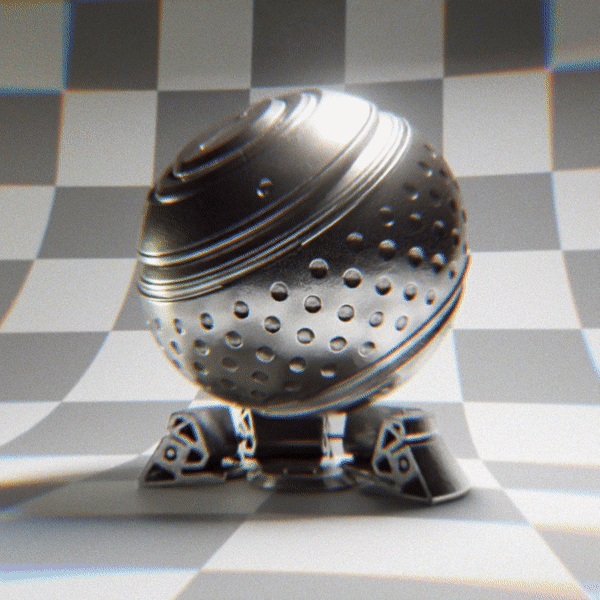
itch.io Community » General » Release Announcements · Created a new topic Price Drop! Blender Metal shader
I've never posted about this here, it's not really new, but it's got a permanent new sale price just in time for your holiday metallic animations.
[Blender] Medle - Antique And Oxidize Metal Shader
This is a stylized shader node for cycles, with presets that model nearly any kind of metal, antiquing, and oxidation. The node comes with presets for materials like copper, iron, aluminum, and more. It ships with a standard material with loads of configurable settings, and a simplified material for those looking to get started quickly. Included are also sample CC0 textures for oxidation, water leaks, metal wear, and imperfections.
https://cdlegasse.itch.io/blender-medle-shader
If you have any questions feel free to post em here!
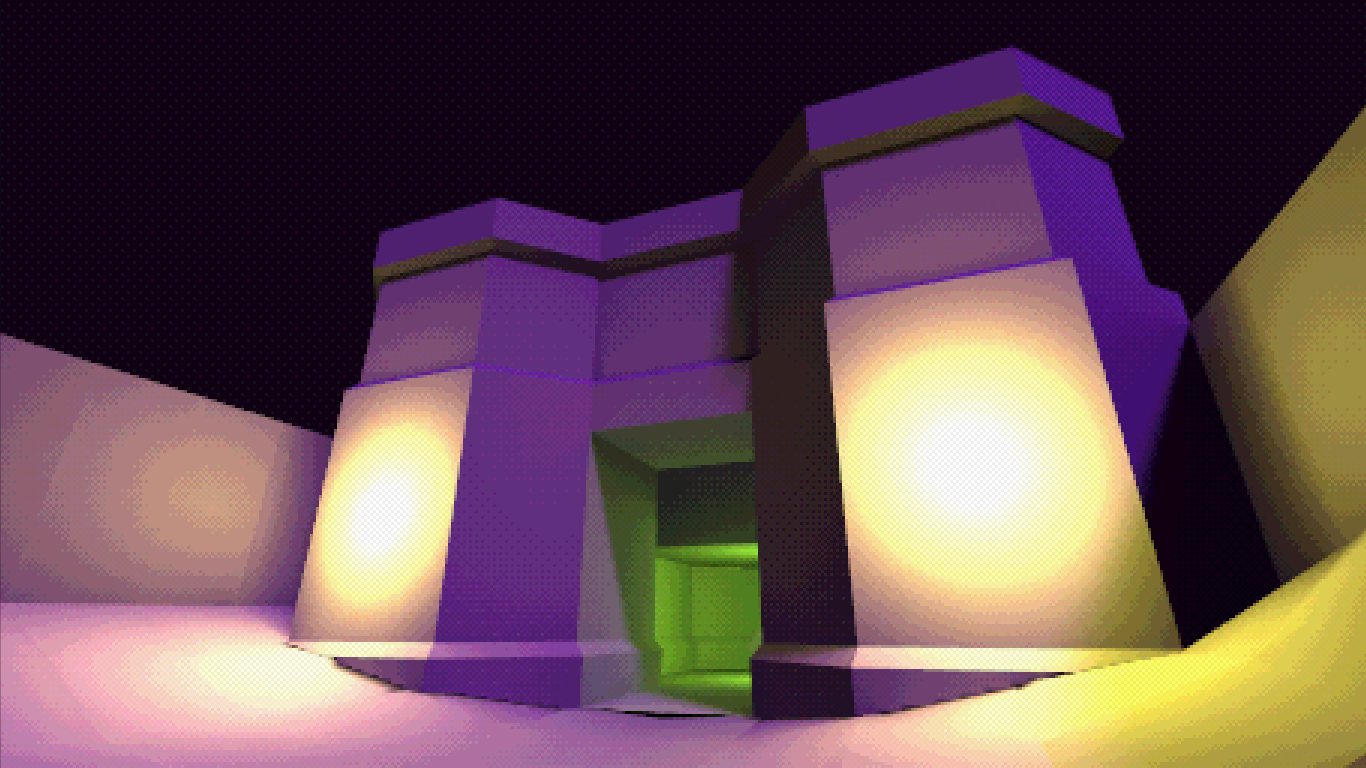
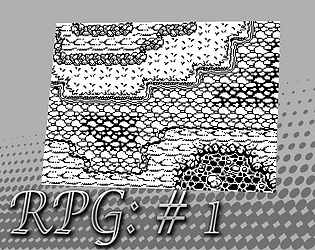
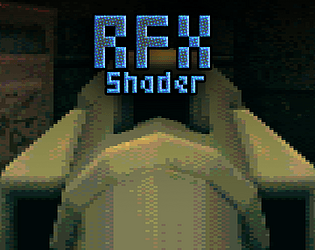
itch.io Community » General » Release Announcements · Created a new topic Dithering Shader for Gamemaker
https://cdlegasse.itch.io/retro-dither-shader-gamemaker-studio
I have been working on this set of shaders off and on for a while and decided to share the most recent version of them with you. You can find more information on them at the link above.
Here are some screenies to whet your whistles!