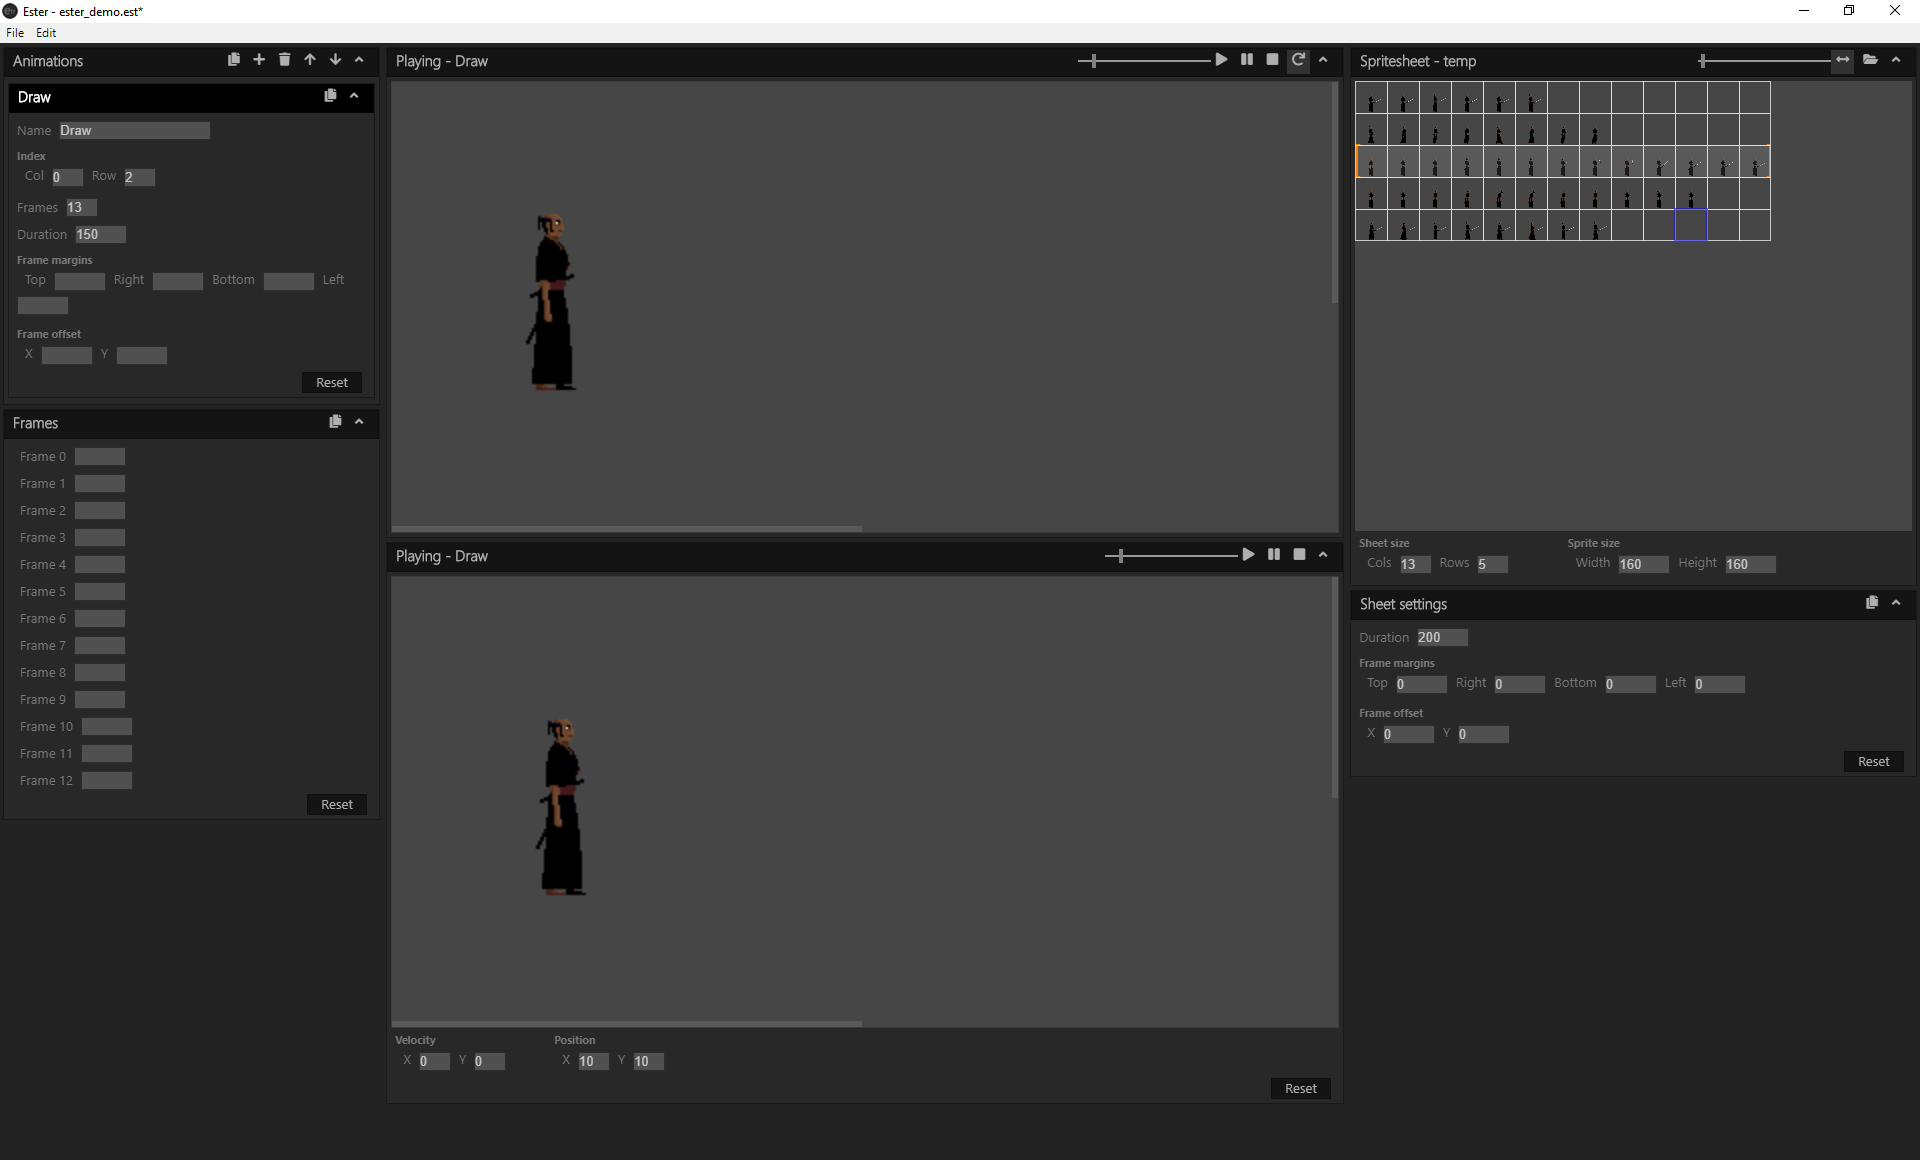
Ester (Eraserhead Animation Editor) is a new tool I've build that will make it easier for me to describe what different animations a spritesheet contains and their different characteristics e.g. how long each frame should be displayed. I can then export the description, as a json-file, and then together with the spritesheet load it into the game and use it to set up my "in game" animations.
This is how Ester looks with a spritesheet loaded and one animation created:

I'll easily admit that building this tool has been a detour that's taken far too much time from any actual game development, but please let me give you the background.
Background
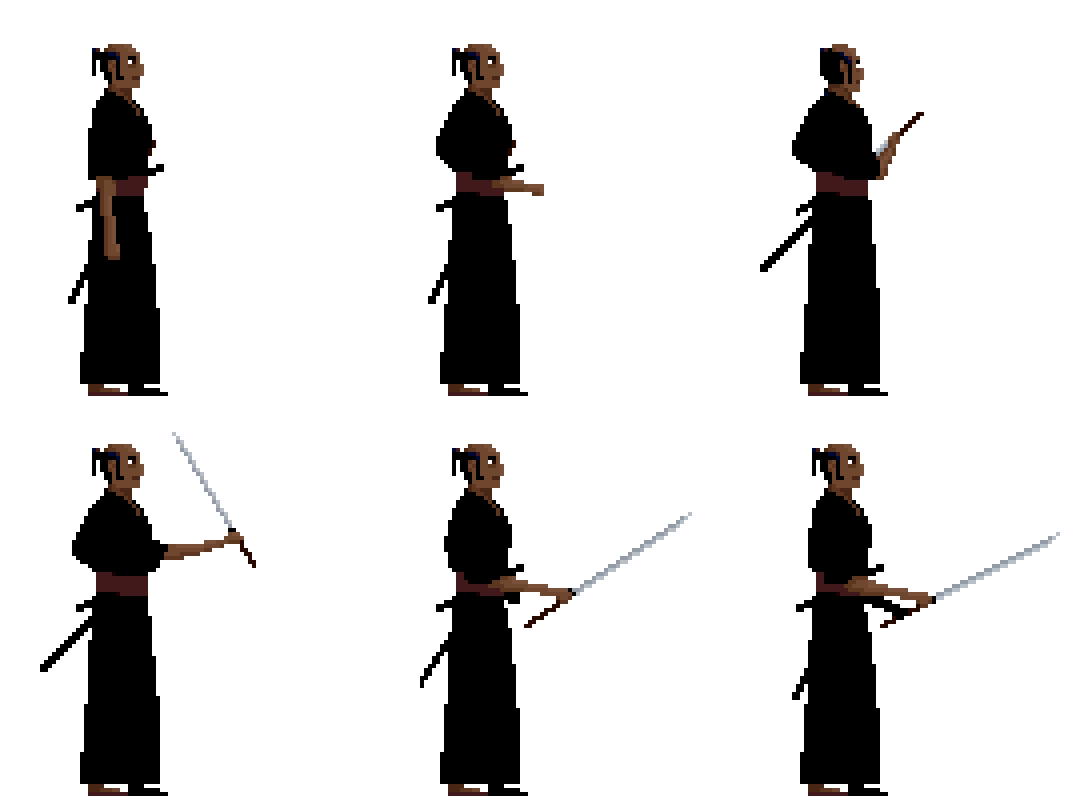
13 RONIN is a pixel-art game with animations based on spritesheets, just like the one below:
![]()
The spritesheet together with a json-file describing the sheet are read into the game and turned into different animations. A process that works quite well.

This is the "Draw"-animation beginning at row 3 and column 1 as described by the json-file below. In this example each frame is displayed for 150 milliseconds

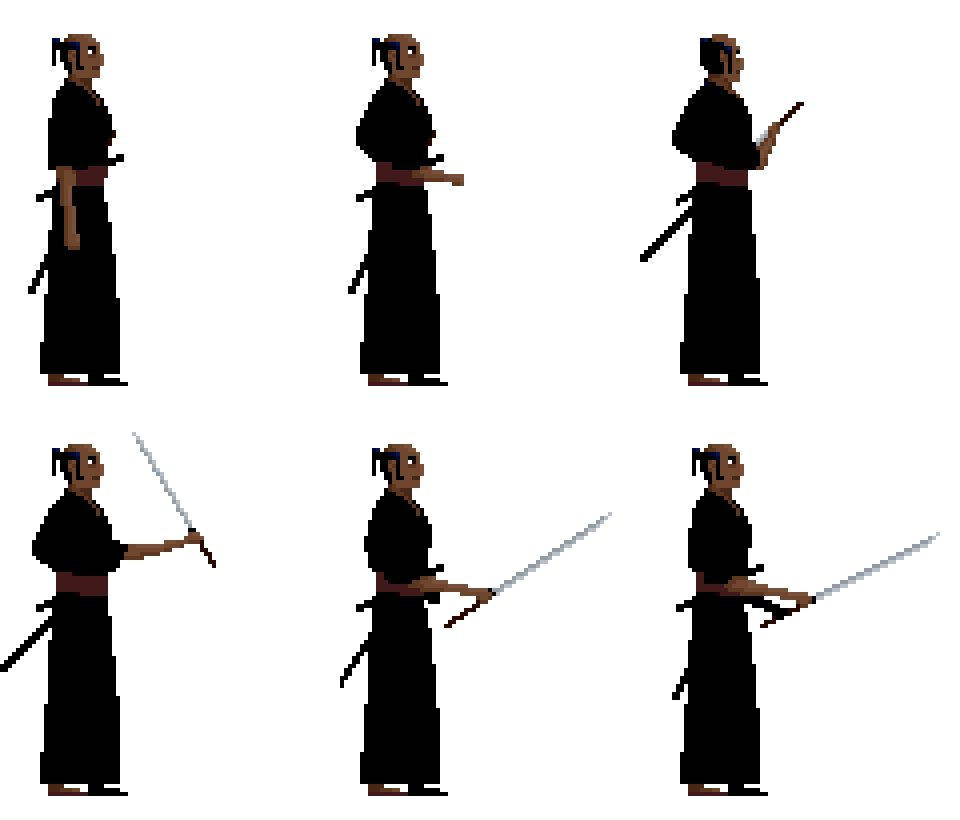
Same animation as above but with individual frame times
The description file
The description file started out quite small, but since I prefer to hard-code as few things as possible and also want room for adjustment, the file grew.
This is a file describing the "Draw"-animation starting at row 3 and column 1:
{
// General description of the spritesheet
"spritesheet": {
// Size of sheet in columns and rows,
// where each cell is a sprite
"gridSize": {
width: 13, // The sheet has a size of 13 columns
height: 5 // and 5 rows of sprites
}
// Size of a sprite in pixels
"spriteSize": {
width: 160, // Each sprite has a size
height: 160 // of 160x160 pixels
}
}
// Default values for animation frames
"frameDefaults": {
// Intended for describing hit-boxes and such. This
// example would give a hitbox located at same position
// as the sprite and of the same size
"margin": {
"top": 0,
"right": 0,
"bottom": 0,
"left": 0
},
// Offset value used when positioning and drawing
// sprites.
"offset": {
x: 10, // The sprites should be drawn 10 pixels
y: 0 // to the right of the destination point
}
// Frame duration. Display each frame 200 milliseconds
// before advancing to next frame
"duration": 200
},
// Animations found in the spritesheet
"animations": [
// An animation
{
// Name used for identification
"name": "Draw",
// OPTIONAL. Will override default setting
"offset": {
x: 0, // No offset for this animation
y: 0
},
// OPTIONAL. Will override default setting
"margin": {
"top": 0,
"right": 0,
"bottom": 0,
"left": 0
},
// OPTIONAL. Will override default setting.
// Frame duration for this animation is 150
// milliseconds
"duration": 150,
// Start location in grid
"index": {
x: 0, // This animation begins with image at
y: 2 // row 3 and column 1
},
// This animation contains 13 frames starting
// at "index"
"frameCount": 13,
// OPTIONAL. Using this property it's possible to
// set frame duration for individual frames
"frames": [
]
}
]
}
Writing and maintaining the description files is very tedious and it's also very easy to make mistakes. Remember that the file above only contains one animation and that is an animation without any individual frame duration times. To get the animation seen in the second example above following "frames"-section has to be added:
"frames": [
{
"index": 0,
"duration": 200
},
{
"index": 1,
"duration": 175
},
{
"index": 2,
"duration": 175
},
{
"index": 3,
"duration": 200
},
{
"index": 4,
"duration": 300
},
{
"index": 5,
"duration": 175
},
{
"index": 10,
"duration": 175
},
{
"index": 11,
"duration": 175
},
{
"index": 12,
"duration": 1000
}
]
Tech
Ester is an electron based application using React as UI-framework. I'm not really a front-end developer and since this isn't the main focus of the blog I wont dwell and deeper into the subject, but for any one interested in trying out these technologies, there are a lot of posts written on the subject, so just use your magic friend google and you'll get lucky.
And please feel free to browse or clone the Ester-repo. I think the project- and component-structure is quite good, but I'm sure there could be a lot of improvements made on the JavaScript- and CSS-code. If you find something really horrific please let me know.
Using Ester
If you would like to give Ester a try, please visit my BitBucket account for further instructions.
If you find Ester useful, run into bugs or have ideas for new features, please don't hesitate from letting me know.
Please be aware that this is not a finished product, but something I'm working on as part of the game development project. Fatal crashes might happen and breaking changes be introduced.
You're also very welcome to clone and extend the product yourself.
Please visit Eraserhead Studio for more on the project.
Happy coding!
/jan.

NOTE. As always, everything I show, share or write about here is work under progress and subject to change.

