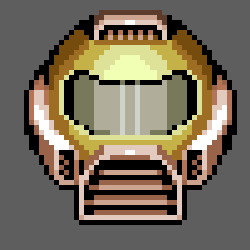
Hey guys, I'm back. I'll call this blog a tutorial because it's simple and short. I used Aseprite for this. What we're doing in this one is drawing a "Doom" helmet, which roughly looks like this
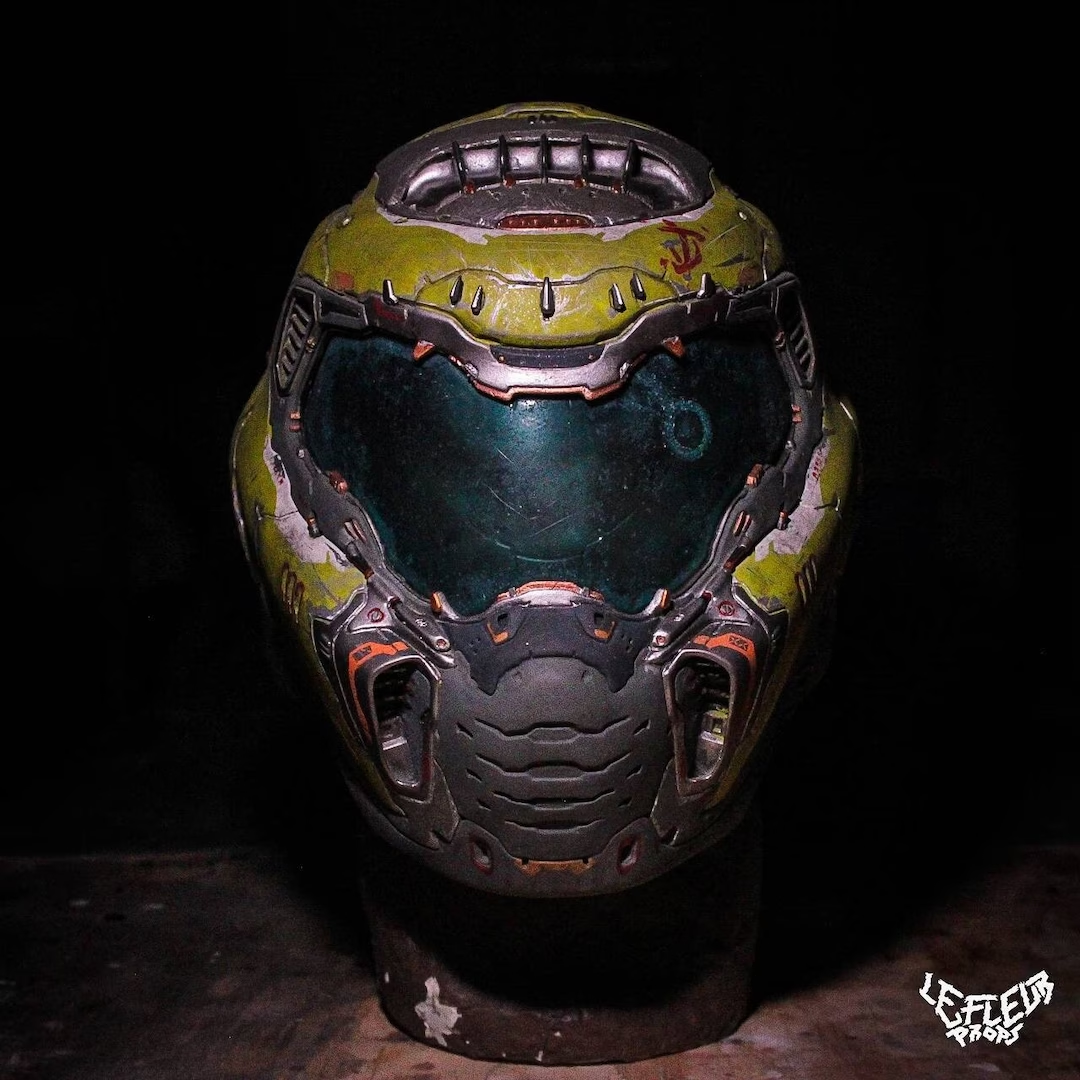
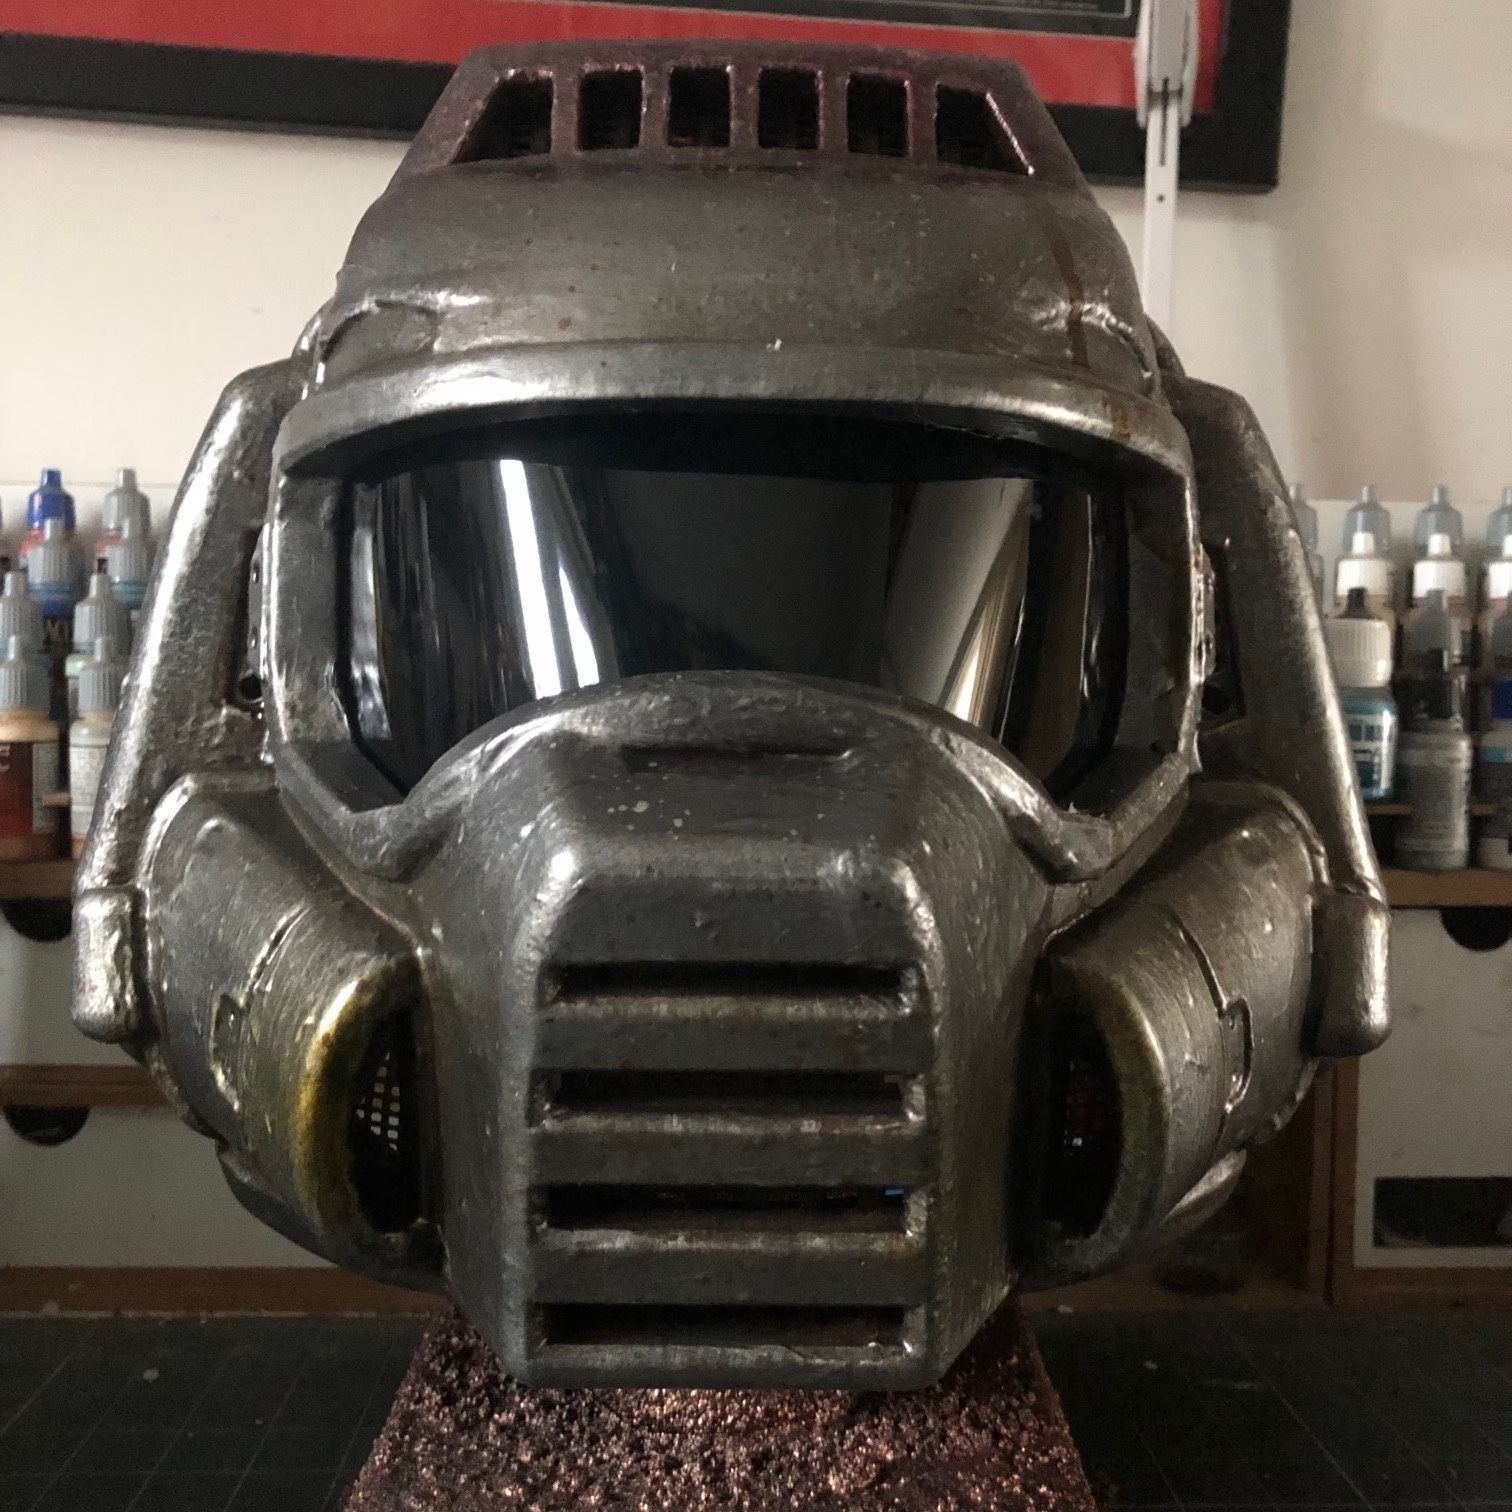
from "Doom" video game franchise. Start a sketch that's big enough to fit the details you want. Here you can see the visor along with some oxygen filters here. I would make the sketch on a separate layer against the background.

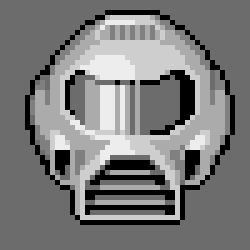
After that, duplicate your sketch onto a new layer, and on this new layer, experiment with shading in grayscale. Grayscale mode is useful because it allows us to focus on values when we're not ready to add color. An easy light source to work with is in front, but maybe a little off to the side to make it more interesting. The helmet should be pretty reflective of light since it's made of metal and the visor is made of glass. The back of the helmet should appear darker if there's no light source behind the helmet. Even though helmets aren't spheres, they are a bit similar as far shading goes, so you can use sphere shading for good reference. You might end up with something like this:
Once that's done, coloring should be pretty straight forward. Duplicate the shaded helmet onto a new layer and start adding color to it. I'm using a combination of green and gray colors, but also yellow in the shadows. If you're struggling with color picking, use the accurate color sliders, such as HSV (Hue, Saturation, and Value). These color sliders let you modify color elements one at a time. Now I have a helmet that looks like this:
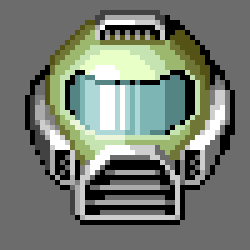
Now the last thing I want to show you is a simple trick to make the helmet look have more hellish lighting since the game takes place in hell mostly. Make a new layer. Fill the entire layer with orange. Set the layer's opacity to roughly half of the maximum and set the mode to "overlay". This will make the layer see-through, and overlay will blend the upcoming tint nicely into the helmet without changing the shading.
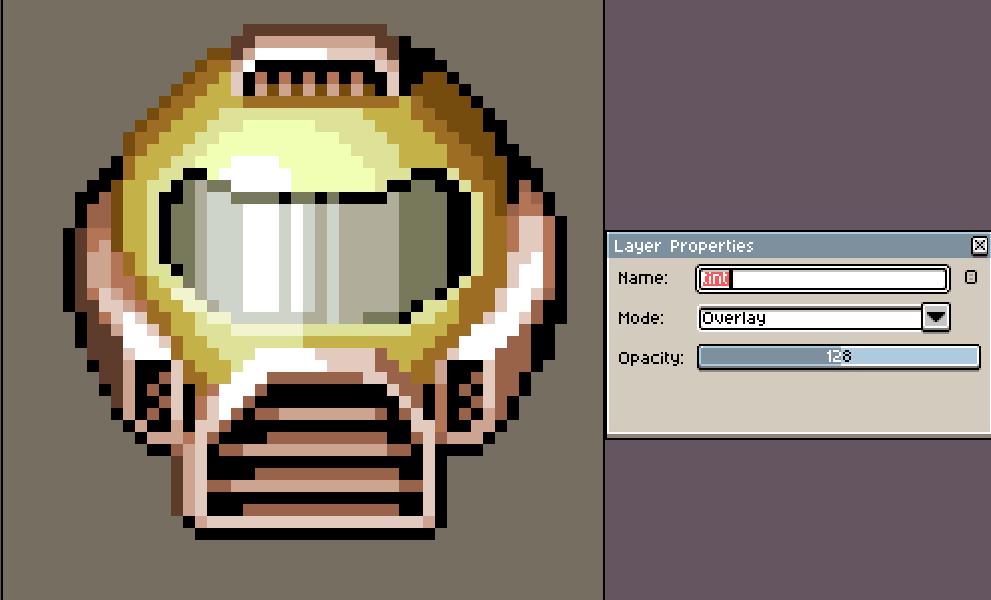
Use the Magic Wand tool to change the background color back to gray. First select it, set the tolerance to 0, and set it to "contiguous".
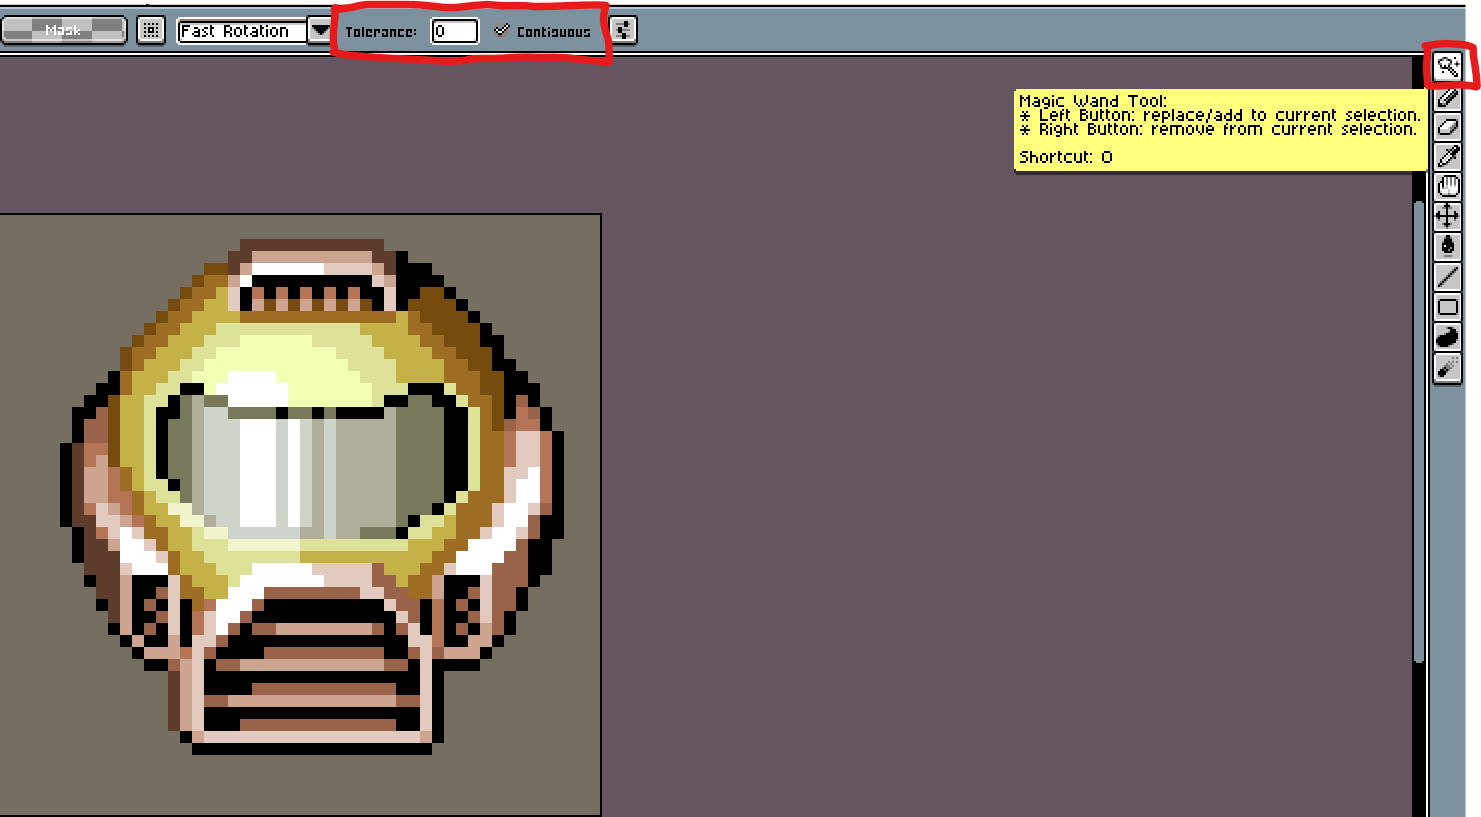
0 tolerance will set the tool to only select exact matching color, and contiguous will make the tool only select adjacent matching pixels. Now you can probably flatten your helmet drawing to simplify the drawing, but don't merge it with the tint layer or background layer. On the helmet layer, select the empty space. This should select all the empty space, but nothing else.
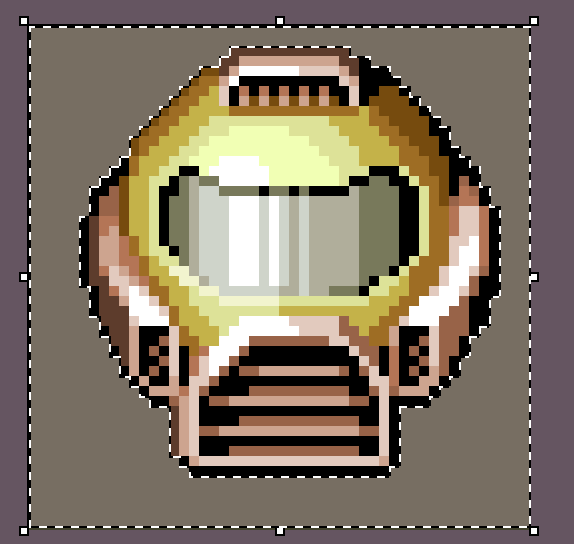
Now select the tint layer and press the delete key, and you should end up with something like this.
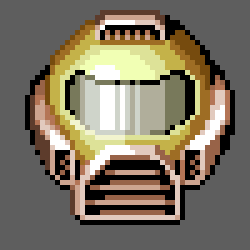
And that will conclude this tutorial. I hope you enjoyed it and thanks for reading!


