Hey guys I'm back, and this time I drew a goblin! I took some progress screenshots along the way and I want to go over how I drew it. Goblins are creatures commonly found in RPG games. They're usually small, green, and have a pointy long nose and ears. The one I drew looks like that, but I plan to draw more variants in the future. I also gave him a simple loin cloth and he's holding a meat drumstick.
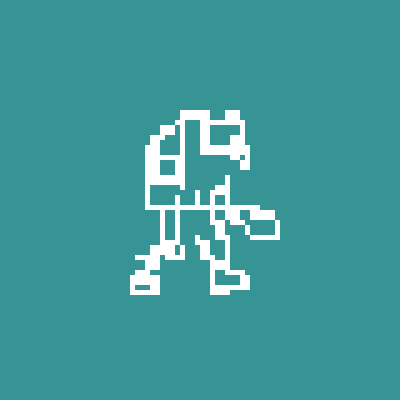
Step 1 - Simple Line Sketch
The first thing I do is sketch some lines, but I usually don't make them perfect, they're more of just scribbles I need to guide me before drawing in the final details. With a stereotypical goblin like this, I like to give him a little hunchback. and I was originally planning to give him a club because that's what I see a lot with goblins, but I changed it to a meat drumstick later.
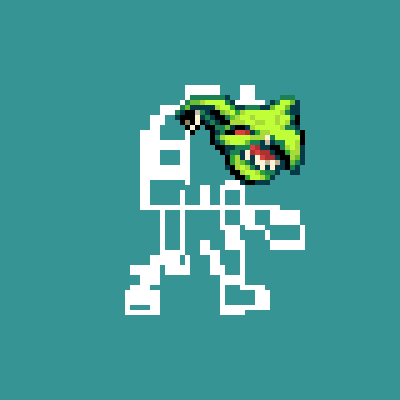
Step 2 - Face
Now that I have a rough idea where his details will go, I go straight to drawing them in, but i do this on a seperate layer. I started with his face. Obviously I chose a green skin tone, but the shadows are slight blue and the highlights are slight yellow. I give him a mischievous grin and the pointy nose and ears, but i also give him a piercing on on his nose and ear.
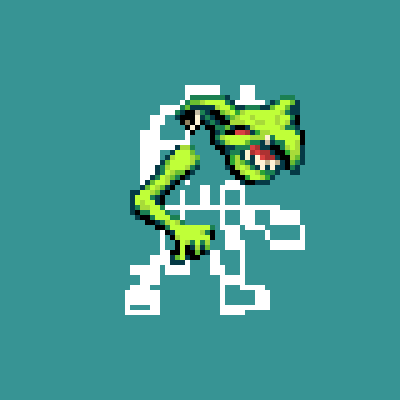
Step 3 - Right Arm
Next I draw his right arm. Again, on another layer. I find it helpful to break down the goblin sprite into multiple layers that I can work on individually and lock them as go so that I don't accidentally change them. I could start with his torso, but for me it's probably a little more work efficient to start with his right arm first then do his torso after. Not much to say about his arms except I usually assume goblins have skinny arms. I draw in has left arm later.
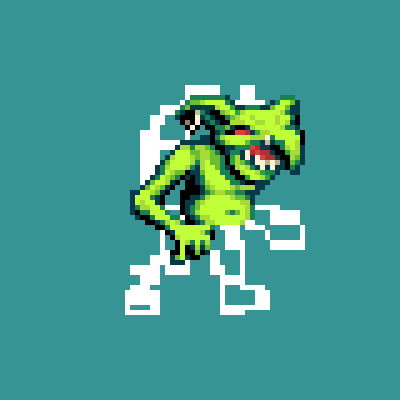
Step 4 - Torso
Next I draw in his torso and I give him a chubby round belly. You can see that the shoulder sprite doesn't quite connect to the torso yet, but I fix that in the polish stage.
Step 4 - Loincloth
Before I can accurately draw in his legs, I find it easier to start with his loin cloth, then append the legs after. I make it a little tattered but not too much because the sprite is too small to add a lot of detail, but there is a noticeable little crease in the center. I assume this type of loincloth can be tied at the back and that's how it holds up.

Step 5 - Right Leg
Now I can draw in his right leg. I give him a bit of a squat, I think it just makes him look a little more primitive. I also try to draw in some toe nails. I don't really have room to draw all his toes at this resolution so I give him just 3 instead. I did have to hide his arm temporarily to make sure I positioned his leg accurately, but I think it turned out great.

Step 6 - Left Arm and Drumstick
Now I draw in his other arm holding a piece of meat. The meat is already cooked so it has a bit of a seared brown/golden look to it. I think it's easier to start by drawing the meat where you want it to be first, then draw the arm holding it afterwards. That's just a tip if you ever want to draw a creature holding something but you're struggling with the arm poses.

Step 7 - Left Leg
Not much to say here, just I try to mirror his right leg and draw the left leg.
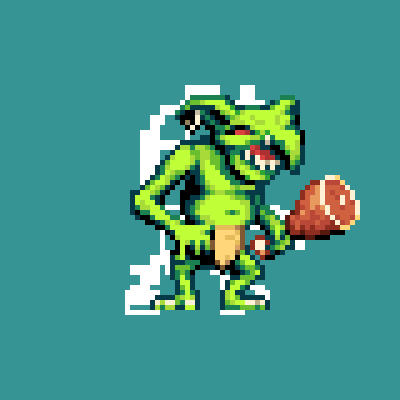
Step 8 - Polish
After i have all the sprite pieces draw out, I delete the sketch, merge all the sprite bits, then polish the resulting sprite. It ends up looking like this.
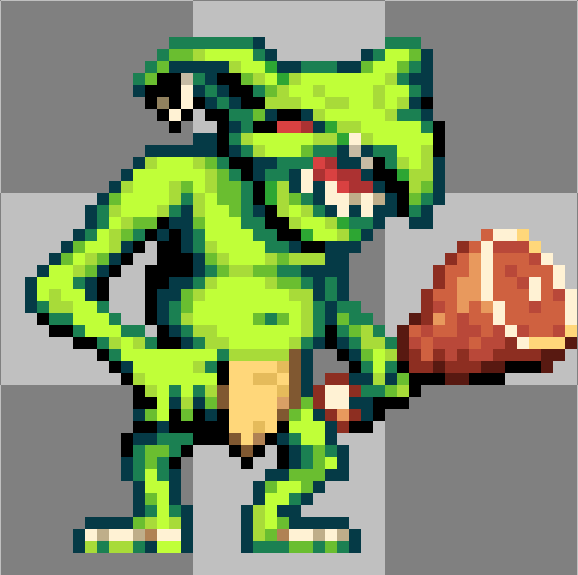
Thanks for reading this post! So this is how I draw a simple goblin. I plan to draw more variants though, I just need to browse for ideas first. Let me know what variants you want to see and I can try to draw them in my next tutorials. After that, I'll probably do orcs and ogres! Anyway thanks for reading and see you later!

