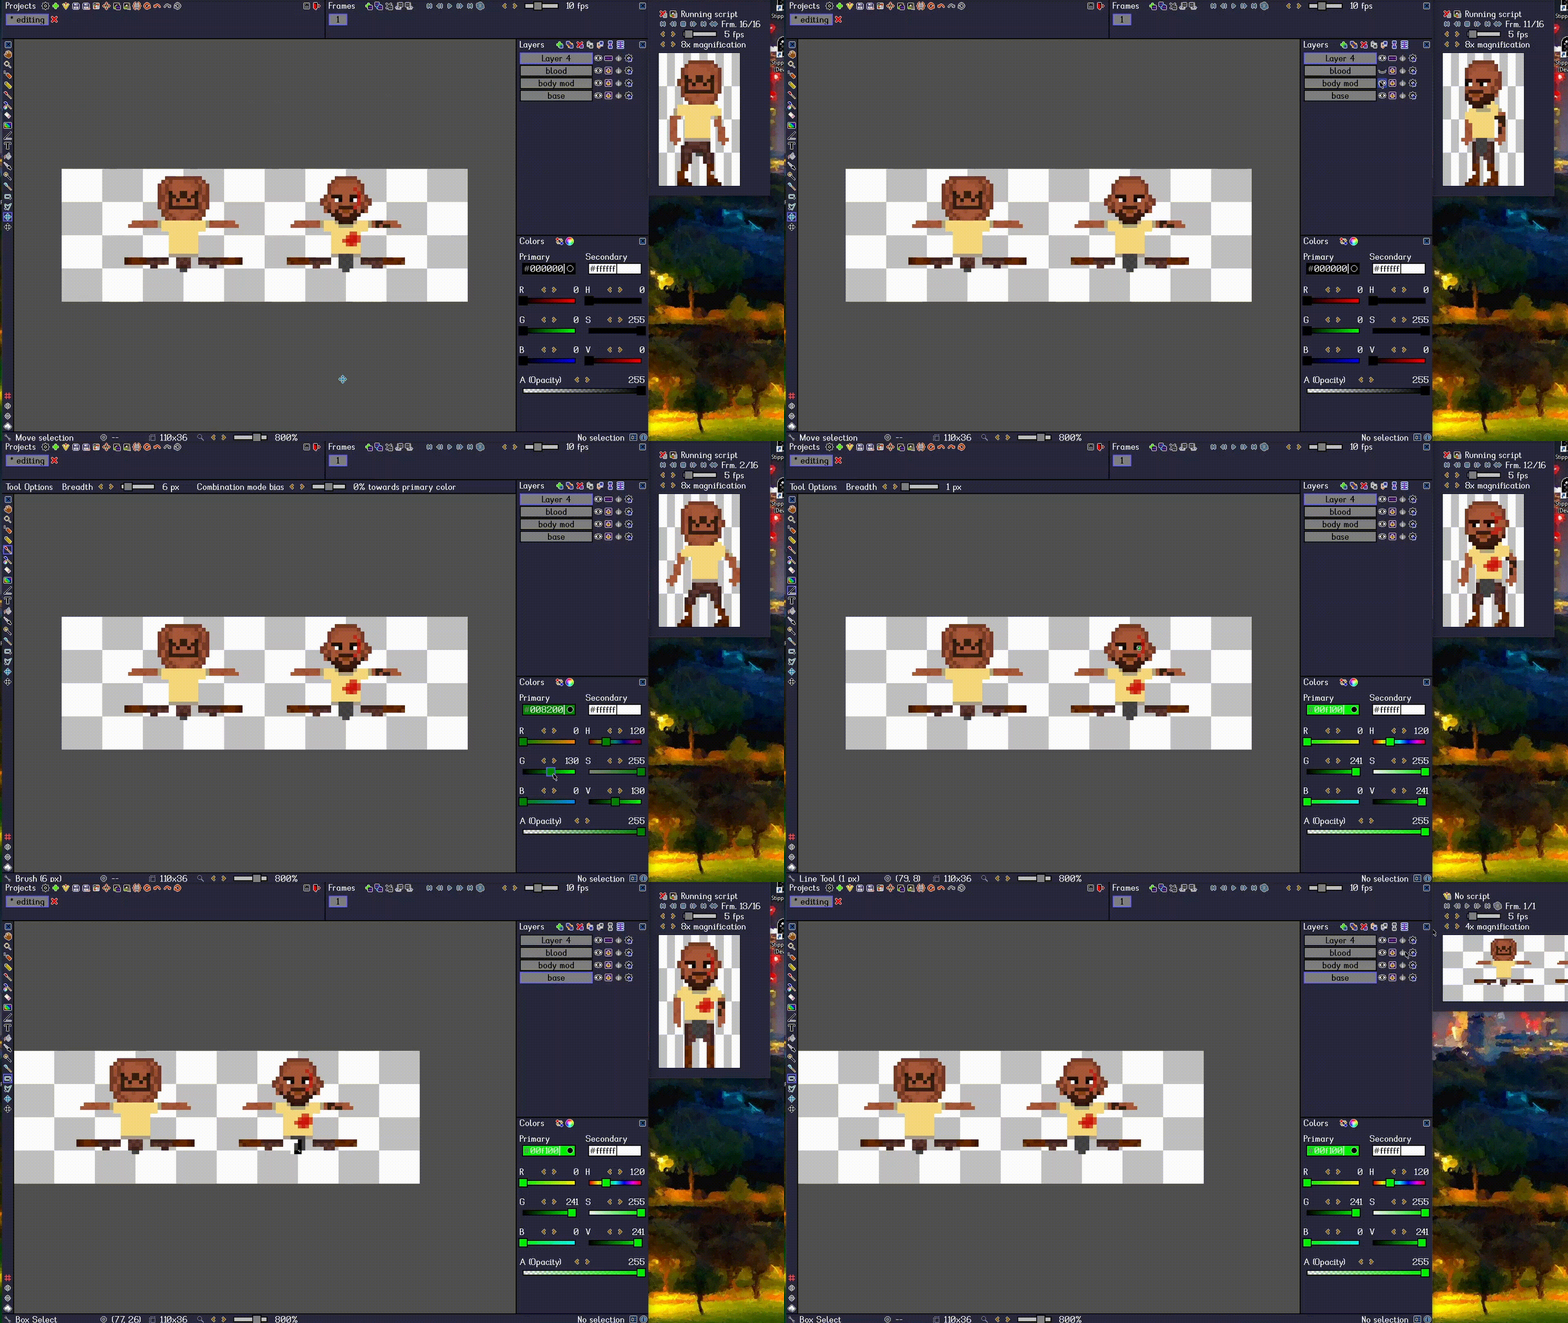
Hello everyone! My name is Jordan and I am the developer of Stipple Effect, which is a pixel art editor with animation capabilities that I have been developing on my own for the past six months! I am in the home stretch now. I have just released the penultimate major update before the editor’s full release, which basically marks the software as feature-complete, so I figured now is the best time to share what I’ve been working on!
Why?
You might be asking yourself why I would go through all this effort when there is plenty of state-of-the-art software available at various price points depending on one’s budget.
I develop games as a solo indie dev in my spare time. It is something that I would like to keep doing and potentially take more seriously in the future. I have a couple of game ideas that I’ve been toying with for several years - since high school, in fact - that are both hugely ambitious. As I began to contemplate if, when and how I could commit to these projects, my focus shifted to the tech stack and workflow I would need in order to develop these games on my own in as short a time span as possible without cutting corners on my creative process and the game’s technical implementation details. A key part of that tech stack was a lightweight, flexible, powerful art program that could do a lot more than what I was using at the time.
One of those game ideas is a procedurally generated RPG codenamed Citizen. Every facet of worldbuilding in Citizen is procedurally generated rather than hardcoded. This extends far beyond the geography of game worlds to the cultures that inhabit the world, their attire, their languages, and even their weapons, values and philosophies.
Thus, most art assets in the game will be lookup textures that will be modified according to the various generation algorithms at runtime. Iterating on the creation of such assets in traditional art software would be very slow and painstaking, as one would have to build the game or at least run a simulation of the system that incorporated the relevant lookup texture to see the in-game render.
The problem is captured very well by this video.
That is where Stipple Effect comes in.
Scripting in Stipple Effect
There are three types of scripts in Stipple Effect:
- Automation scripts
- Preview scripts
- Color scripts
Automation scripts take no parameters and return nothing. They merely execute a series of instructions, usually operating on the project(s) that are active in the program. The scripting API is very feature-rich; almost anything that can be accomplished in the editor can be automated via scripting.
Preview scripts, like the above example, can be applied to the preview window to modify the preview of the active project. In the above example, the project contents are being mapped onto an animation of the character swiveling in place so that he can be viewed from all angles.
Color scripts allow for the transformation of the colors of a user-defined scope of pixels in the project. For example, they can be used to turn the entire project greyscale, or to isolate the R (red) color channel of the current selection.
Overview of Features
- Symbiotic relationship between layers and frames
- Two-color system: Stipple Effect’s brush, pencil, and gradient tool allow for interesting combinations of the primary and secondary colors
- Dither mode
- Blend mode
- Noise mode
- State management
- Animation playback
- Onion skinning
- Edit during playback
- Split/stitch
- Split a project into frames
- Stitch frames together into a sprite sheet
- Palettes
- Import and export palettes
- Palettization
- Extract colors in a project to a palette
- Selection
- Pixel grid
- Easily enable/disable and modify the size of the pixel grid cells
- The box select tool can snap to the grid
- And much more!
Download
Until its full release, Stipple Effect can be downloaded for free! If this post captured your attention or curiosity, it would mean the world to me if you gave the program a try and provided me with feedback. The program can be downloaded here and is available for Windows, macOS, and Linux distributions. The best user experience is to run the program on a 1920x1080 pixel monitor on Windows, installing it via the Windows installer. Conversely, installing the cross-platform build will require a separate installation of the Java 17 Runtime Environment (JRE 17).
Additionally, the program is open-source. You can read the source code and follow the development on GitHub here.
Thank you and enjoy!

