Kumatori Panic #4 - Eggs, Better Movement, Lore Accuracy and mapgen!
7 days have passed since the last devlog and as I said in it, progress was slow. Heatwaves are upon us, work is busy and IRL stuff is happening, so I’ve got a much lower timeframe to work on the project as on the weekends.
So bring forth the first addition to the game in a while, eggs!
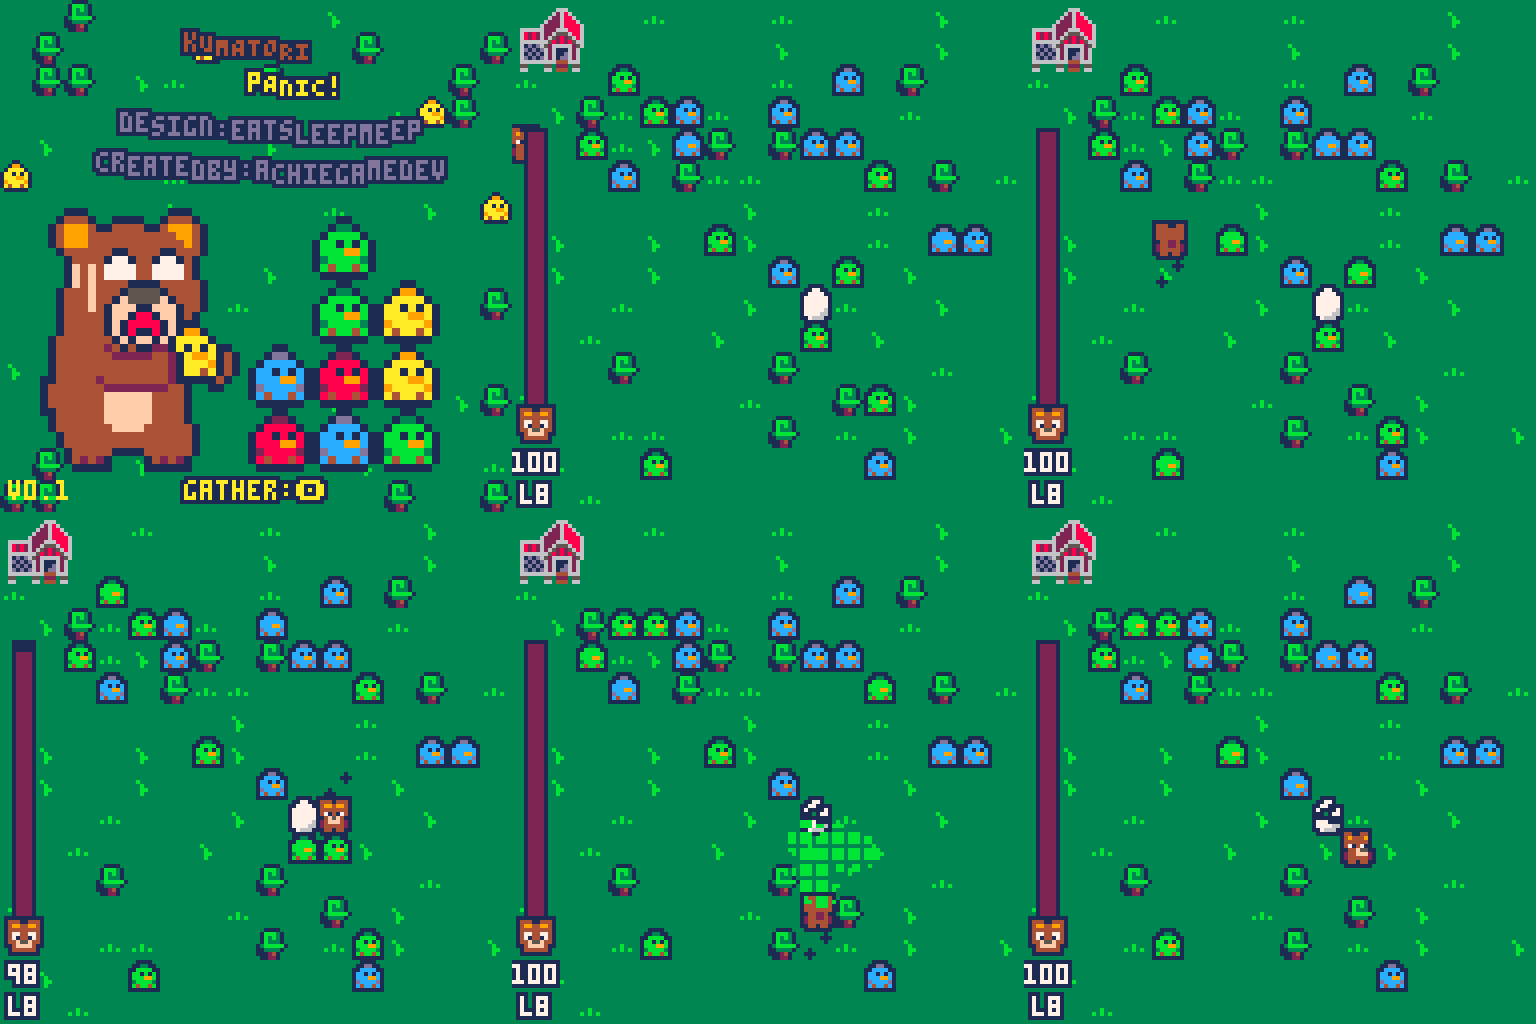
The idea is pretty simple and is present in a lot of tile matching games. Add a few blocks that can be only interacted after “freed” with matching next to it. This could be ice that breaks, candy wraps that tear or as in our case, an egg that hatches! If 3 or more chicks are matched while an egg is next to any of them, it will immediately hatch into a new chick.
That is all fine, but knowing what color hatches is a really good QoL feature and I don’t want to RNG to F you over with matching all your greens next to an egg only for that egg to hatch a green chick and lose you the game. So, introduce 4 marked eggs, always showcasing what will come out!
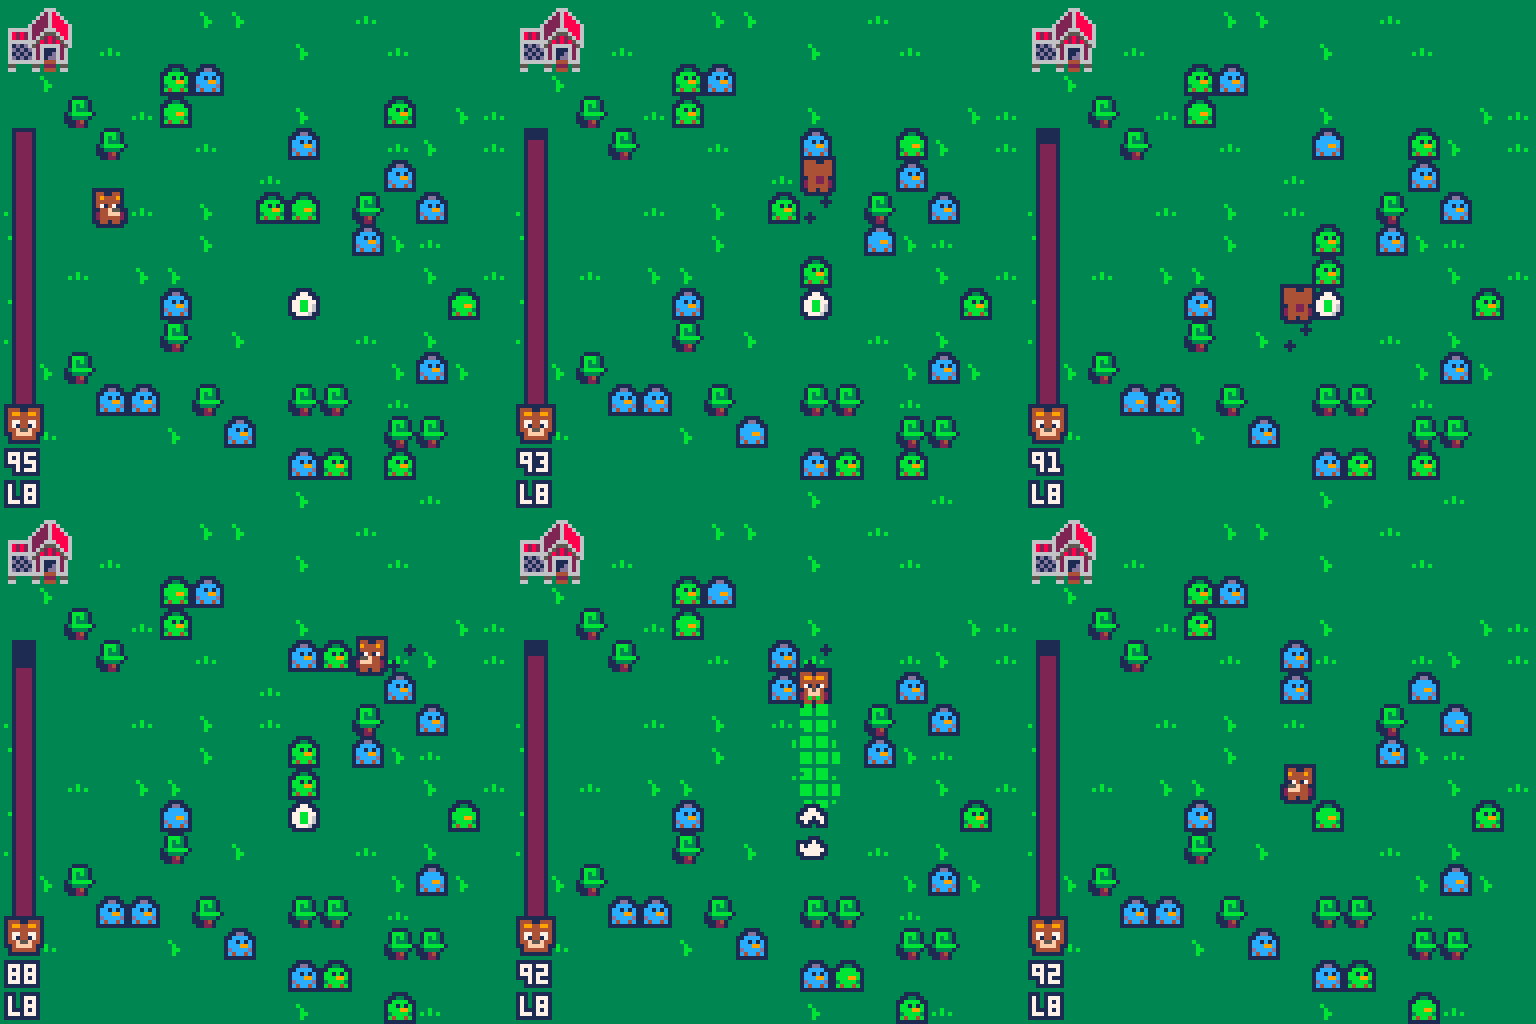
With this new tool in our arsenal let’s give our back in for some audience participation! MarinaMakes asked if it would be possible to introduce a proper walking animation instead of instantly teleporting to the next tile. With the help of LazyDevs this is easy, plop in a Tutorial from Porklike and follow the animation part, and bam, we have a bear that now walks and not just blinks into places! No code for you this time, go watch the OG I followed!
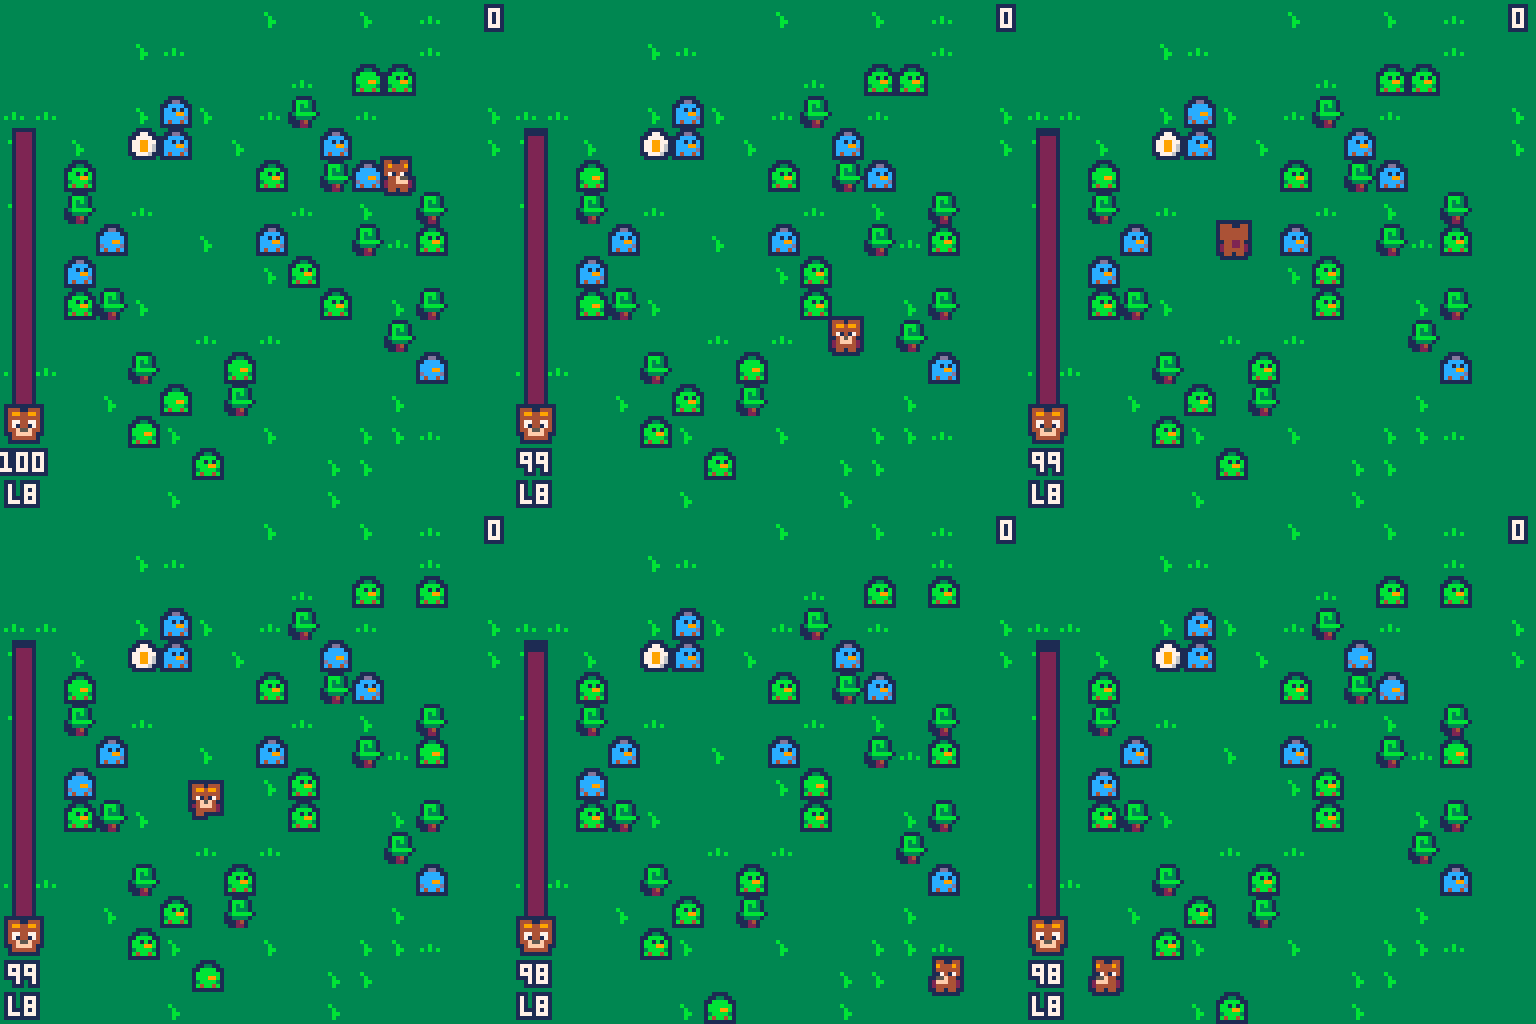
With these two little features done, we are entering a new QoL feature I wanted to add for a really long time. With random generation it is possible for a chick to be struck between 3 trees and you won’t be able to ever get it free from there. If you get 3 of these on the map, you are screwed as you cannot complete it. Same with chicks on the edge. Do you remember the Famicase art?
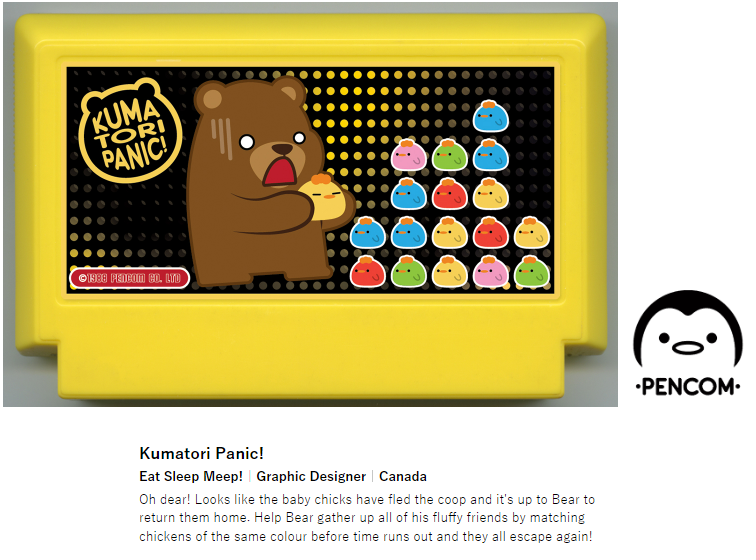
The bear was clearly holding a chick, so let’s quickly implement that feature. For this we introduce a new variable for the chicks as in “held” and two new ones for the bear, “pickup” and “carry”.
With these we can do the following. If we press a button, we set pickup to true. This will branch the control code to a new part, which handles selecting one of the 4 tiles around the bear. Upon pressing the pickup button, the bear will initiate the holding. We set the carry to the index of the chick, and signal the chick that it is held. In draw, when we loop the chickens, we check for held and if true, we draw it on top of the bear. Also we disable collision with any chick that is held. After this, we can move freely again, and upon pressing the pickup we do a check. If carry is -1 (a dummy selected value) we know our hands are empty, so pickup mode it is. If not, we clone the chick given by the carry index, delete the old, and place the new in the desired direction. Bam, pickups! https://gist.github.com/Achie72/7923483f3992248a66ddf0ee9e87288f
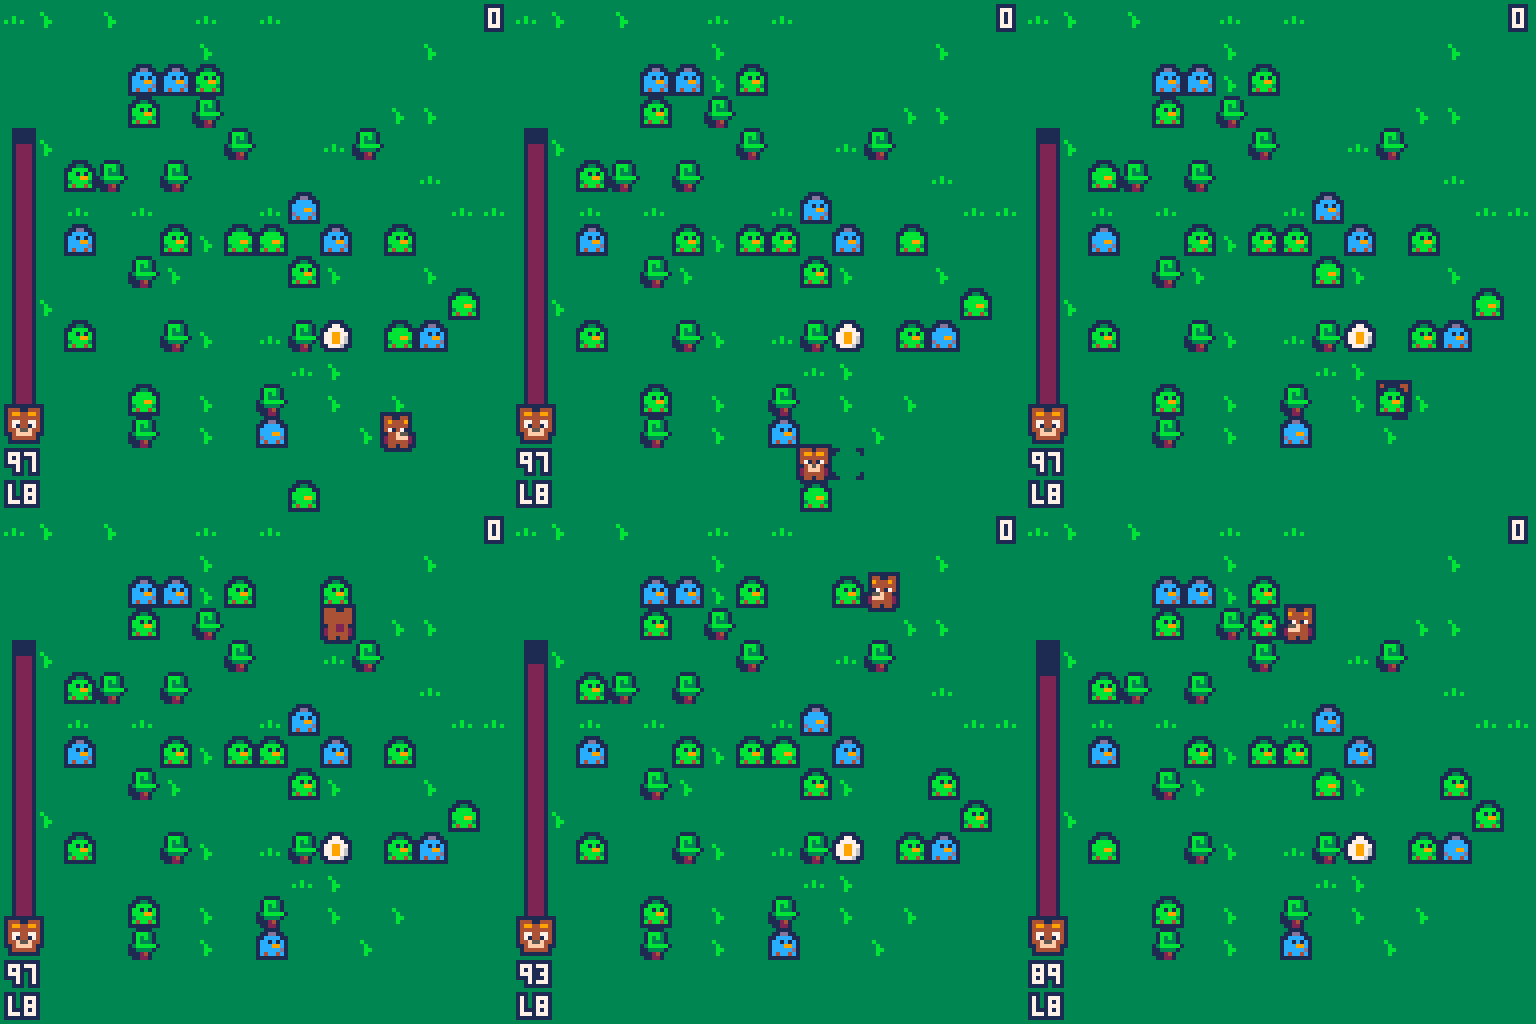
And lastly I wanted to create better gardens for you to chase chicks in. First I sketched up a whole new UI for the game, something chunky that can sit on top of the game. I wanted to follow the really big, chunky feeling of all the mobile UI these kinds of games have, but still follow some kind of minimal line. We moved the energy bar onto the top, with the counter. Right corner now holds the stage count and the goal of the stage (more on this later, if I don’t scope creep myself).
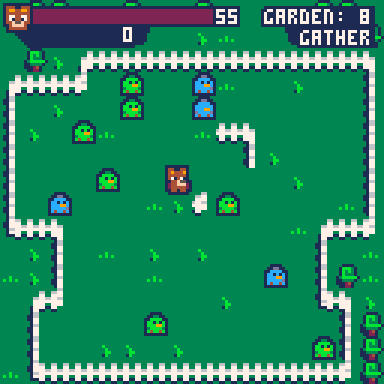
This all occupies a bit on the screen so the game had to change its generation either way. I always really wanted to introduce a white fence around the stage as I felt it rounded the whole experience out. But only a square one doesn’t feel engaging. Full random generation would lead to a lot of checks to correct fences, so I went with the middle line. Introduce schemas to the generation, 4 for each corner, and let it randomly choose from one for each stage!
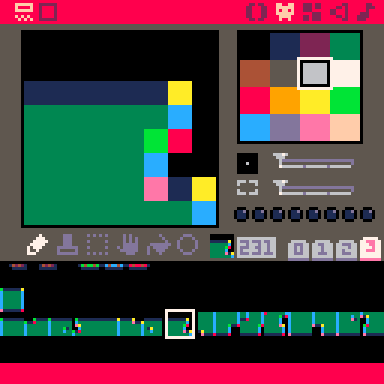
This is not the prettiest solution but here is how it works. Dark blue lines signal the horizontal fence, light blue the vertical fence. Green indicates a top left corner, yellow a top right, pink a bottom left and red a bottom right one. Dark green is for the play area, black is for “outside”. After all this, we choose one for each corner upon generation, collect the colors into an ID list and then build the map based upon those ID-s. Thanks for the base idea to Nerdy Teachers and his Sokoban tutorial cart!
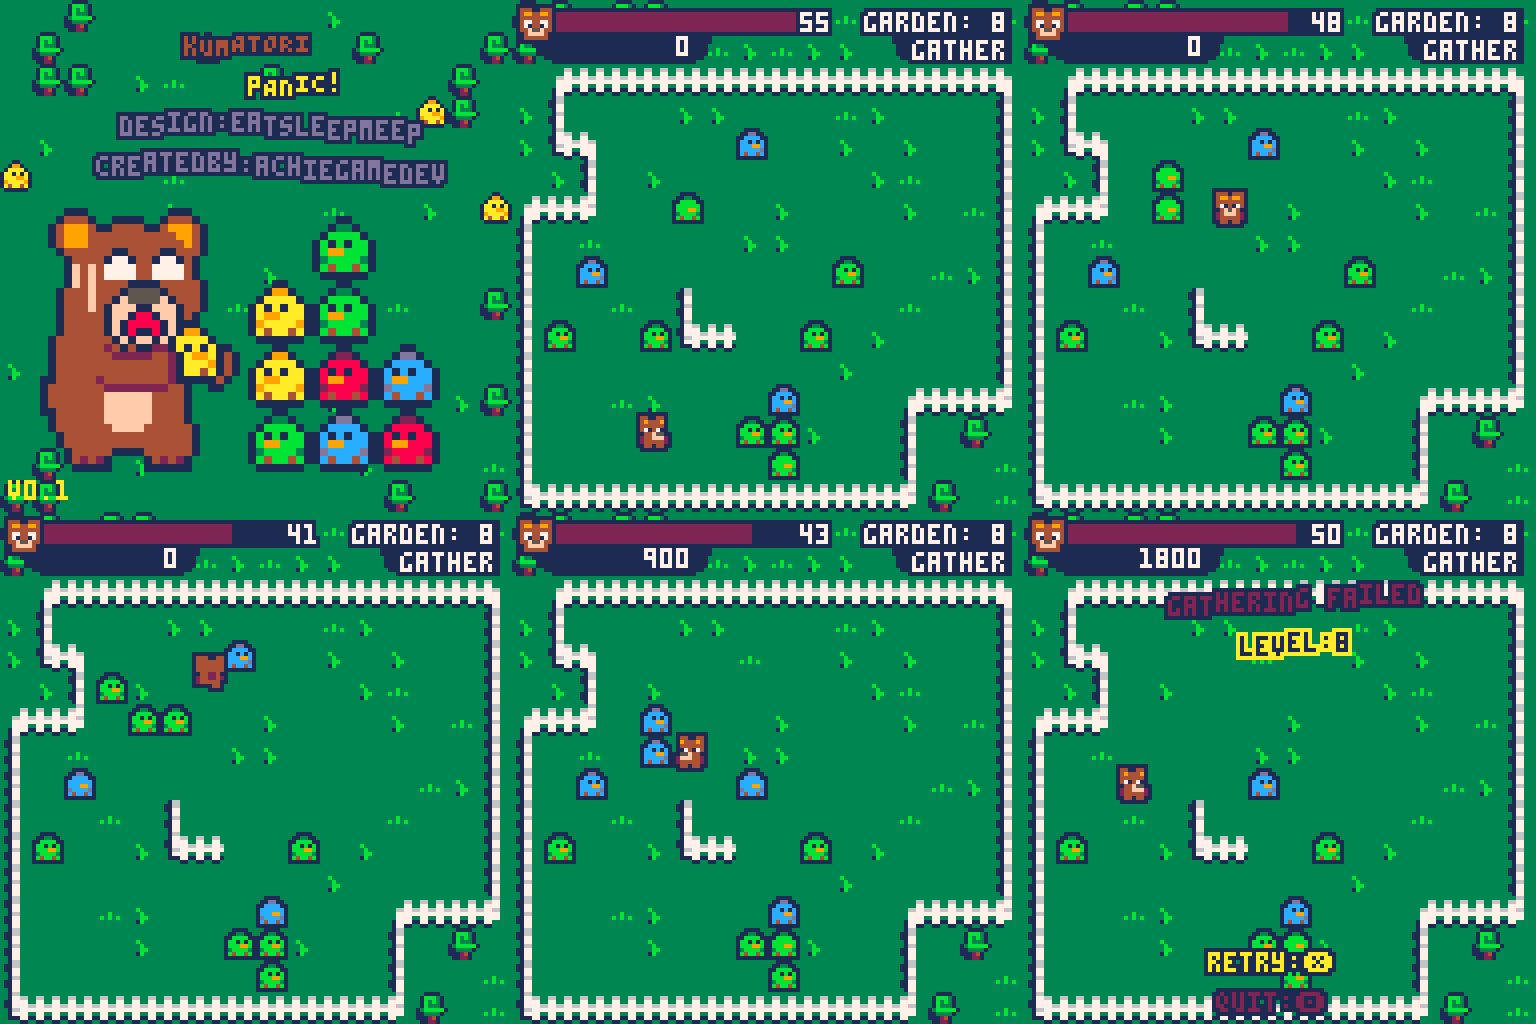
In theory this will do 256 variations, but I still feel they look same-y at points so I might just go back and add more variations to the game. I have 2 free rows, which could lead to 8 more variants for each corner. Wild.

