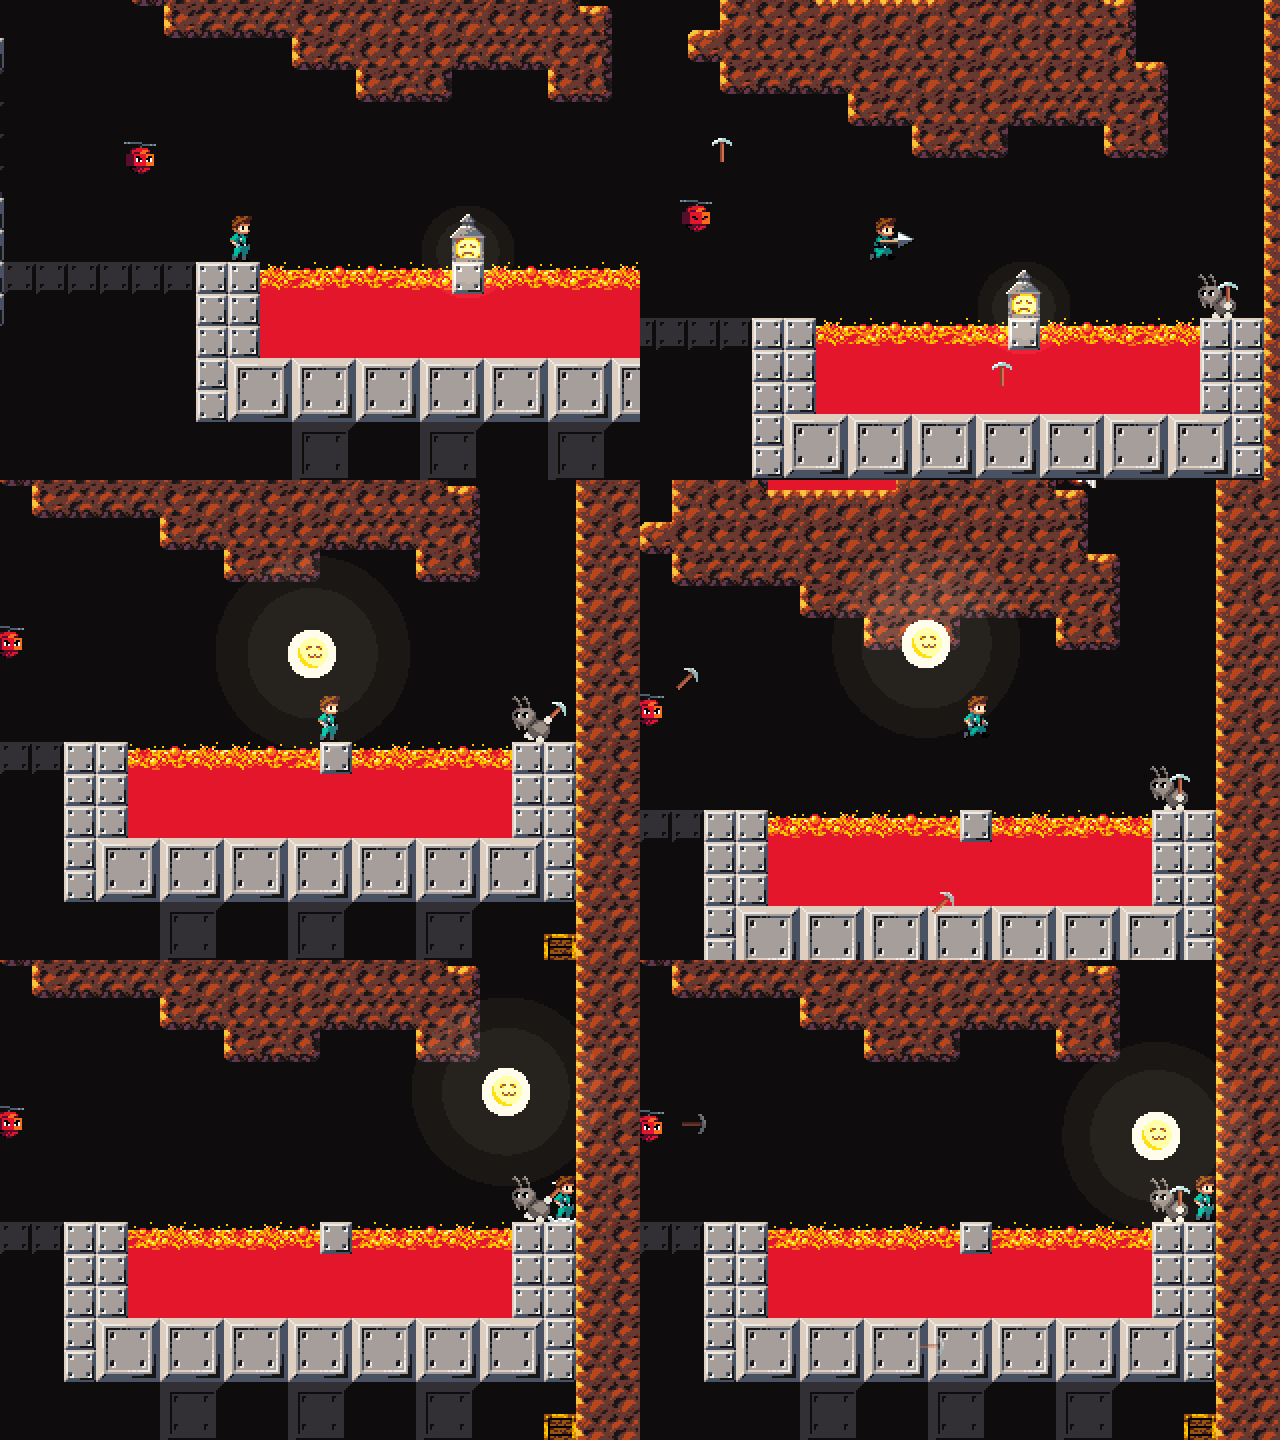
- The camera shouldn't switch sides until you've moved a certain distance or waited a certain amount of time. Having it switch immediately gets disorienting when you want to make small adjustments, especially in the air.
- Signs should be behind the character so that the text faces towards him instead of away from him.
- Why is there a sign with an arrow pointing towards a collectible in a dead end? My first assumption was that the arrow was pointing towards the exit and that the collectible was in the other direction.
- It took me a lot of tries to figure out how to get past the spike pit in the second level without taking damage. I thought you had to drop down and hook onto the dirt tile at the edge; make the metal go all the way up. You should also remove the spikes and the ant since it's the first time the player has to make that kind of jump.
- Spikes should hurt you from the sides, like for example if you walk off the tower above the collectible in the third level.
- I still hate these enemies that stick to walls and fly across to the opposite side. Getting past them feels like pure trial and error, at least with the way they're used, and if they end up on the wrong side, you're forced to take damage a lot of the time.
- Again there's an unnecessary ant after the above enemies. Introduce new mechanics and enemies on their own without any other obstacles.
- The death animation can put you in the goal area and it'll count as beating the level. The transition animation plays again once you're already back on the level select screen.
- On level 4 there's again some rushed level design pacing; the wall of alternating dirt and metal is introduced at the same time as having to hit a 1-tile ledge, and there's spikes and an ant as well. The shaft at the end that makes you do it again if you miss the next jump seems needlessly punishing, too.
- The sprite of the wall enemies should show if they're ready to fly across or not. I died because I tried to bait one too early.
- Broke the crate in the cliffside level and the helmet fell out of the level.
- That first part of the cliffisde level where you have to do two nearly pixel-perfect jumps to avoid hitting your head on first the enemy and then the dirt above it is incredibly obnoxious.
- It seems impossible to make it to the platform with the crate in the cliffside level without hooking onto the crate. What are you supposed to do if you fall down after breaking it?
- Why is the collision for the large fan the same width as for the small fan?
- The lack of input buffering for jumping before the hook has connected makes the game feel really unresponsive.
- What's the point of letting you drop down to the ant at the start of the mushroom level? The wall enemy makes it seem like there's something there, and you can't get back without taking damage.
- Making the helmet in the mushroom level inaccessible after you've broken the lantern is a very strange decision.
- The hitbox for the ants is a few pixels too wide. The one at the start of the frozen caves shouldn't be able to hit you if stand next to the edge of its platform.
- What in the hell are you supposed to do here? I don't see how there's any way you could get up there or break the lantern.
Viewing post in Chasm Climb jam comments
It took me a lot of tries to figure out how to get past the spike pit in the second level without taking damage. I thought you had to drop down and hook onto the dirt tile at the edge; make the metal go all the way up.
That is possible. You need to throw the hook shortly before even walking off the edge for it to work though.
I still hate these enemies that stick to walls and fly across to the opposite side. Getting past them feels like pure trial and error, at least with the way they're used, and if they end up on the wrong side, you're forced to take damage a lot of the time.
I tested getting past all of them with them on the wrong side. It is possible, just nonsensically hard for a lot of them :^)
The sprite of the wall enemies should show if they're ready to fly across or not. I died because I tried to bait one too early.
That would probably help. I wanted to add some animation frames to them for some time now. They look pretty static compared to the other enemies I have now.
I might just slow them down some.
The death animation can put you in the goal area and it'll count as beating the level. The transition animation plays again once you're already back on the level select screen.
That goes on the pile of the myriads of issues with the player controller. I'm amazed it works at all at this point.
Broke the crate in the cliffside level and the helmet fell out of the level.
That's an intentional troll for once. Gotta break it from the other side.
That first part of the cliffisde level where you have to do two nearly pixel-perfect jumps to avoid hitting your head on first the enemy and then the dirt above it is incredibly obnoxious.
See my reply to Vesuvius, that was never intended to be cleared by a normal jump. Maybe a bit advanced of a mechanic to introduce in the fifth level. There's actually a similar jump early in the volcanic level across lava, you can just take a shortcut to bypass it though.
It seems impossible to make it to the platform with the crate in the cliffside level without hooking onto the crate. What are you supposed to do if you fall down after breaking it?
Go to the right from the double-wide fan. There's a horizontal fan that'll push you left towards the lantern. Using the crate is a shortcut.
The lack of input buffering for jumping before the hook has connected makes the game feel really unresponsive.
There is some, I'll try playing with the length of it.
What's the point of letting you drop down to the ant at the start of the mushroom level? The wall enemy makes it seem like there's something there, and you can't get back without taking damage.
That part of the level used to be designed differently. You'd fall down there if you failed a tricky jump, not possible anymore of course.
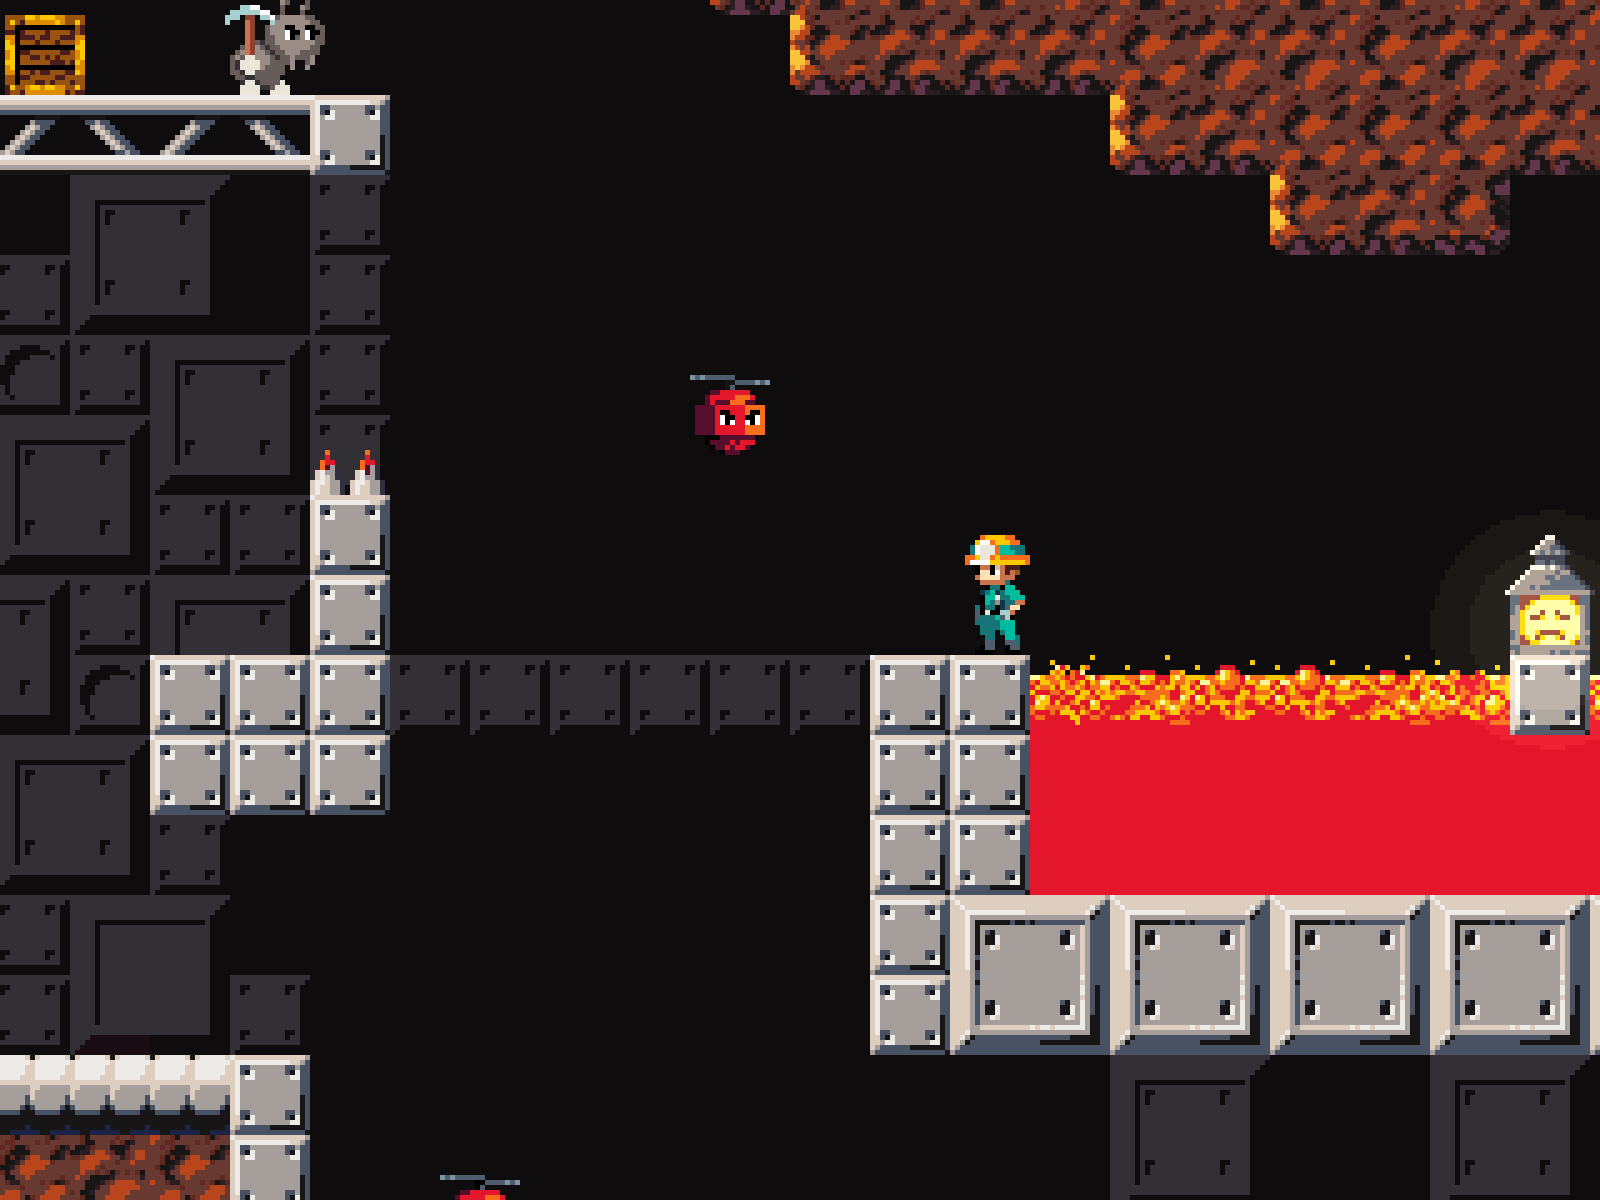
What in the hell are you supposed to do here? I don't see how there's any way you could get up there or break the lantern.
>See my reply to Vesuvius, that was never intended to be cleared by a normal jump. Maybe a bit advanced of a mechanic to introduce in the fifth level. There's actually a similar jump early in the volcanic level across lava, you can just take a shortcut to bypass it though.
I thought this was the only way to do it. I don't think there was any indication or opportunity to discover that you can preserve momentum like that.
>Go to the right from the double-wide fan. There's a horizontal fan that'll push you left towards the lantern. Using the crate is a shortcut.
I tried using the fan a few times, but I couldn't get it to work. It's the first time you come across a horizontal fan, and if you mess up the jump you either go all the way down or die.
>lava jump
The rest of the level was pretty easy, but that one jump is unreasonably hard, again mostly because it's the first time you have to do something like that without being given the chance to get a feel for it in a safe environment.