Indie game storeFree gamesFun gamesHorror games
Game developmentAssetsComics
SalesBundles
Jobs
TagsGame Engines

Asset Forge

Create your own 3D models and 2D sprites! · By Kenney

Textures on custom blocks

A topic by chris_camacho created Oct 12, 2020 Views: 507 Replies: 7
Viewing posts 1 to 7

I have an OBJ in Collections/Roads/

I started with the texture alongside the obj, and also alter modified the mtl and changed the path to Textures/ (and moved the png)

in both cases at first the texture looks okay, but then when you place down the block it changes 
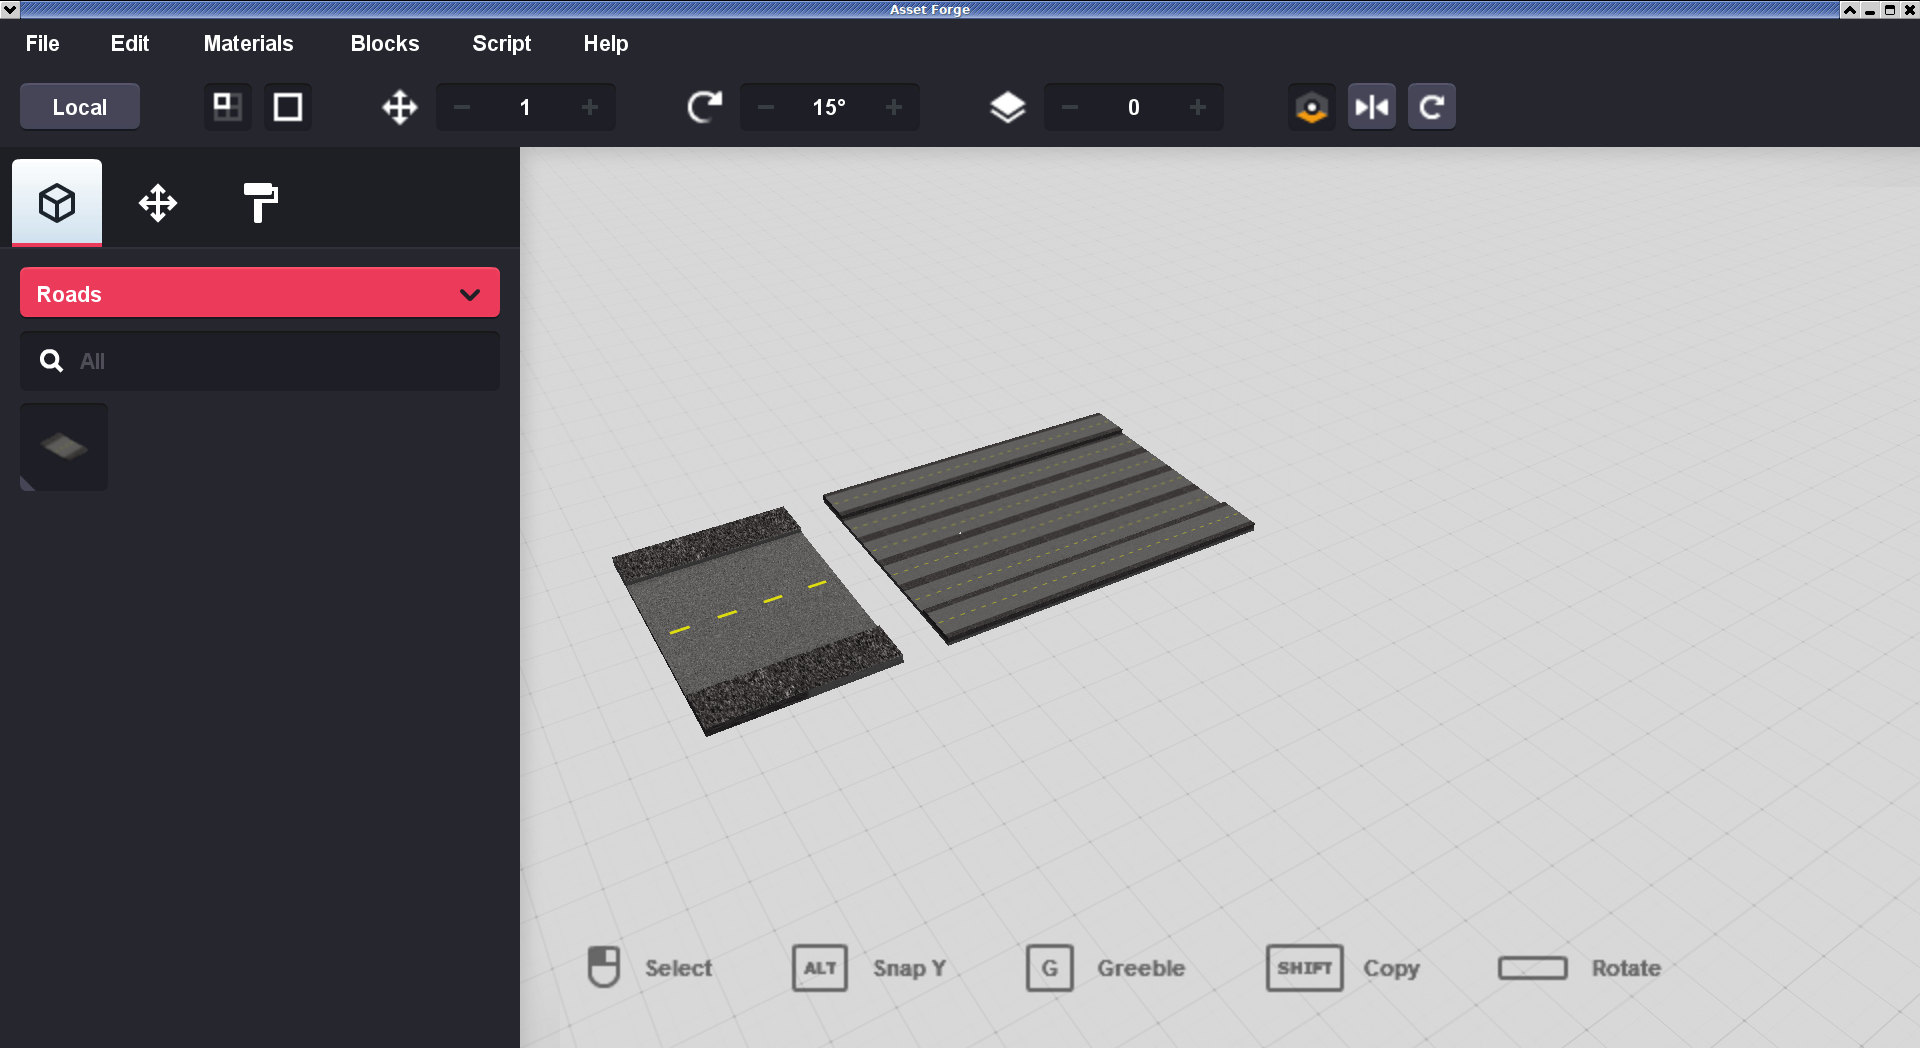
Where should the texture go, especially if I don't want to have any path in the mtl (just the png file name)

Textures like this aren't compatible, this is because Asset Forge overwrite the UV channels. If you'd like a custom texture you have to put the (PNG) file in a new folder inside /Textures.

also alter modified the mtl and changed the path to Textures/ (and moved the png)

thats what I did or I'm not understanding what you mean??

I want a texture to be locked and the obj vt coords never changed, is there a way to do this ?

I currently have the texture in Textures/Roads/

also tried /Collections/Roads/Textures

where the obj is in /Collections/Roads

mtl path Textuses/road.png

a material flag for "don't modify UV's" would be handy, as it is, how would you recommend I make road sections with a dashed line that will rotate with the block...?

well... I gave up on texturing at the expense of a whole load of extra triangles.  It would be really nice if you could have in the materials, an offset, scale and rotation that are added to whatever AF is doing to the UV's,  if they are all set to zero you'd get the normal behaviour. ....

has anyone found a solution to this?  Custom objects are useless without textures.  Mine is completely white when dragging it in.

The UV wrapped data is lost. You can add a new material by putting your seamless custom texture in the Textures Folders then start AssetForge. Under Materials, click new material, highlight the texture, hit the Texture tab and browse to your custom texture and choose it. 

This works good for walls, floors, wooden furniture and so forth. You can change the scale of the texture under the Materials-Scale Tab.

It will not work with "atlas" texture  type single textured objects that rely on the UV wrapping data.

I really like this tool because for certain things and scenes that rely on seamless textures, you can get pretty detailed. It is similar to the way Sketchup handles textures.

Here is very low poly example.

https://imgur.com/a/71EdsDG