Hey I'm back, with a new Pixel Tutoria-... Normally I'd call these "Pixel Tutorials", but that sounds more like I know everything, which I don't, so instead I'm going to call these type of blogs "Pixel Processes" or something like that from now on. Anyway, this blog demonstrates how I would draw a moon in a cloudy blue night sky. If you were to search up reference for a night sky, you might find something like these:
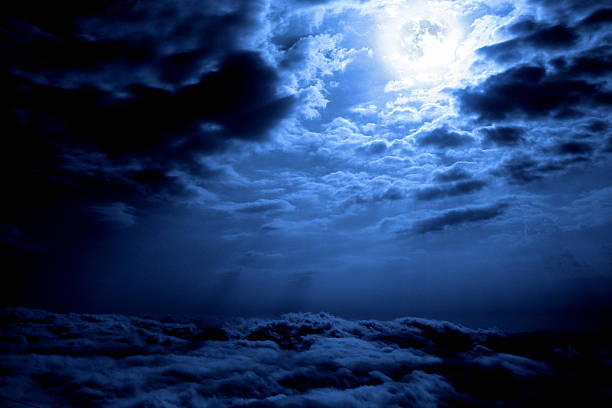
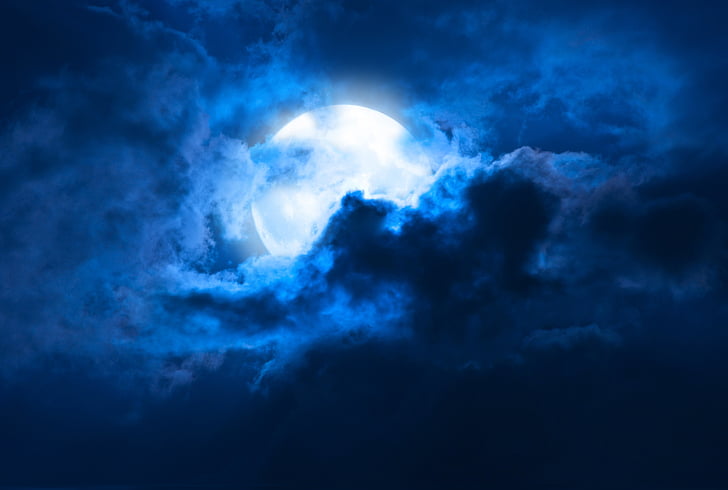

Here are my initial observations:
- Blue sky
- Clouds
- Bright moon
- Some obscuring clouds
Based on these observations, we can start a sketch. First we need to set up a canvas, and 128x96 pixels will work for this demonstration, since I've actually already drawn this. Then the first thing i do is set a dark background (but not black because I do something important later) and put a moon roughly this size.

The next thing that will really add to the composition is some obscuring clouds, which are pretty easy to sketch right now.

From here, we can add some blue light to the nearby clouds. Realistically, the moon doesn't emanate light, it just reflects sunlight, but in fantasy it can. To render light onto the clouds, you need to understand that exposed parts of clouds to the moon will receive moonlight, and the hidden side will hardly receive any. Notice here, you can interpret some clouds being lit by the moon, but also, there is no added light behind the two obscuring clouds.
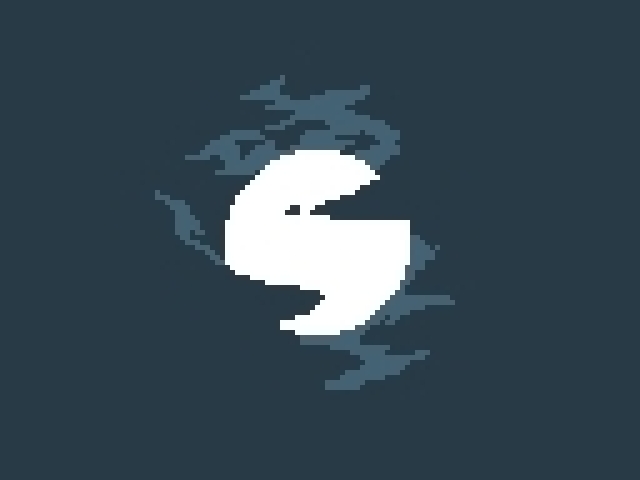
Next, I add in more obscuring clouds, be these ones are less dense, so the appear lighter.
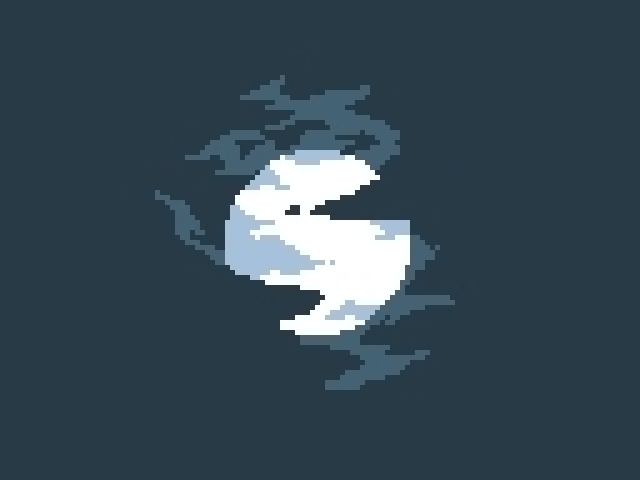
Here's where the color black comes in. I use it to show the full silhouettes of clouds in the foreground.
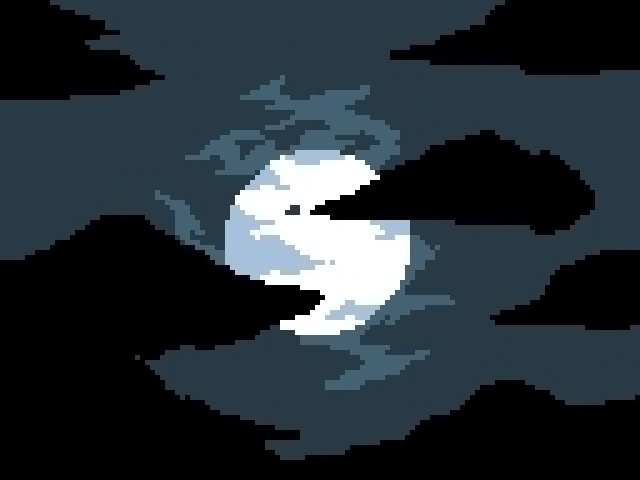
Keep in mind what I said earlier about the exposed parts of the cloud receiving light. This applies to the foreground clouds as well.
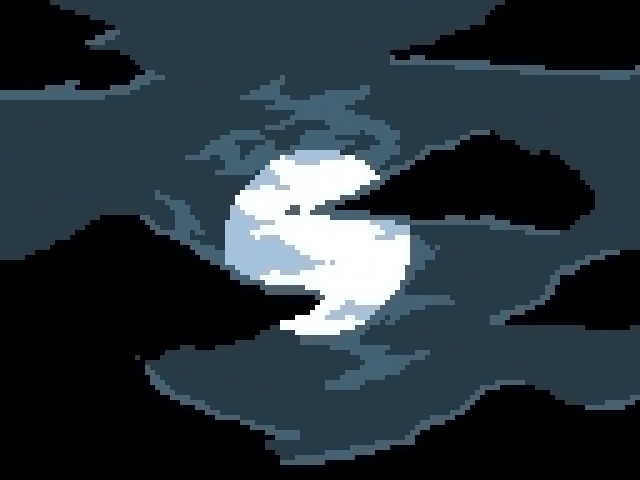
Here, I pretty much went gung-ho with clouds, but I ended up scrapping some of them in the final result because there was too many.
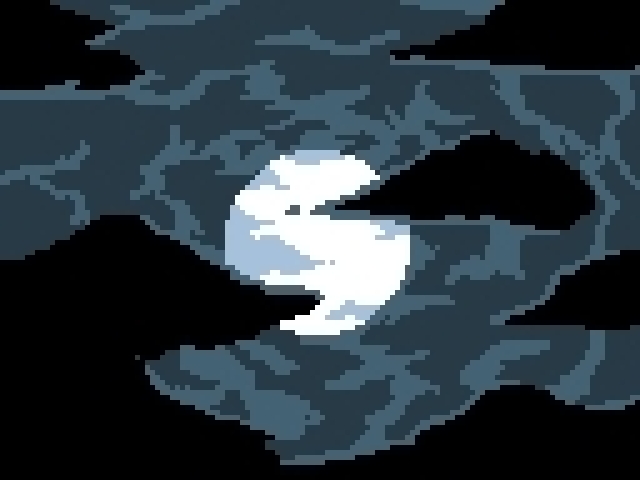
I wanted to show that closer clouds to the moon, receive more moonlight than those far away, so I added a brighter shade to the nearby clouds. I also make the foreground clouds, default color (black) appear a bit brighter because you wouldn't really see black clouds in the sky, clouds usually receive at least some light. The other important thing here is that I blend the obscuring clouds with the moon. This way they appear more translucent. Thicker parts appear less translucent, and thinner parts appear more translucent.
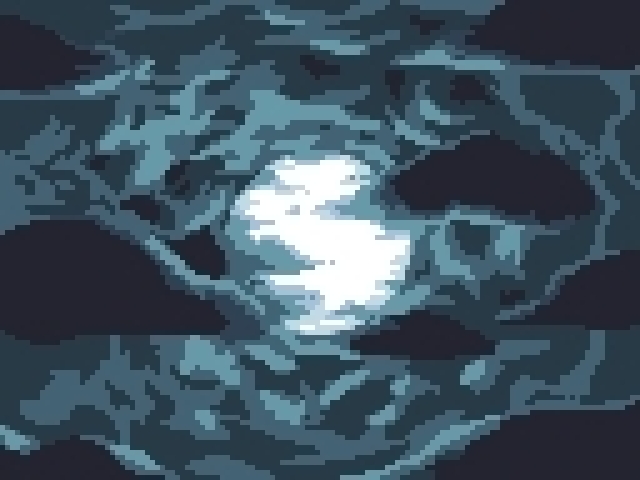
At this point, I decided there was way too many clouds, so I removed some. I also tried to get the colors to resemble the reference images at the beginning of this blog.

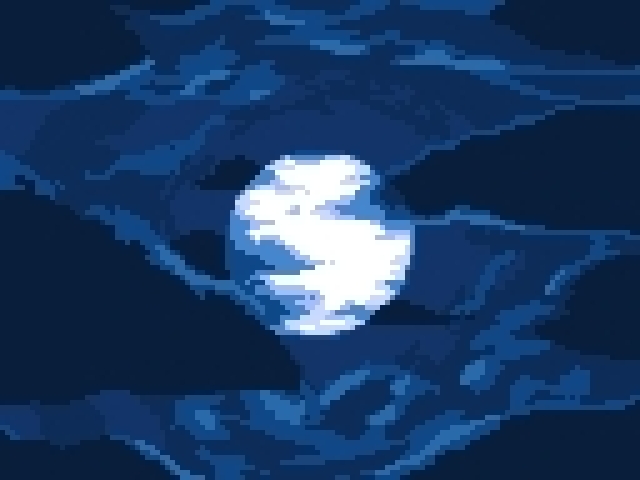
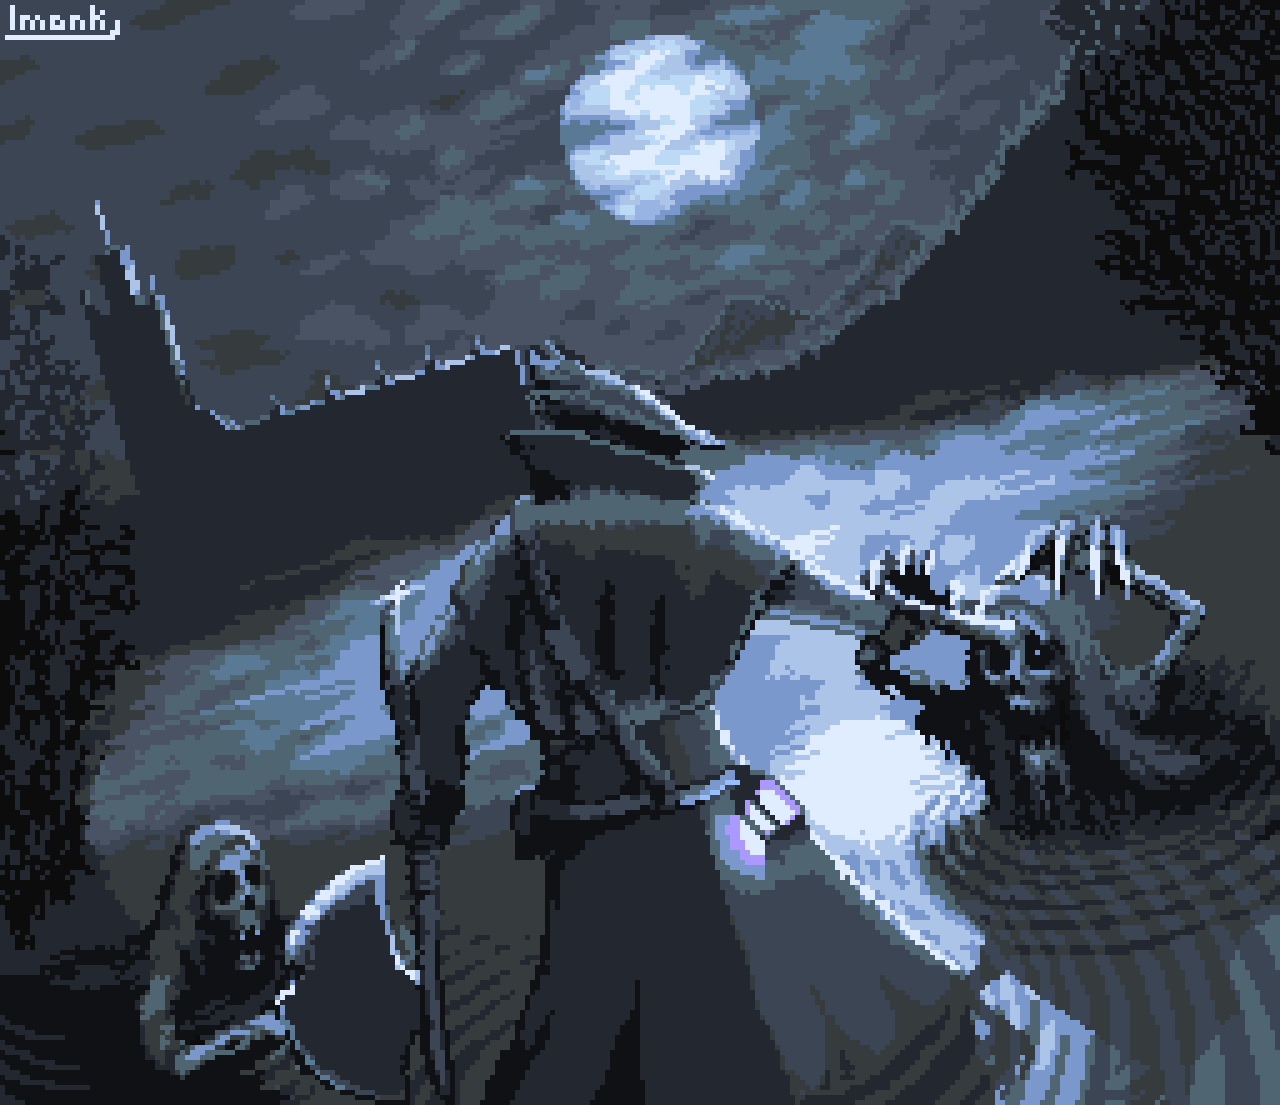
In conclusion, I hope this blog helps! I wouldn't consider it exactly a tutorial because I don't fully understand how skies like this work, but I think a know enough to showcase. Here is a Bloodborne fan artwork for example:
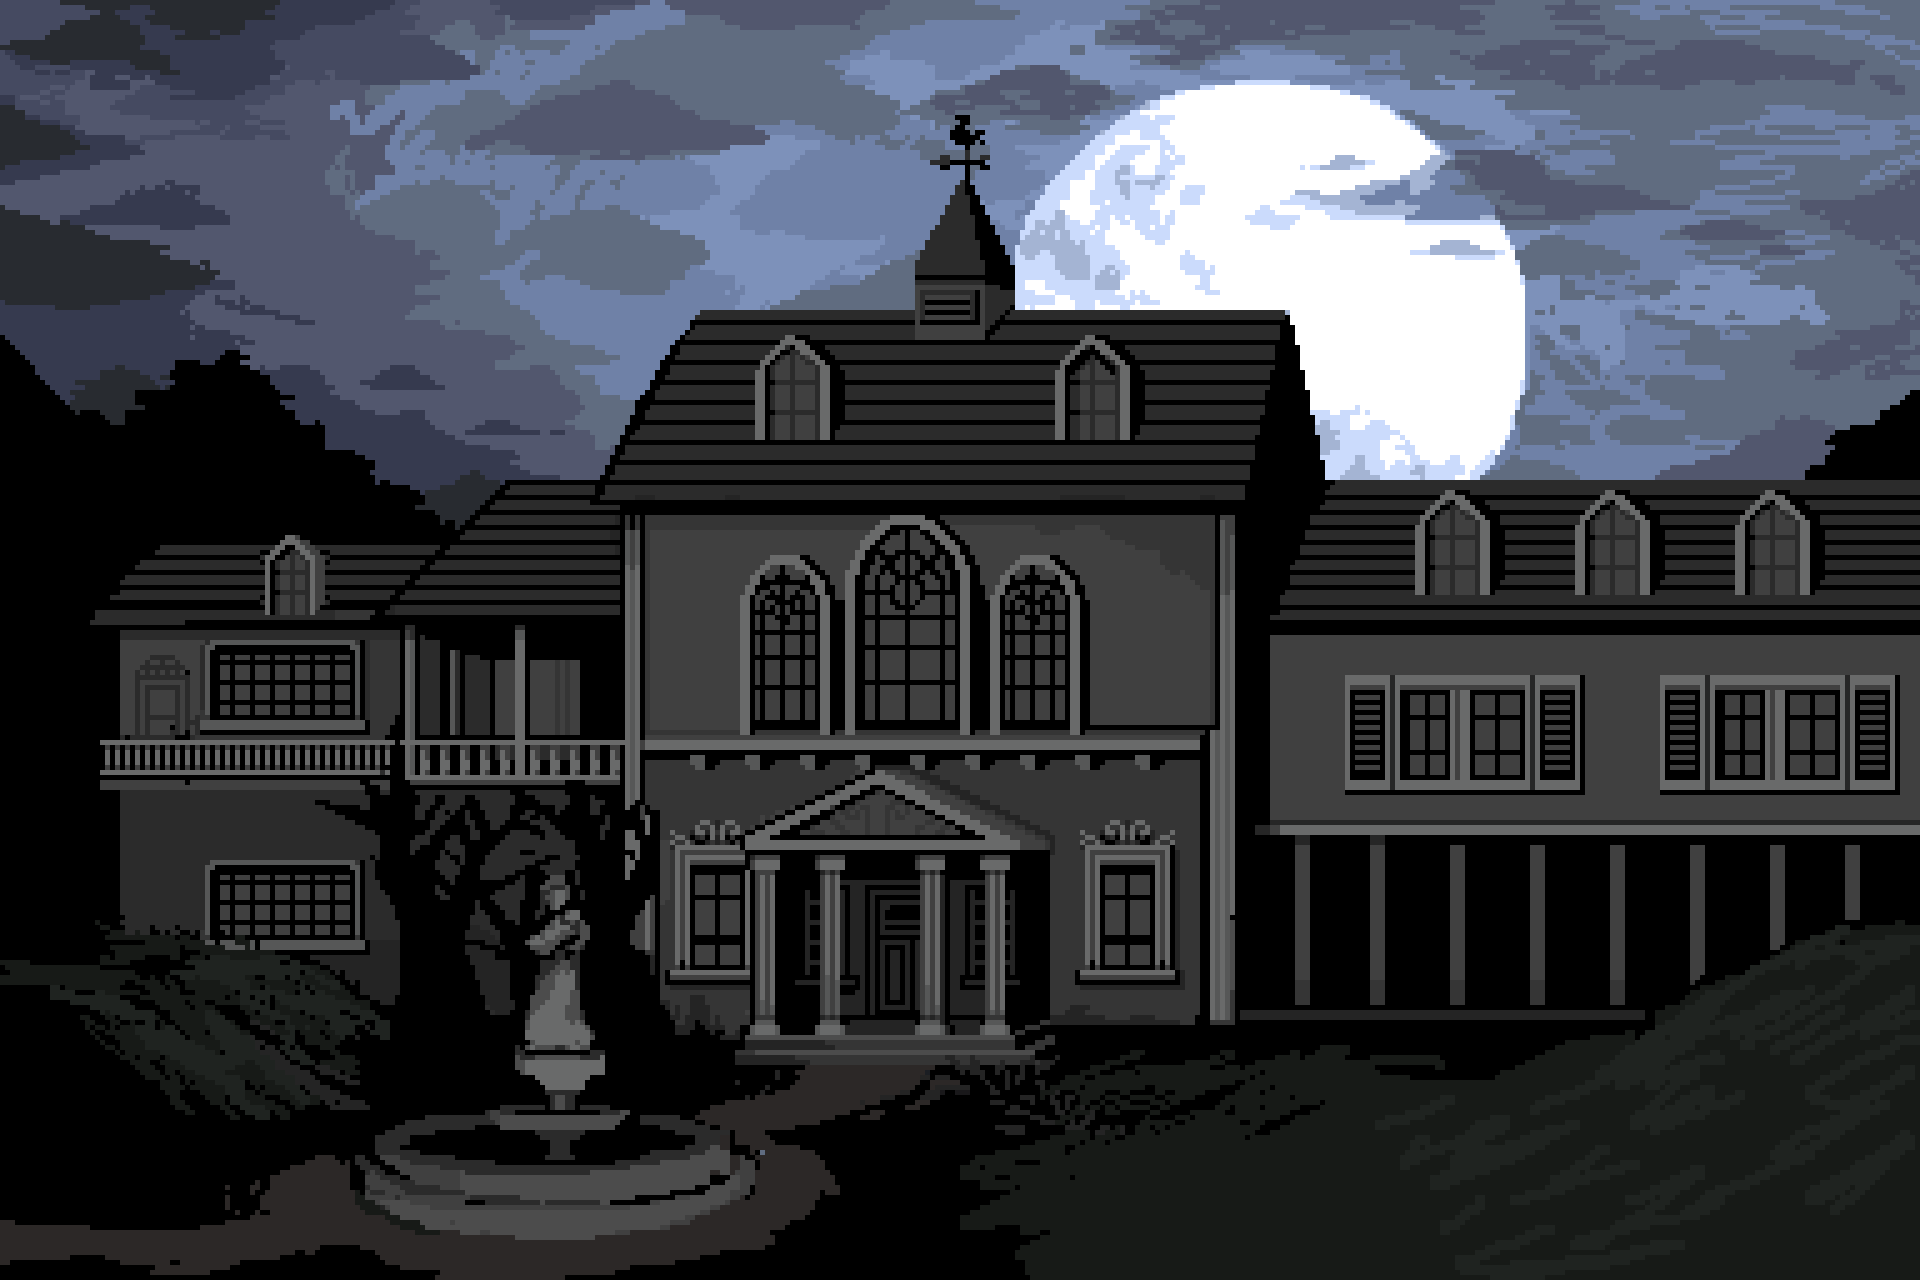
And this piece which is still a WIP but it has a nice sky.
Anyway that's it for this blog. Thanks for reading!

