Indie game storeFree gamesFun gamesHorror games
Game developmentAssetsComics
SalesBundles
Jobs
TagsGame Engines

PixelCNC Has Moved: deftware.org

CAM software developed by artists for artists to create unique and original works on a 3-axis CNC router or mill. · By Deftware

Tiny Cut - Dragonfly model

A topic by GettingRusty created Jul 07, 2024 Views: 149 Replies: 2
Viewing posts 1 to 2
(1 edit) (+1)

Hi, I am thrilled. As a new user to PixelCNC I tried to see how well a high detailed cut of 20mm would be delivered in fine grain wood. I found a grey scale photo of jewellery in the shape of a dragonfly.
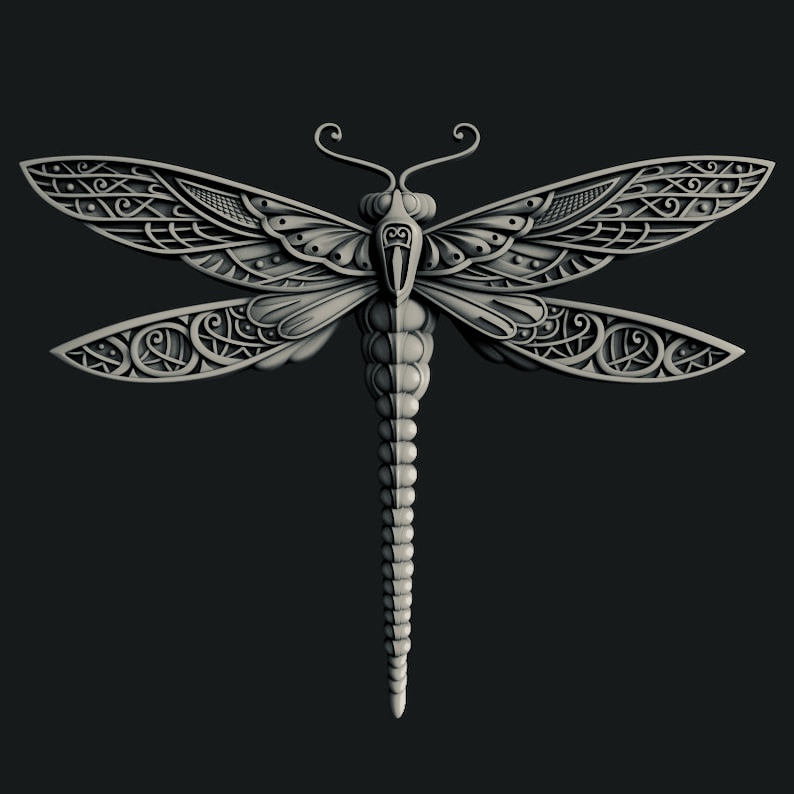


I used a number of bits, a 1/8” flat, a 1mm ball and a 60degree v-bit.  It was amazing to see my machine gradually cut this out, especially the attempt to cut out the wing veins. 1/100mm layers was used to finalise it at 1/2mm depth.

What made this extra special to me was that it done on my home made, designed and built machine done withwith a hack saw, file and drill press.
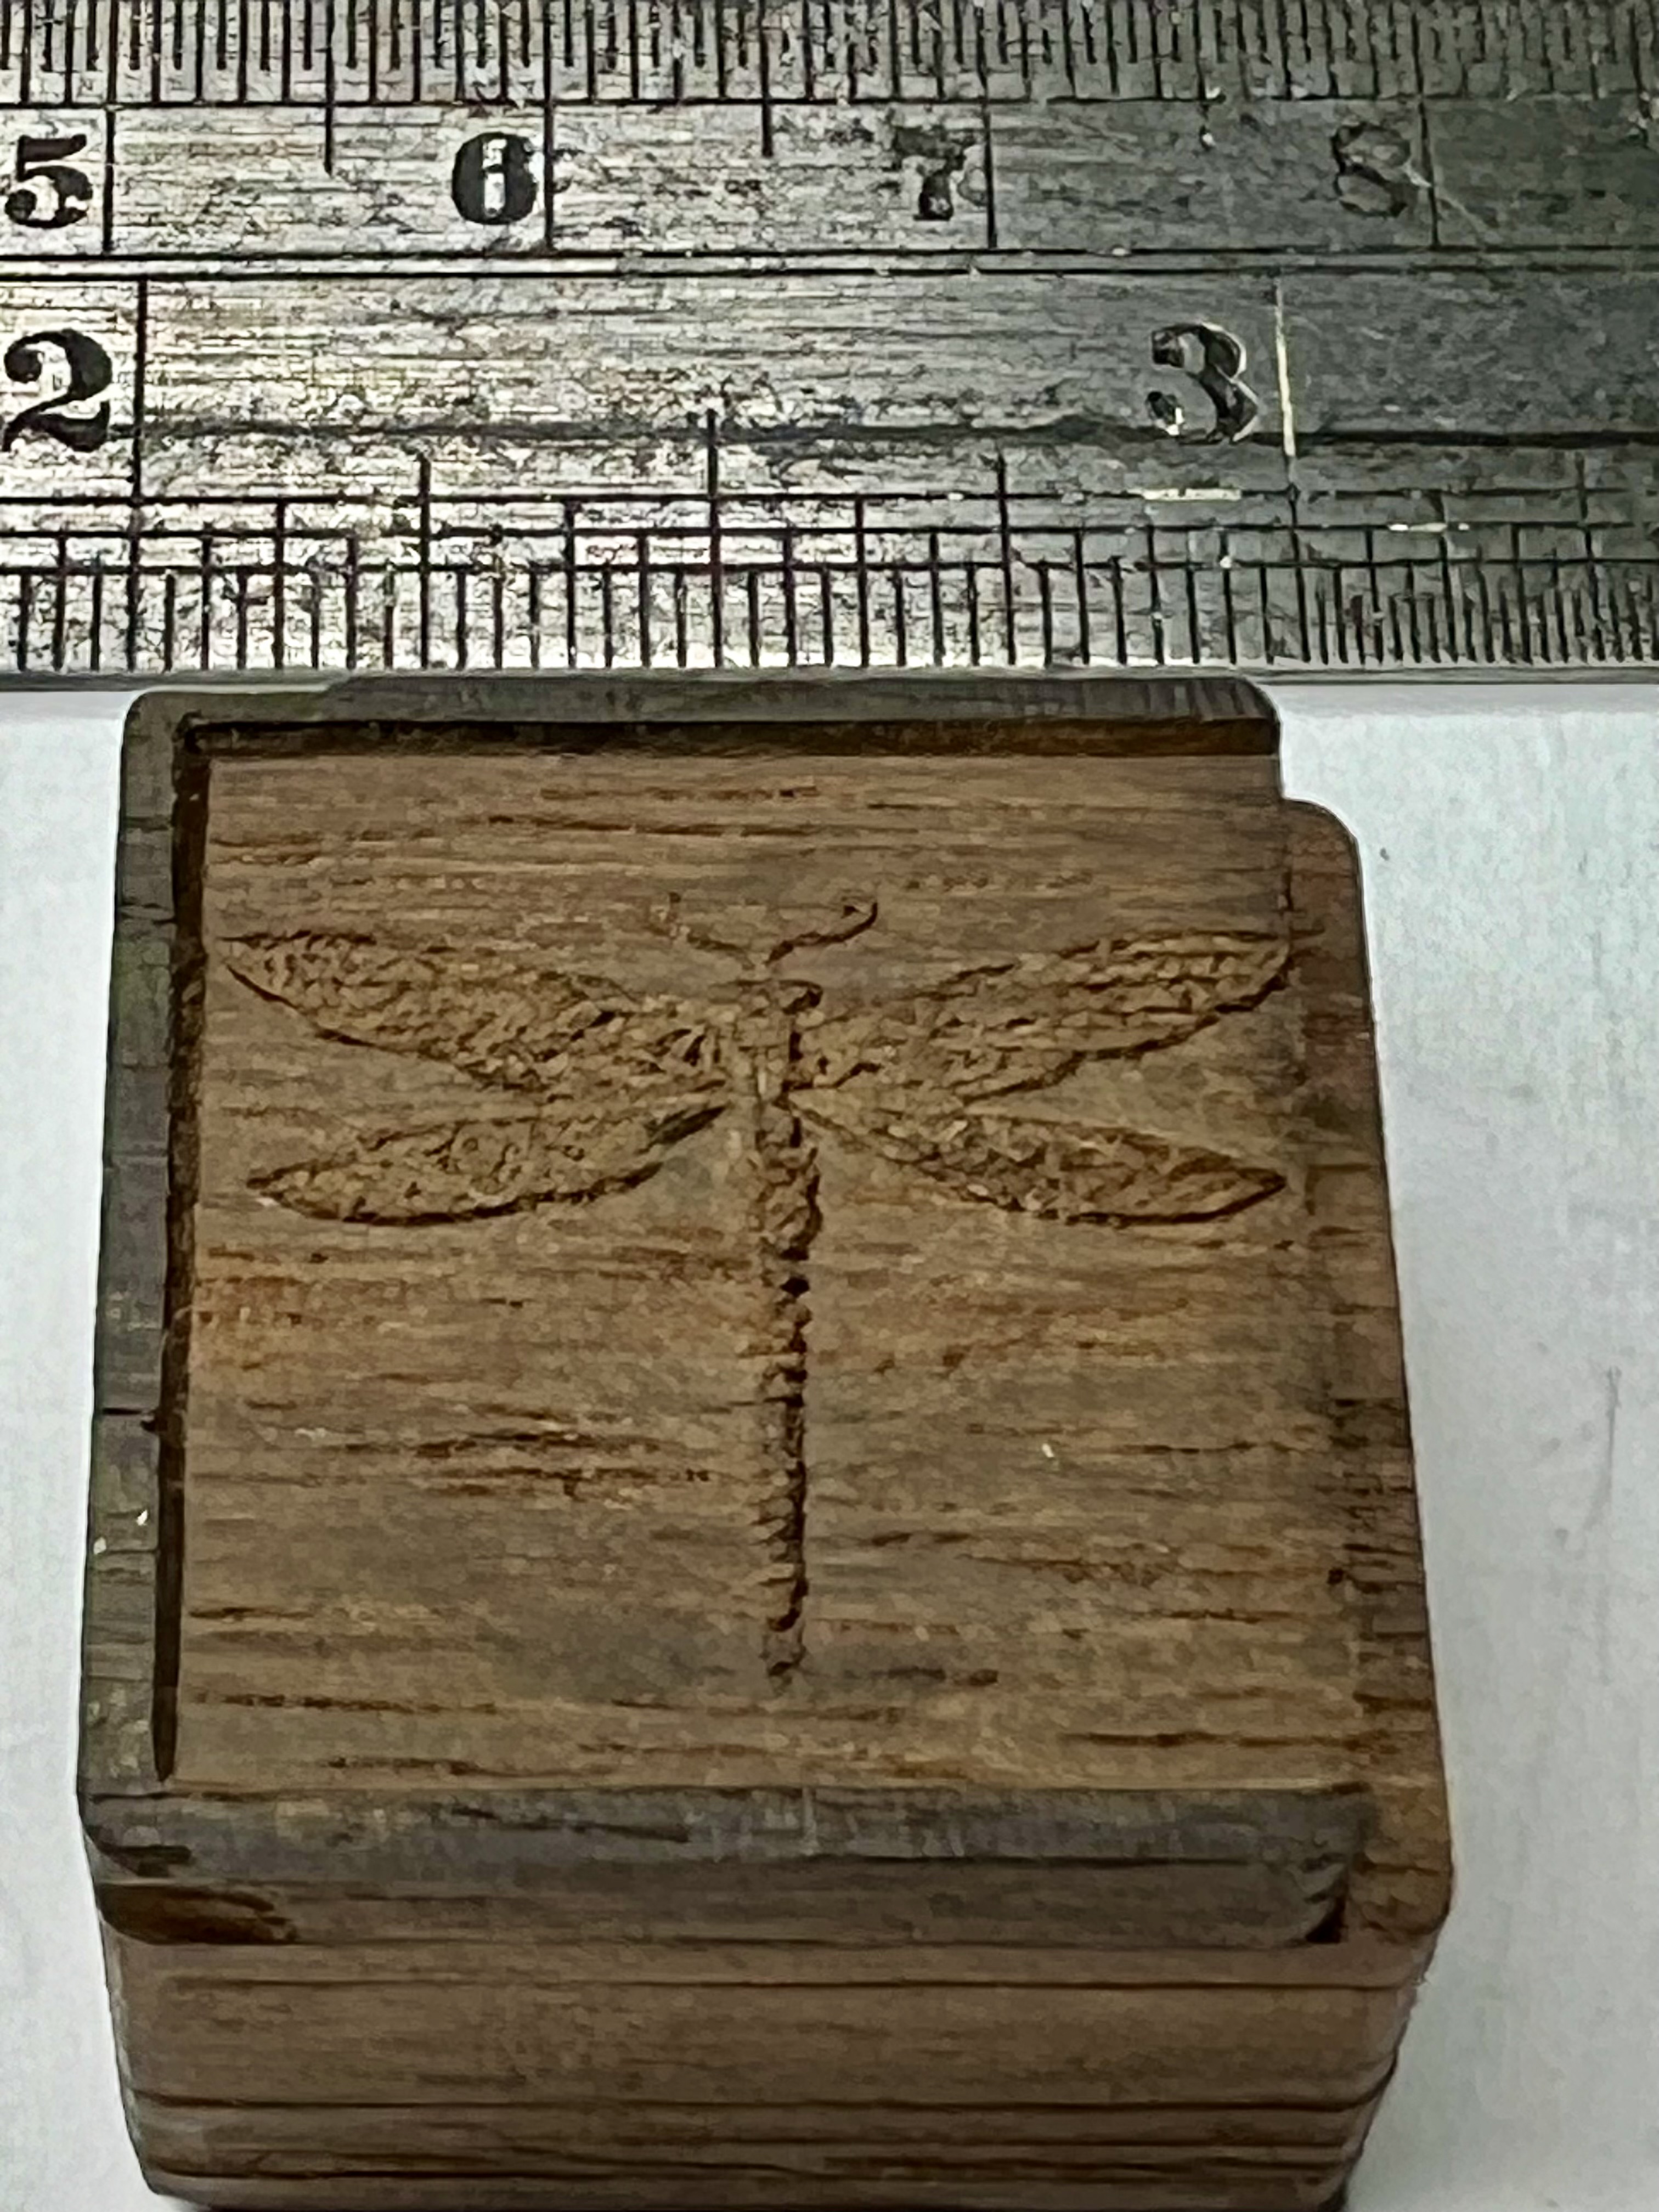


There were some challenges. One significant one was my dismal start where I couldn’t get anywhere near the resolution of showing any wing details at all. The answer, canvas resolution … 1000pixels did it. Of course the quality of the wood is a significant factor.

For this example I used scrap timber hardwood decking. I’ve no idea what it is. It’s medium hardness not anywhere as hard as Australian Eucalyptus hardwood.

My understanding of the cutting parameters is growing, albeit slowly. My earlier cuts were abandoned as taking far too long. 6 hours and still not finished is  the worst and depressing. I did get it down to 2.5 hours. Most of this was in cutting the wing details. Surely I can do better.

Another area for me to grow my understanding is cut type. I need more experience to best know what to use where and when. Currently it looks like the spiral 3D is the most efficient. Profile 2.5d is good too for roughing.

The cutting out of the block worked well when I worked out the offsetting to get the border spacing. I did though need to do trial and error to get the supporting tabs in preferred positions. In the example above I did have a border alignment issue. My mistake done when changing the bit. I need to take more care.

Now I know how detailed I can get I will start progressing to bigger carves. I can fit  A3 and in the distant future maybe a sheet A3+A3 long.  The challenge is there.

Aluminium is another. Maybe I could try this out on 3mm sheet, make it like a pendent?

What are your challenges?

Developer (1 edit)

Hi GettingRusty,

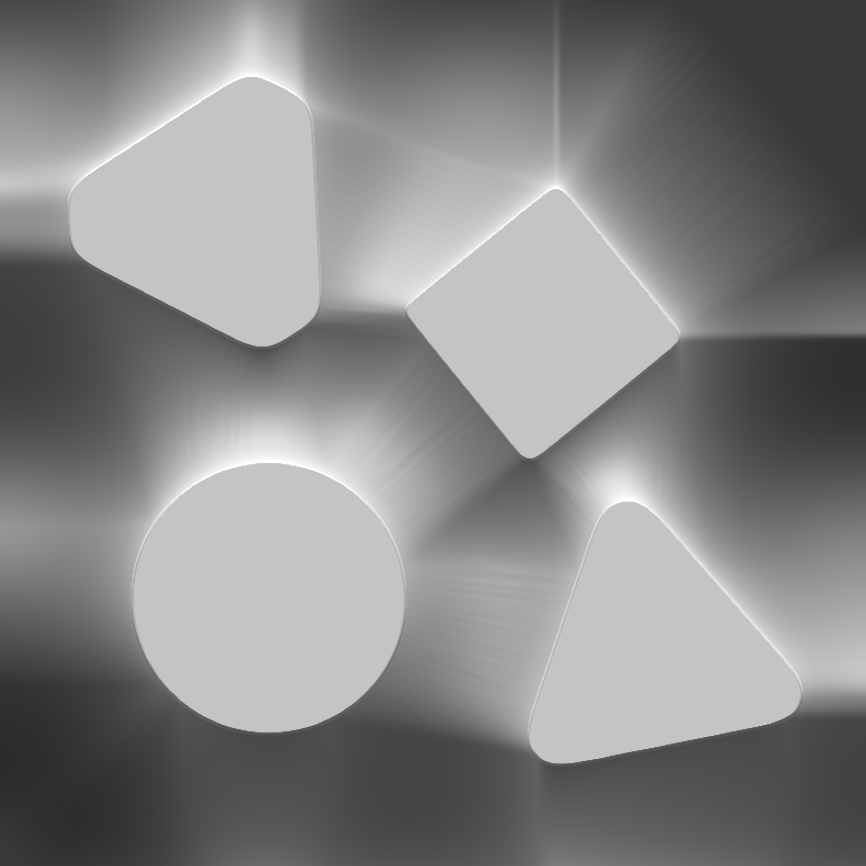
Looking good! The main thing to keep in mind is that an image's pixels are interpreted as height values. An image with lighting on it is going to have raised parts where the light is mostly hitting the surface. For example, an image like this:


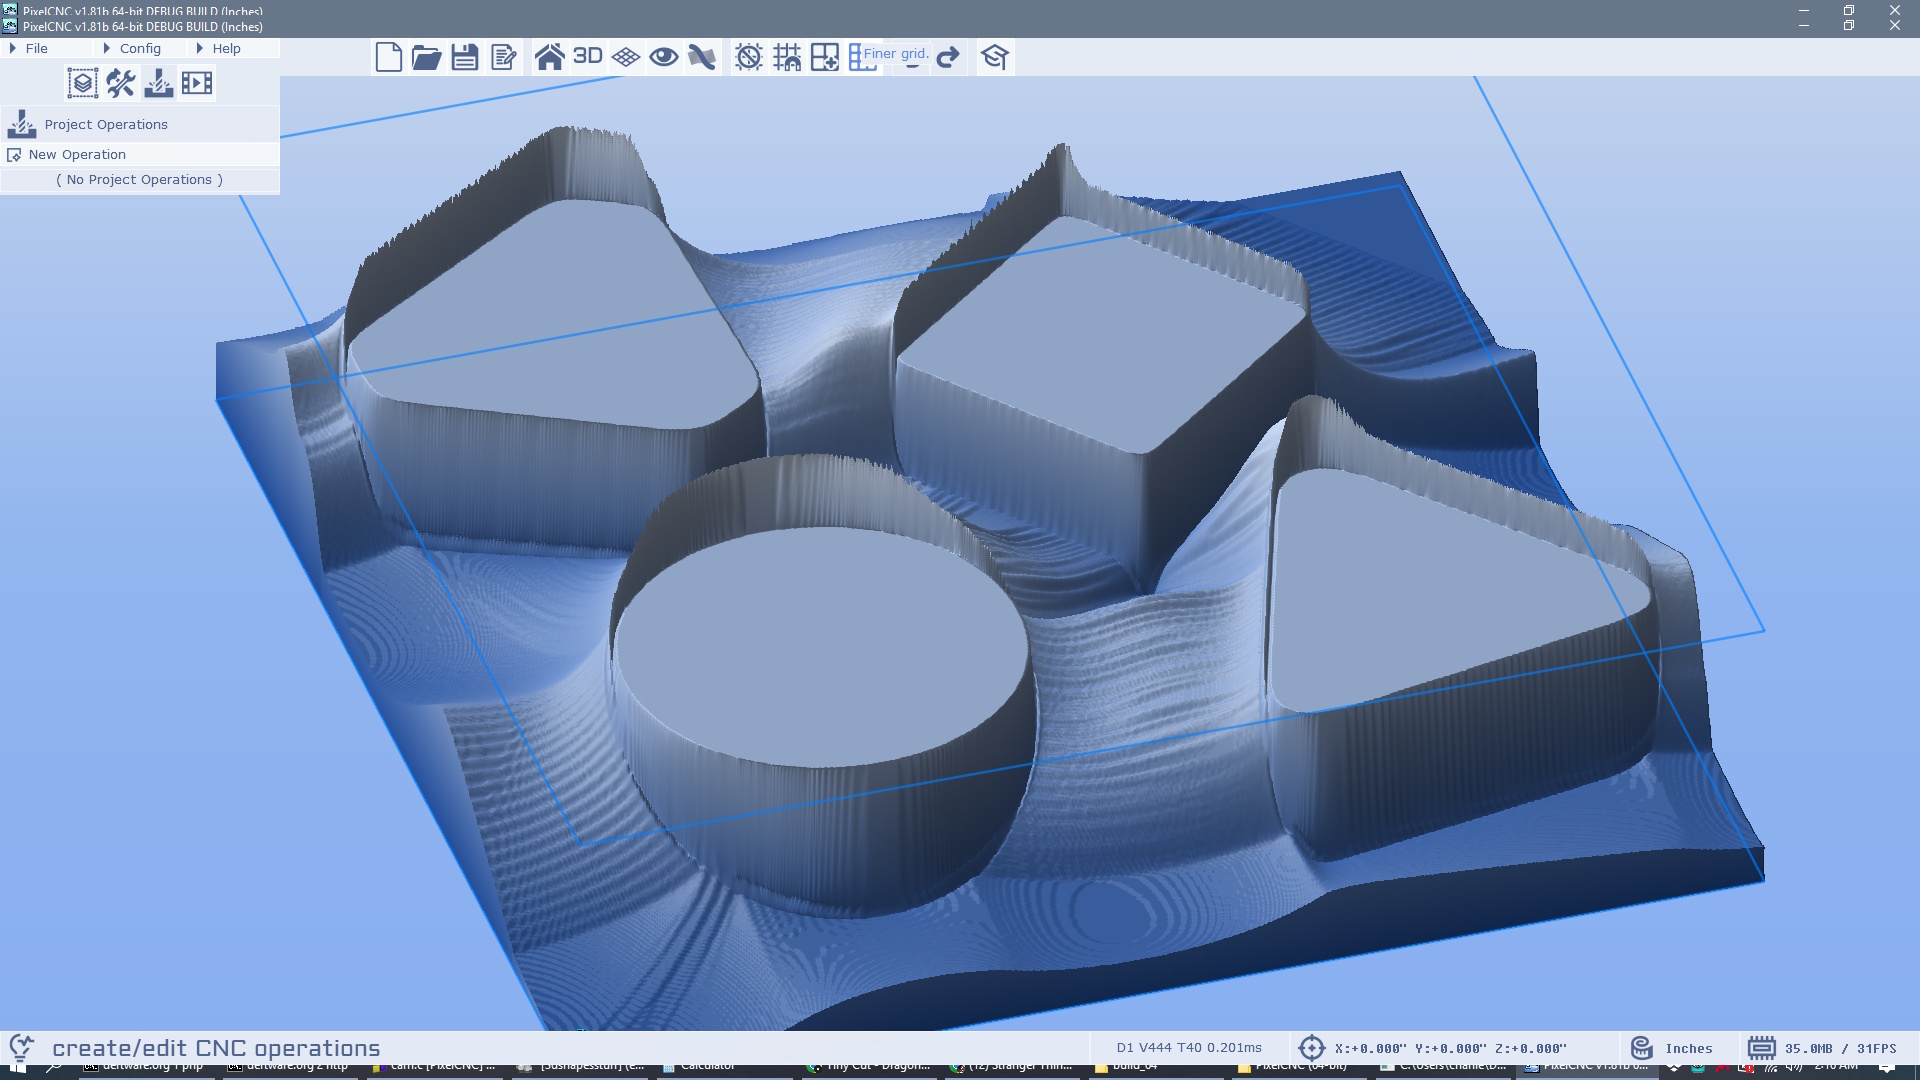
...results in a canvas like this:


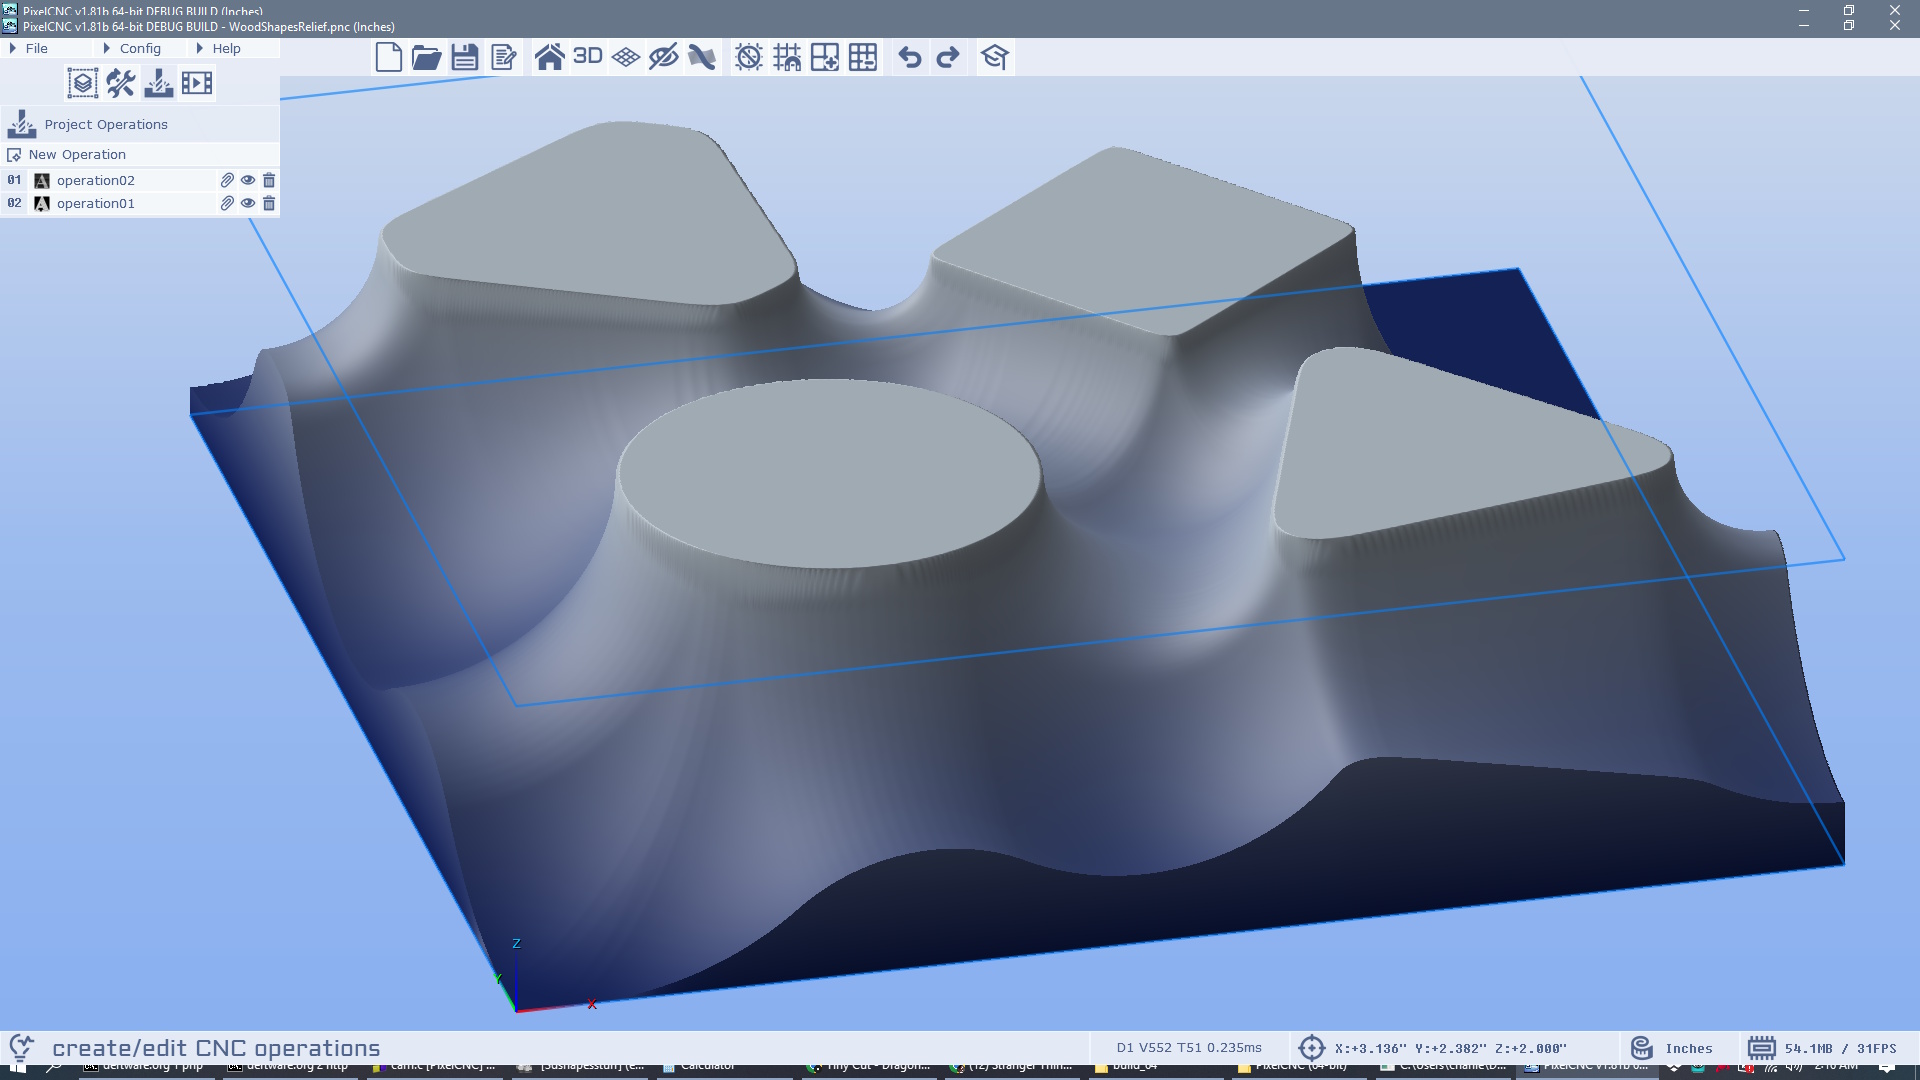
...when you're probably hoping for something more like what originally created the lighting-rendered image, which would be something more like this:


The key is having proper height/depth data if you're using an image, or using a 3D model. Or, if you at least have a black-and-white image you can load it as a raster-layer and trace to a paths-layer and then use Shapes From Paths to generate a 3D shape. You can do the same directly from a 2D vector, like an SVG or DXF that's loaded as a paths-layer. In this instance, you'd want the actual 3D model of the dragonfly from which the image was rendered - that will allow you to generate toolpaths that actually conform to the shape and details of the model itself, effectively turning your carving itself into the 3D model that is naturally "rendered" by surrounding illumination sources. This is what a relief carving is supposed to be.

Having a photograph or lit rendering (like your dragonfly image) is good though if you want to make a halftone or lithopane, but to create a relief carving - a 3D carving of the thing - you'll want a proper heightmap and/or 2D form to generate toolpaths from, or trace to paths that you can then generate 3D shapes from for toolpathing off of.


( EDIT: I thought I'd also include what the actual heightmap for the above example looks like here, just so you can compare with the original image at the beginning of my comment that is only a 3D rendering of this heightmap )


I do think the wood is also of poorer quality than you would want for such a small detailed carving. Of all the woods I've cut so far I've found red oak to be the worst thus, not that I know what kind of wood you're cutting here but it definitely reminds me of red oak's stubbornness. It has really coarse fibers and ends up being very stringy on the edges of cuts. A harder wood like maple or oak is much better for small detailed projects and cuts.

For relief carvings, the best way to go, toolpath-wise, is to use a flat-end cutter with a 2.5D milling toolpath and a Leave Stock that prevents it from exactly approaching the canvas' form. Then come in with a ballnose cutter and a Parallel Carving toolpath with a very small stepover to remove everything else and clean it up. Here is an example project that uses the Rest-Machining option to restrict cuts to the relief carving itself, after removing a bunch of material around it: 5x7x0.5 Deer Relief.pnc Note how the 2D/2.5D milling operations have a smaller border so that more material is cleared, and then the re-roughing/finishing parallel carving operations that employ the rest-machining option are using a different Layer Group that has a larger border so that no vertical cuts are generated at the edges/walls/corners due to using a smaller cutter. We're working on a way to use a paths-layer as a boundary for clipping an operation's cutpaths to in lieu of using the rest-machining option the way that this project does to minimize total cut time.

As long as you have no immediate plunge cuts in your relief, and it gradually enters down into the material with each successive cutpath, you can usually get away with just having a single parallel carving operation and a small stepover that's shaving material with each cut, and as long as you have no vertical walls in the cut while you're using a tapered ballnose it will be fine. Here's an example project where the whole thing is done in one pass that cuts all the way down: 8x8 Tree Of Life 1-Pass.pnc

In a situation where it's unrealistic to do the thing in one pass, it's best to use a 2.5D operation with a larger flat endmill cutter to hog out most of the material, and then come in with your ballnose cutter(s) to go the full depth in one pass afterward.

We're working on getting v1.81b out ASAP right now, which is largely a bugfix update, but the next update we're aiming to include several new features - including some new toolpath types and capabilities! :]

 - Charlie

(+1)

Thanks Charlie, great reply. The Dragonfly did its job, a small test of cutting abilities and to impress friends with an easy carried piece. It worked.

As for using photos I’ve recently and rapidly become acutely of aware of the significance of height maps and the limit of grey scale. I cut a portrait. 😫 The detail was great but the facial shadows stuffed it. In researching this subject and 3D models I’m seeing a great need to learn more in photo editing and I’ll also try at some stage STL file generation with laser scanning. My iPhone apparently can do it. Also I have now a greater appreciation of the need to learn the power of your conveniently included pixel modification tools.

Successful machine carving as an artist is far more complex than I thought.

I’ll study your examples.

Thanks again. Russ