
Indie game storeFree gamesFun gamesHorror games
Game developmentAssetsComics
SalesBundles
Jobs
Tags

Tengu_Yamabushi

9
Posts
1
Topics
A member registered May 22, 2023

Recent community posts

Cycled the various parts through the workflow - looking good! :
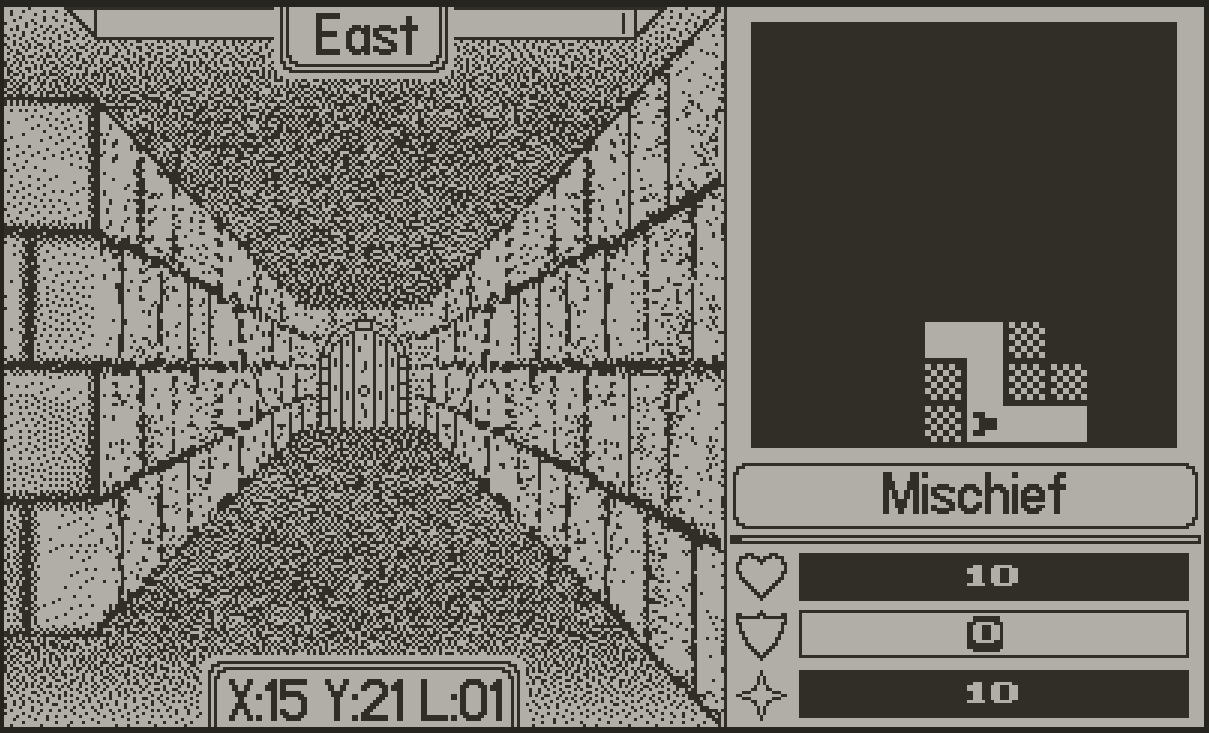
Thanks again :D

I think I've got it (see further down the thread), but you'll probably do it much easier than I did :D

(1 edit)

Ok, I think I got things working... very tedious to tweak numbers until things match the template in 3d, but I finally got it :) :


And the output:

So it looks like going 3D was the proper route, after all(?).

Thanks!

Just showing how the various pieces fit together (there are lots more, but this gives an idea)... I built this set last night, so not quite the same as what I'm doing today, but you can see the same 'crooked walls' syndrome ;) - this is running on the Playdate console (400x240 1-bit display):

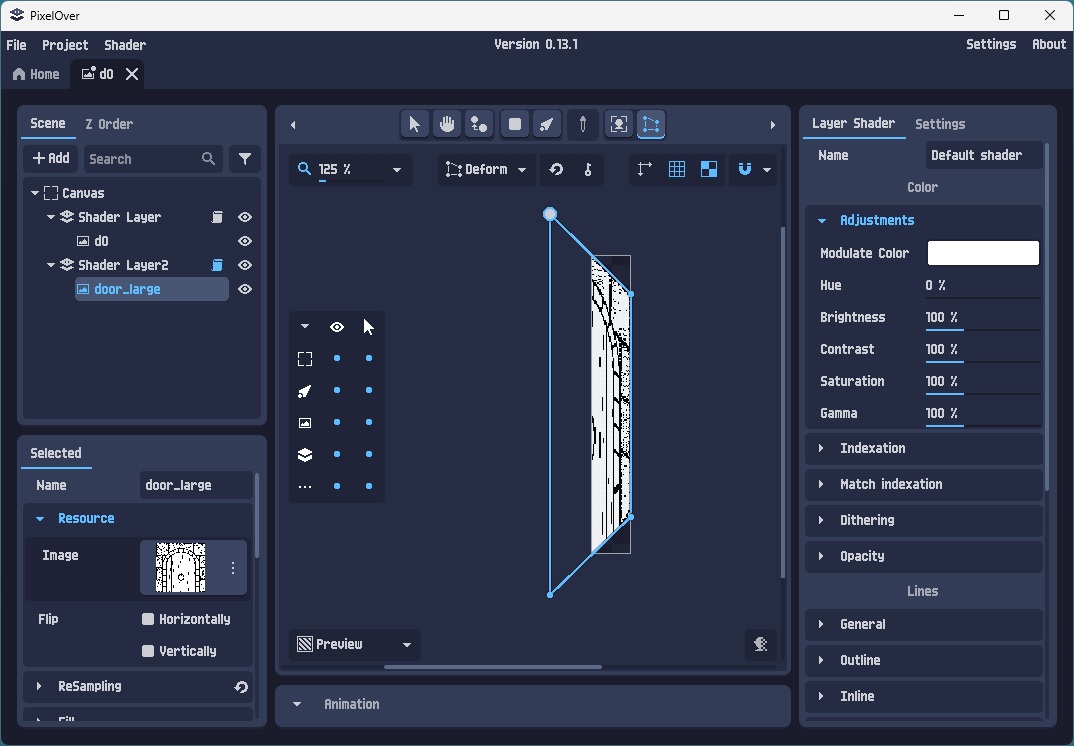
Well, having a square texture image isn't working for the walls (it worked fine for the doors, but not the walls... strange).

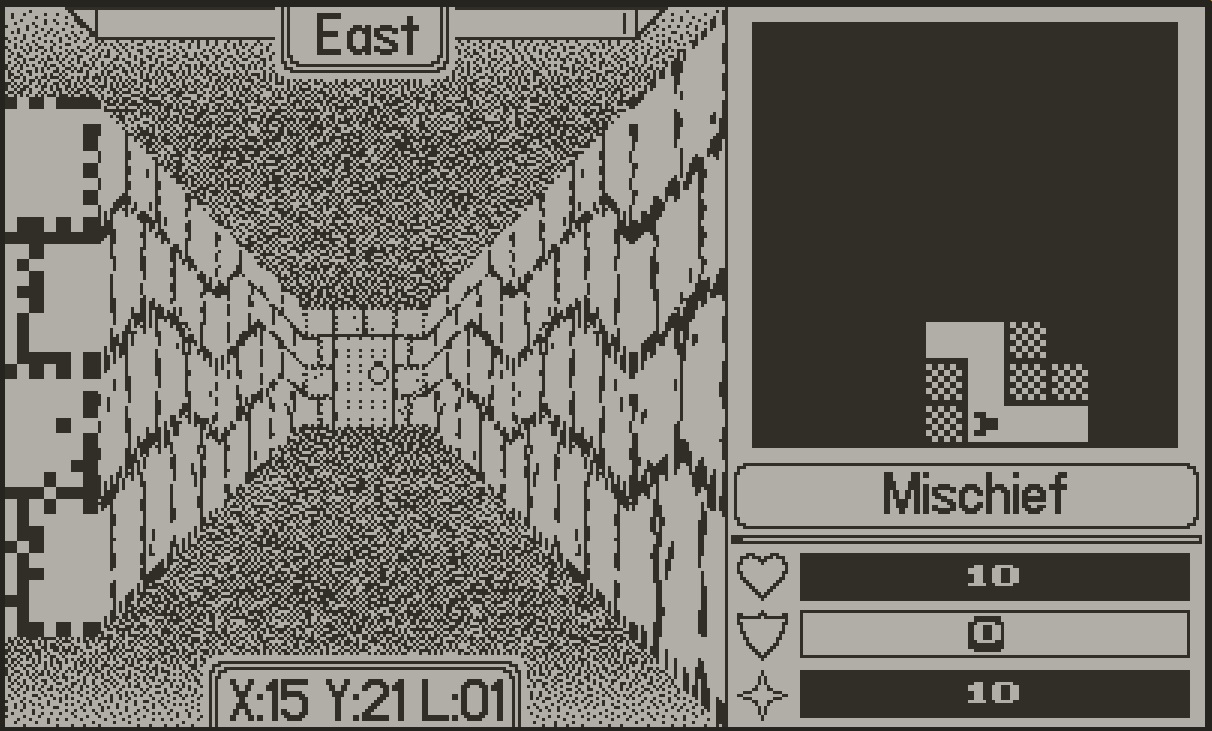
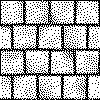
What I'm trying to do is make a drop-in replacement for this:


using this texture:


And wind up with something like this (note the precise dimensions/locations for the texture corners, these have to be exact so the pieces fit together properly):


So, I can get the size/corners right so that all the puzzle pieces fit together, but can't figure out how to stop the bricks in the wall from getting crooked.
(2 edits)

Ah, ok.  I'll try that also (assuming for more complex work).

Thanks for the quick followup! :D

Edit: no, the 3D thing won't work for this particular thing... the end result needs to be the exact same size/shape/corner-coordinates as the template image (these pieces go together like a jigsaw puzzle).  I can do that with a 2D setup by just matching the corners of the fancy image over a template, but that won't work in 3D (the template is 2D).  Will stick with 2D transforms for now, I think.

Yes, I'll be mirroring them :)

I think I've solved it... I had been trying to apply the post-masked image (green stuff for transparency later) which was taller than it was wide.  I trimmed it to just the part I was really interested in, which was same width_x_height, and things work much better:

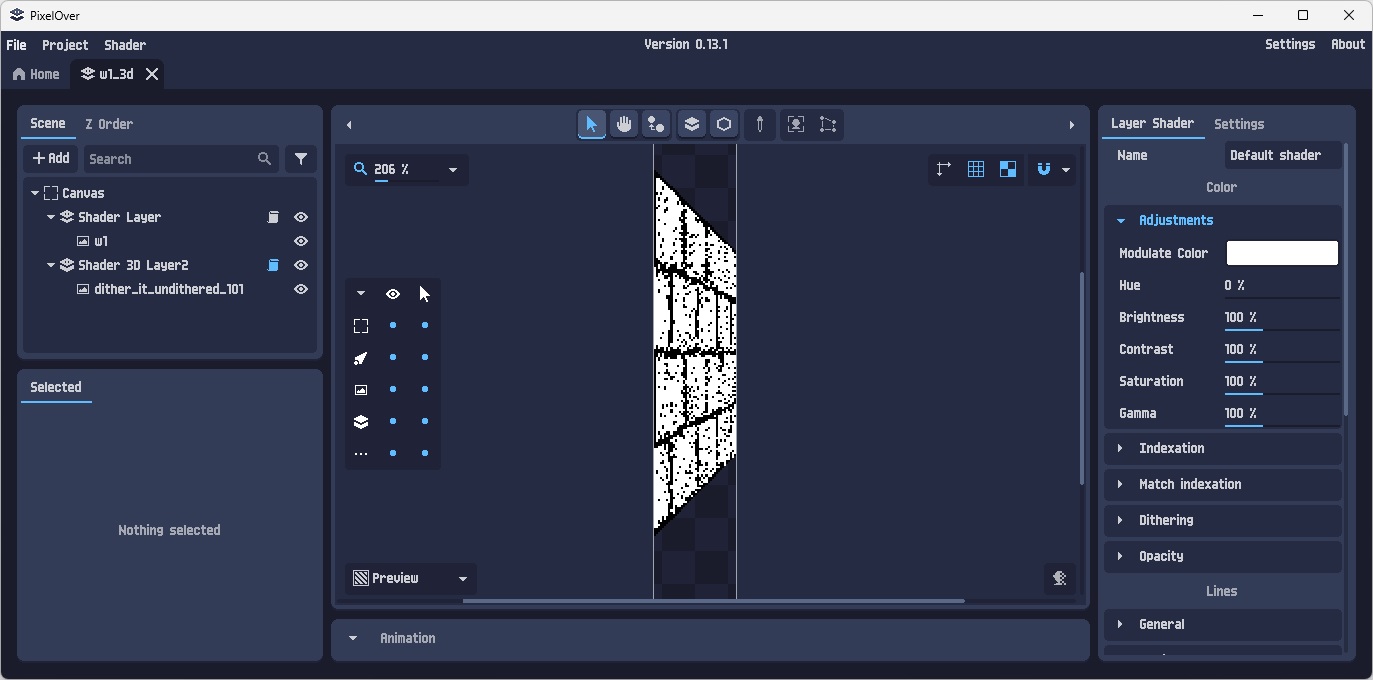
I'm using the Deform tool to stretch some dungeon walls/door sprites to give a sense of perspective (these are for use in custom 1-bit game engine).

The problem I'm having is that the Deform tool puts a hitch/bend at the bottom of the image... the top deforms fine, but the bottom edge acts like a part of it is 'pinned' in place and will not move - problem area circled in red here:

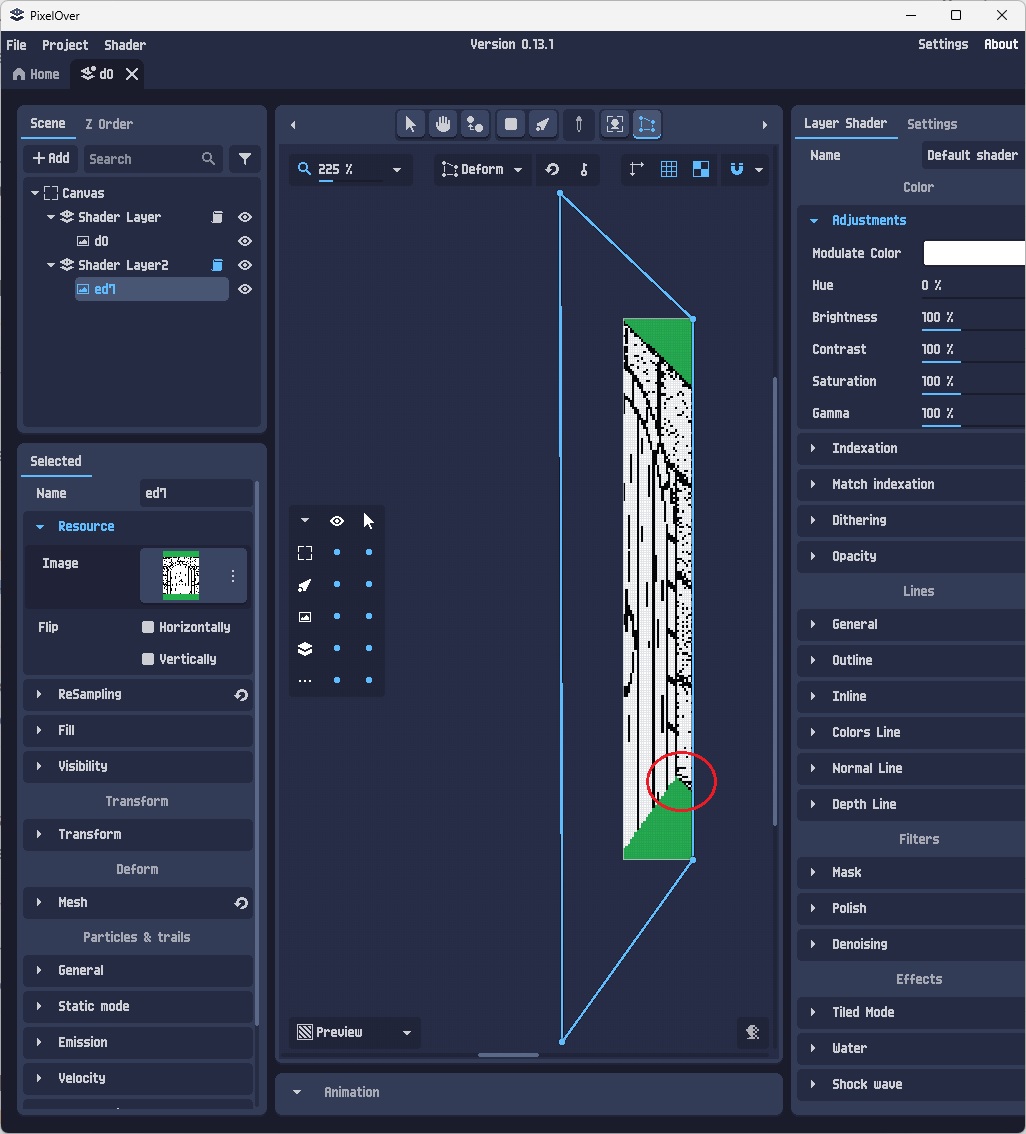
How can I deform the bottom edge to be a nice straight edge like the top edge?