Nice, I saw it on the main page, and it looks outstanding! That must have taken ages to work on... But it certainly looks rather impressive, and it is just how I pictured it! Nice work!
ThePurple
Recent community posts
After performing tests with the simple NES Emulator Mesen, the Controller does certainly work, although I noticed that I had to make a new input configuration for it. Throughout testing, it also recognized the NES controller as 'Joy 1' instead of something like 'Pad 1' when it refers to an Xbox One controller. Does the problem stem from this? The emulator might not recognize 'Joy 1' as an input.
Hello all! So, I just received two new NES controllers to hook up to the computer, to give a more natural feel when I play these NES games. However, I have noticed that the 3DNES emulator does not seem to recognize any input from either controller. After testing input both using the built-in input detector, and online detectors, it does register the different buttons being pressed, so I don't think that the issue is inherently with the controller itself. Is there a fix for this? I would even be fine with using another application to convert the inputs to signals that the emulator could detect, but I don't know of any. If it helps, the specific model I purchased can be found here on Amazon. Any help would be appreciated! (Note: It does not even detect input when trying to link the controller in the input menu, just saying 'press any controller button')
Burger Time seems like it could be a fun one to tackle, especially with a defined version! I might work on a 3dn version of it once I am done with Gradius, although that could be a while off yet. The simpler games are certainly easier to make, and a change of pace after a more complex project could be nice!
It's also nice to see someone so passionate about the emulator, it really is a cool bit of software, and making 3dn files can be as much fun as playing the games sometimes!
Oh, you are almost finished with Excitebike? I wasn't sure if you were still working on it. I saw the previous video of your work on the title, and it looked amazing! Seems like you are making quite a bit of progress with it, although I'm sorry I sent you down such a rabbit hole, sounds like it has been extremely difficult to pull off... Cool to see that you are still pushing through though, I'm sure the final result will be outstanding!
Aha! I was able to solve it using this solution, sort of. Instead of selecting a shape, I had to move into the tile selector, and create a new object by selecting all of 'KO' and the top left corner of 'N' which successfully de-linked the two. I then had to carefully trim with the eraser color, or else part of the N would also be erased, but it worked, and now there are no black edges to speak of! Thanks!
Hello all! I decided to start a new project, focused on 3dn-ifying Gradius! Using Dippy0615's 3dn file as a base, along with JJXB's UI code, I am making adjustments to make this similar to the style of my Metroid project. I have decided to name the series 'Defined' after just coming up with the name while I was lying in bed one morning. Anyway, here is an early look at what I have done so far! (Although I only started it a few hours ago, so bear with me.)
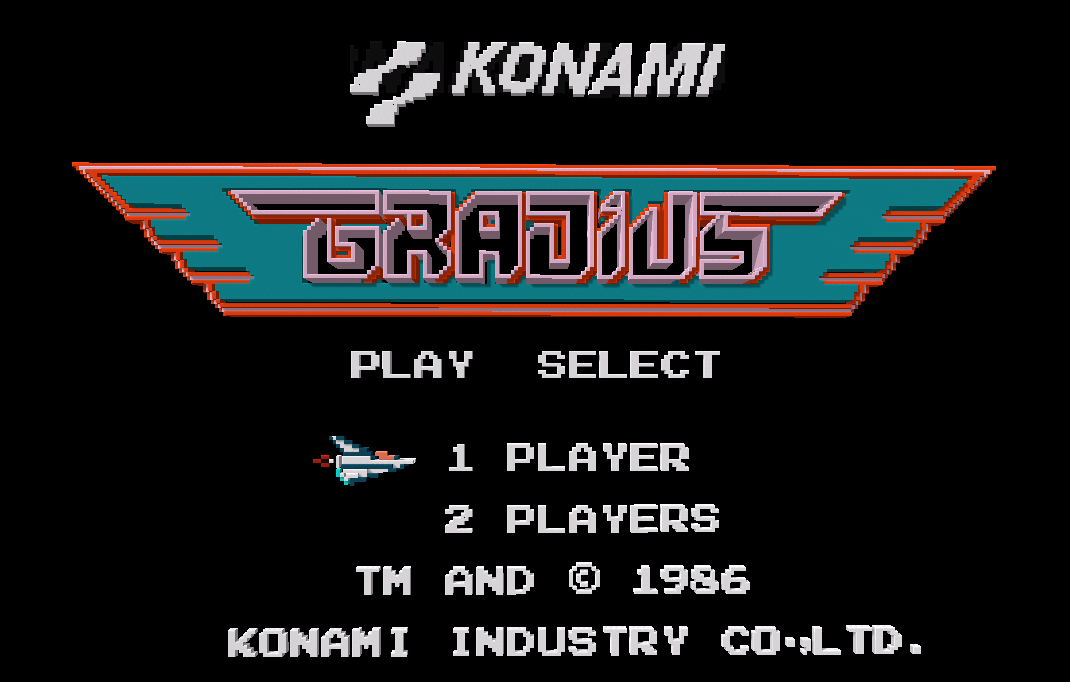
Honestly, the title screen is about how far I have gotten so far, which just had different layers similar to the Metroid one. Here is a comparison to the standard NES, although they are not too different, honestly.
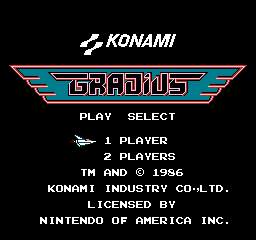
However, when comparing the ship, you may notice that it is layered as well, and when comparing the two, it doesn't look too different from head on...


See? Not that different at all! However, when looked at from a different angle is where my real work shows, I believe!
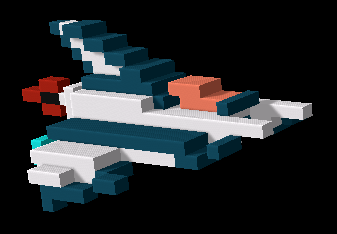
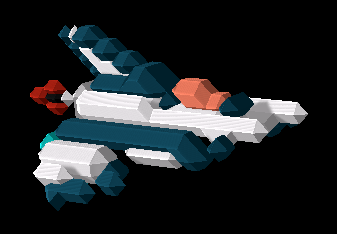
As you can see here, I have not just added different layers, I have actually used the layering system to make an entire 3D model of the Vic Viper. (With standard and retina variants as a comparison.) This is what I have put most of my time into, and plan to do this with most entities in the game.
The ship itself is based on Gradius' box art, and other concept art of the ship itself. 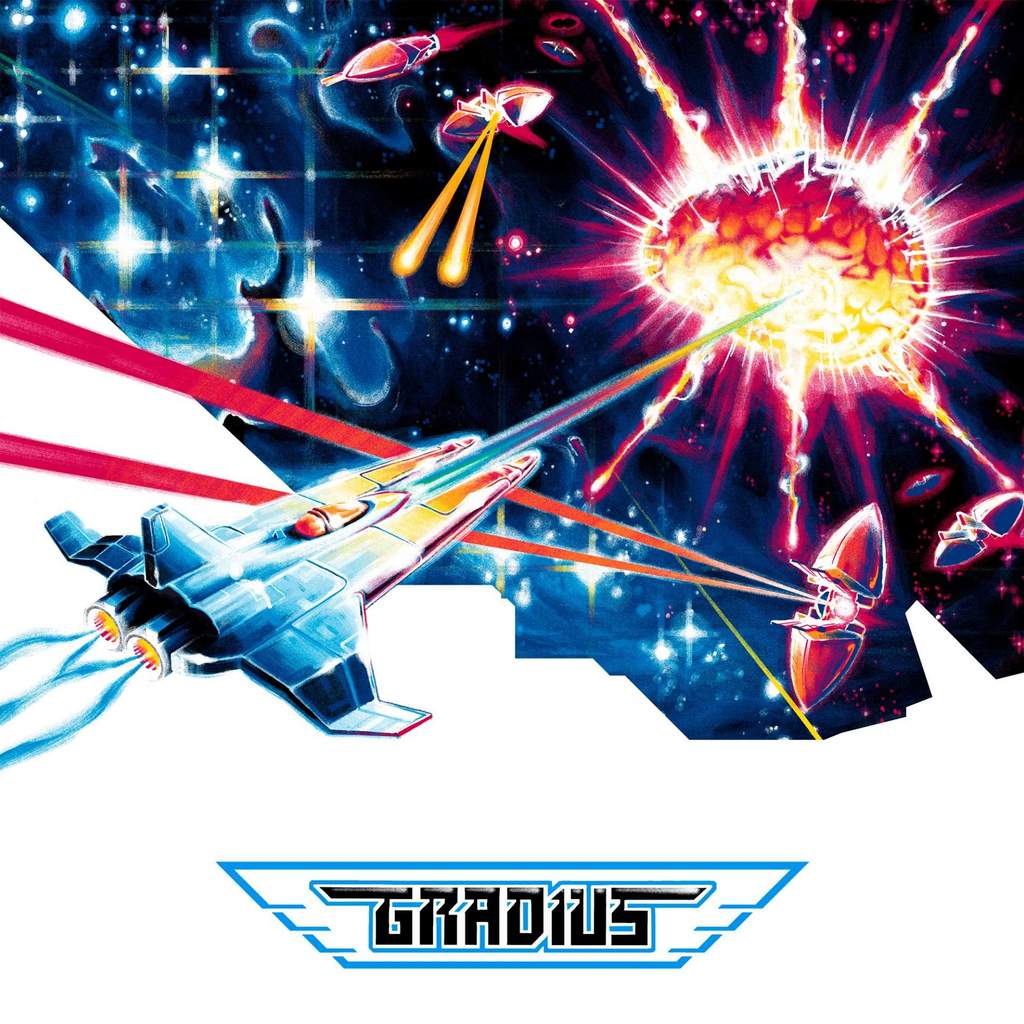
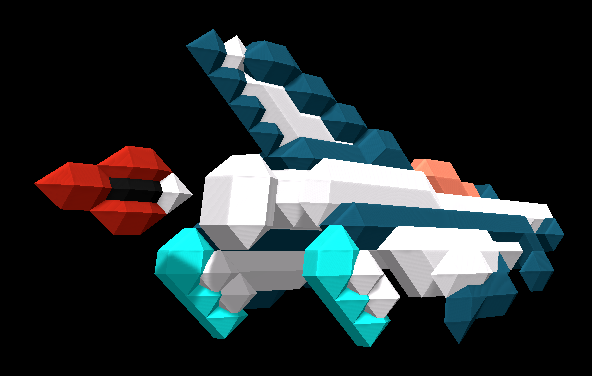
Here is some of the art I used as a reference, although I gave it some personal touches as well. I'm rather happy with the results, although this does mean that this could take some time... Now I have to go work on the other Sprites for the ship. Let me know what you think of it, and let me know if you think any improvements could be made! I'm looking forward to seeing what the final product will look like-
Hey all! Came upon a rather strange issue... I'm wishing to edit the Gradius 3dn file, in a similar vein to my Metroid project, but while cleaning up some of the sprites, I noticed a linking issue with the Konami Logo. While trimming the black outline on the 'mi' section, I noticed that any changes would effect the 'ko' at the start, usually tearing through the sprite. I'm guessing this is due to one being a kind of inverted sprite, but in its current state I can't adjust it without issues occurring. I have attempted cloning, but this does not work either, since the black outline will still be present when overlaid. Is this something that could perhaps be solved with coding? It's a minor issue, but it's driving me crazy.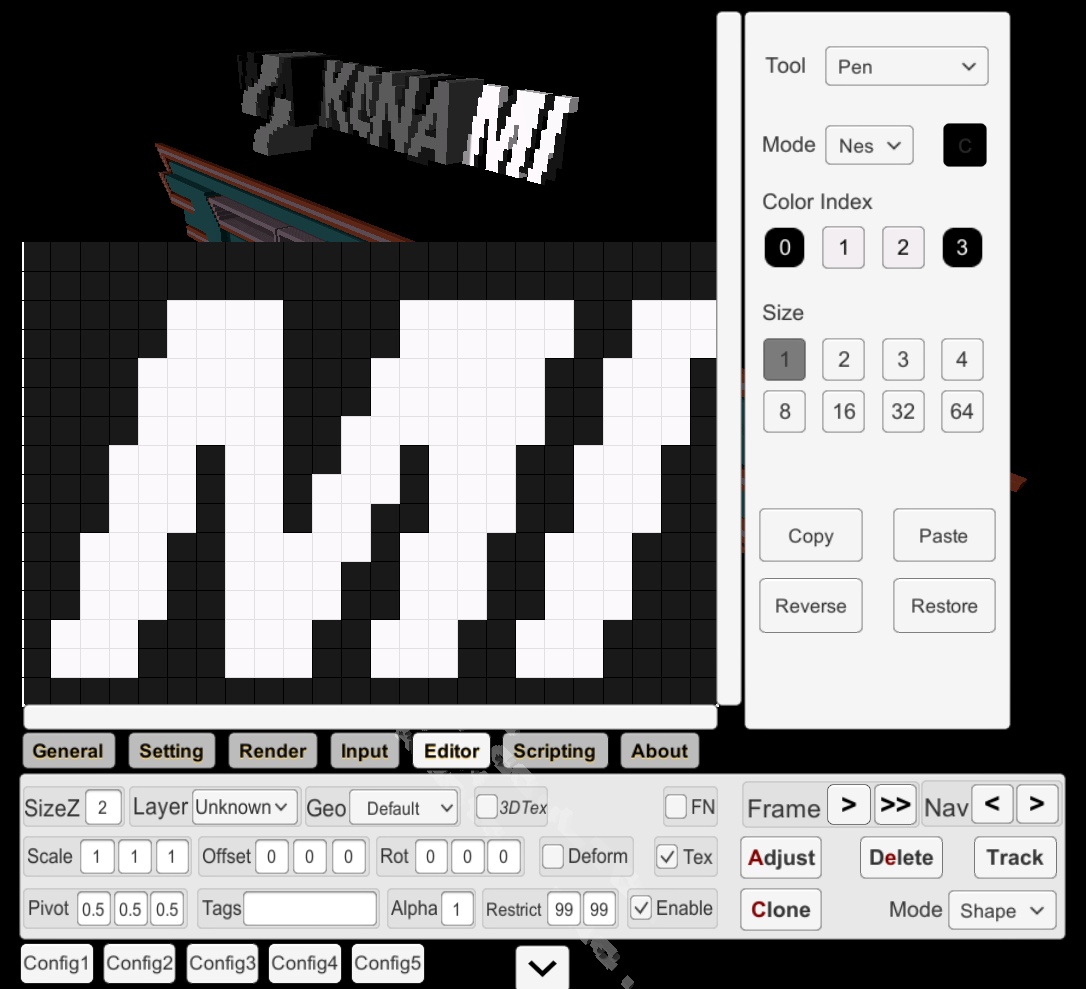 Here is the default appearance of it in the editor, when I am attempting to make adjustments.
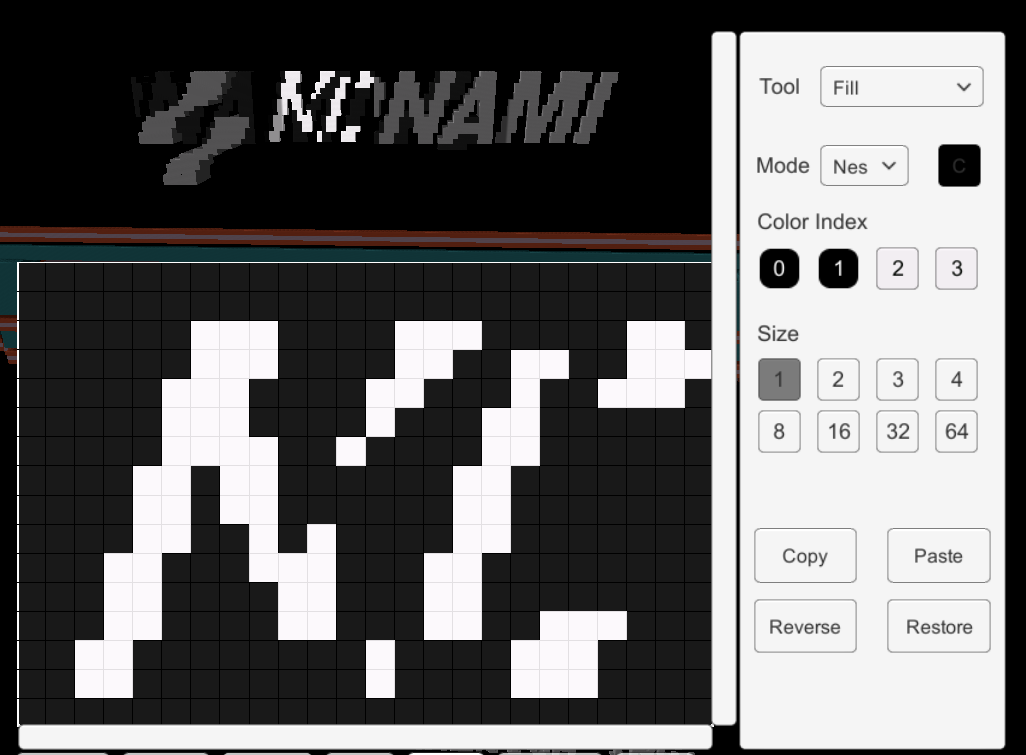 However, after these adjustments, this tearing occurs in the 'ko' section, which appear to be linked. I also noticed that the color index changes slightly, which makes me wonder if this is part of the issue. (As a side-note, this issue occurs even when merging the two into one sprite, or actually, they refuse to merge at all.)
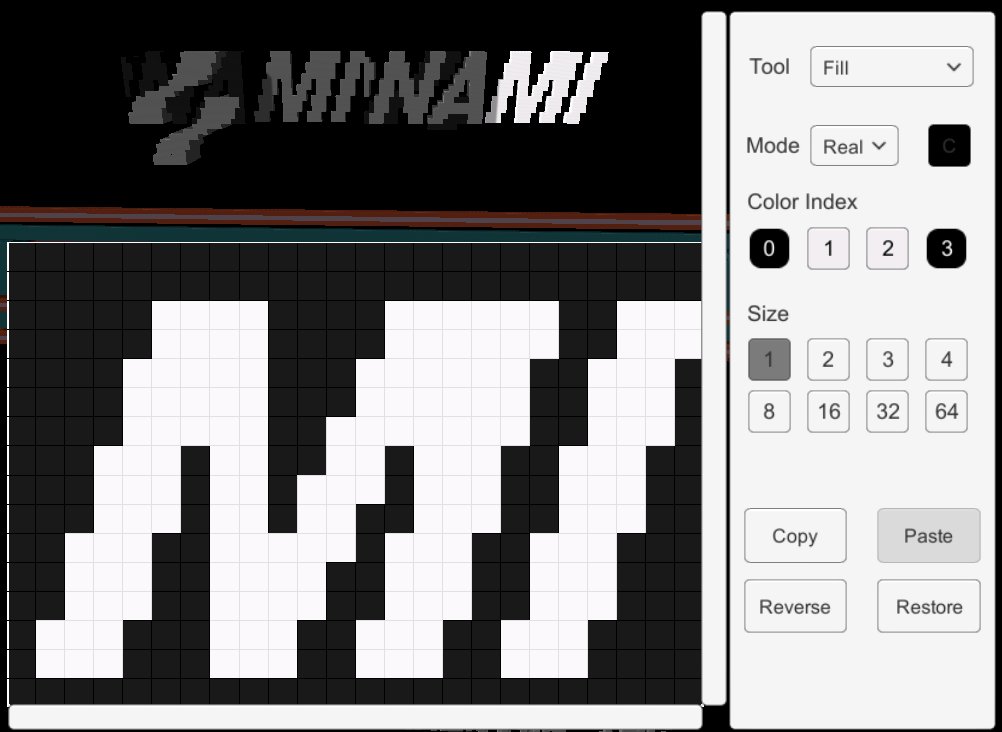 When I set the mode to real as well, they seem to both turn into the same sprite, creating 'minami' as it were. Is there a way to fix this with coding? I'm not exactly an expert with coding, so any help would be appreciated!
Oh... Yeah... I could see how that would be a problem. The y value is a big problem during most of this, it seems. Have you discovered a possible way to work around it...? I’m not sure how to even begin tackling such a problem... Thanks again for looking into this, don’t push yourself too hard though! This file is not the top priority, I would imagine.
Ah, I see! That does look promising! Even if it looks a bit wonky while jumping, but I expected that... (Since ramp implementation is not completed yet.)
Oh yeah, I forgot the shadows change to different sprites as well if it hits a ramp, which caused the strange lurching effect... Whoo boy. Take your time working on it if you wish, there is no rush! Thanks again for working on this... It certainly looks quite challenging!
Ah, that explains why I couldn’t find a setting for it!
And how long did it take to build, and walk through the build...? Well, I wasn’t really keeping track, but if I had to guess, anywhere from 18-36 hours. (Big gap I know, but I don’t remember a good approximation. It certainly took me a couple of days to complete it.
It certainly sounds doable, but I agree, very very complicated...
And yeah, I will adjust the ramps to do that, I haven't even started messing with those yet though, I am focused on making sure this works for the most part, before I pu t more work into it.
And sure, I can pass that along! Just know that like in the screenshots, it is rather messy, as I haven't gotten that far into the process yet!
Ah, I see! That might work as intended... While wouldn't work while going up ramps, that would just be something rather minor, I believe... (Or you could also try linking that to specific instances of the bike's motion, seeing as when going up a ramp, it needs to switch over to different sprites... Implementing this would be the difficult part though. 

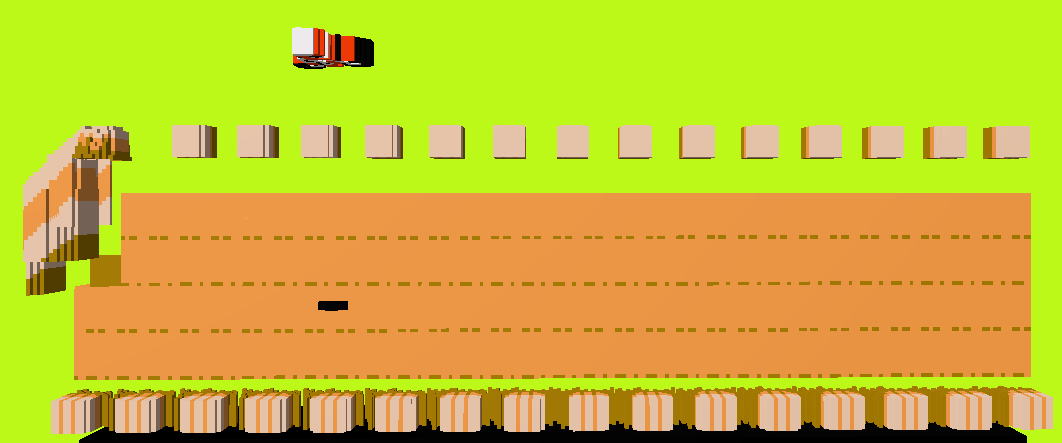

Here are a few images in two instances, where they go up a hill and change a sprite while also moving along y. The second one shows the shadow sprite, and how it moves sideways along the sprite. Will that script help solve this? And if so, how will I implement it...? (I wish I had more experience with scripting, but stuff tends to blow up in my face when I attempt it...)
So there is no way at all to effect z at all using scripting...? That’s all I really need to do for it to look correct... That, or use the distortion effect to make it rise up or down, depending on how high you go... That, or it’s effected by you speed when you leave the ramp... (Maybe use the bike’s shadow, since that only appears when one is in the air?)
Yeah, I can certainly see where the problem would lie! Now, I think with my shift in direction, it will be a lot easier though... But I still need to figure out how to convert y coordinate movement on a ramp, and convert it to z coordinates... And only while in the air, or going over a ramp. However, I'm not exactly sure how I would perform that feat, since the y axis is also used to move around bikes and such while they are on the ground. Is there a script, or an example of one on another 3dn thing that this could use?
Sorry, I didn't explain the rippling effect very well... Basically, any objects that would appear in different locations share different axis locations, so that when you deformed them, they some would go in the correct spots, but others would go in unintended places...
And yeah, that is exactly what I am going to do! I am pretty much going to have to erase all the ramps, and rebuild them pixel by pixel, taking pixel measurements so I get the right height, and building them that way. It's going to be a long process, but I'm sure I can make it work! Might just take some time...
Hmm... I think I figured out some version of a workaround, at least for me. The trick is, I think I am trying to convert this to 3d so that it matches the default camera. However, the way I should be going around is the exact opposite, which is by just having us change the camera to a default location. This way, I don't have to edit much of anything from the side perspective, and instead work around the already established top-down look, and just change the camera angle to make it look like you are viewing it from the side! This could work... And get rid of a huge chunk of scripting I would have to do! Haven't attempted it yet, but I feel like that will be much easier than what I am trying to do in the screenshot...
Hello all! Just thought I post a little bit of a sneak peak into what I am working on, and might ask for some help or advise in the process! (Seeing as I am a little new to this tool)
Here is a screenshot of the original version, and my version. (That is again, a heavy work in progress, almost nothing is done at this point in time, but it should show the perspective I am going for.
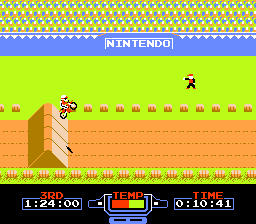
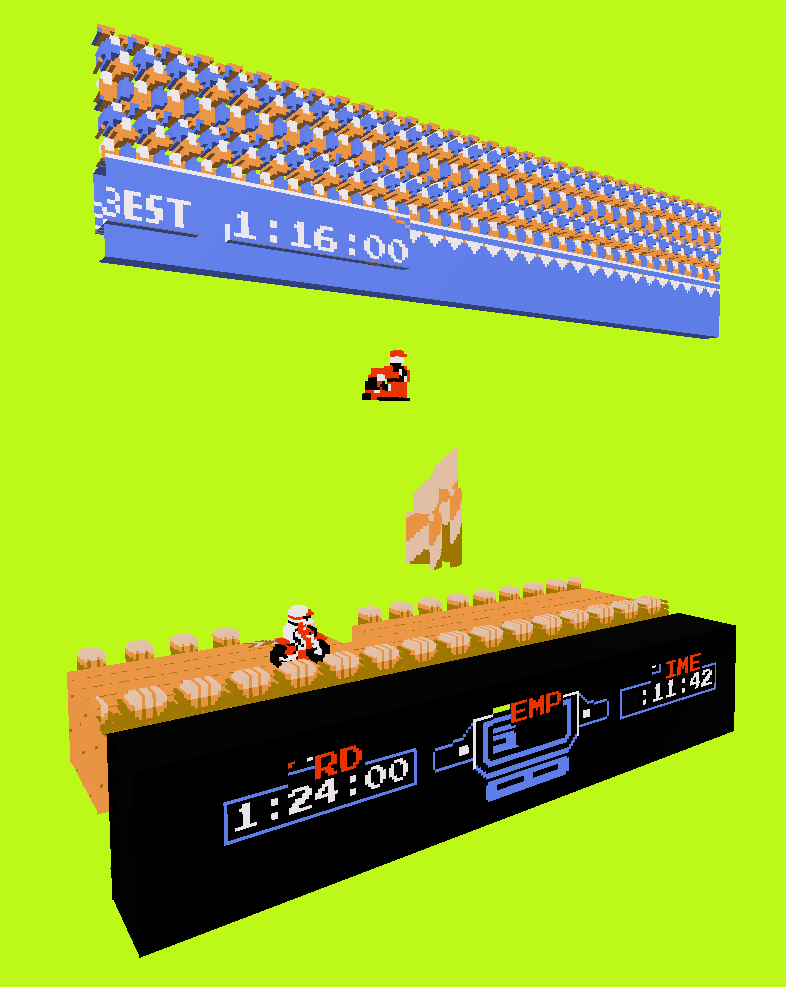
While this doesn't show too much, you can probably see that I am attempting to turn this into a flat track, and convert everything to actual 3d, instead of what the pseudo-3d entails. This however, has a few major problems. While the original moves the characters up and down to create an 'illusion' of changing tracks, if I move him to the location shown above, and decide to go left or right, he will still go up and down, and float in the air. My question is, can this be changed, through scripting, or something of the like? Or am I just out of luck?
My other question is that excitebike uses objects in odd ways sometimes, at least, when trying to convert them to 3d, so, I was wondering if there was a way to disable the 'rippling effect' that repeating objects gain, so that a change to one of the objects will not necessarily effect another one. It sounds a bit complicated, and it might be able to be done with some careful cloning on my end... maybe. Let me know in the replies! I'm not sure if the thing I am working on is even feasible...
Wow, nice! That turned out amazingly! I will have to check out and post the profile on the main entry, along with the video, if you don't mind! I can see a lot of cool additions that you made to this thing! I have a lot to learn with the pro version of the software... How did you change the background, for instance?
But yeah, I will certainly edit it, and add these things on here... Would you like me to just use your link for the download?
Hmm, I see what you mean, and while this would fix some of my workload, it would not fix all of it... On the title screen surface layer, that would have helped out greatly, as they simply repeat now and again, but those are only with standard tiles and larger background pieces which repeat. There are some objects that are simply just too big, and don't repeat enough to warrant an entire tile reconfiguration. Take Kraid, for instance. He has quite the complicated model, but his parts never repeat themselves in the game after that point, so the tile solution would just cause more work for me in the first place. Really, a replace tool would kill both of these issues at once, by allowing just two clicks to get rid of an entire sprite layer/color.
Alright, here are nine save states I made, most of which are at completely different locations. Some of them are boss fights as well, although they connect to other rooms with potentially different tile set too, so here you go! -Save States-
Thanks, I am rather happy how it turned out!
And yeah, that pretty much sums up how I did this, just a whole lot of cloning, and texture editing! Thankfully, I was just able to change everything just by playing through like you normally would! (With the exception of waiting for the different endings, of course!)
Thank you! I am pretty happy with how this turned out!
Nice to hear that you are working on a gameplay video for it, I’m looking forward to it!
As for the ground depth, doubling it would be quite nice, but it is not without its problems... Metroid seems to share a lot of block assets, so when ai double the size of a block, it can effect blocks everywhere, not just those along the ground. They also don’t adjust similar blocks around them, such as the slope and ground sections, so then you have to adjust them as well, creating a sort of domino effect. So while it would be possible, it would certainly take a bit of time. Still might attempt to do it later though.
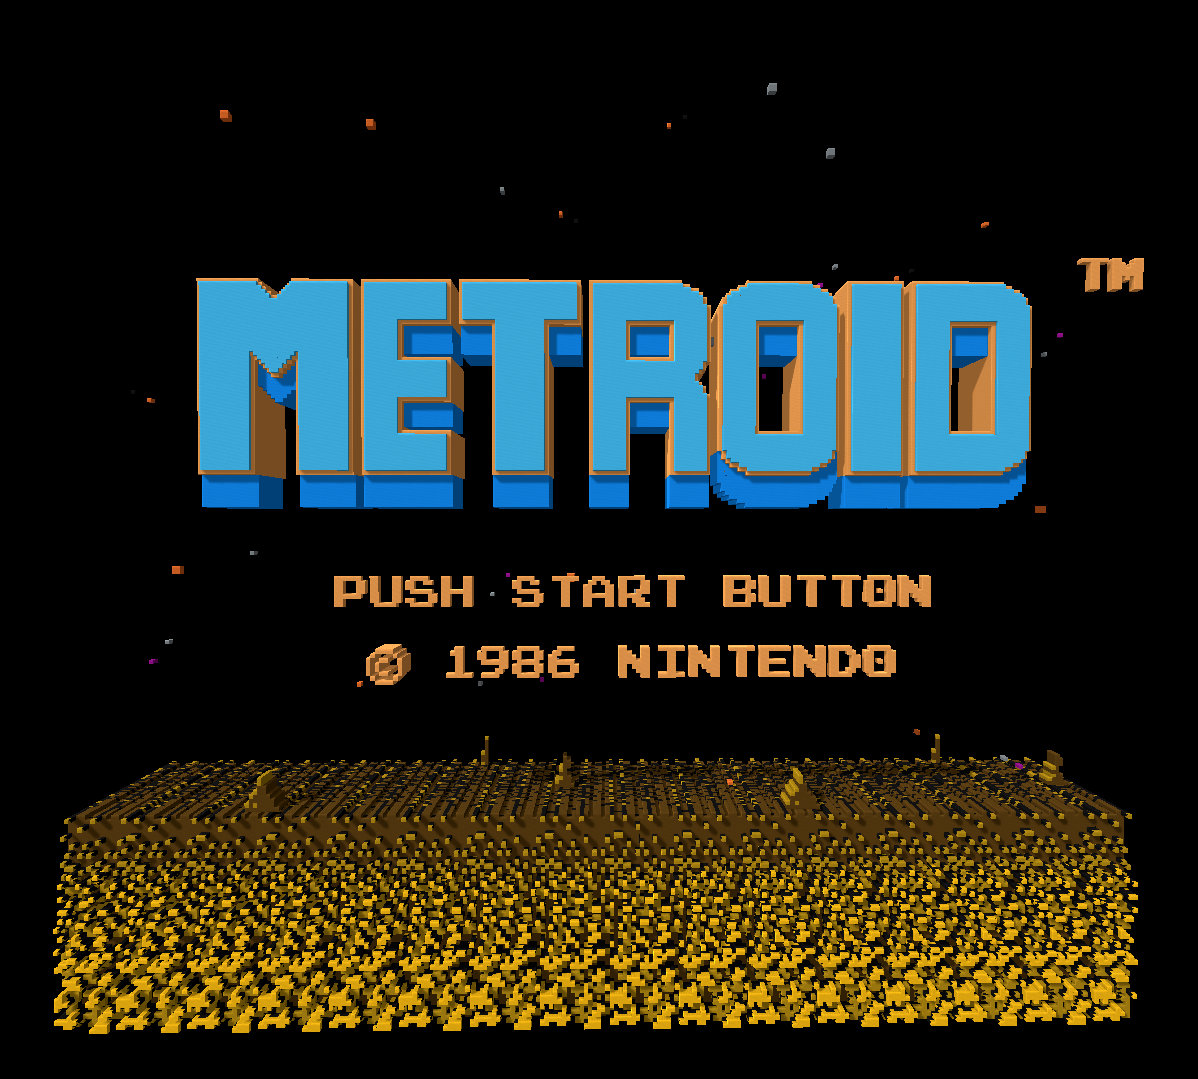
Hello, and welcome to my first 3dn file upload! This is the 3dn-ified version of Metroid, which is also compatible with the mod Metroid Plus!
(Video consists of Version 1.3.0 ~ G, video and version by Geod.)
(Screenshots consist of the 1.0.0 version)
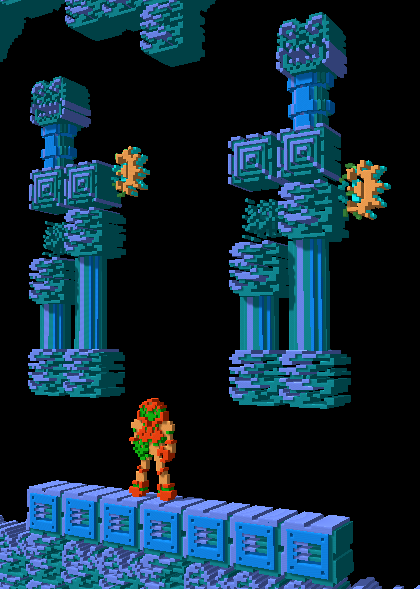 1.0.0
1.0.0
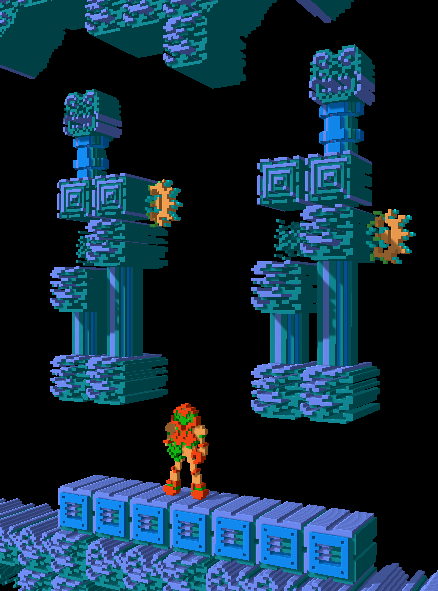 1.2.0
1.2.0
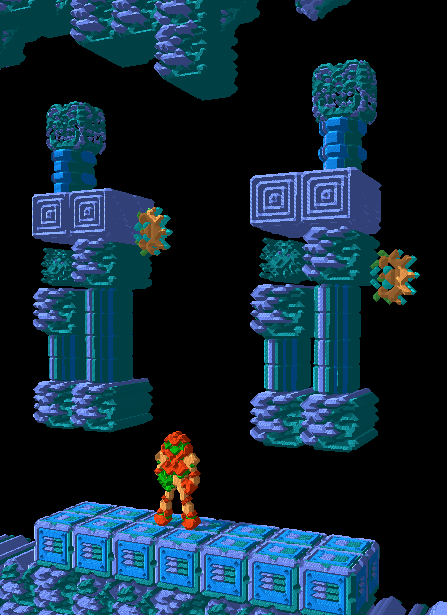 1.3.0 ~ G
Patchnotes:
1.0.0 - Released
1.0.1 - Fixes some parts of Brinstar's floor only having one layer.
1.0.2 - Fixes column with Morph Ball being blocked by new textures, increased pipe block size from 7 to 12.
-----
1.2.0 - Released - Doubles the size of most standard blocks, adding some more depth.
-----
1.3.0 ~ G - Released by Geod - Configures graphics to the Vector variety, and further increases some sizes of blocks. (Making them pop out more for VR users.) Switches some blocks to the 'cube' typing, showing all layers on multiple sides.
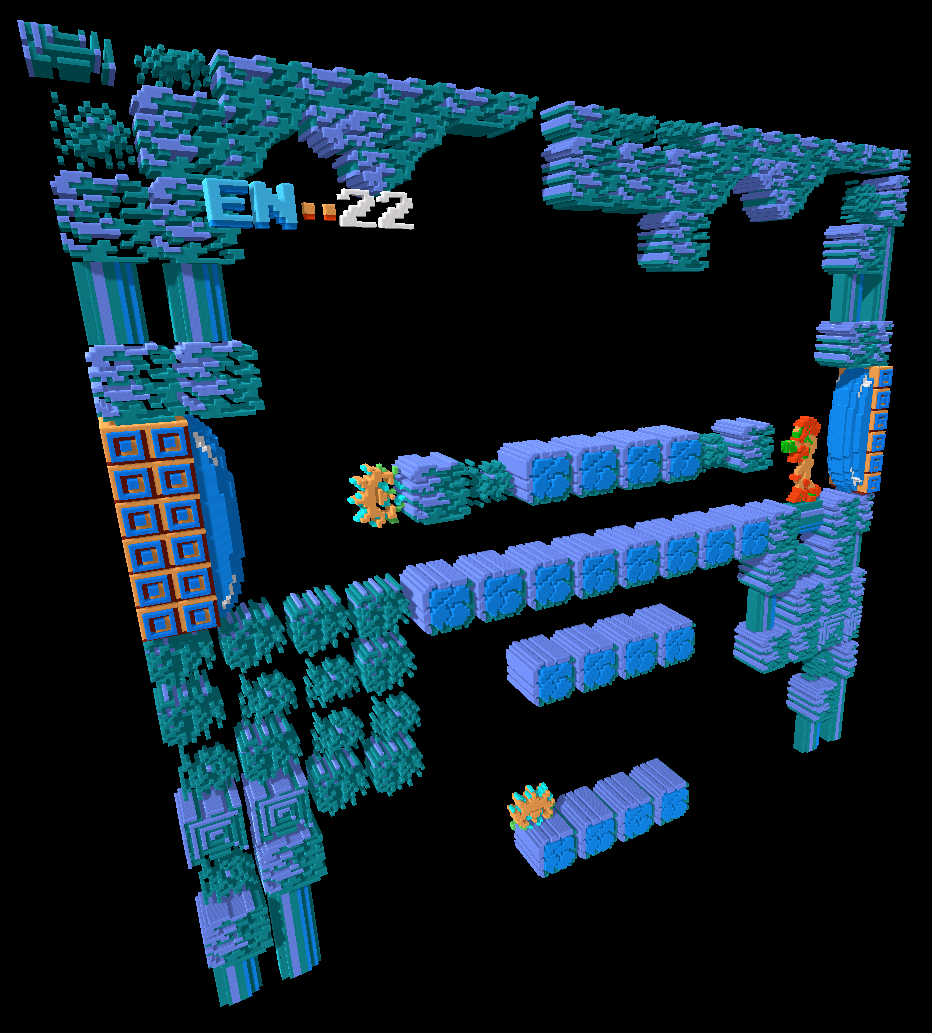
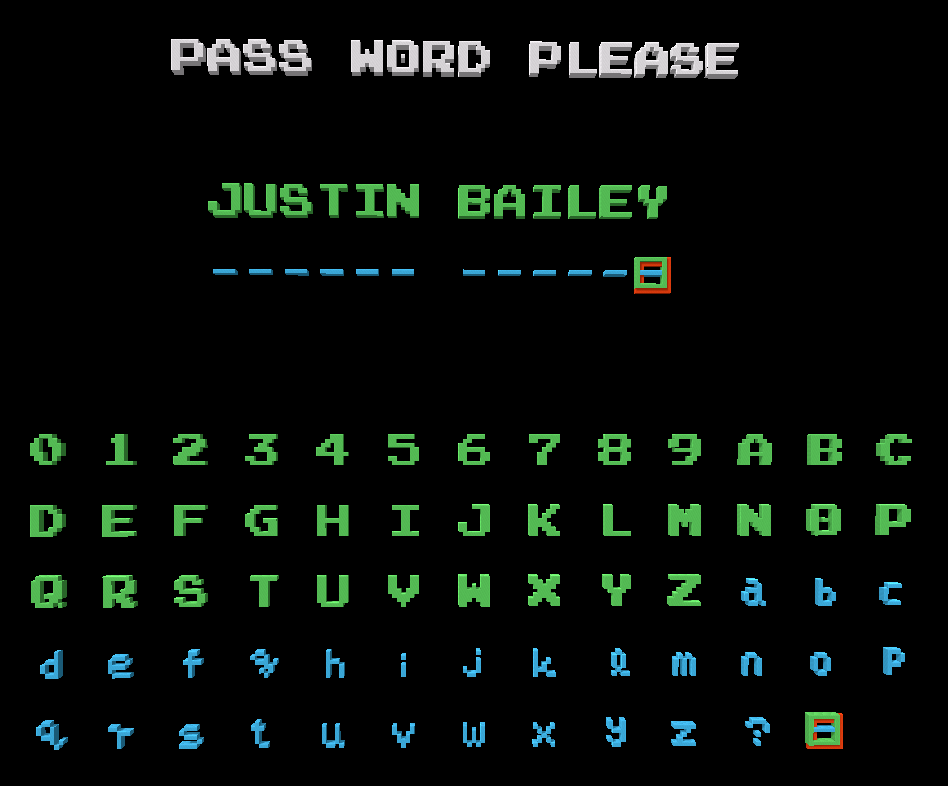
(Metroid Plus by Snarfblam included in the file, but it is not necessary to use the 3dn file! For a more classic Metroid experience, just use it without Plus!)
Metroid Plus includes:
- A Map System
- Save Slots
- Ice and Wave Beam Combination
(However, this overrides the password system!)
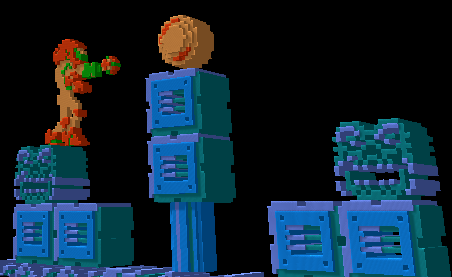
The models in this use the texture editor to create clones, which are edited with different values, and stacked on top of each other, giving all the models more depth, while also looking less glitchy overall! (However, this means it takes longer to make.)
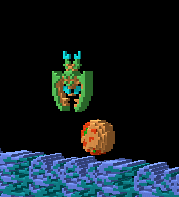
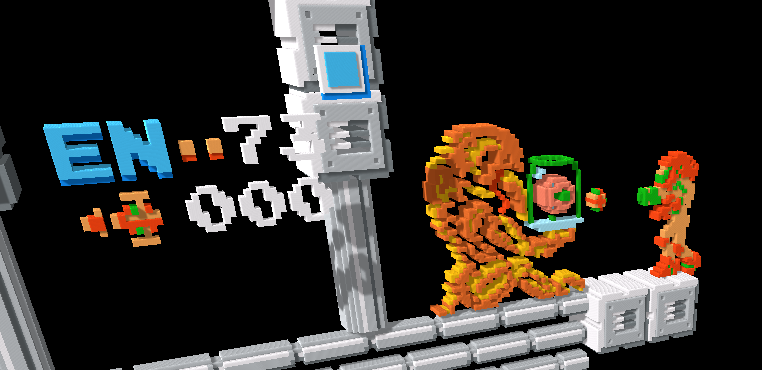
Let me know what you think of it, along with any possible issues, and things I might have missed! If changes are needed, I will update the file.
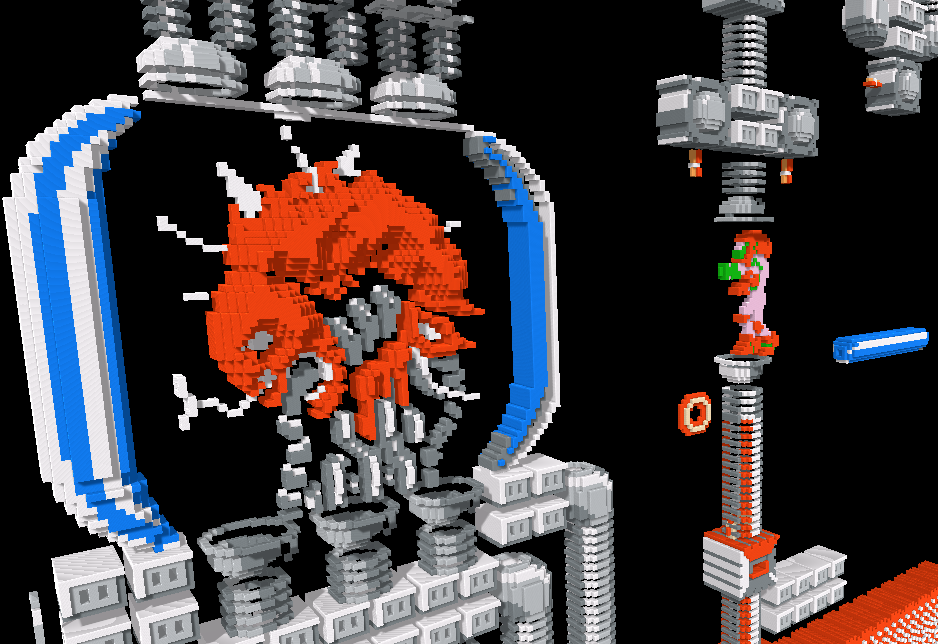
Hmm... I may need to just have someone else do the video, if they were so inclined, I can't figure out how to even record and set it up correctly in the first place.... So for now, I will just show off screenshots in the repository. If someone makes a video though, I will make sure to credit them! But for now, I should probably just stick with writing. x3

