Indie game storeFree gamesFun gamesHorror games
Game developmentAssetsComics
SalesBundles
Jobs
Tags

Sengoku Devlog

A topic by SengokuProductions created Jun 21, 2020 Views: 1,255 Replies: 20
Viewing posts 1 to 18
(+1)

Overview: 

Sengoku is a 2D platformer game set in Japan during the Sengoku period! We started this game about 4 months ago as a class project, but the game quickly evolved into something that we want to build on, so we plan on expanding this game over the summer and beyond the summer! 

Below are a couple of our plans for the final game and some pictures of the progress we have made toward these goals. We also plan on posting these dev logs on a weekly base, and each post will serve to show our progress. 

Feel free to check out the main page as well if you are interested in this project, it is right here: Sengoku; right here you will also find some builds of the demo version we completed, a whole lot more info on the game, an awesome trailer, and some more pictures! Anyways, time to get started: 

Things we are keeping: 

There will be many changes, but we will be keeping most of the original player mechanics, along with the 3 enemy types and the Oni Demon boss, 

Story: 

We are working on a new story outline to create a larger campaign. Nothing is concrete yet, so more information will come soon.
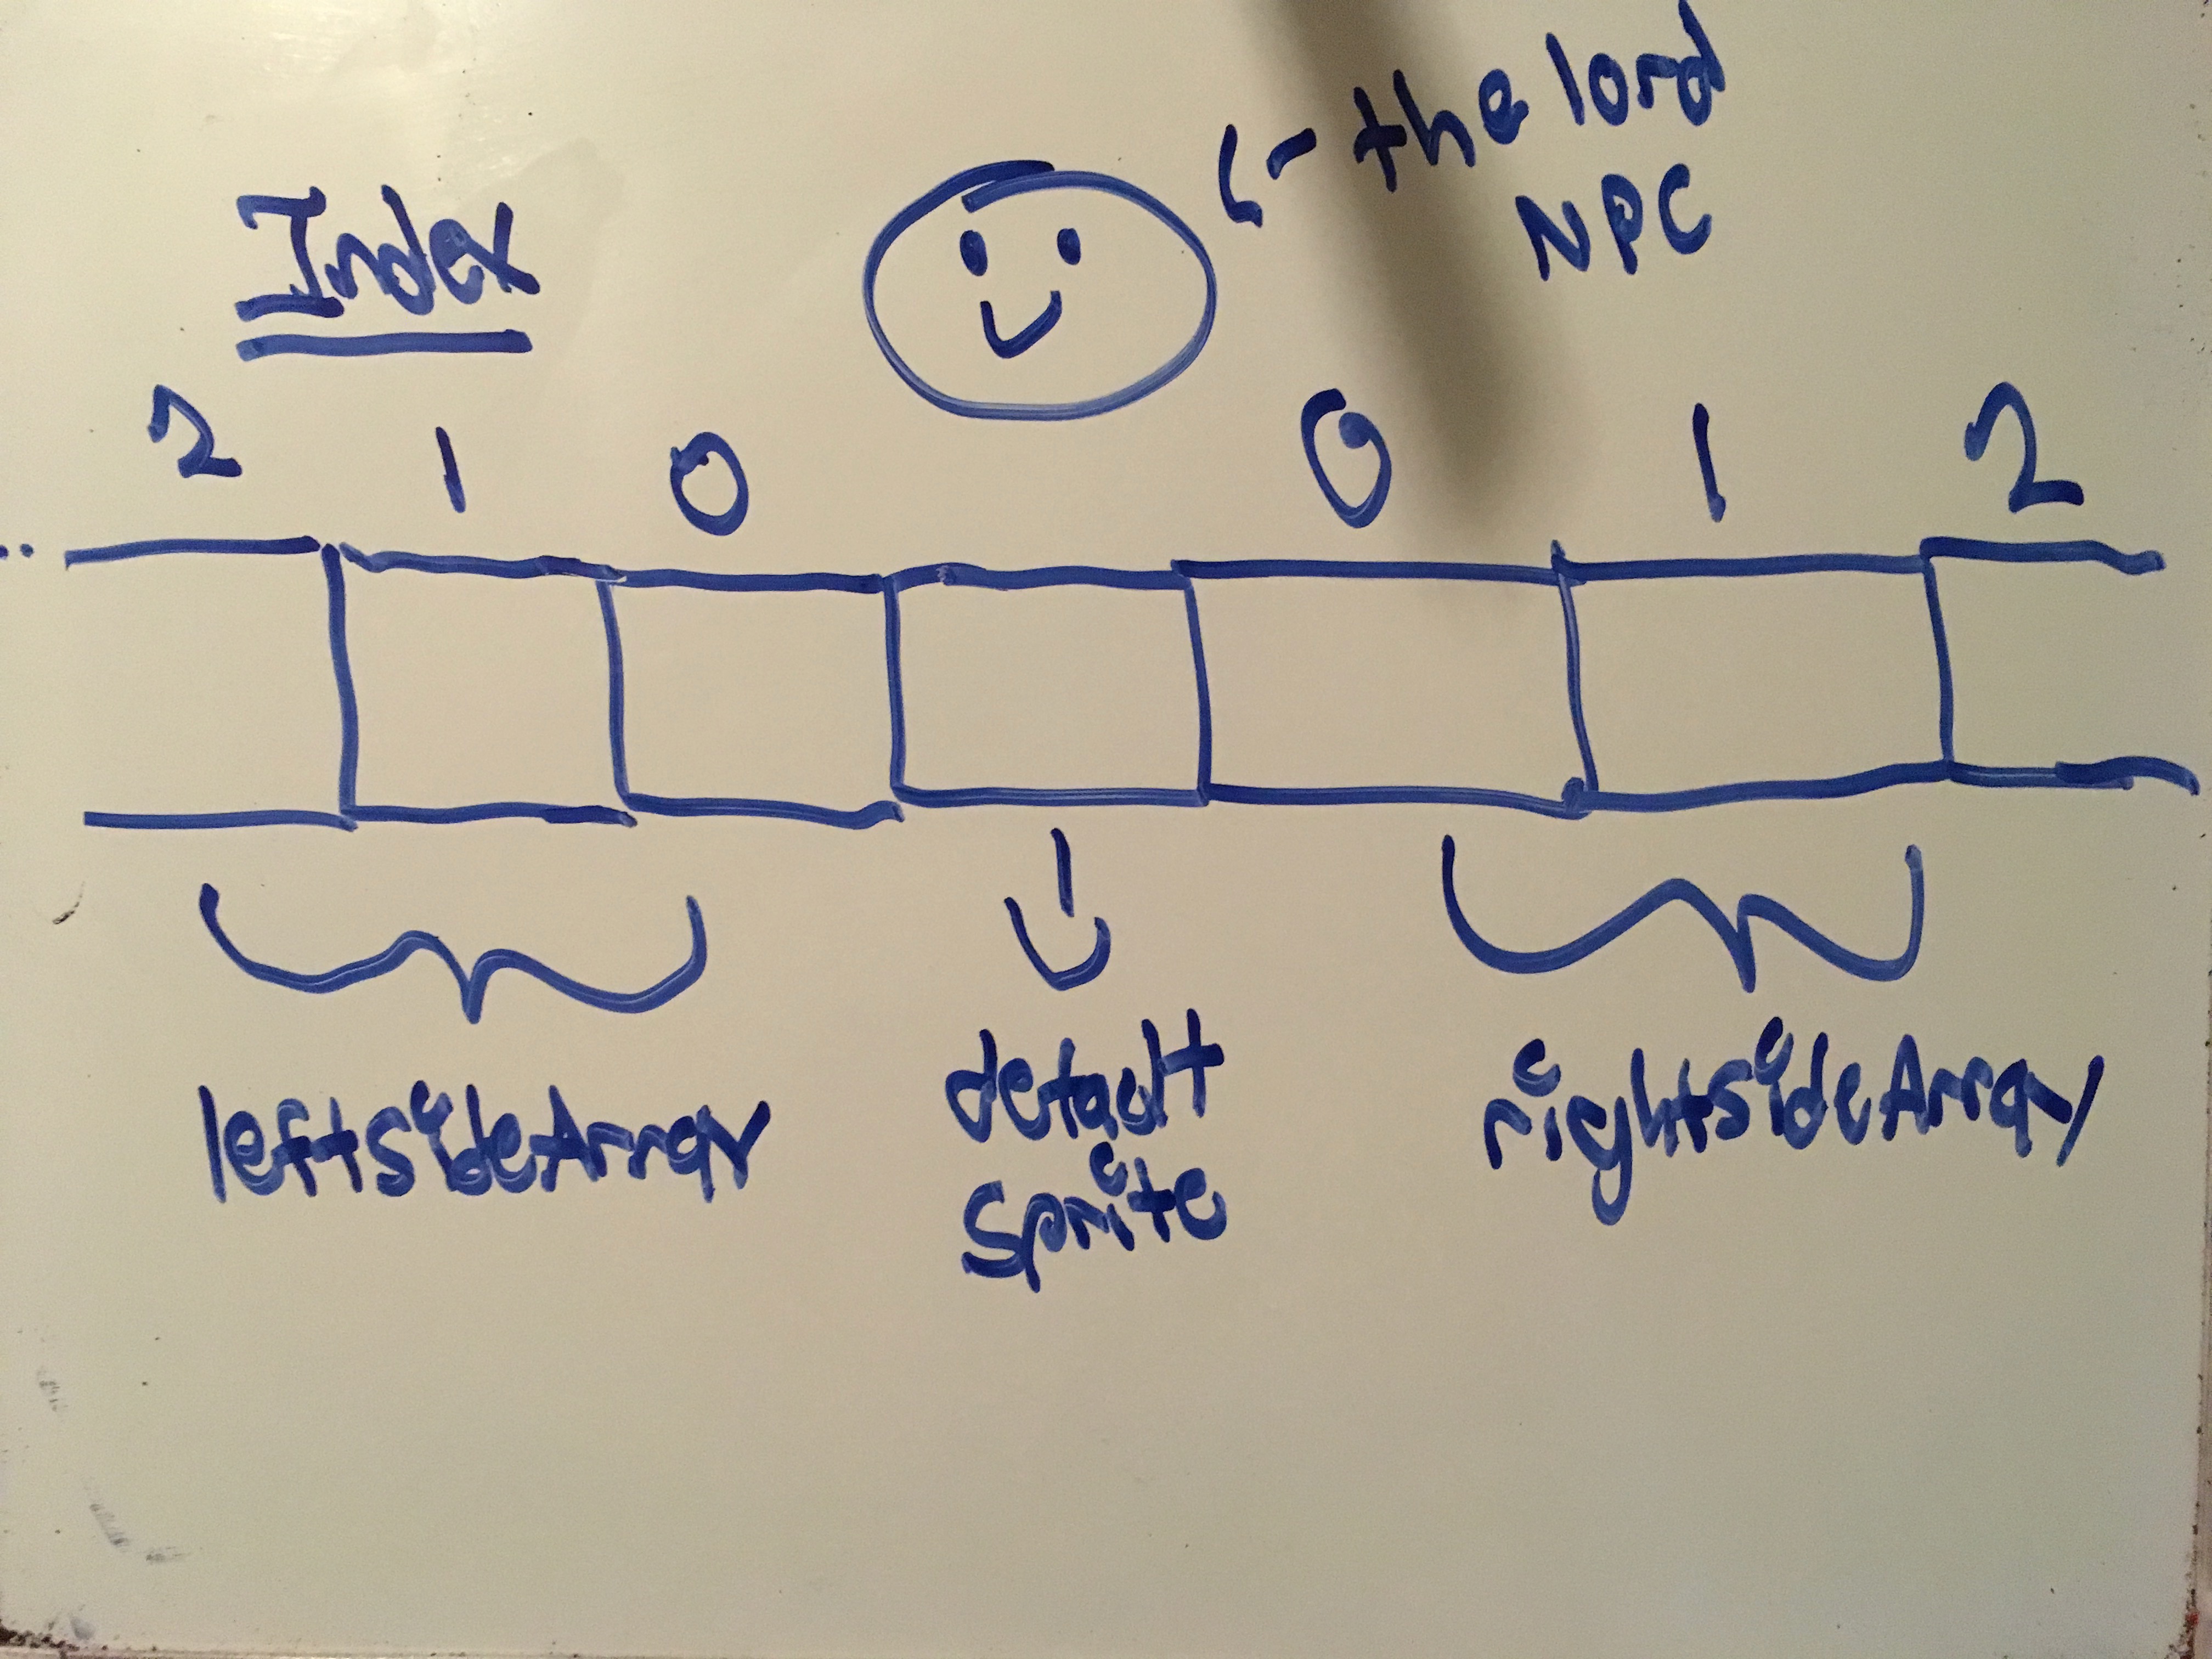
Programming: 

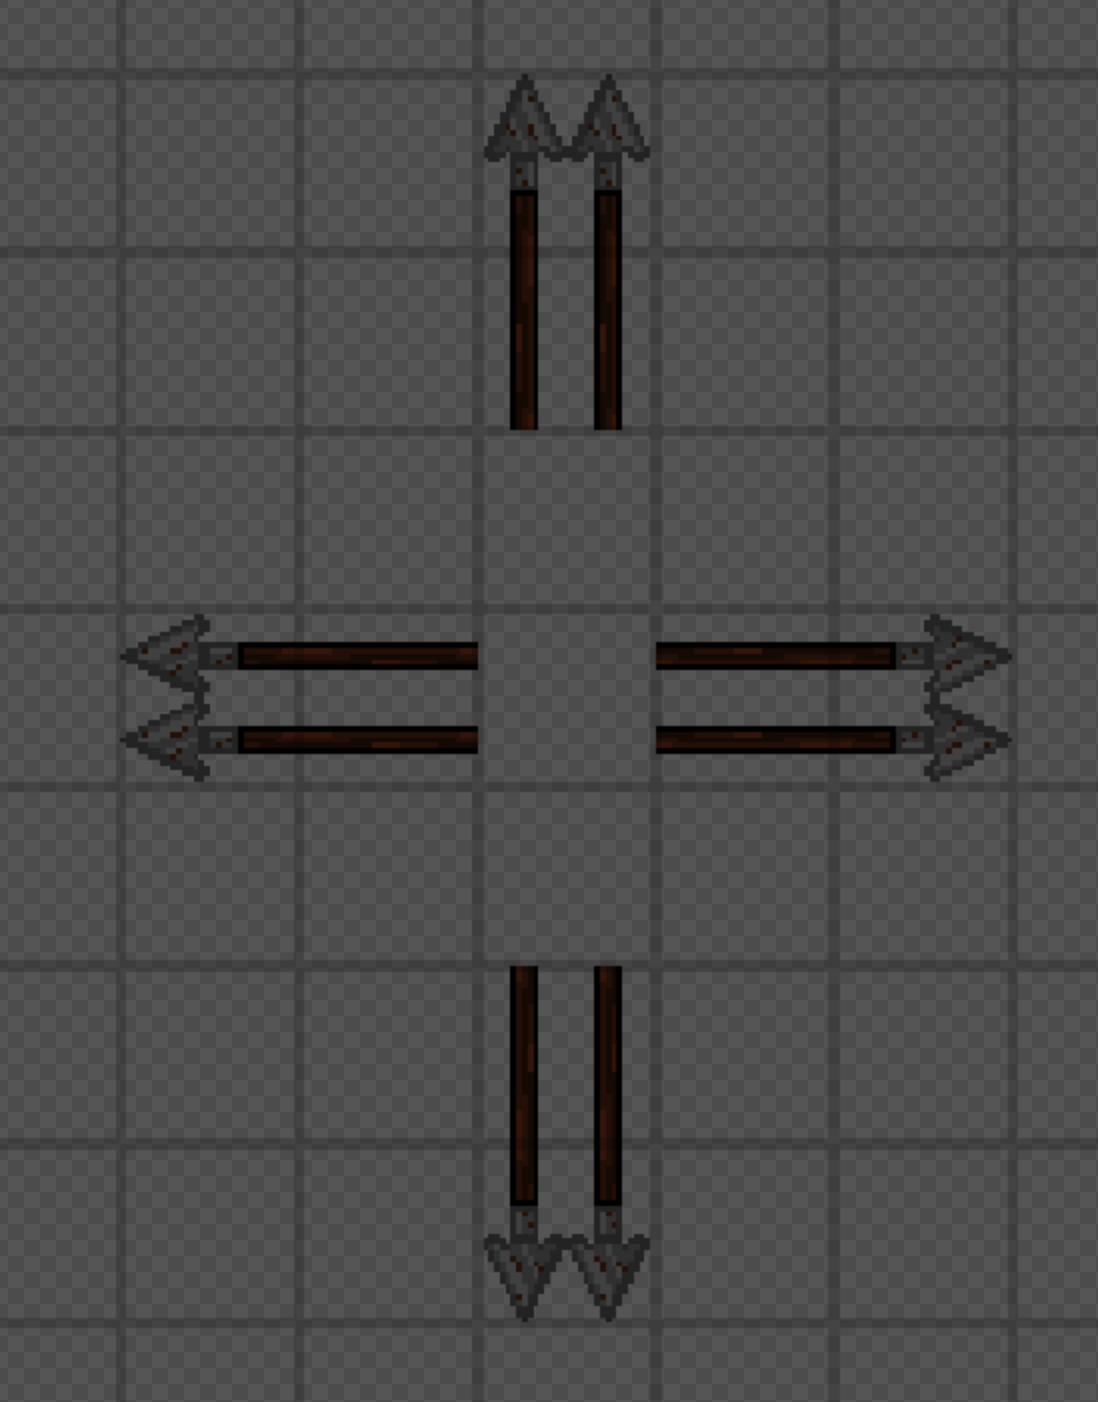
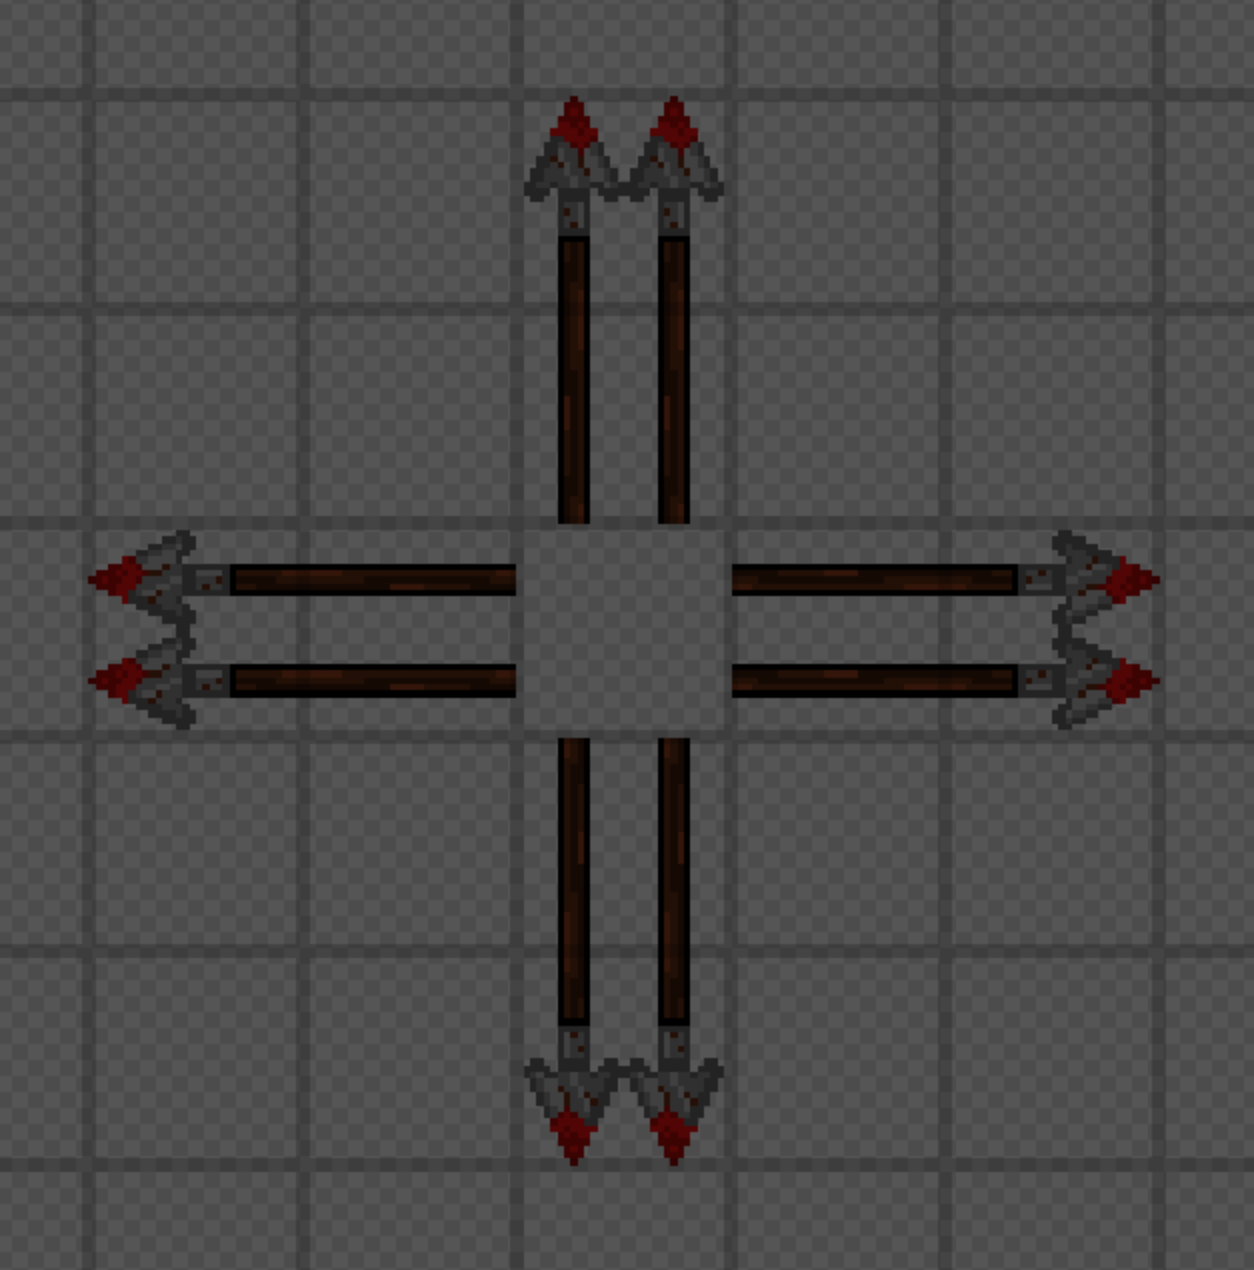
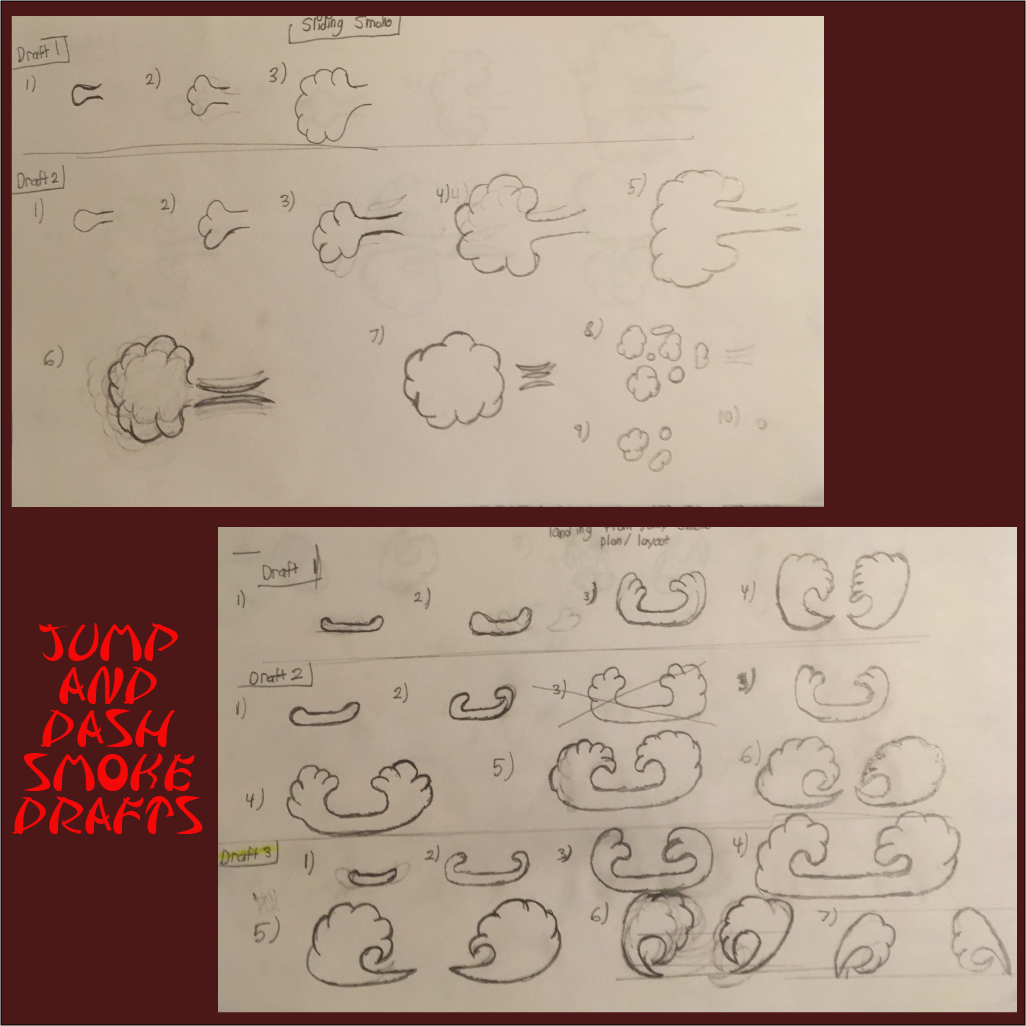
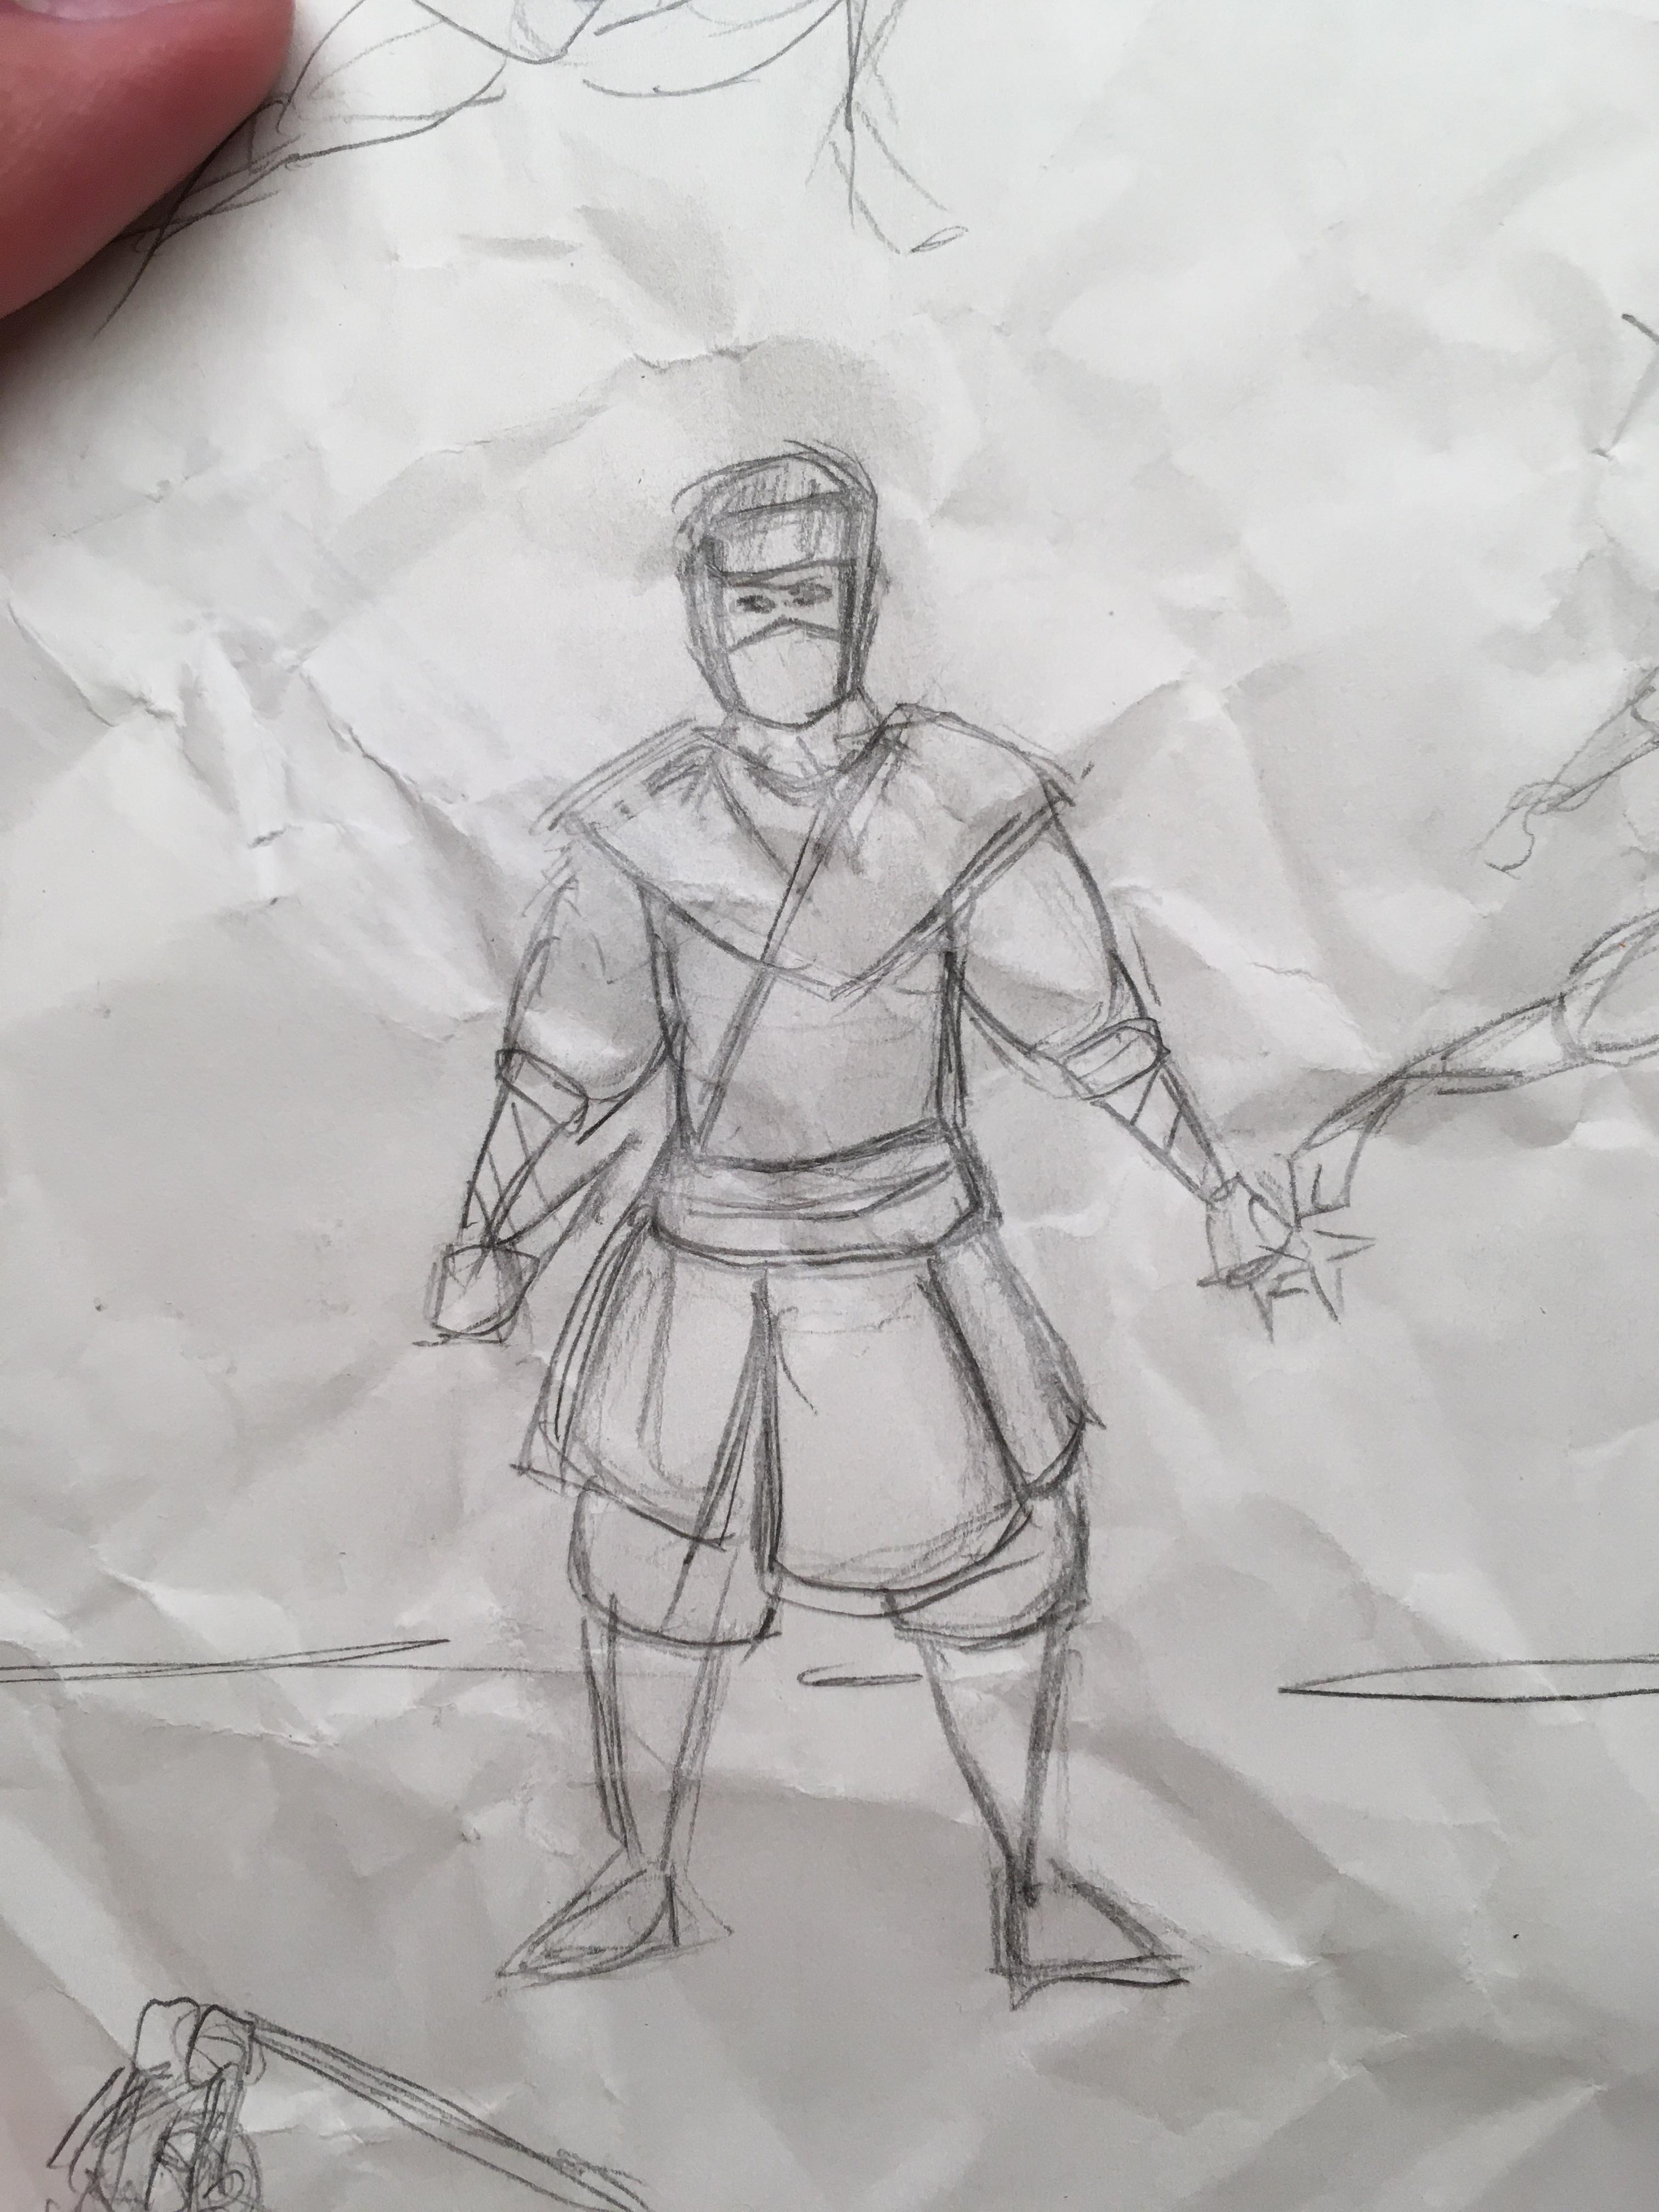
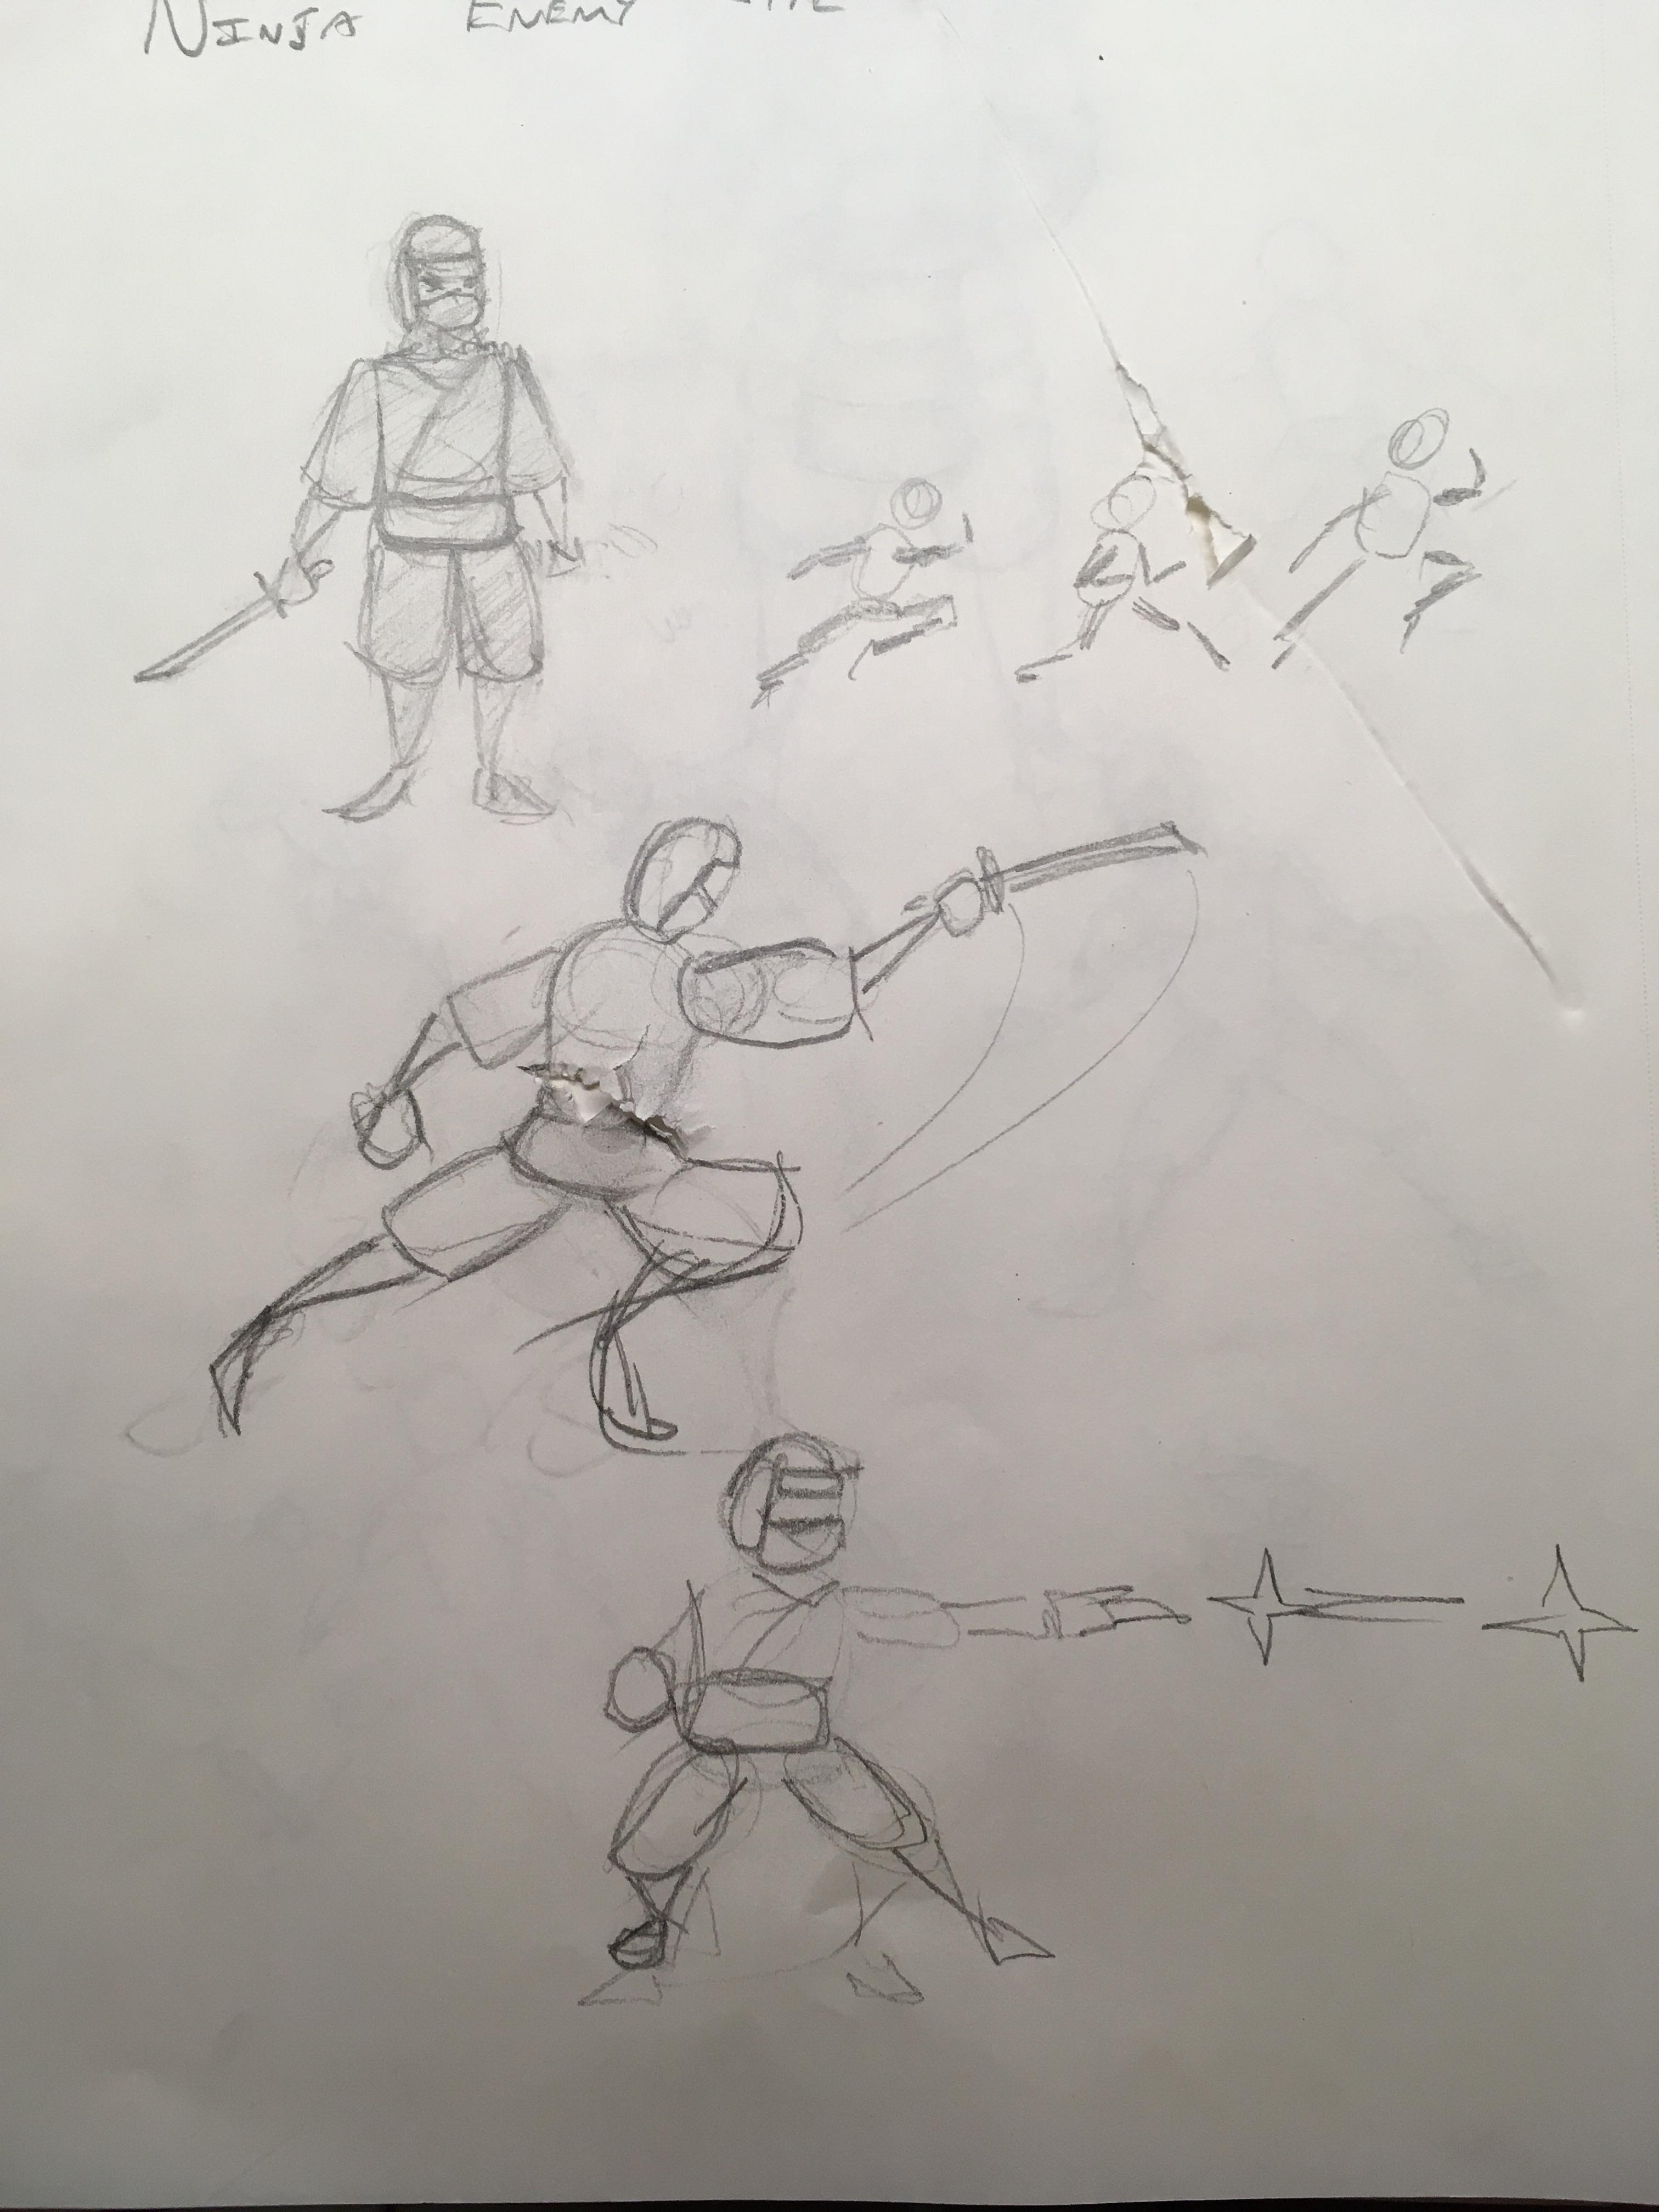
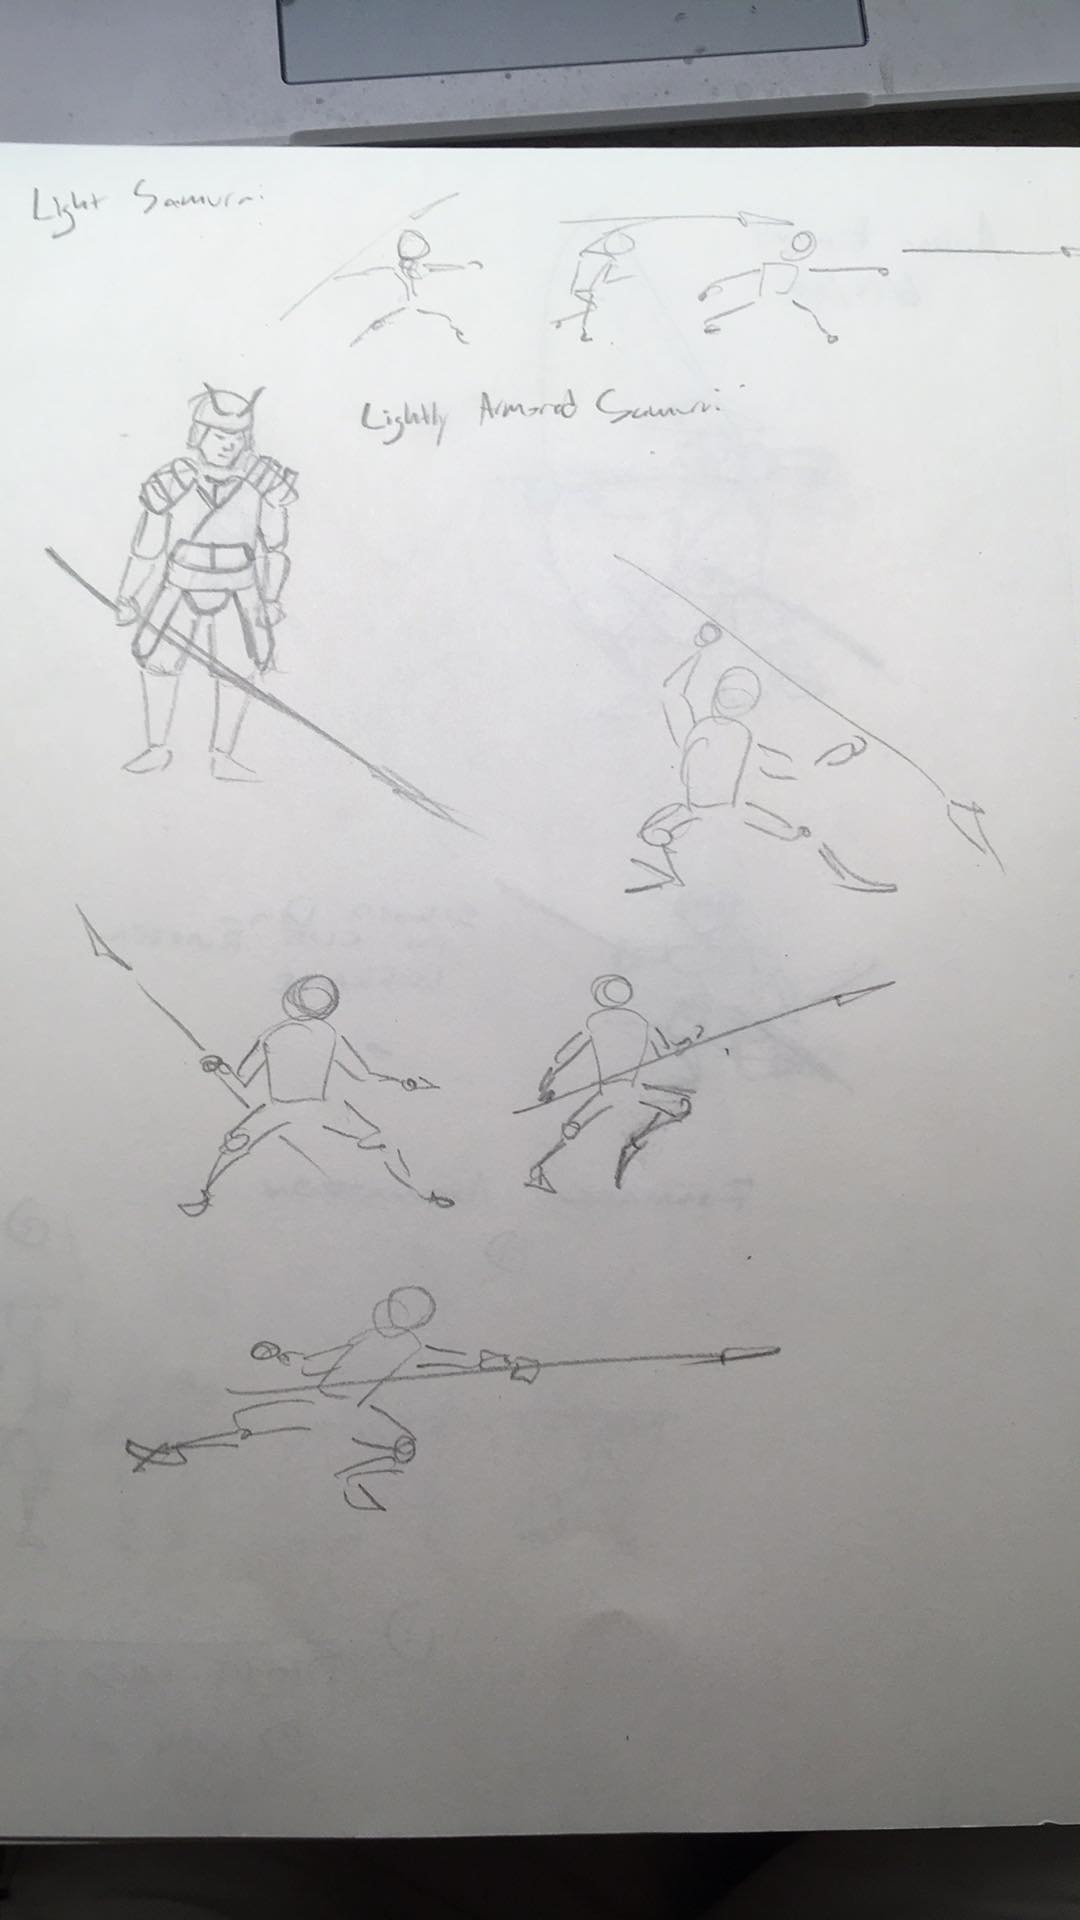
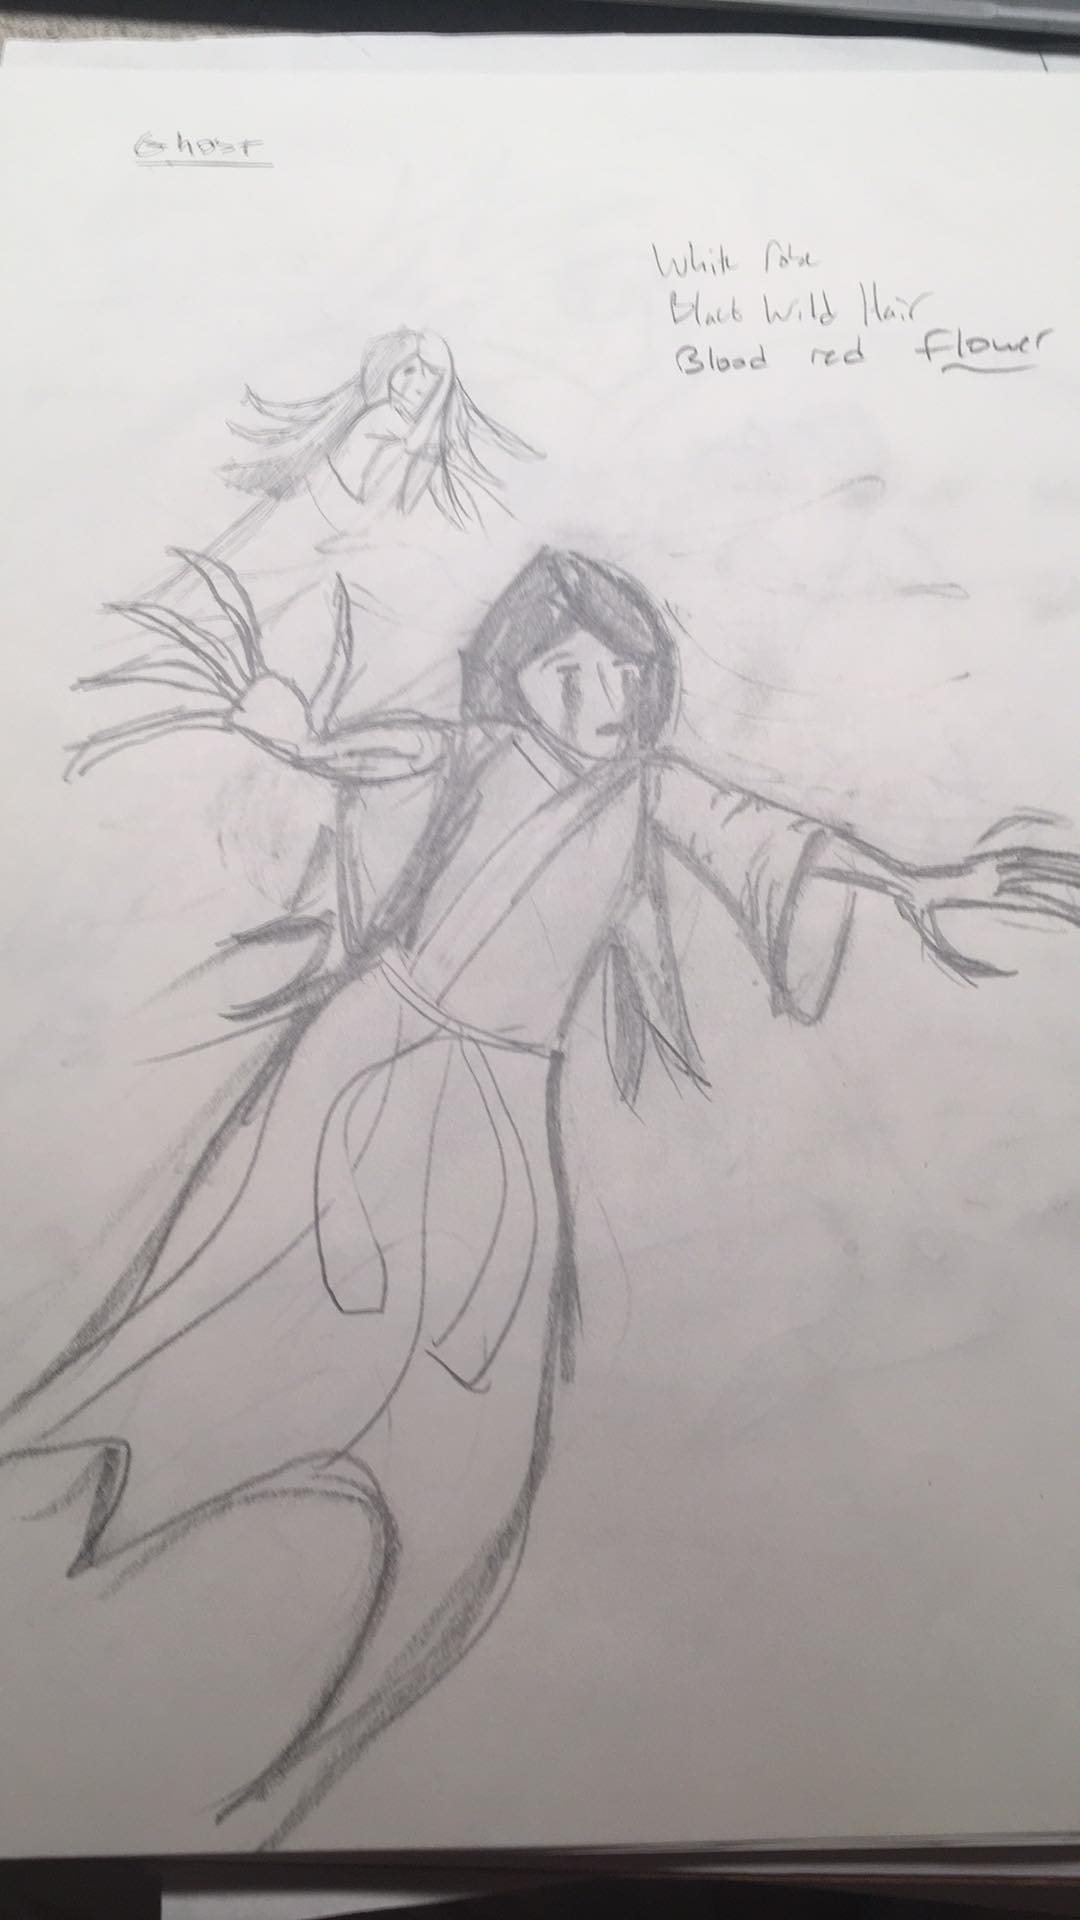
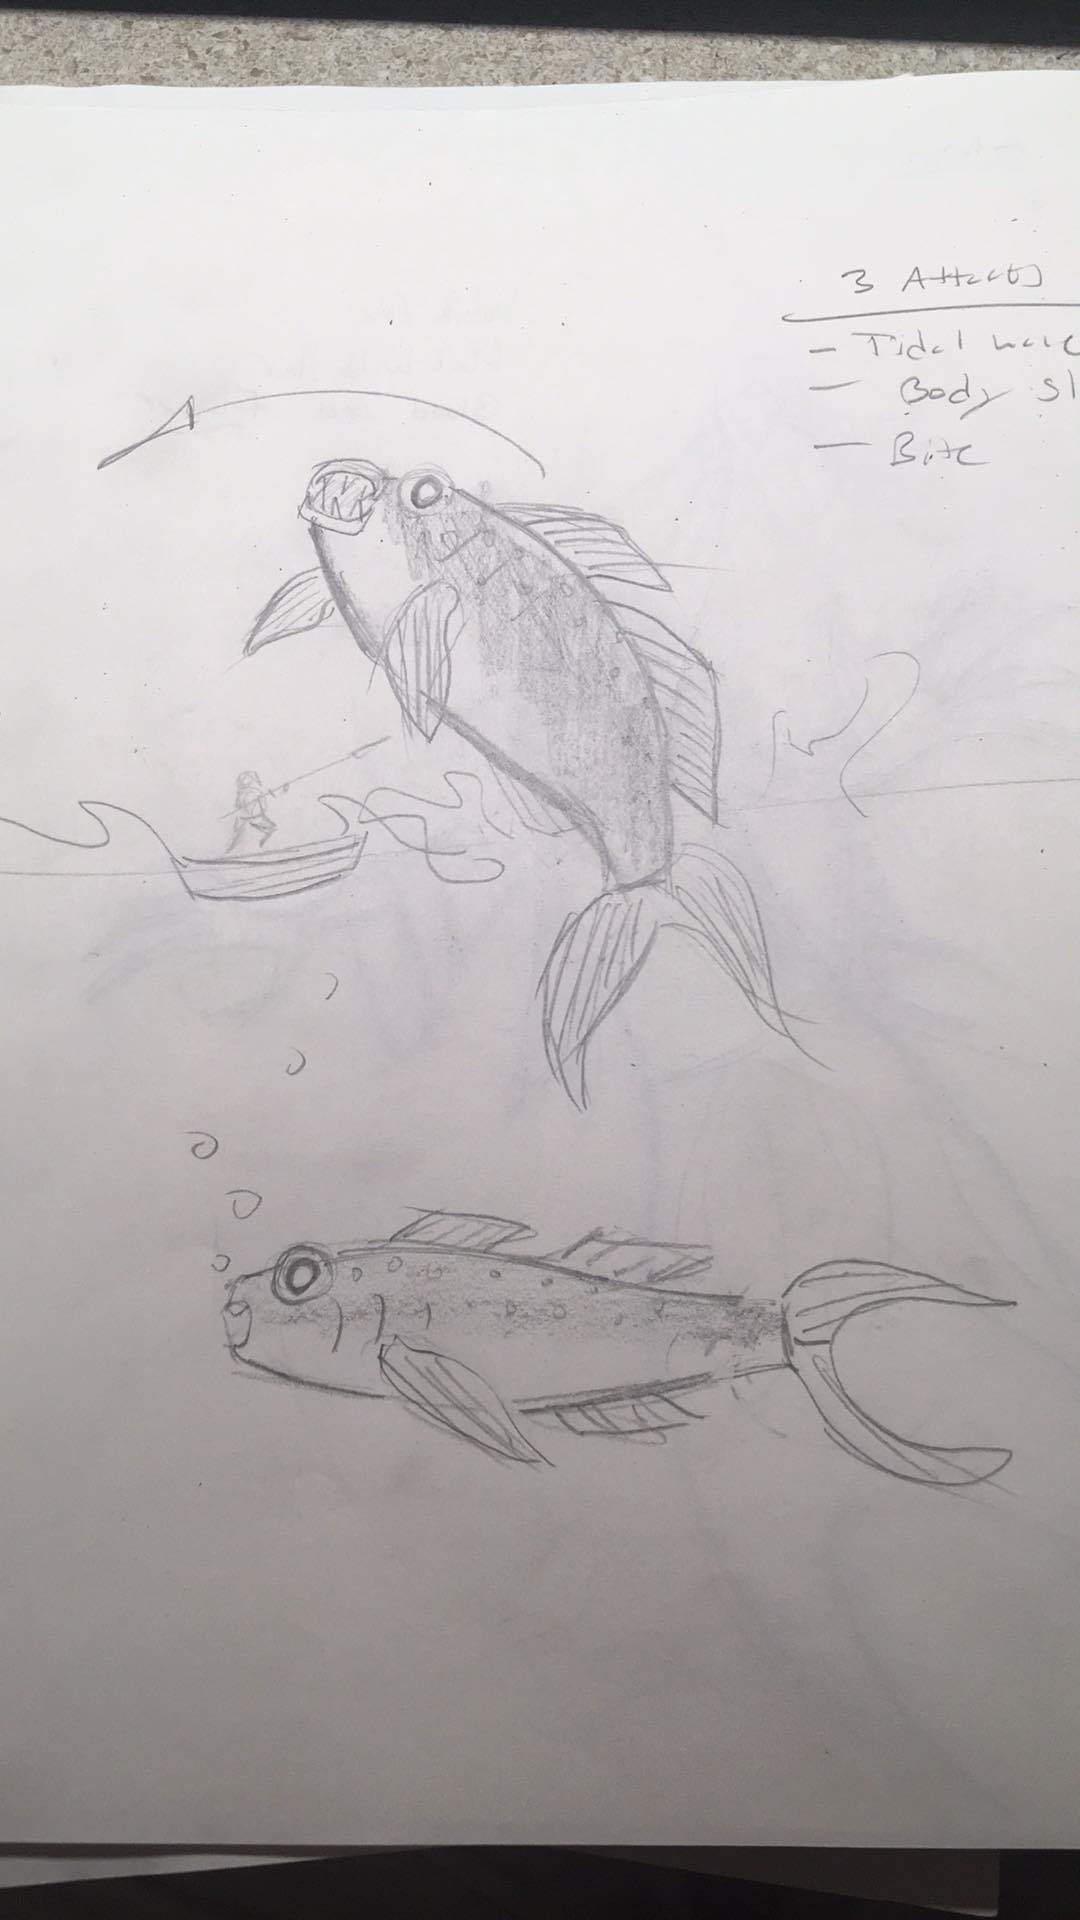
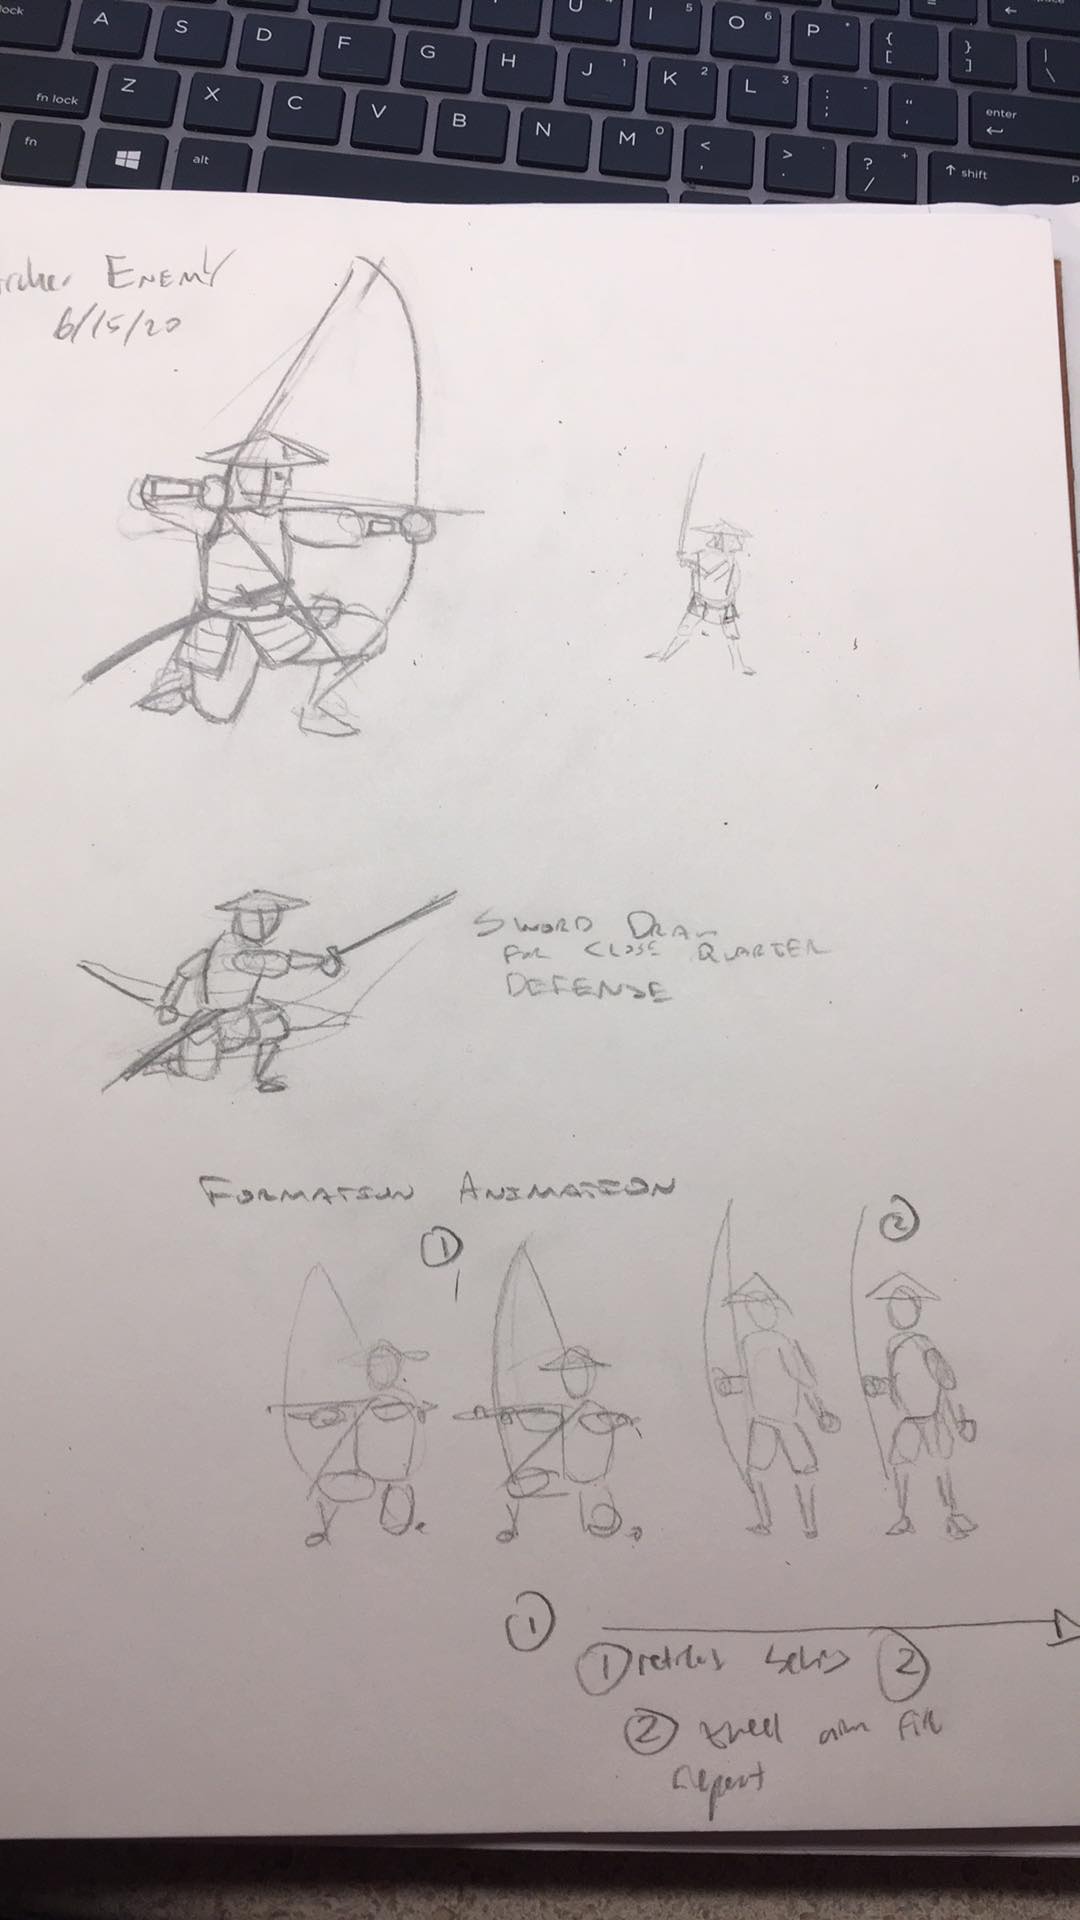
New bosses, such as a spirit dragon, a ghost lady, and giant fish, and, new standard enemies, such as a ninja, the 4 archers and the spear samurai. The player will also be able to perform 3 new parries, such as throwing smoke to disorient enemies and blocking projectiles and sword attacks with their own sword.  There will also be water mechanics for a couple of water levels we have planned.


Level Design:

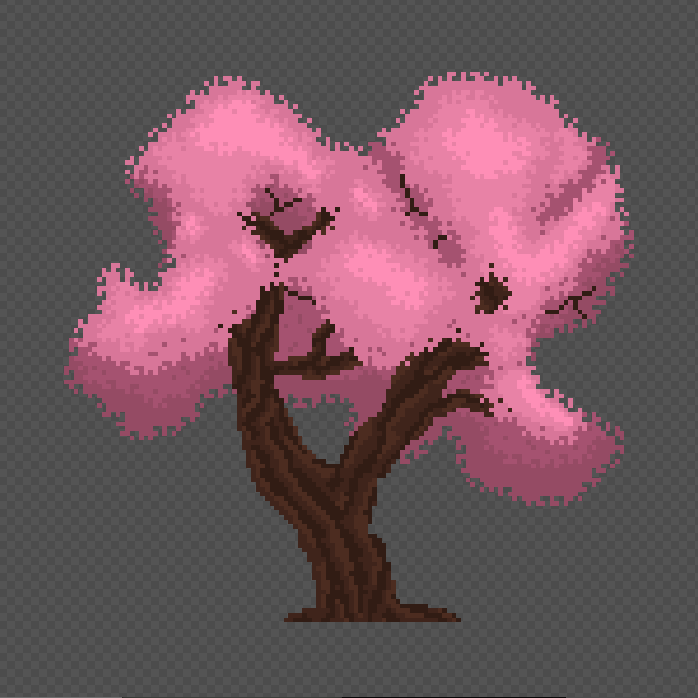
Create 3 new worlds and reimagine the city and mountain levels we already have. New worlds include: waterfront, enemy city, spirit forest, and farmlands.
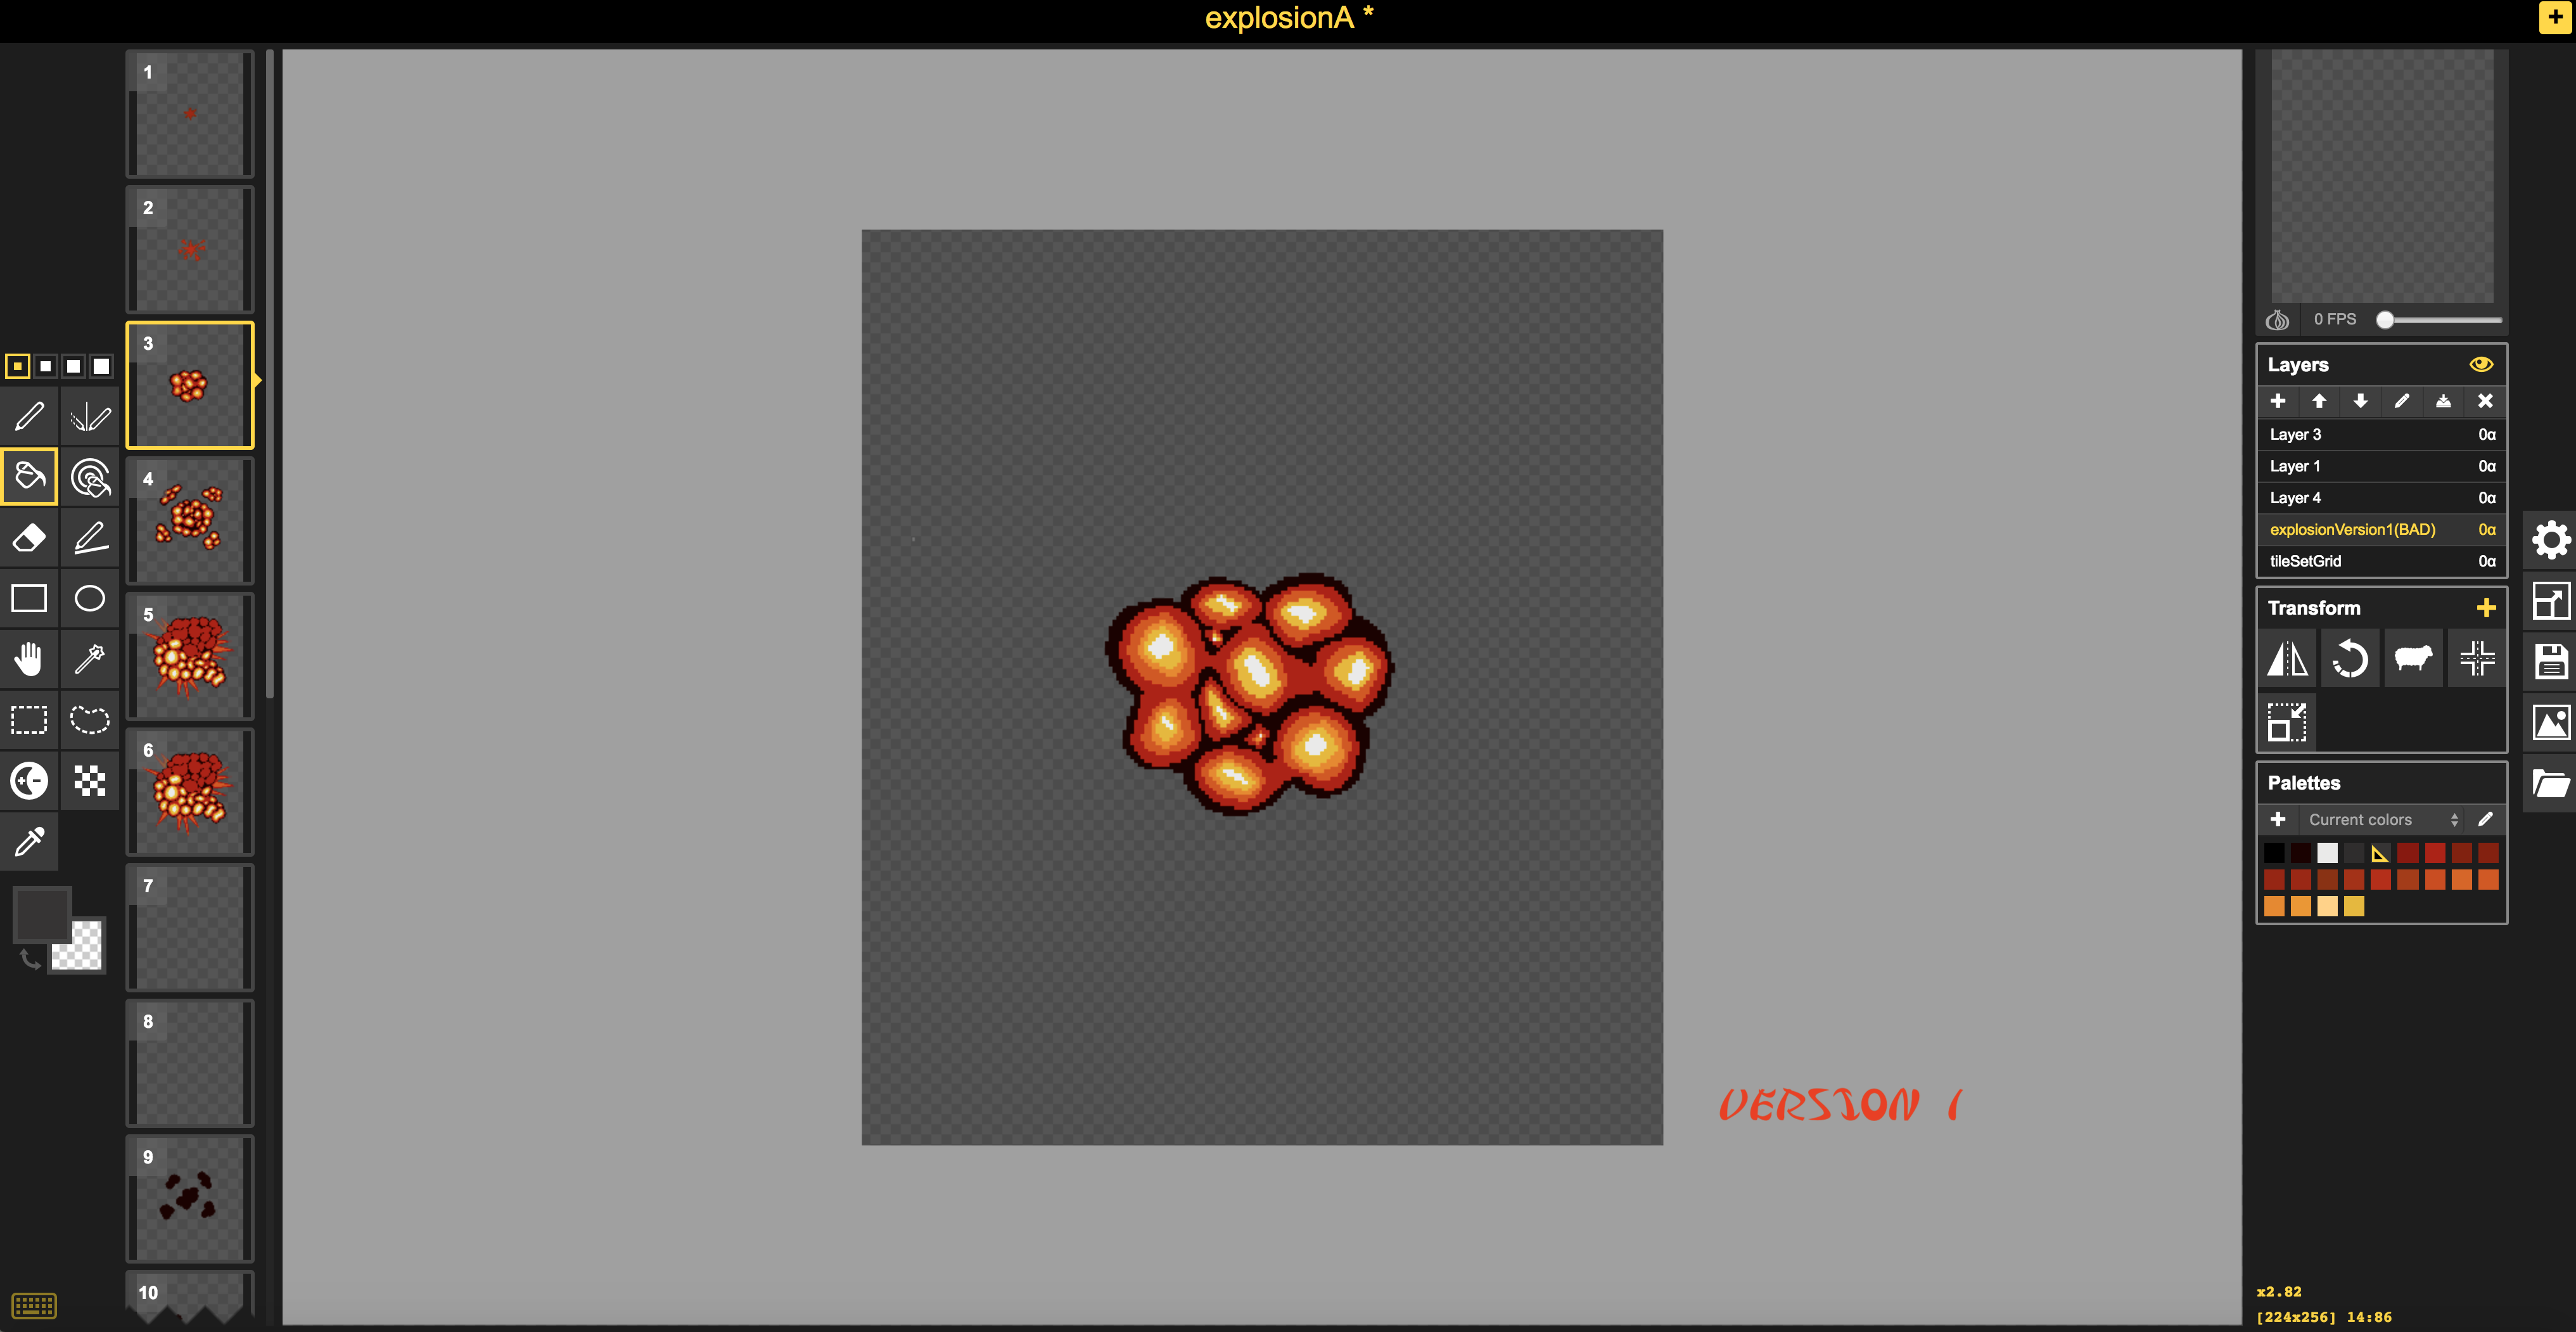
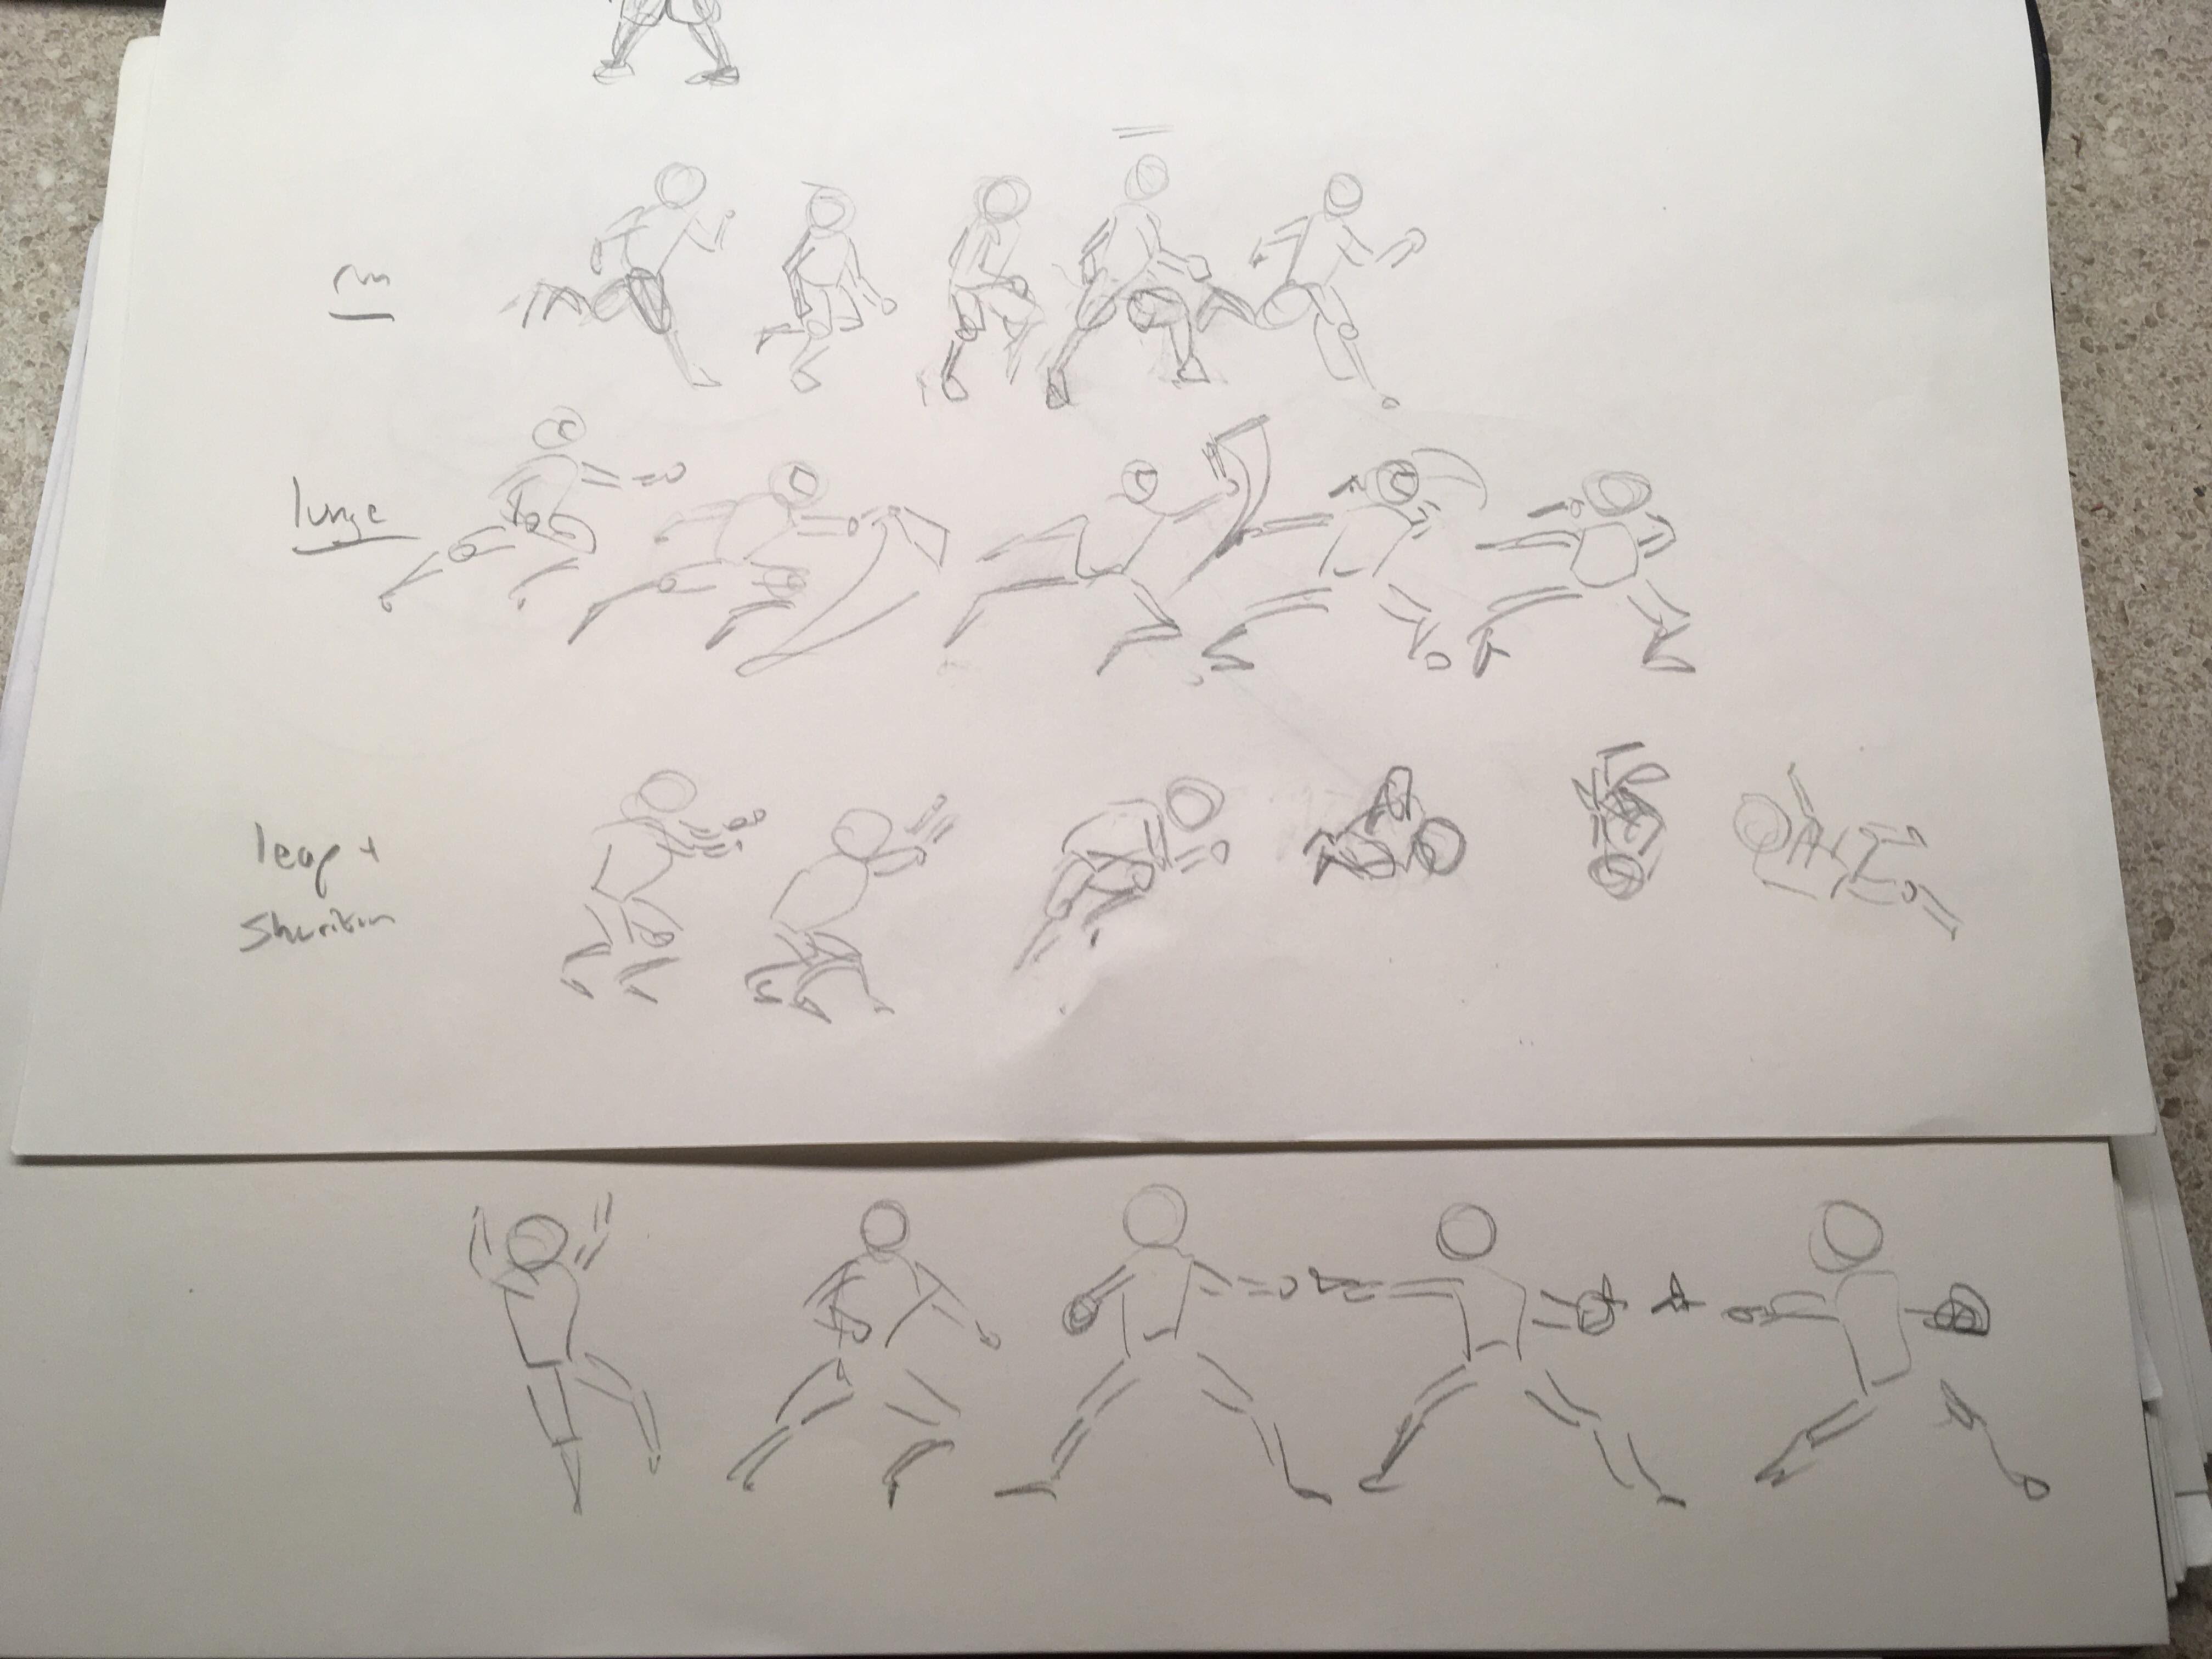
Animation: 

Create new enemy and boss animations  as well as flesh out existing animations to include block and recoil.
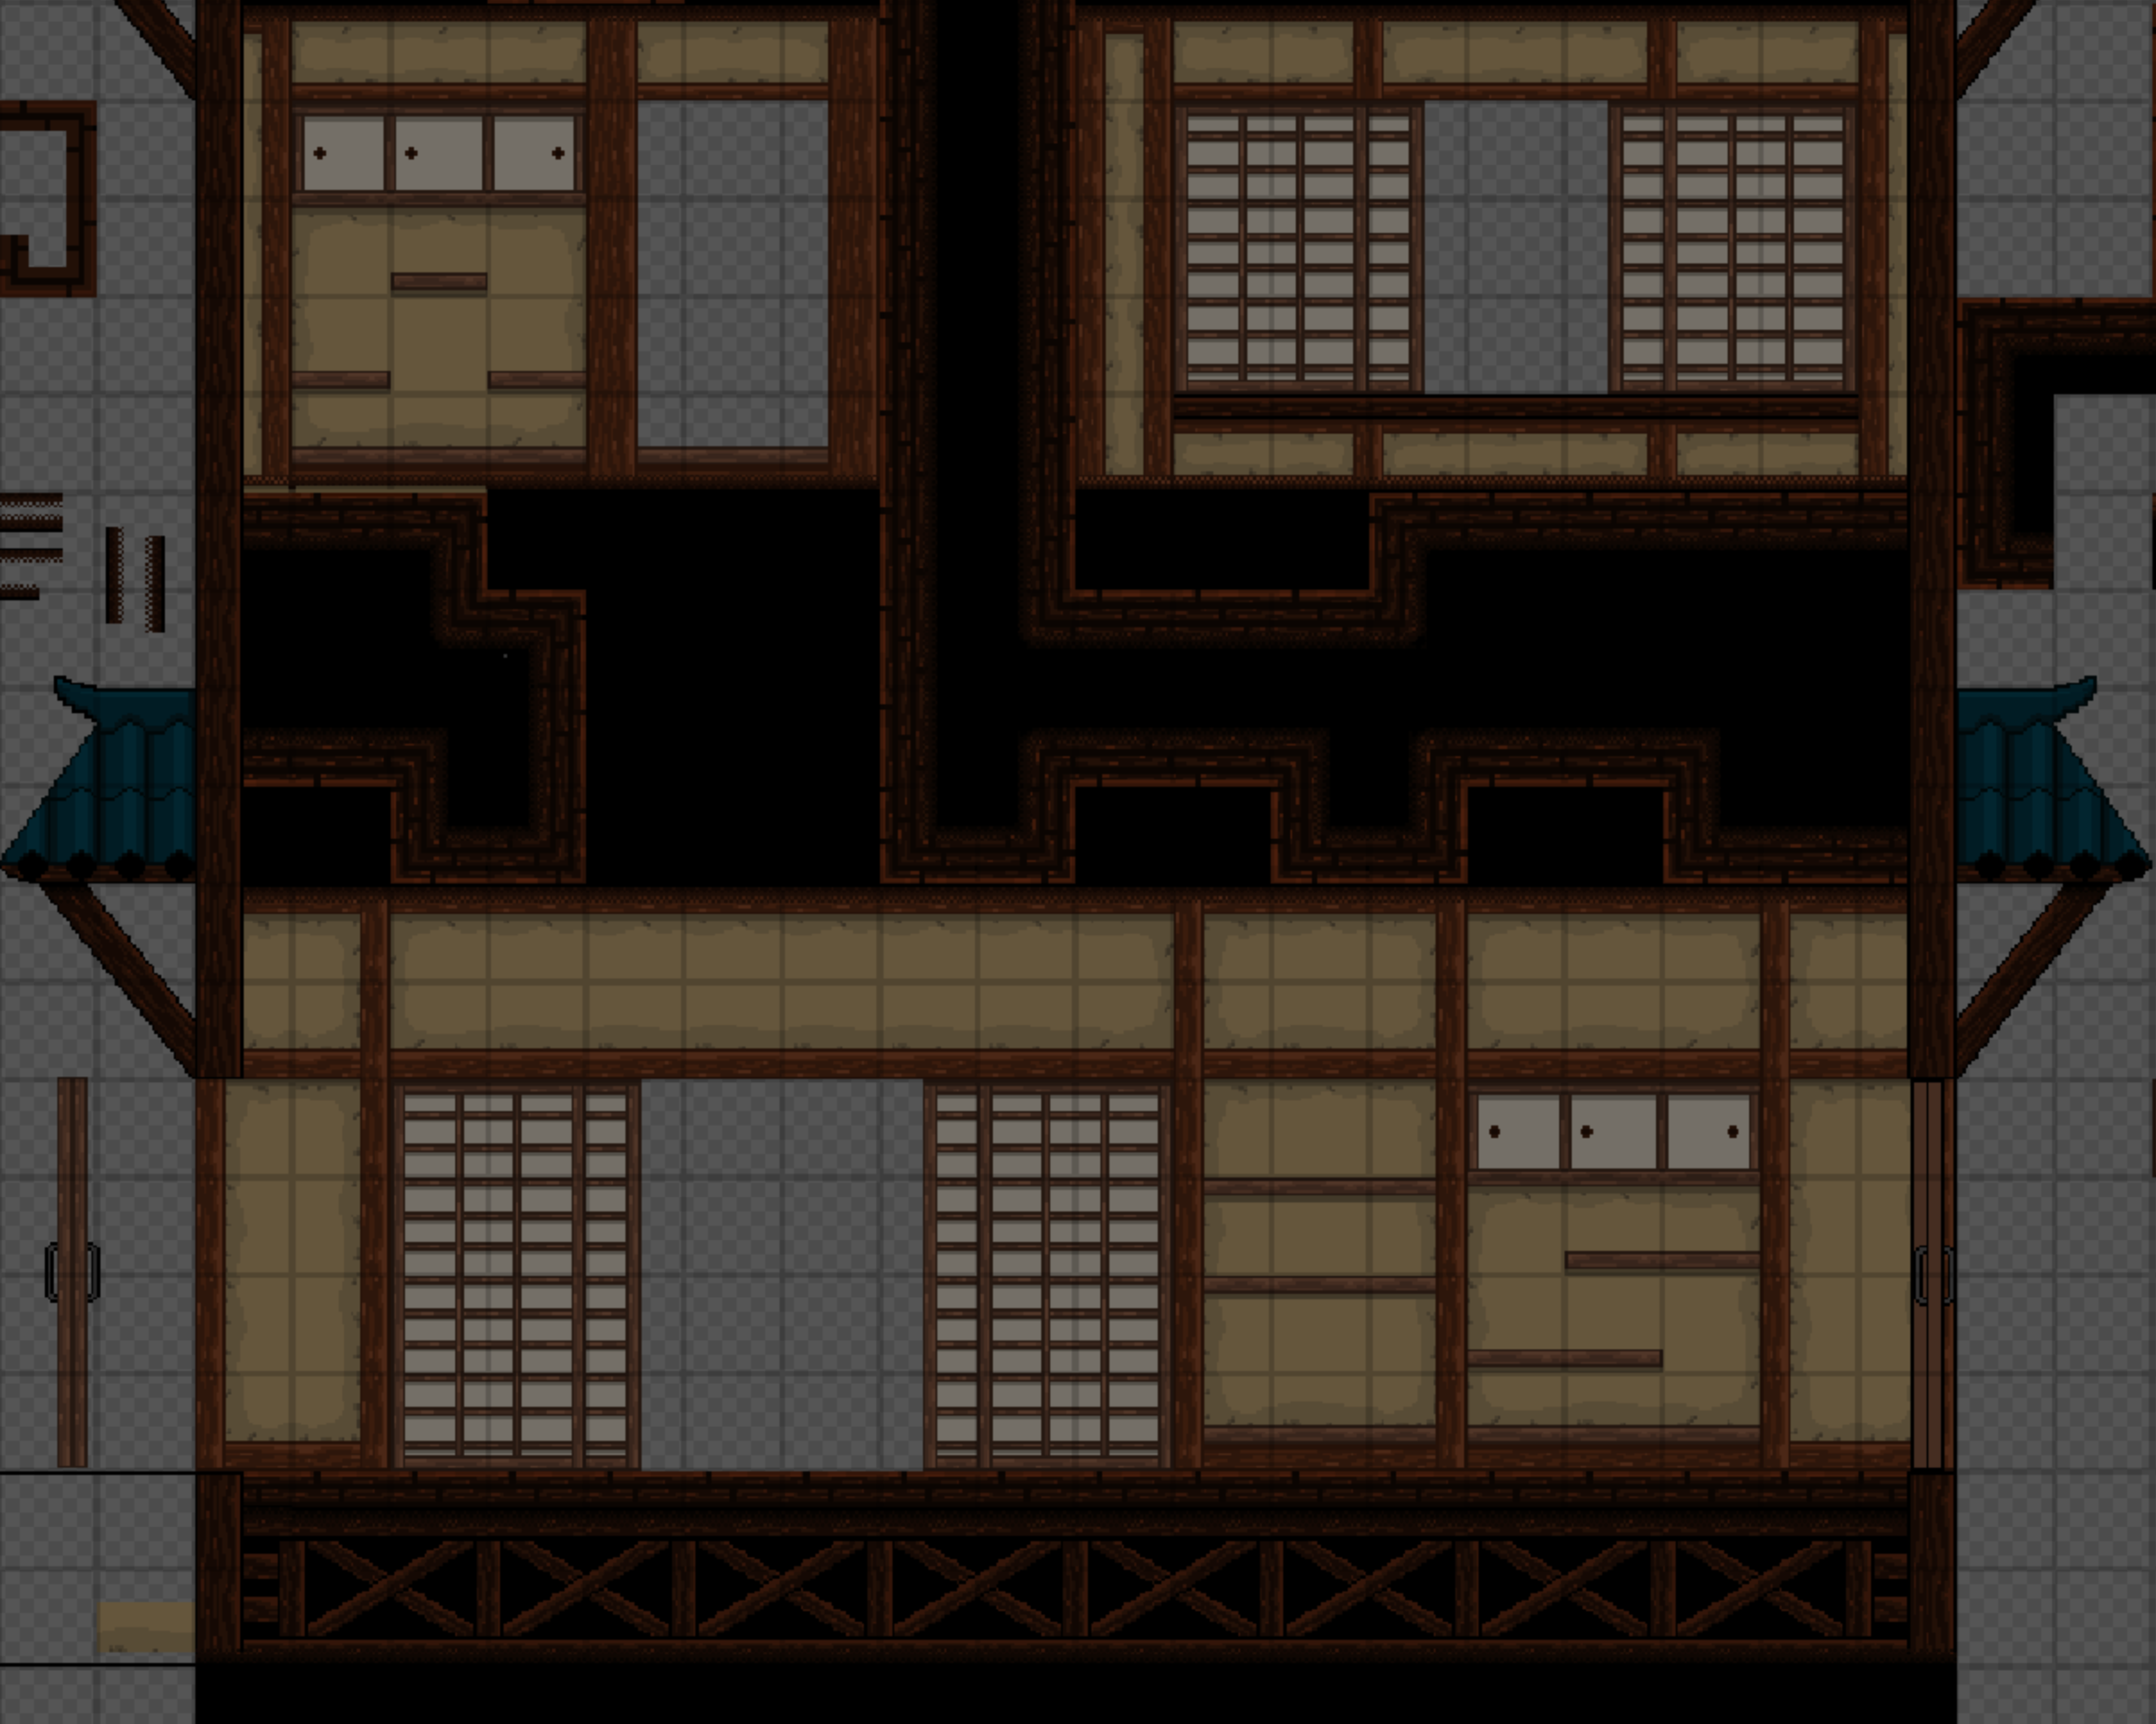
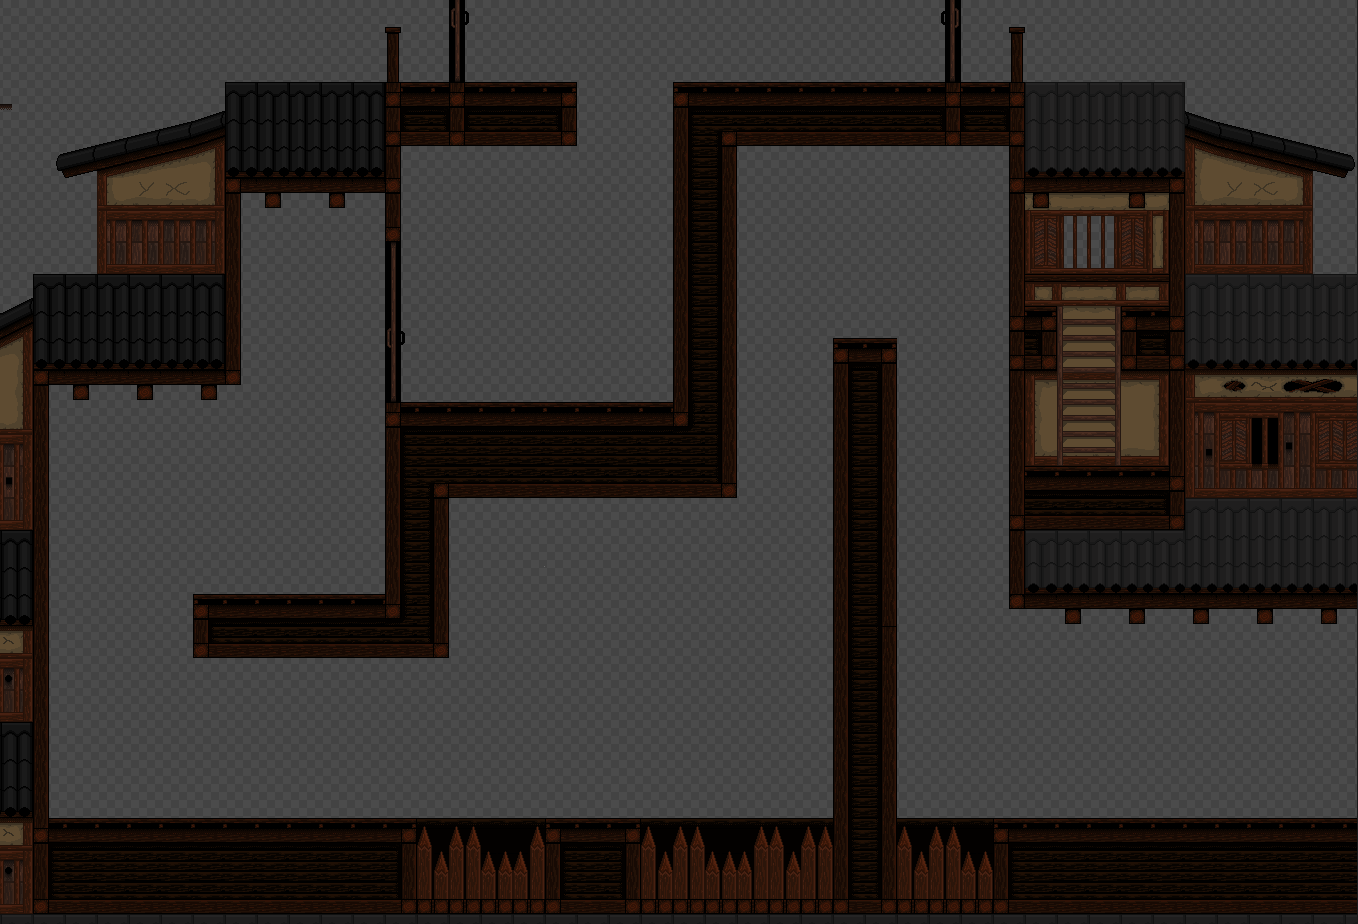
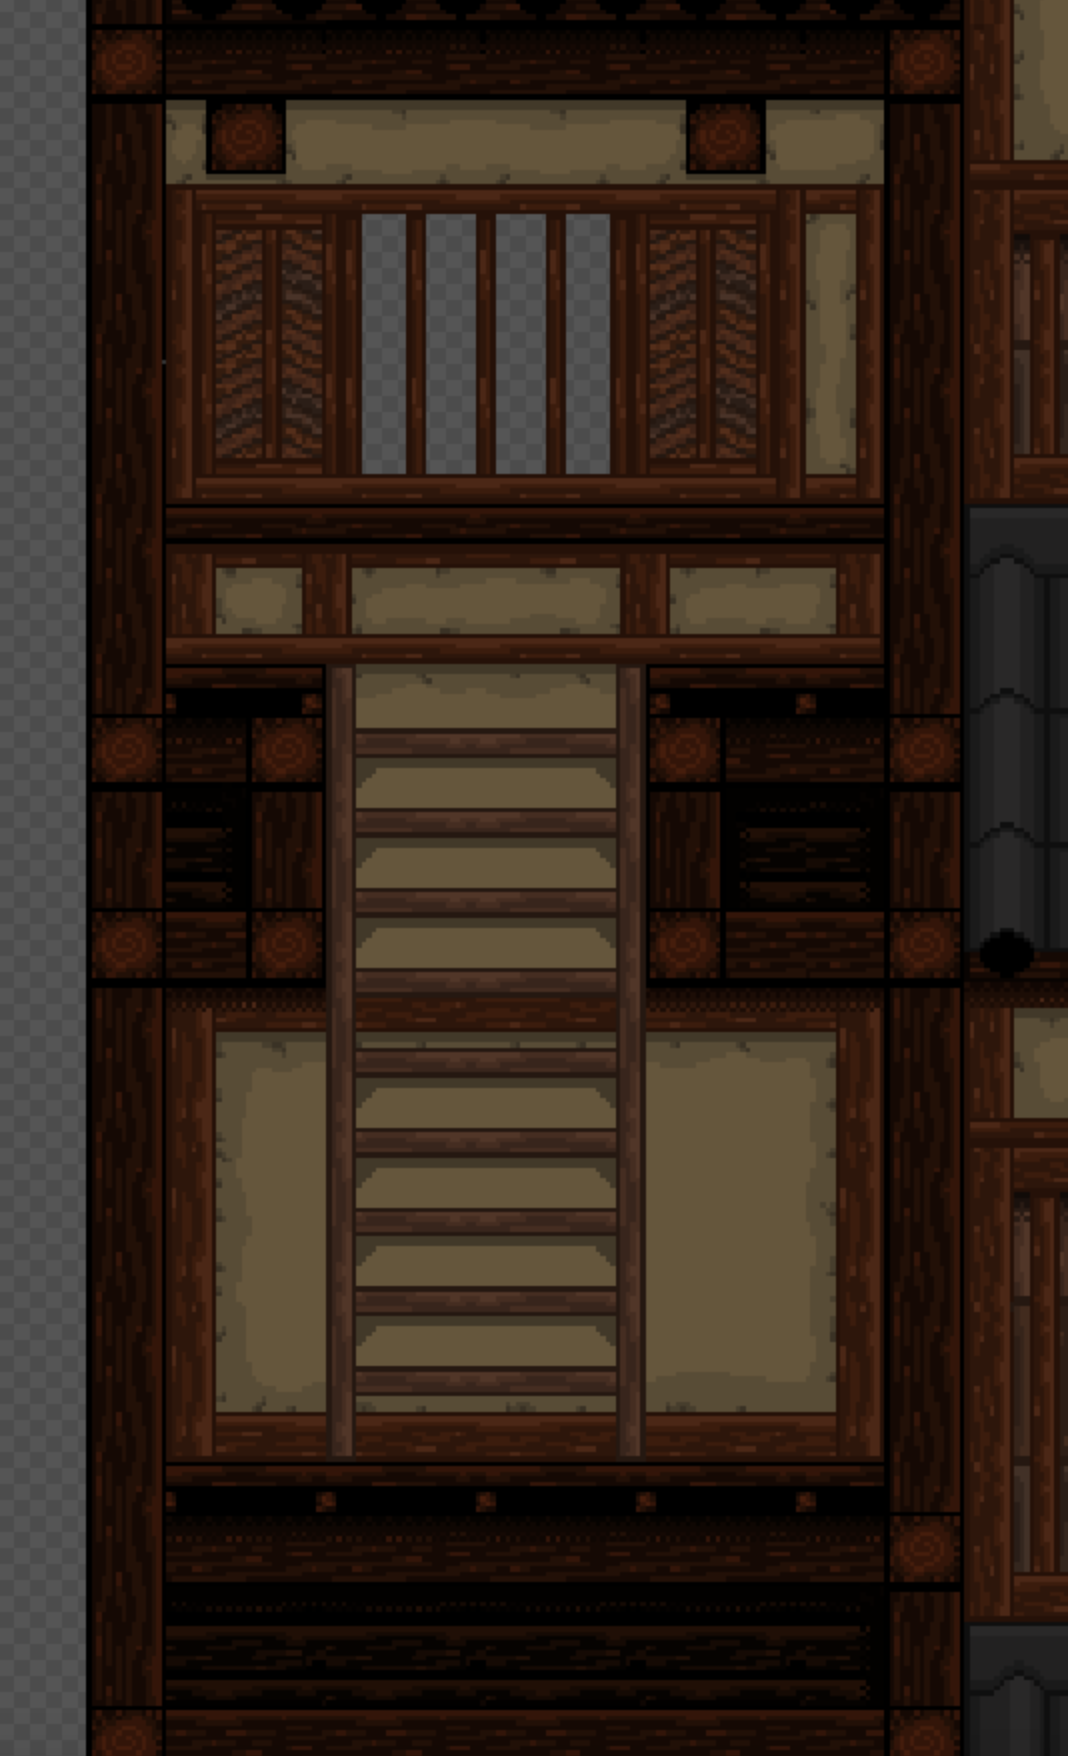
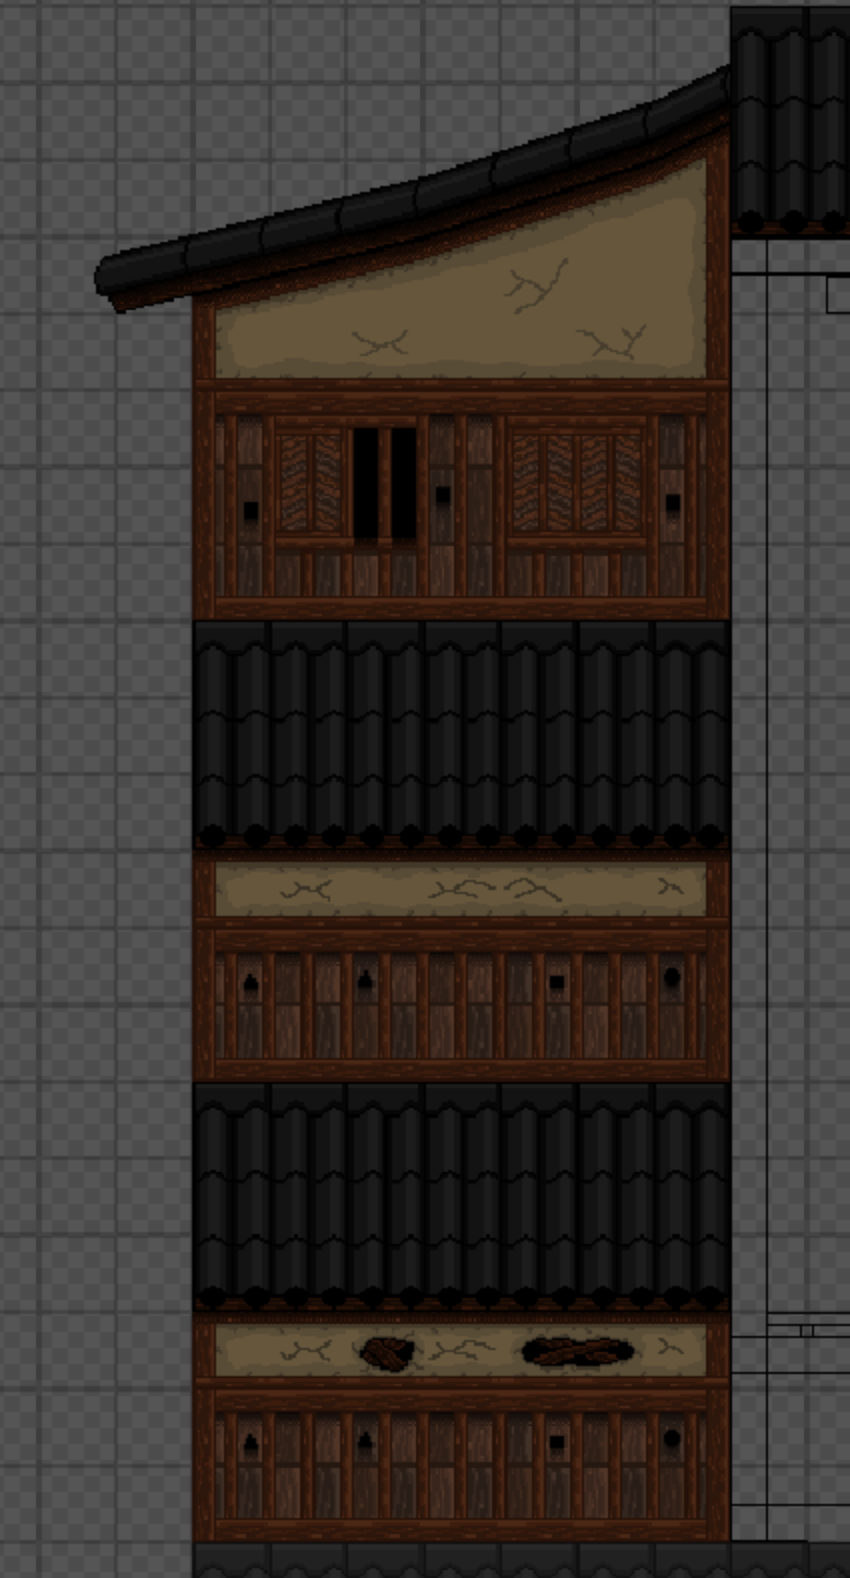
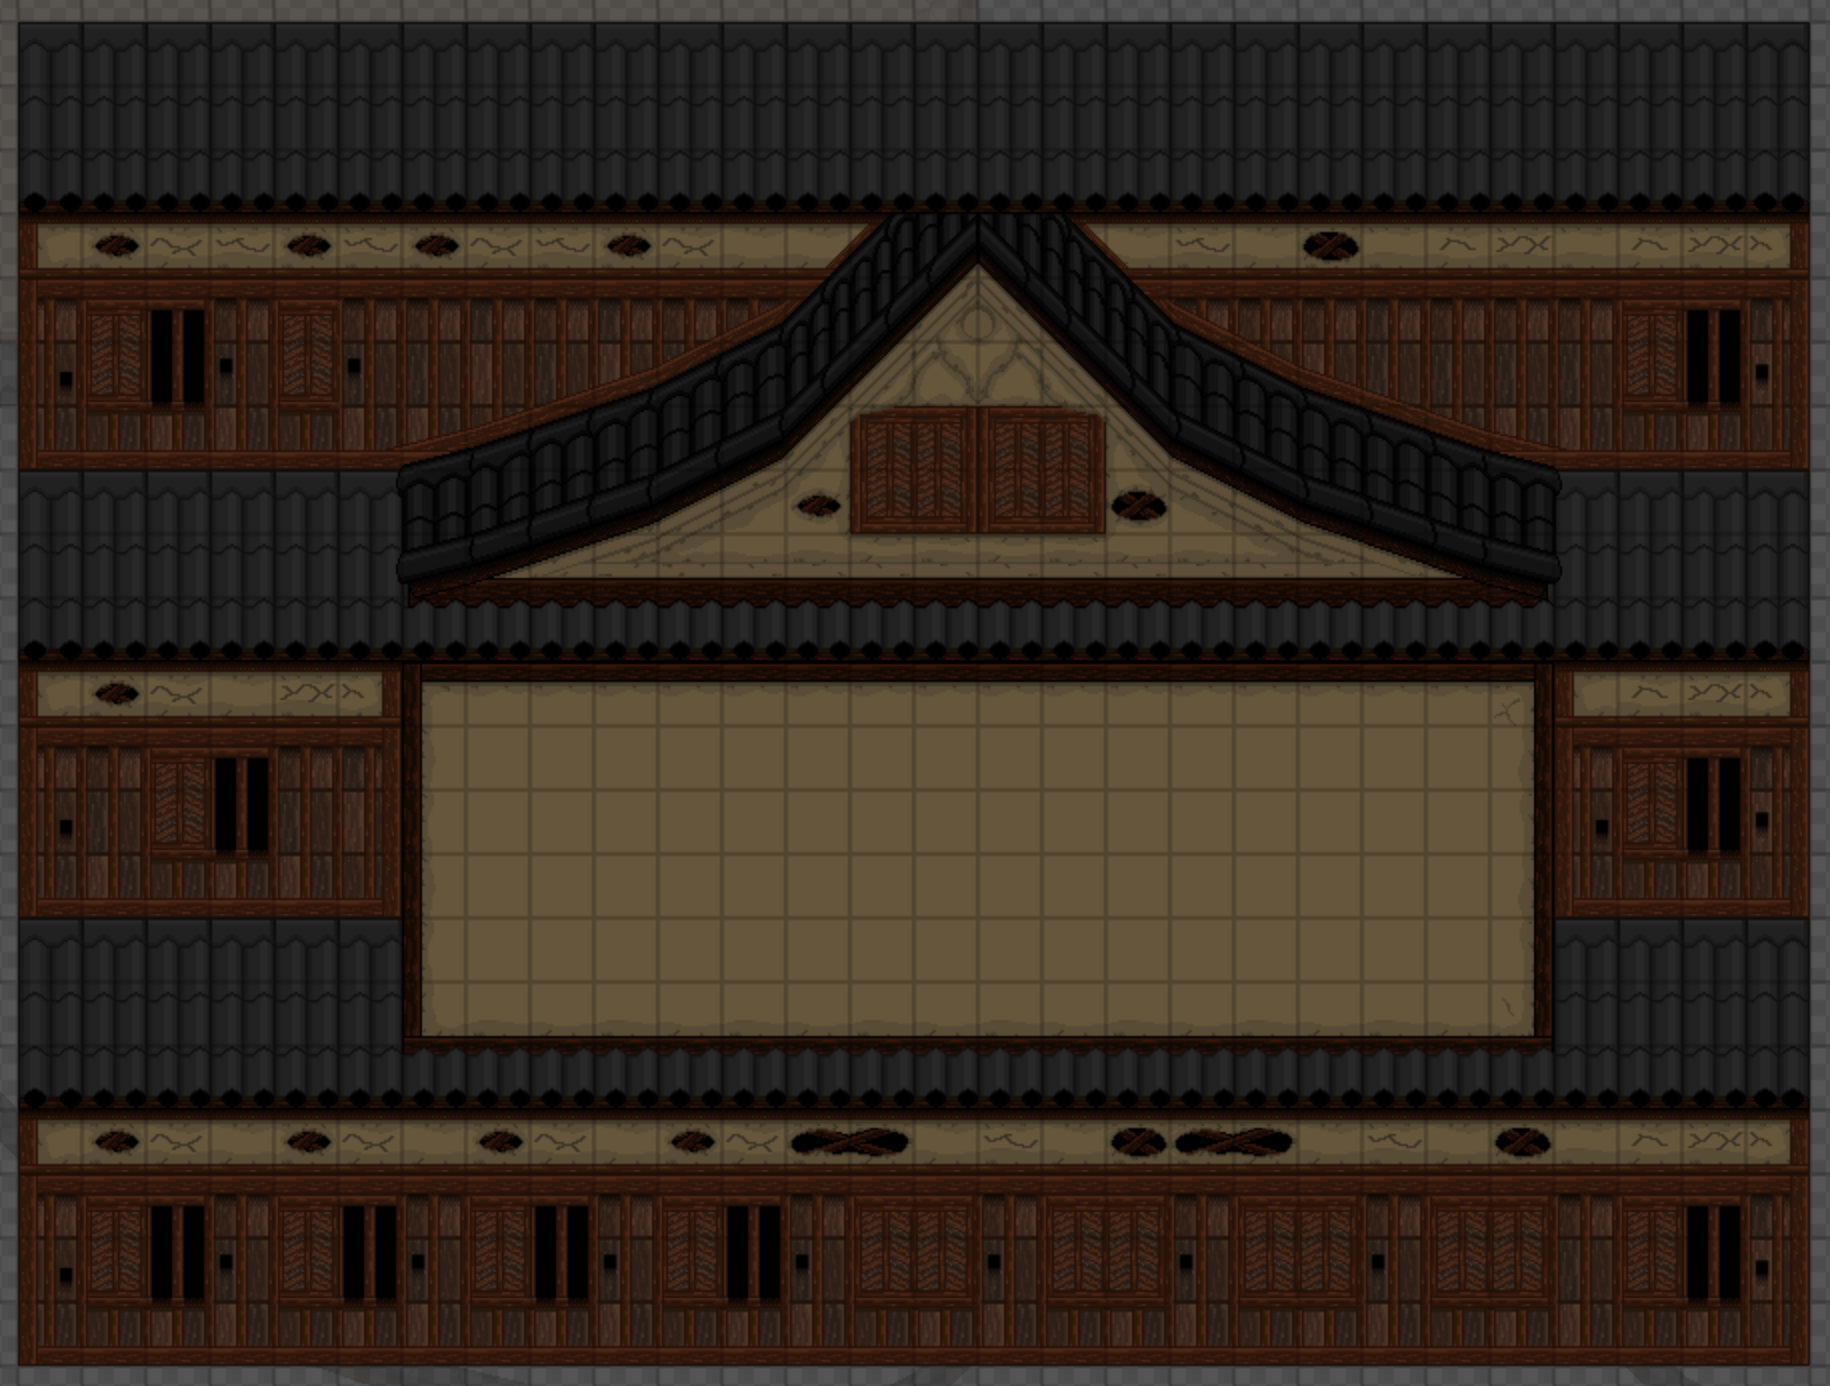
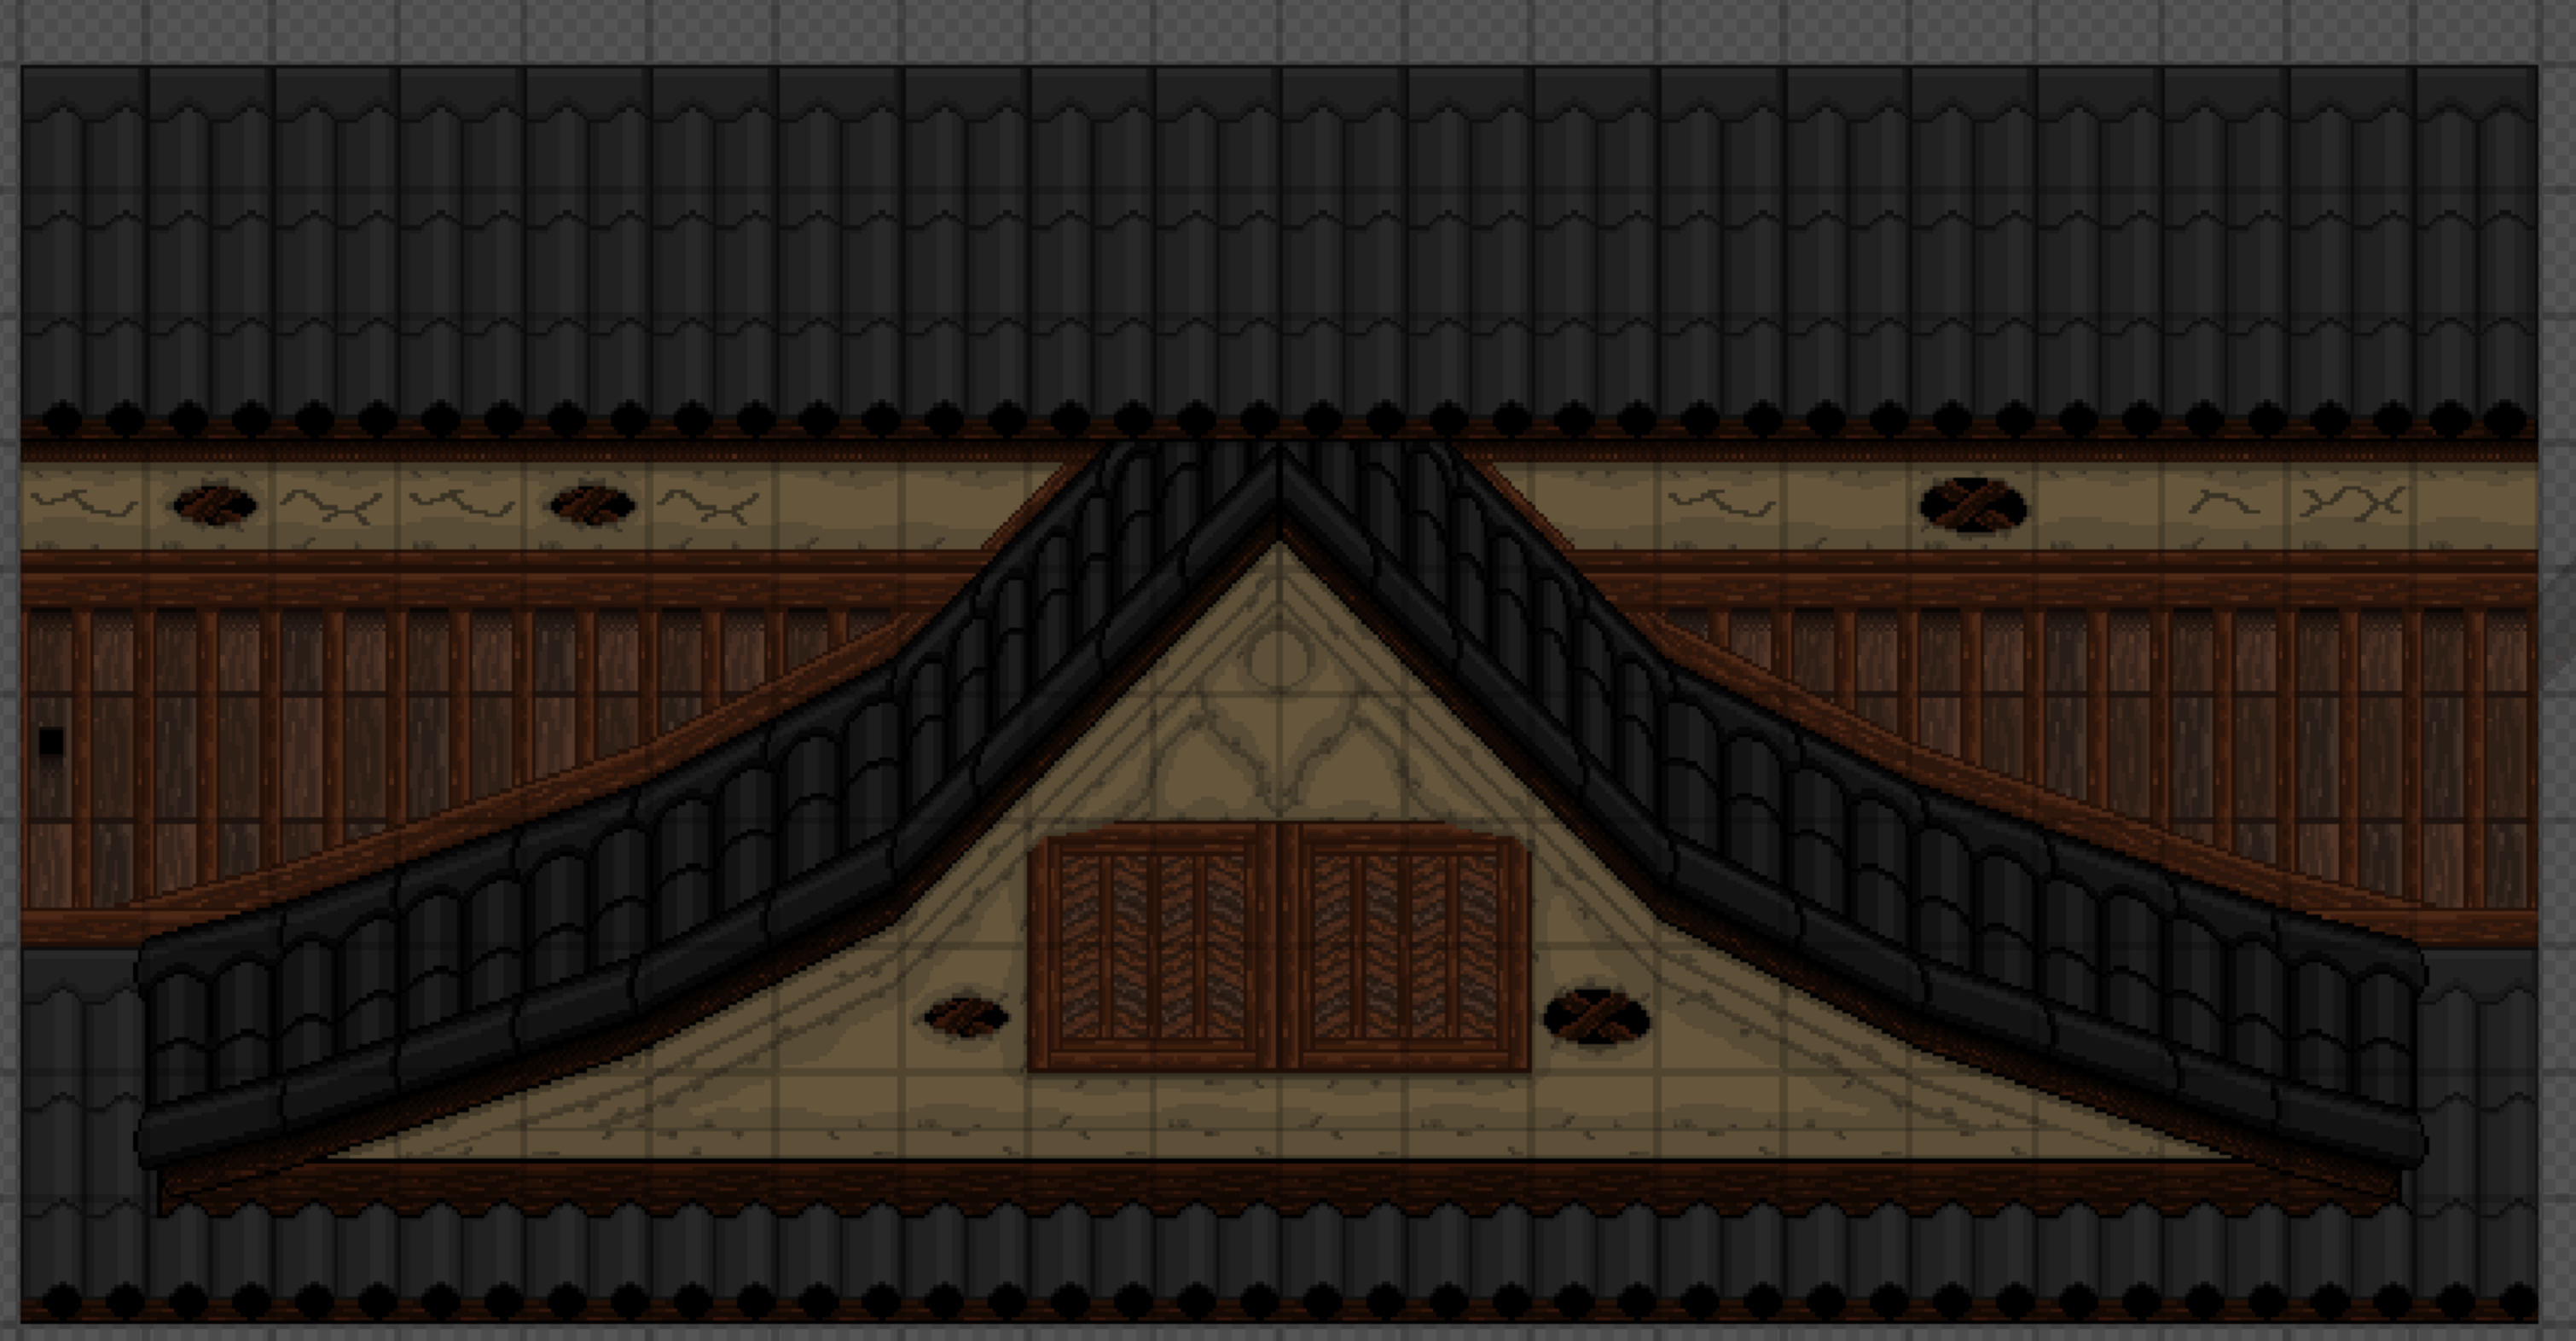
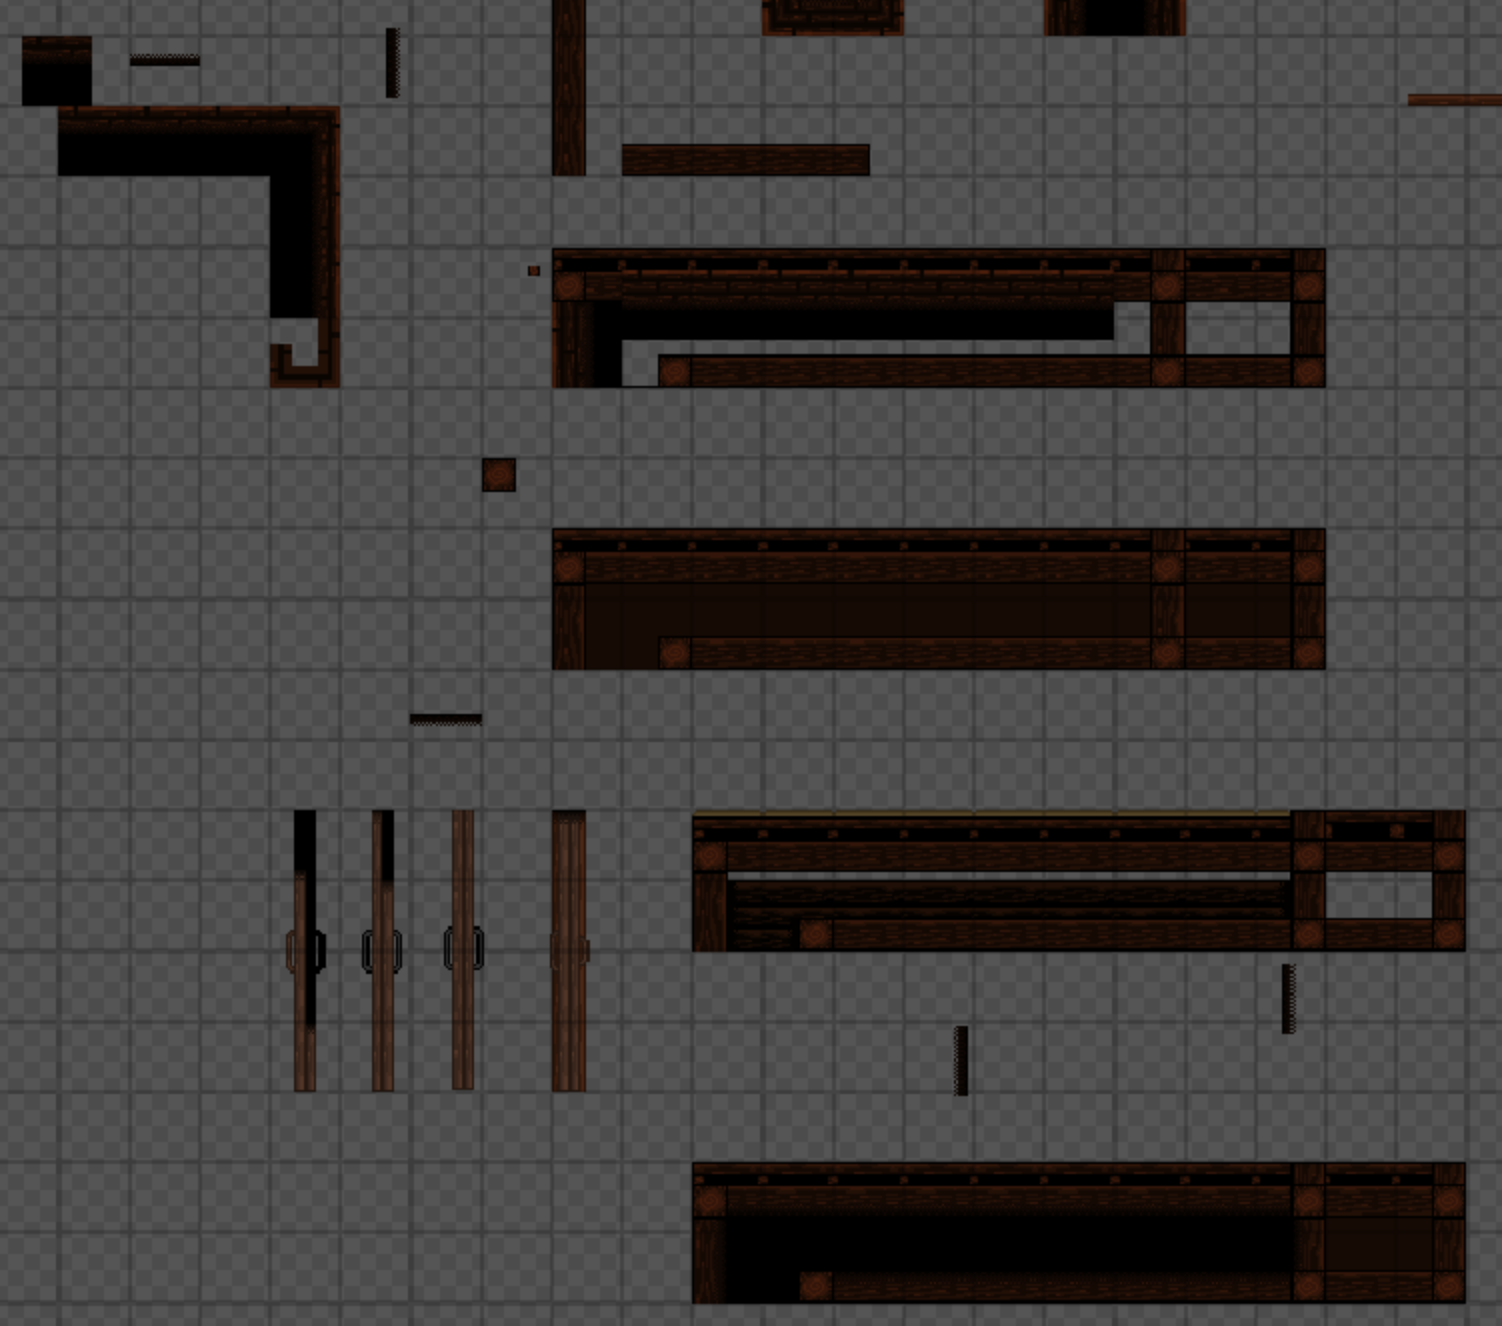
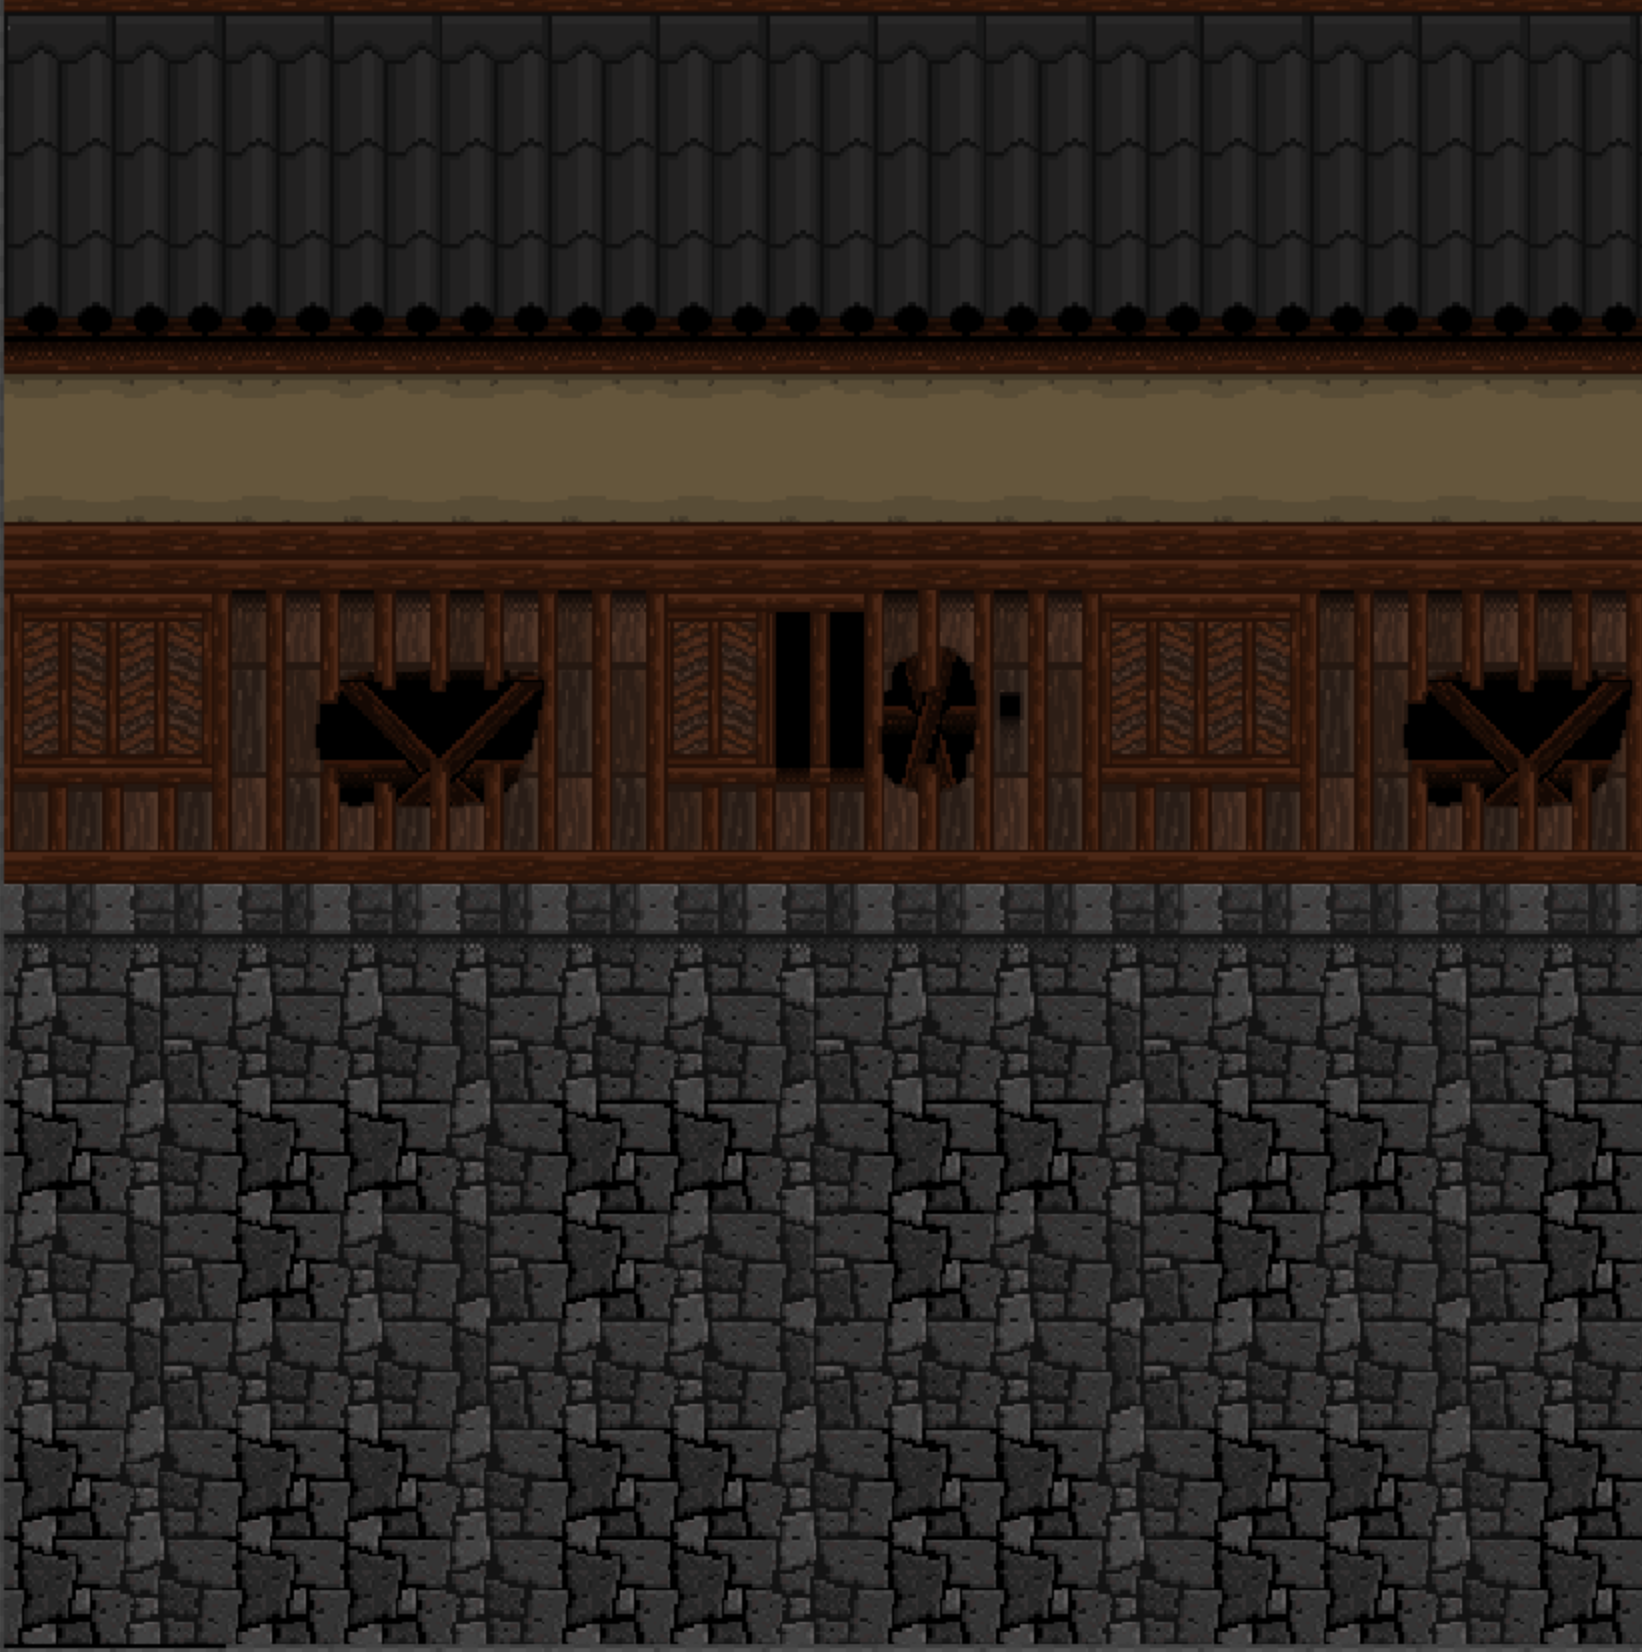
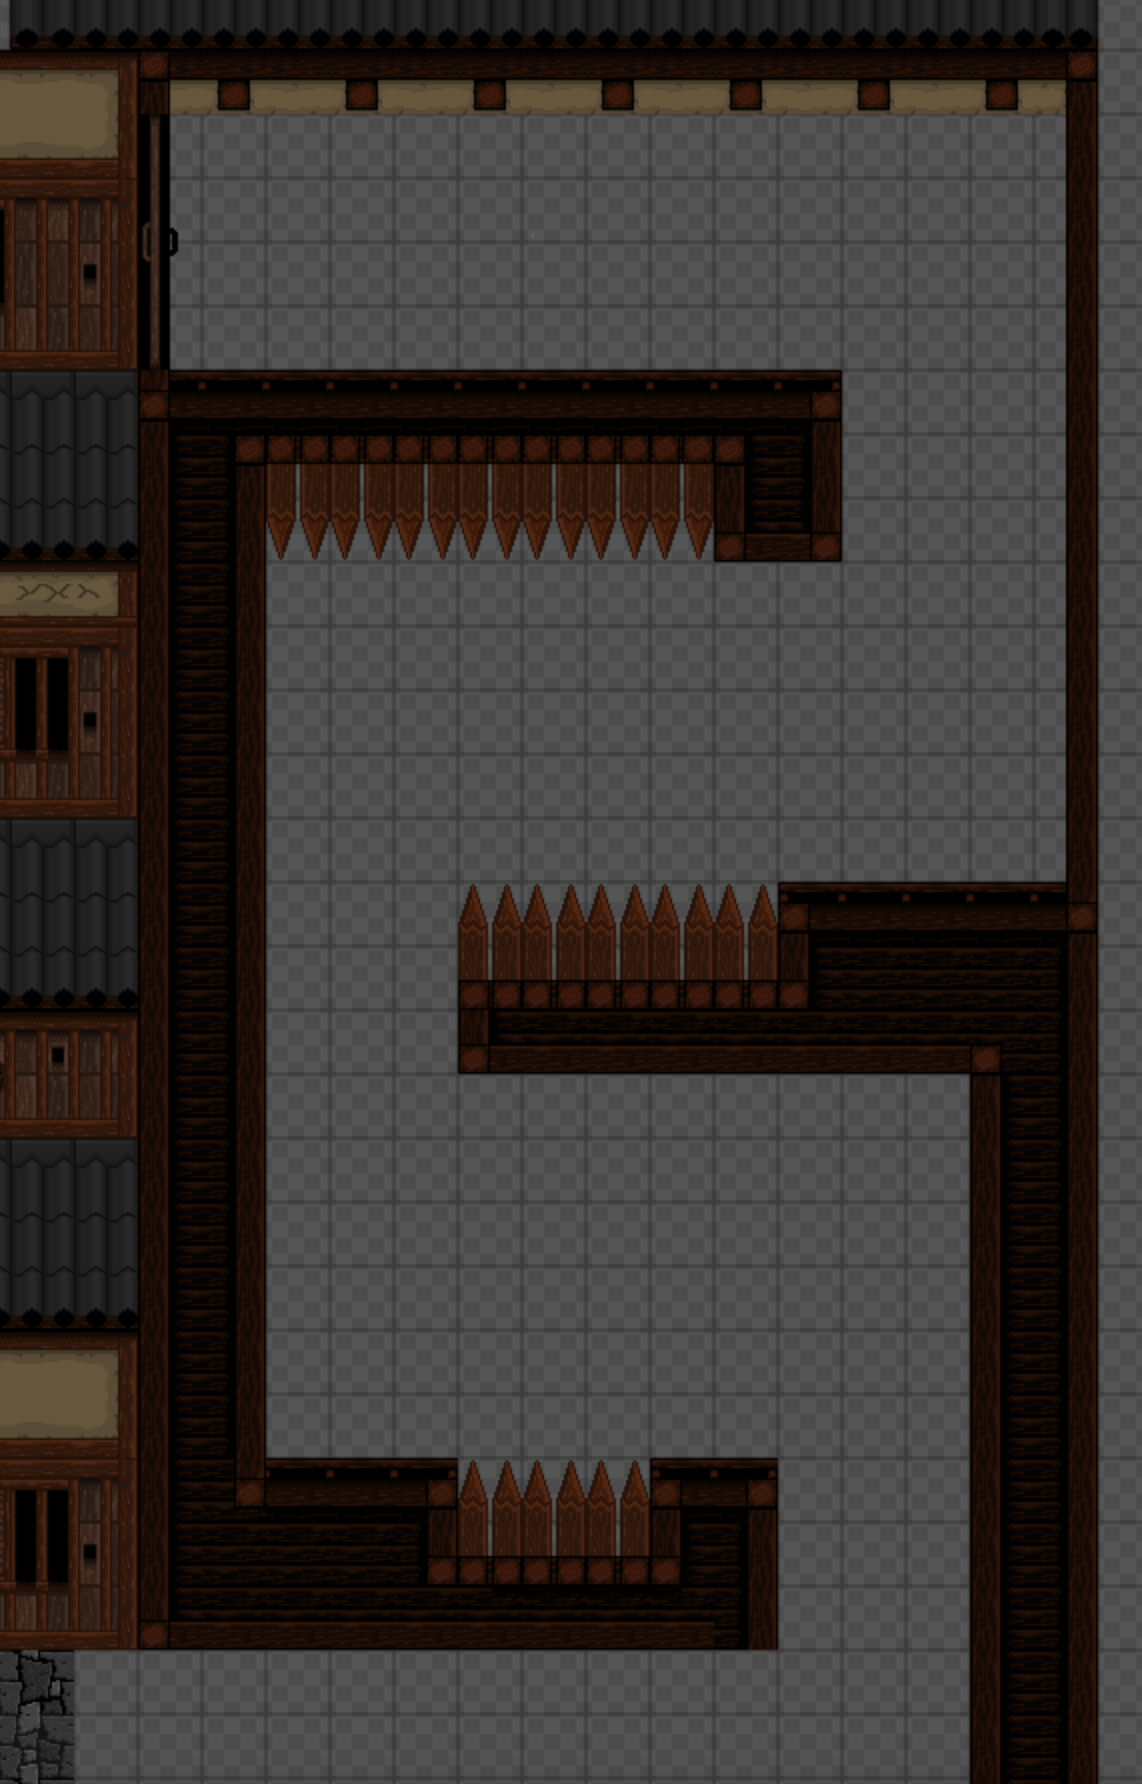
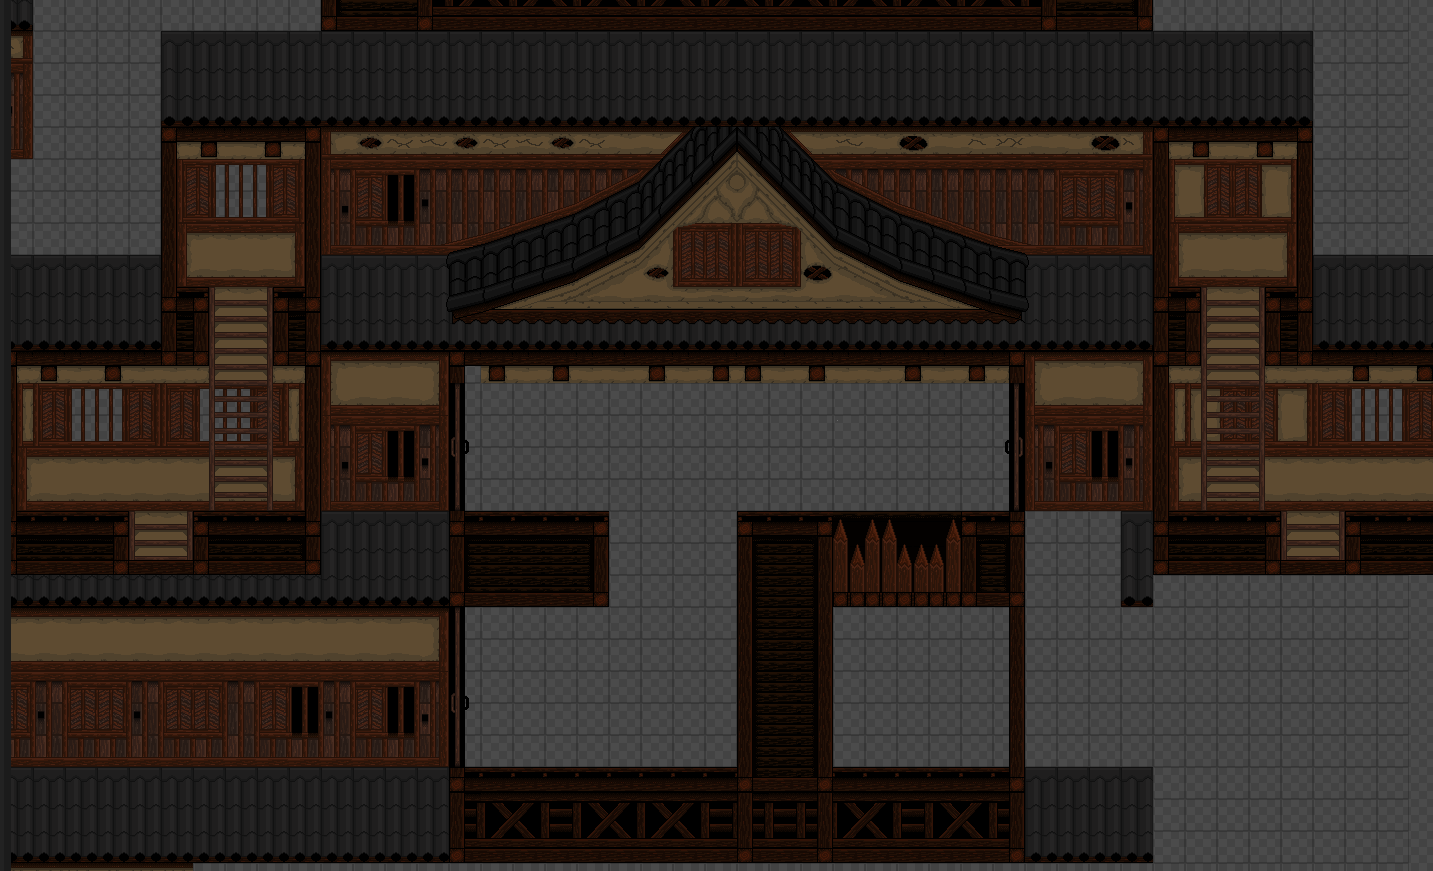
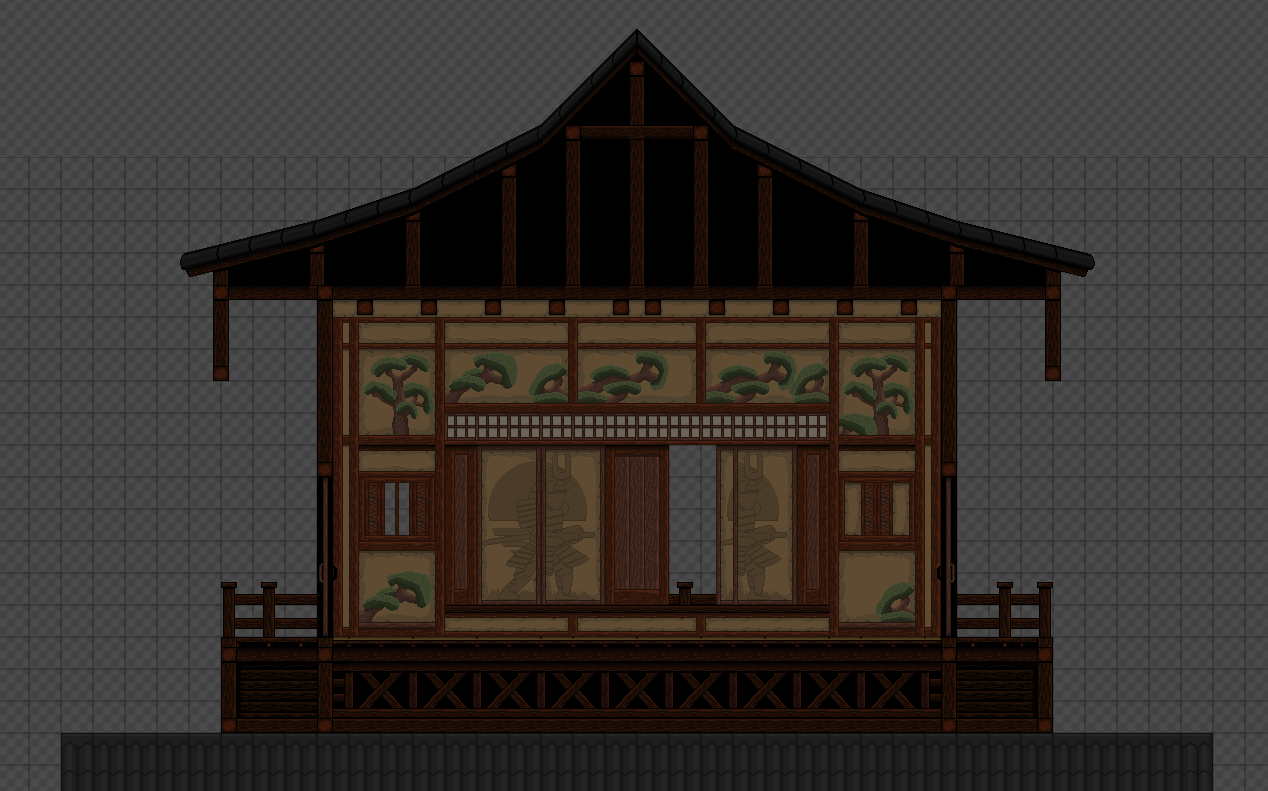
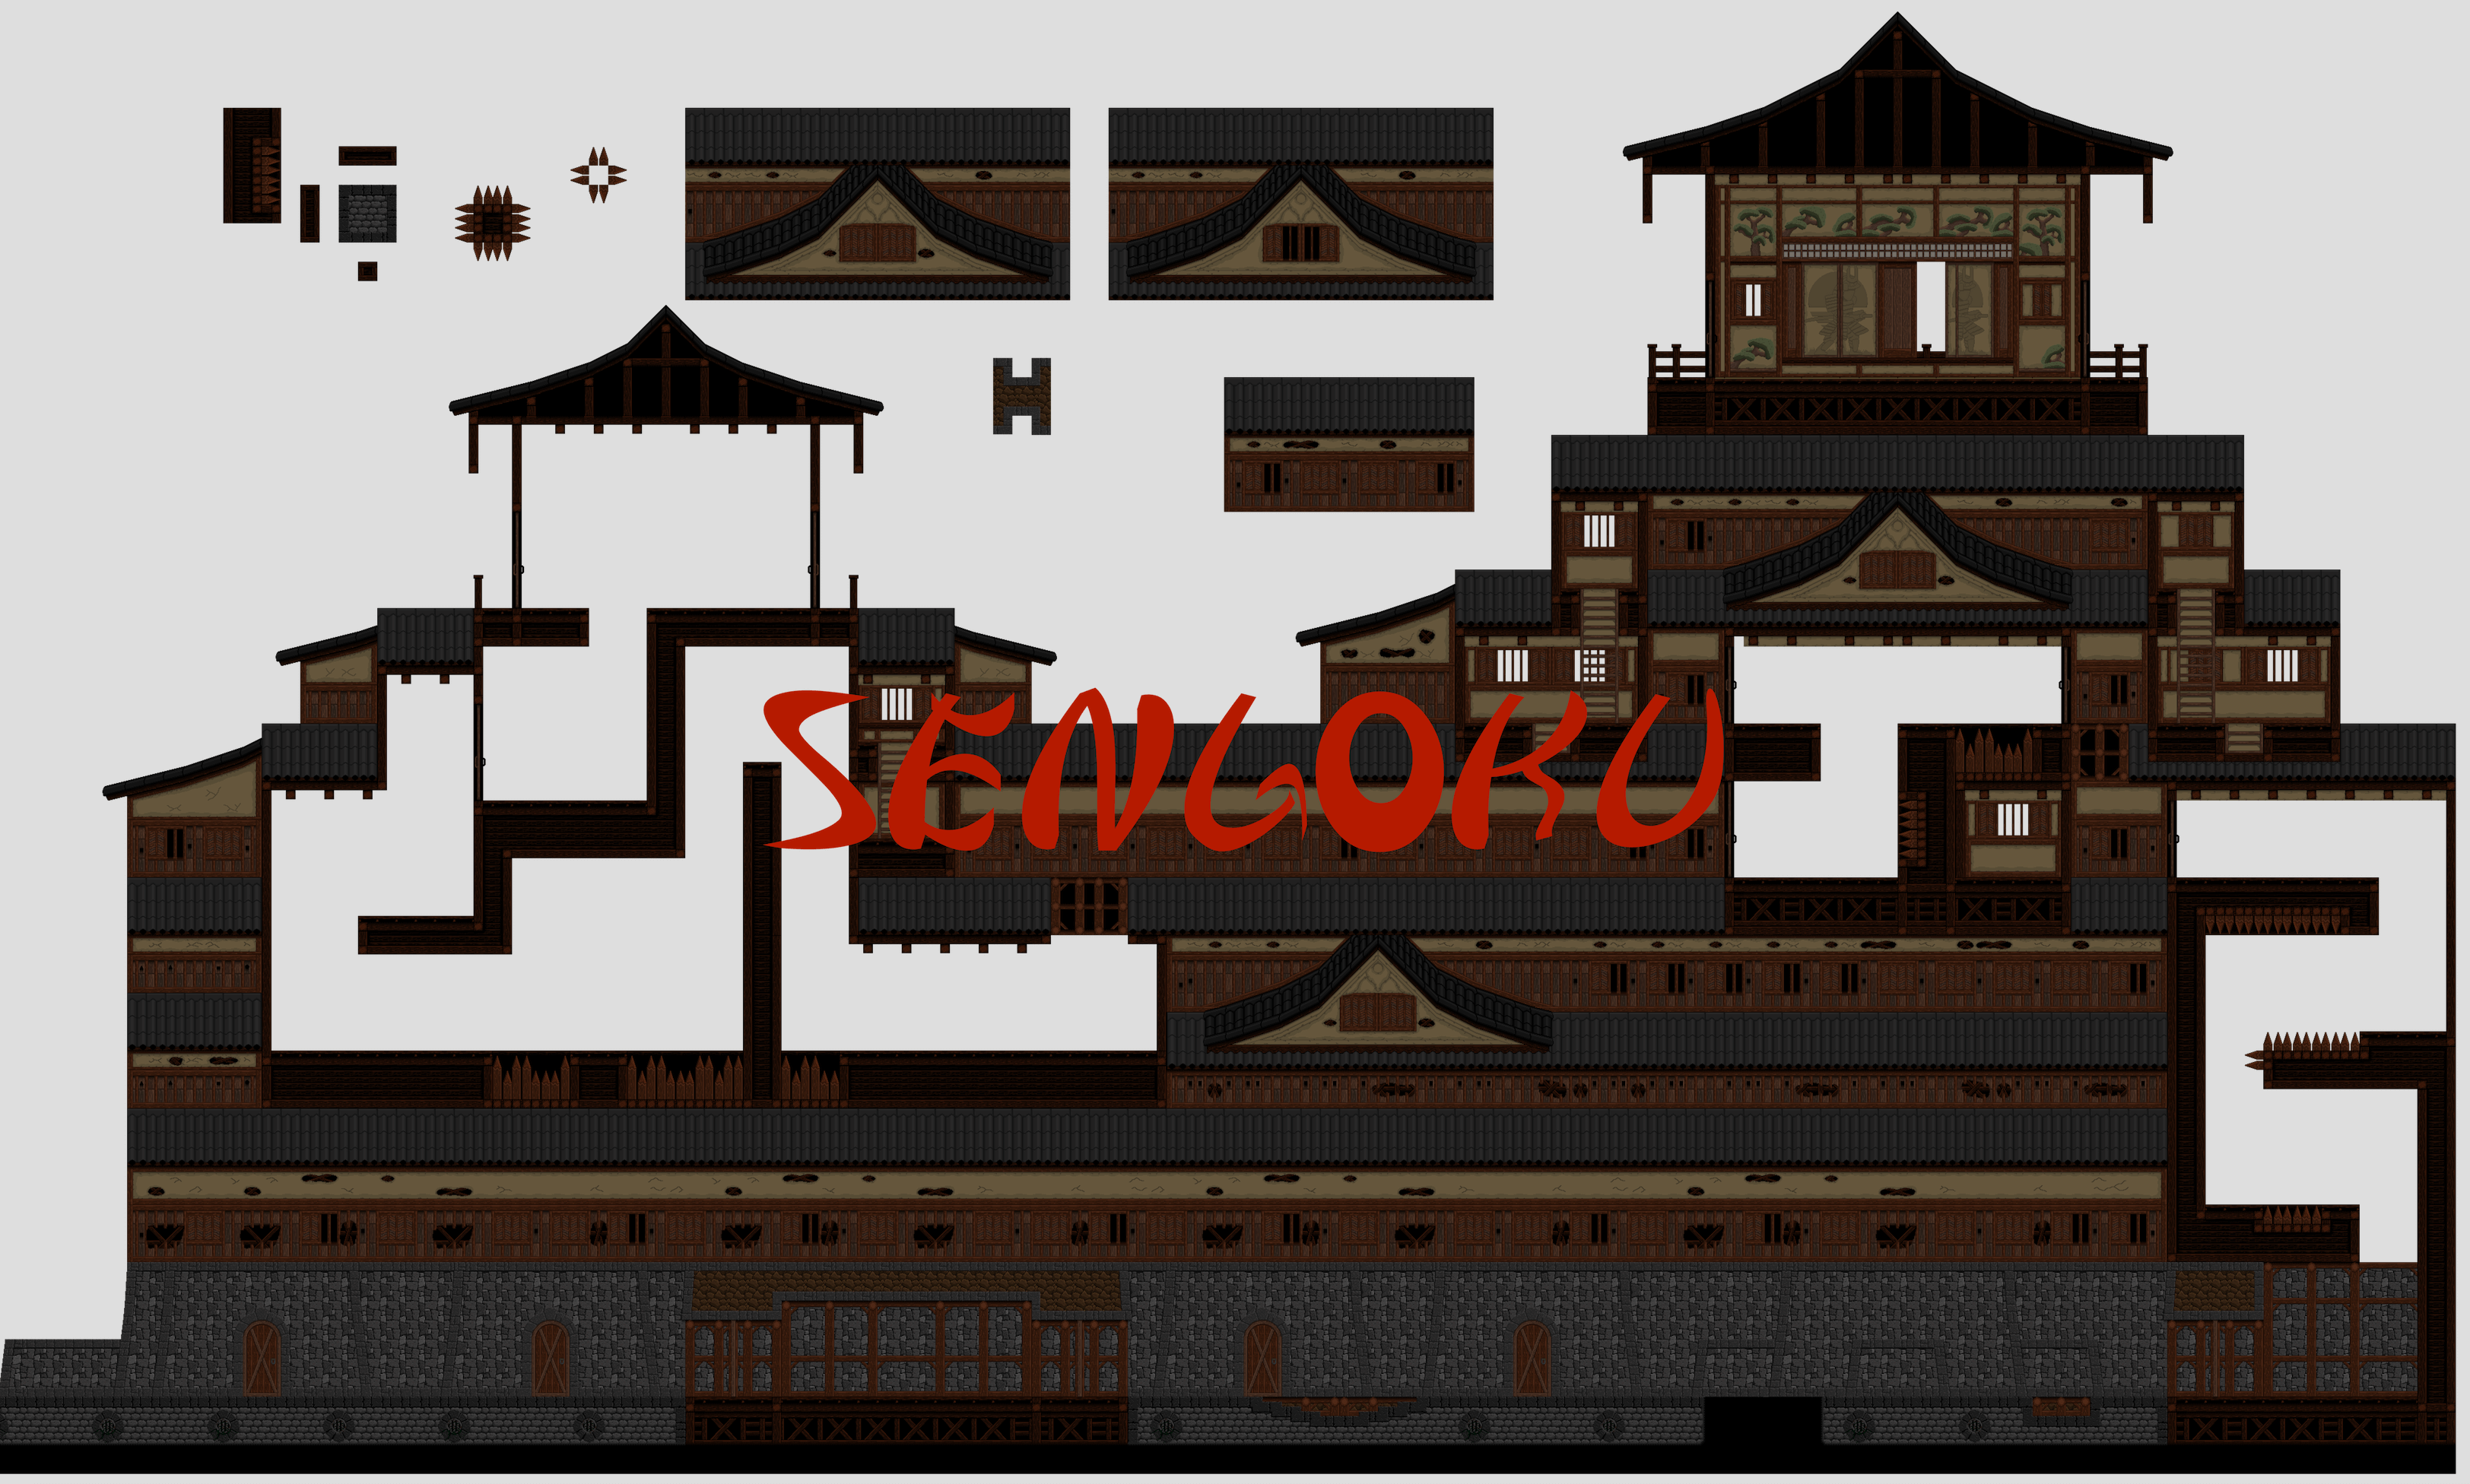
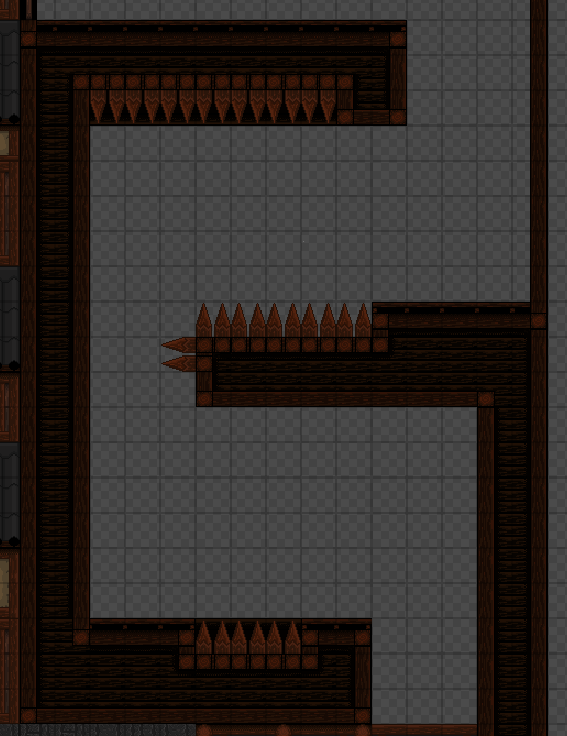
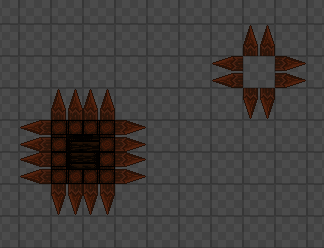
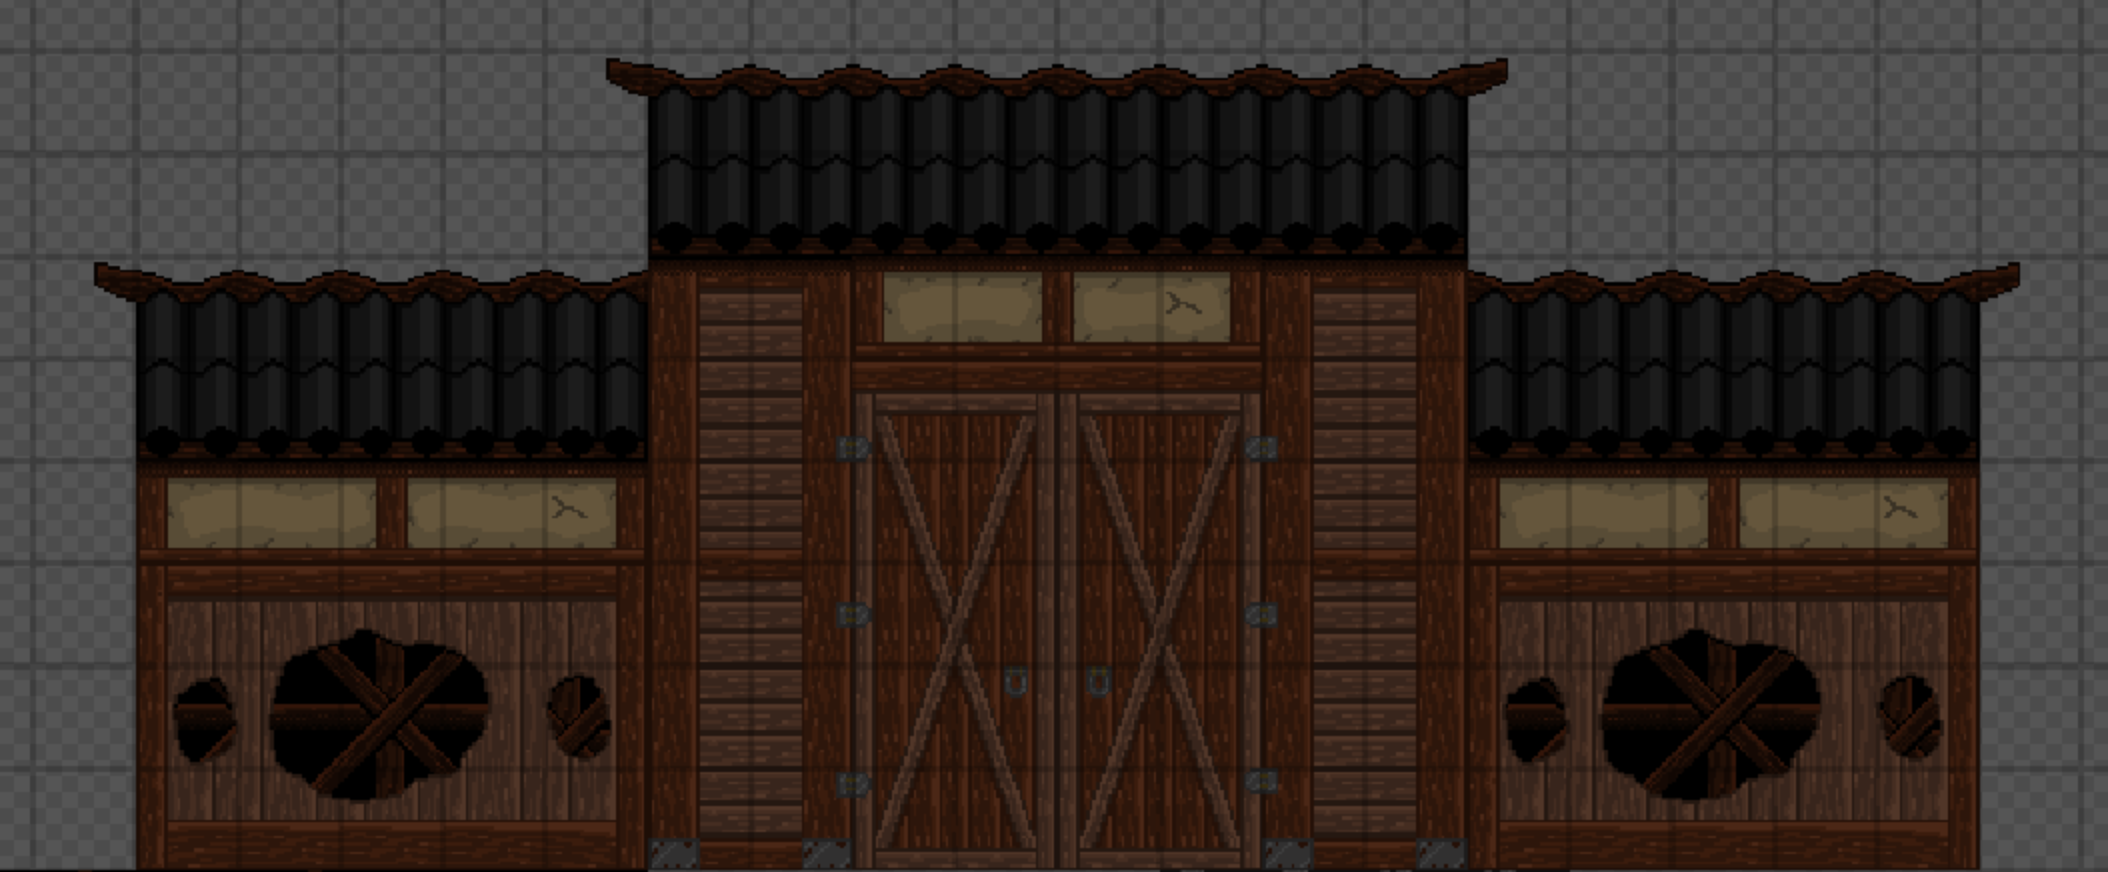
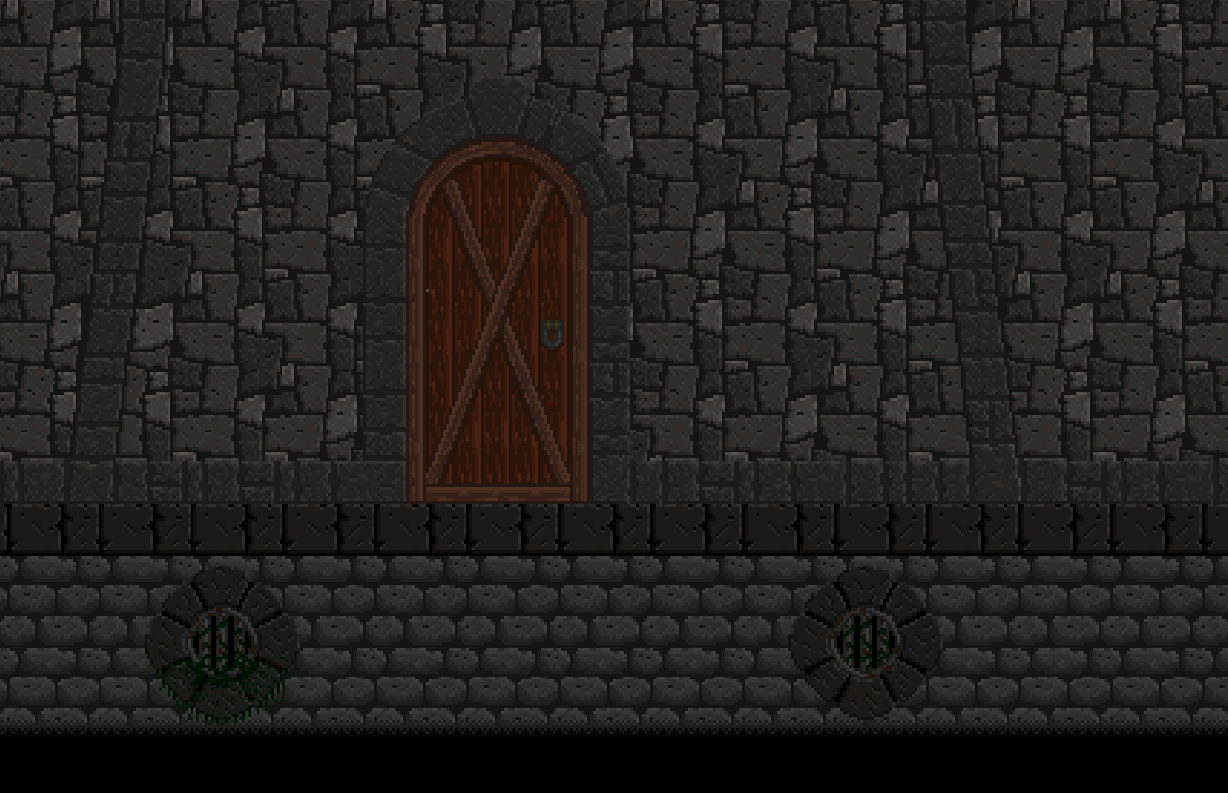
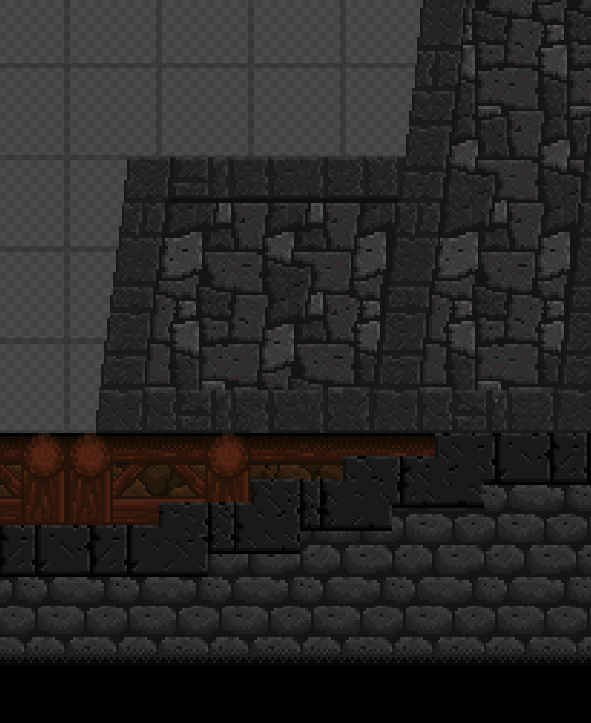
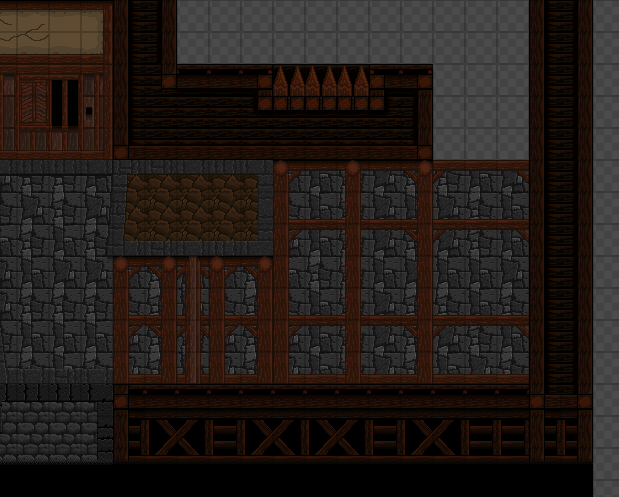
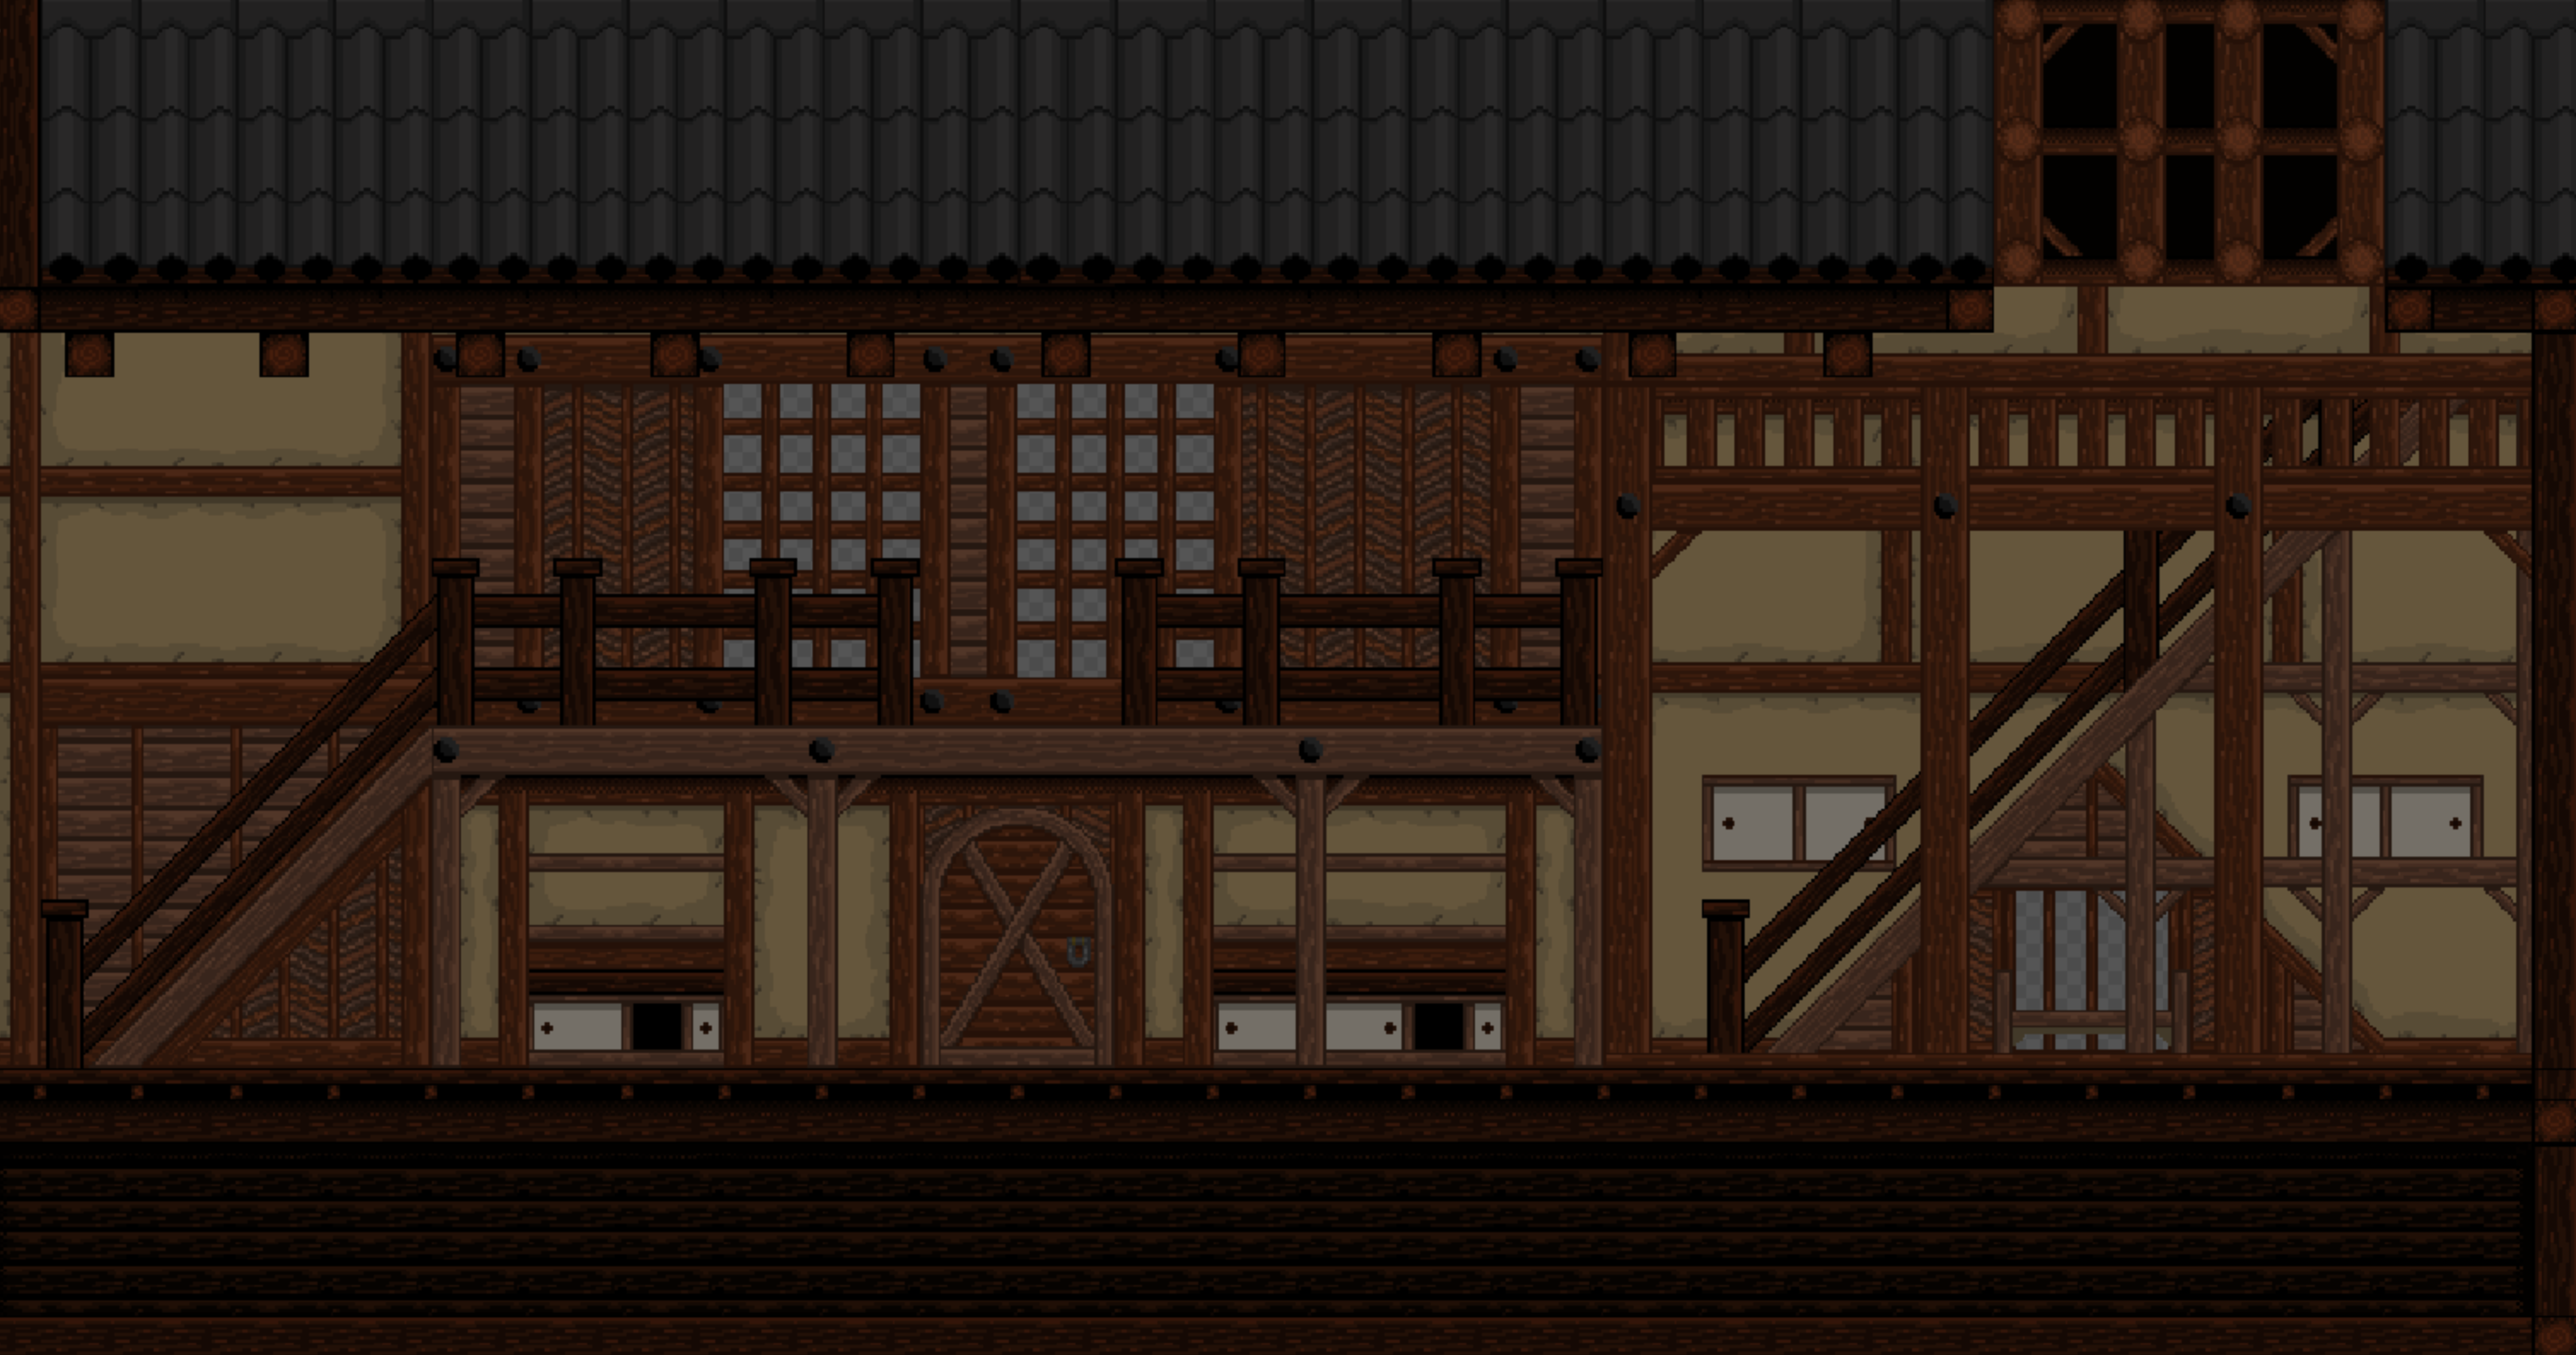
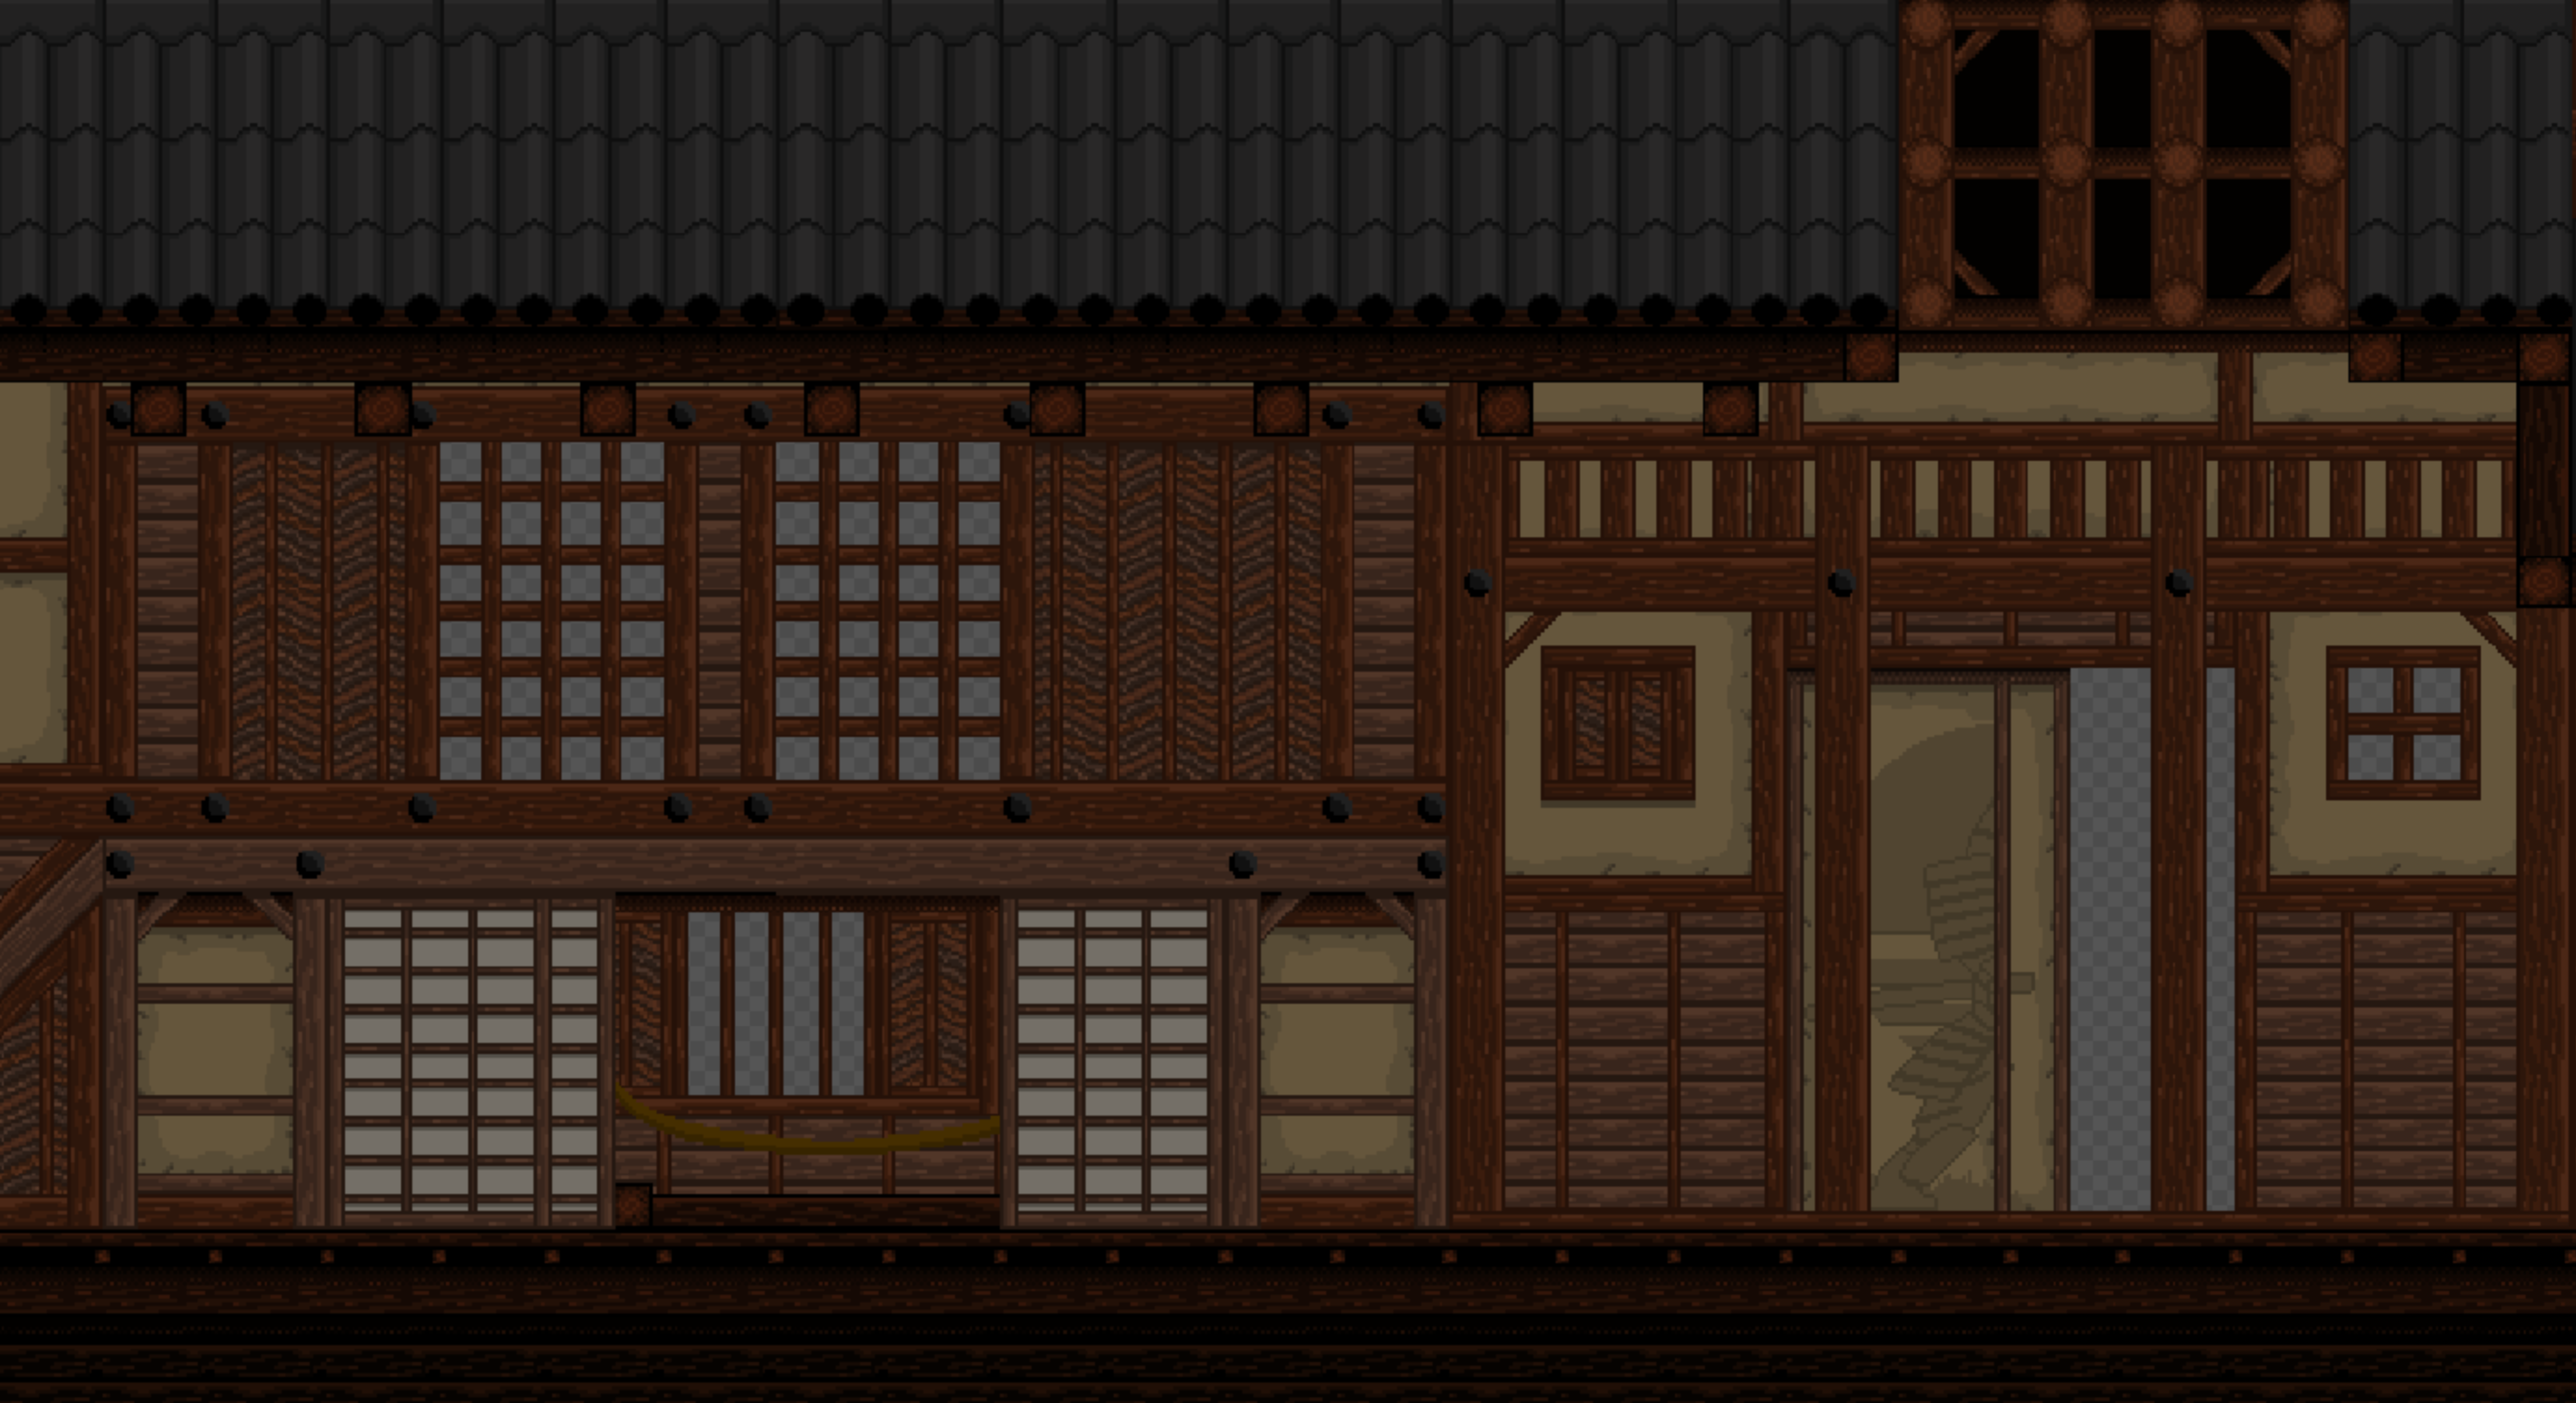
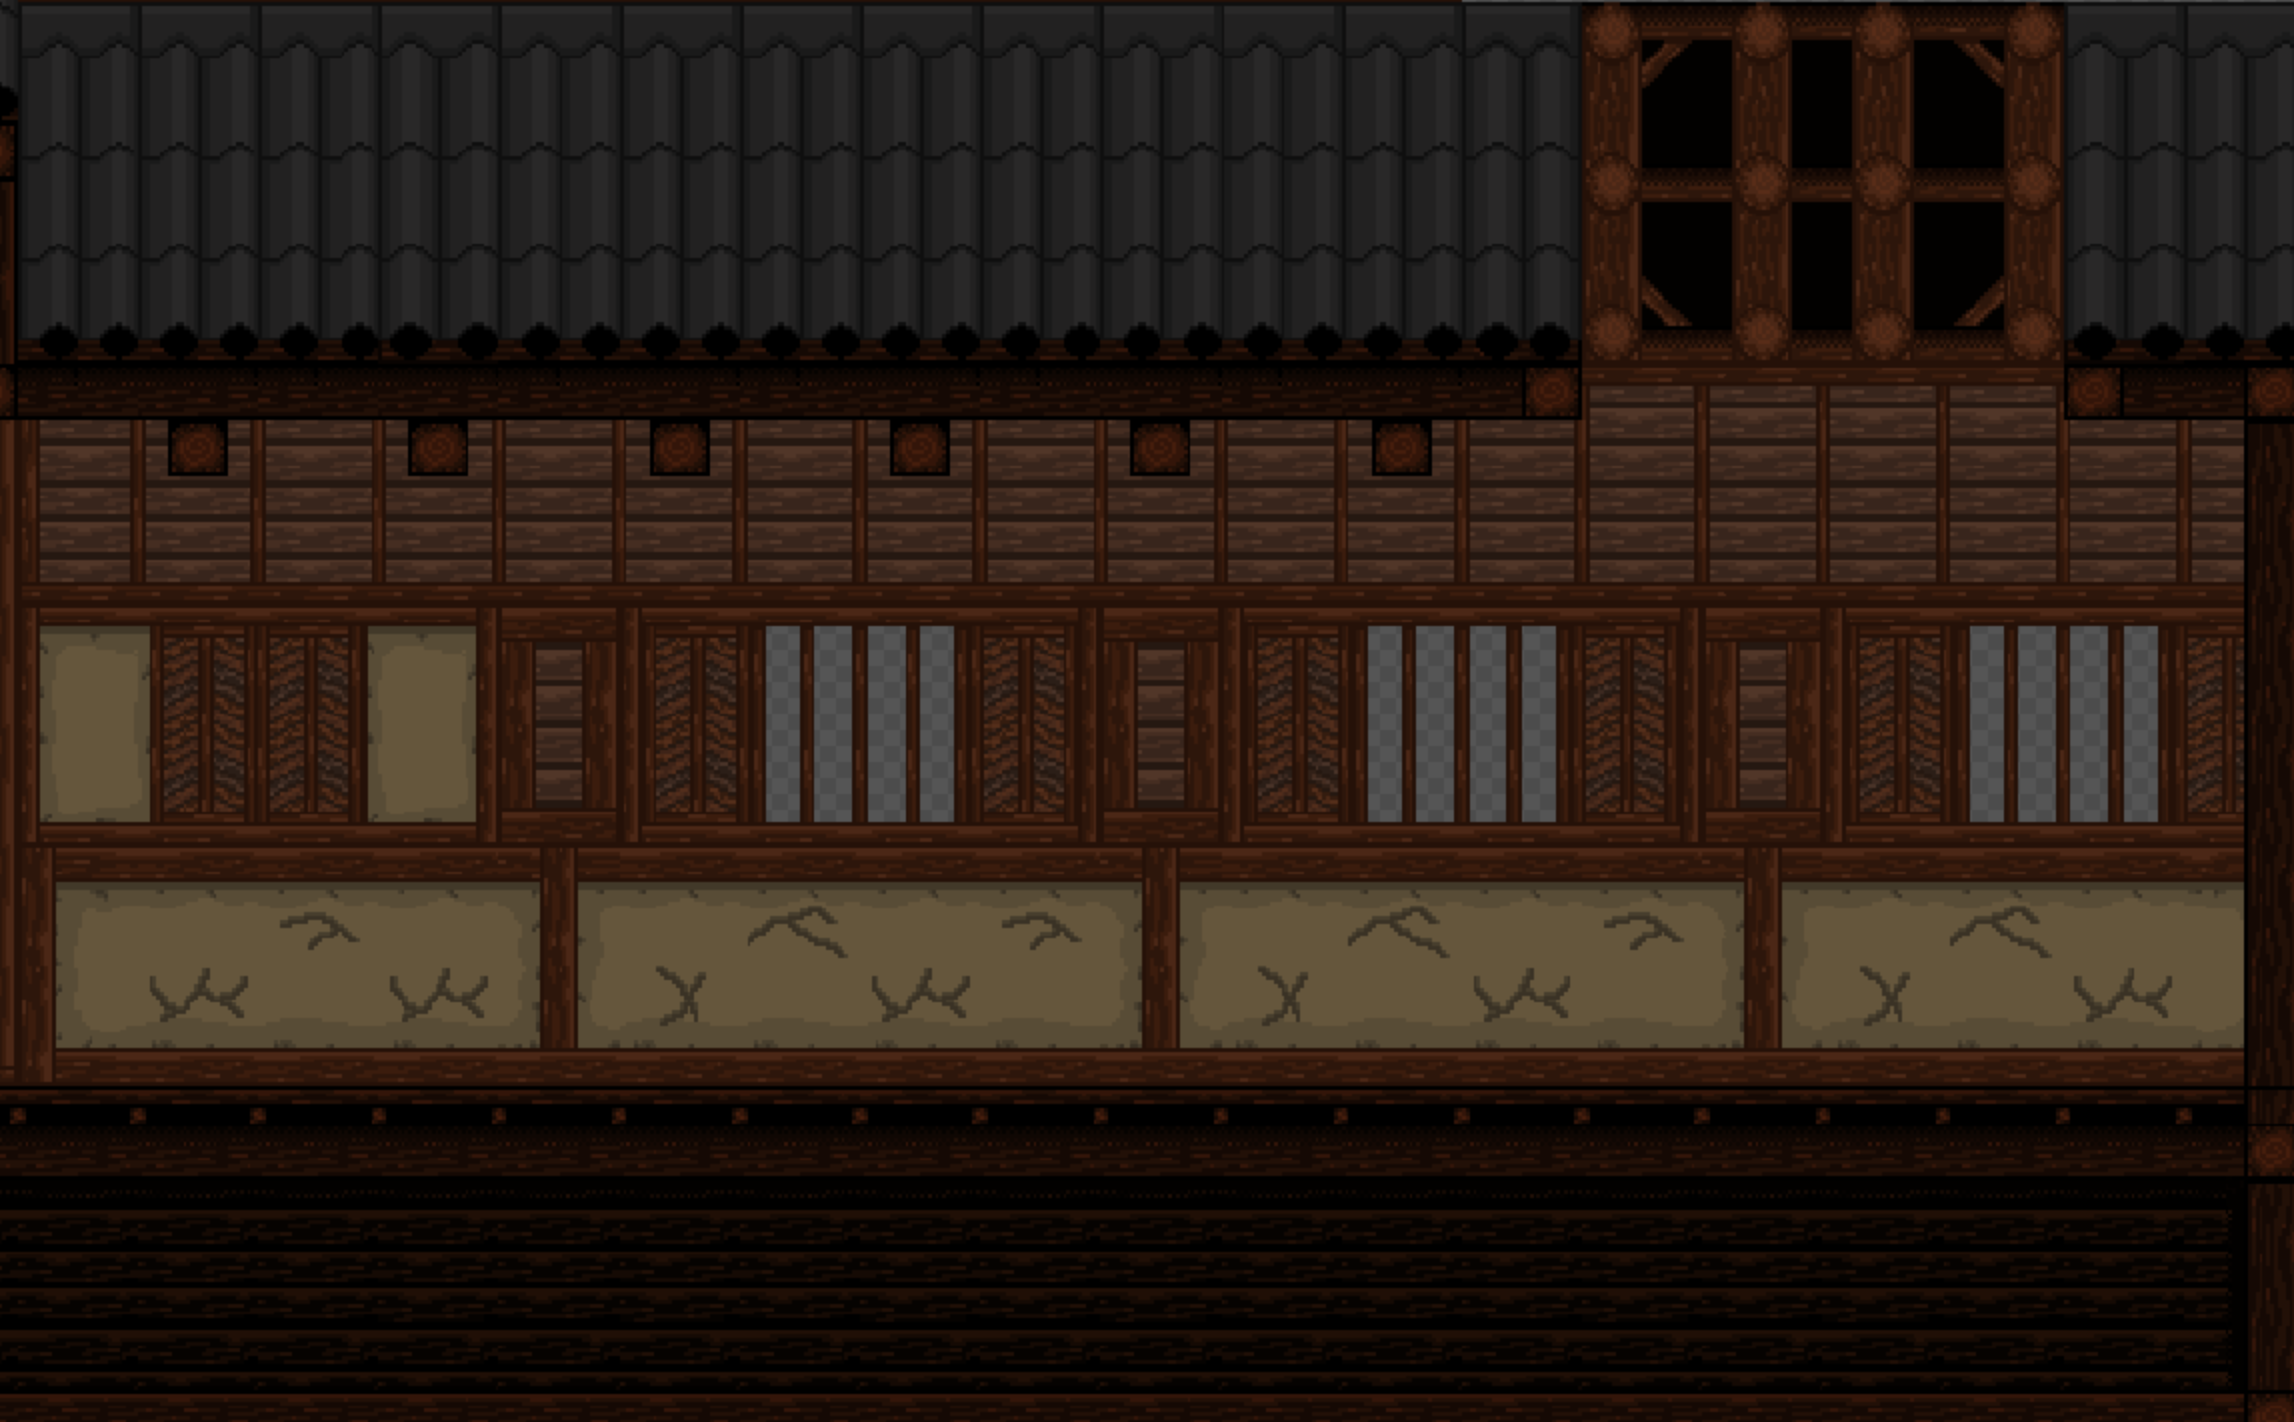
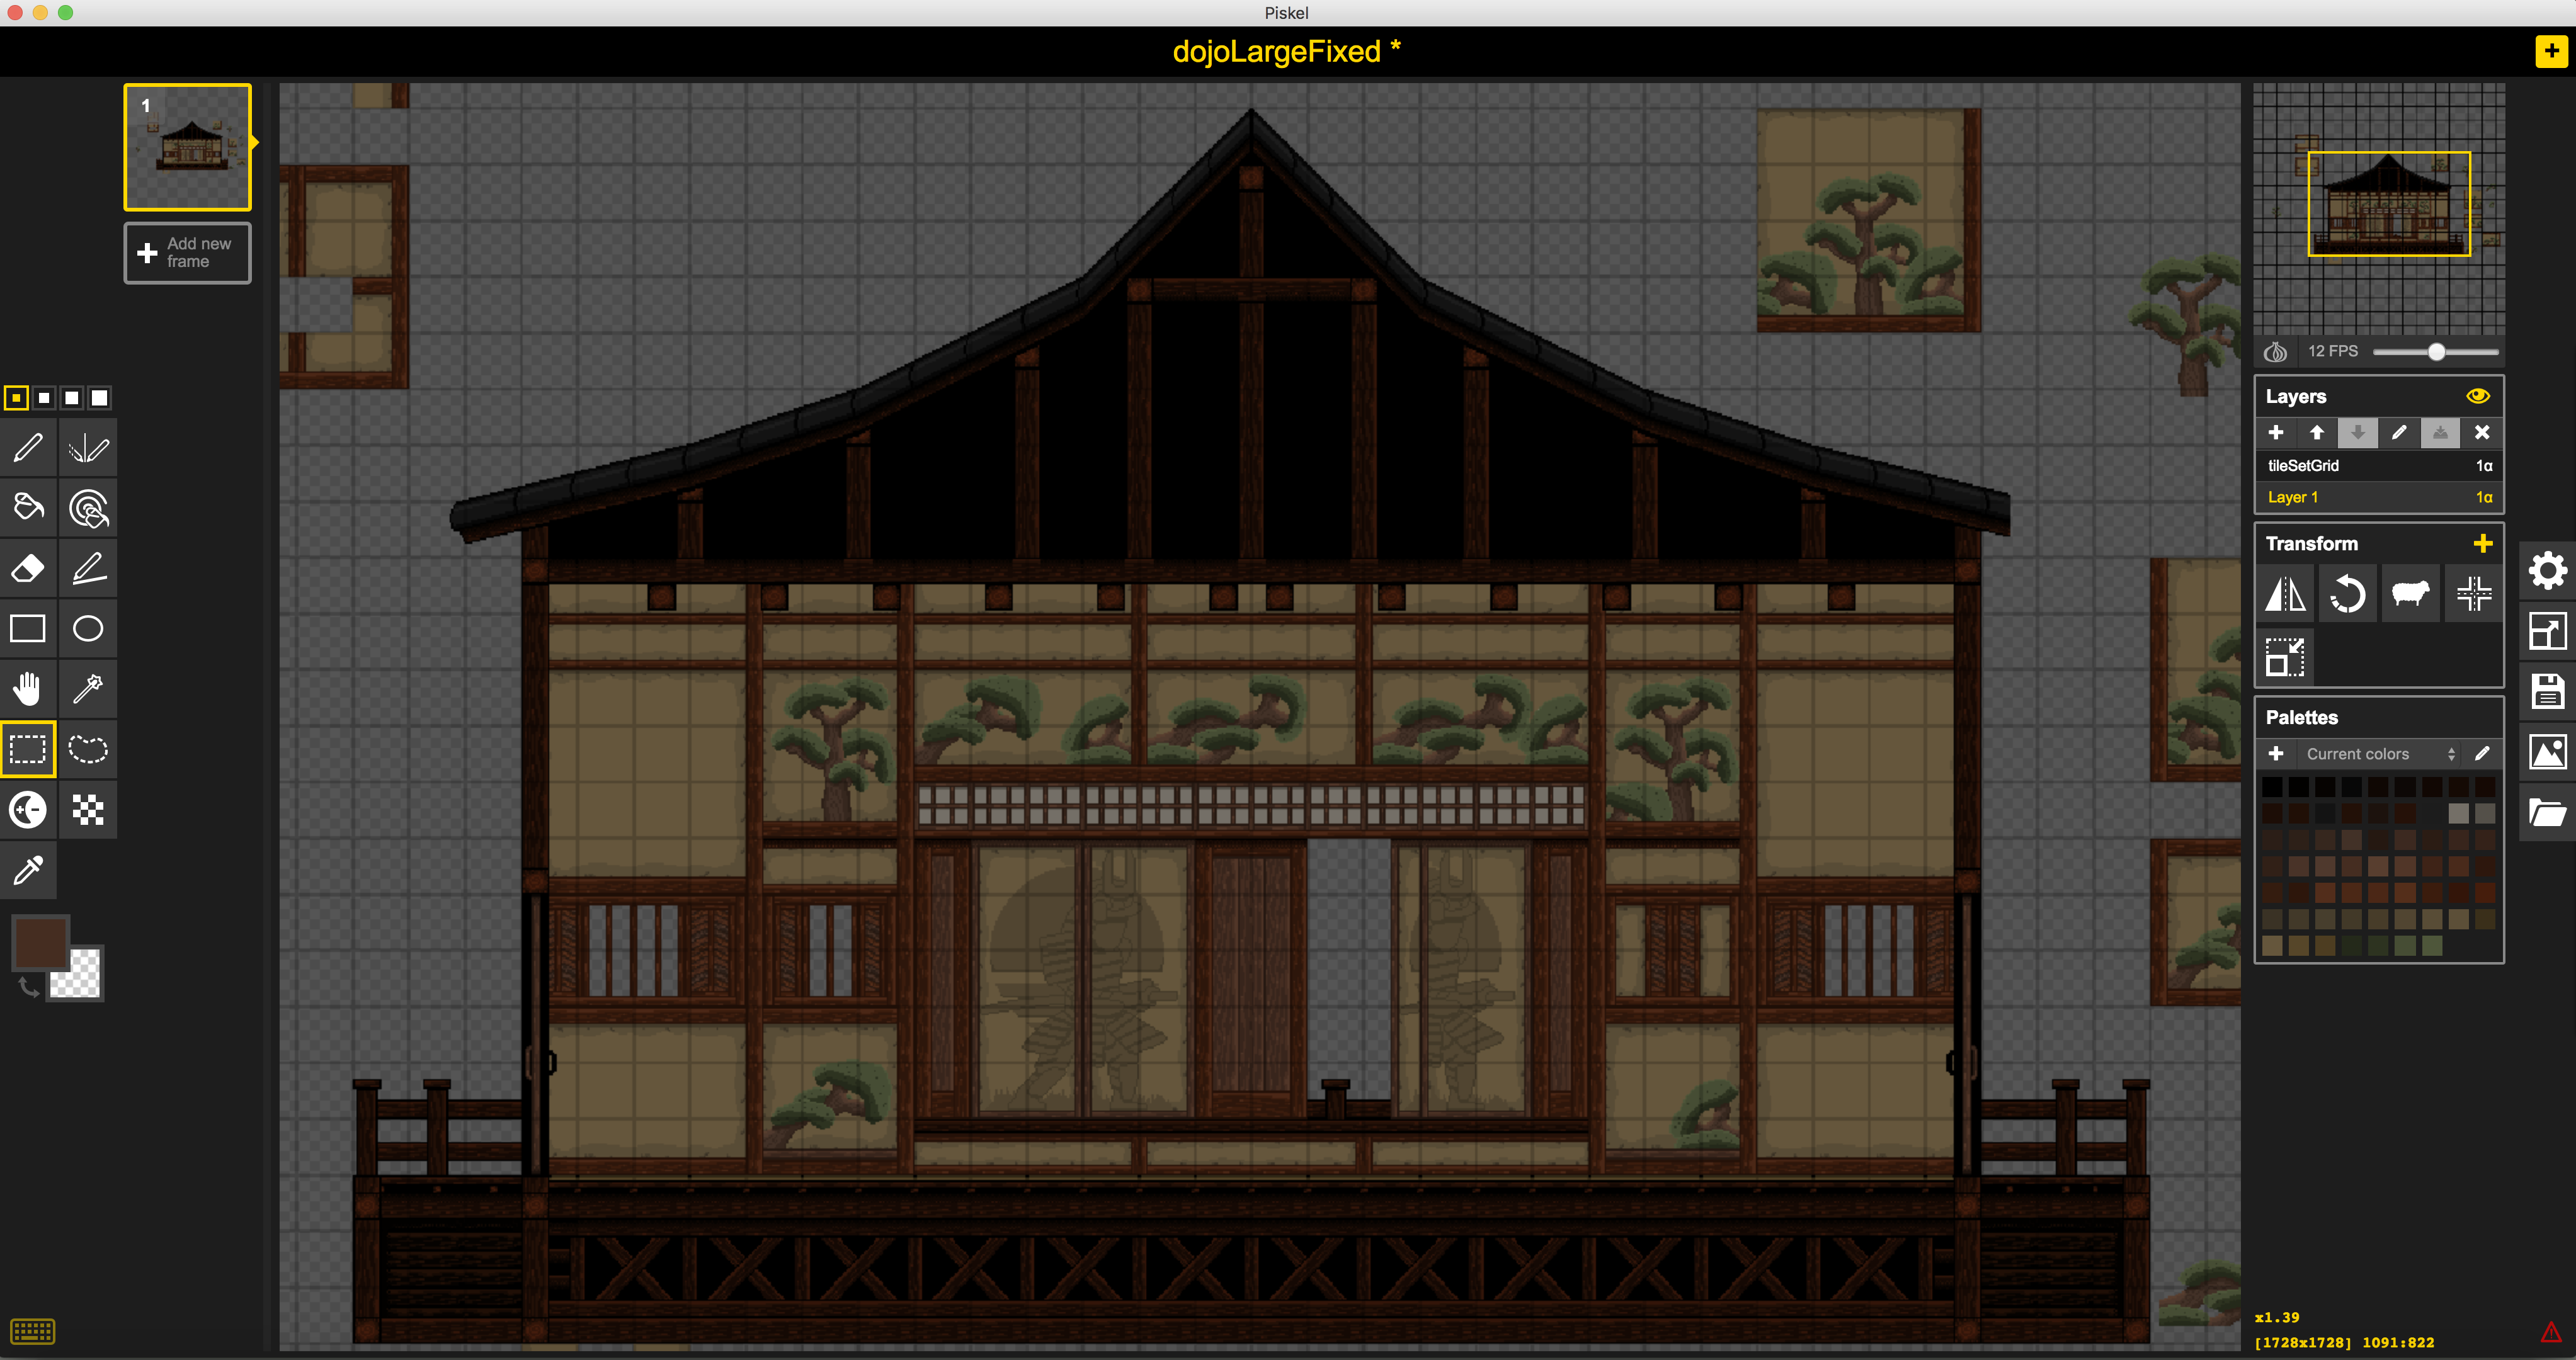
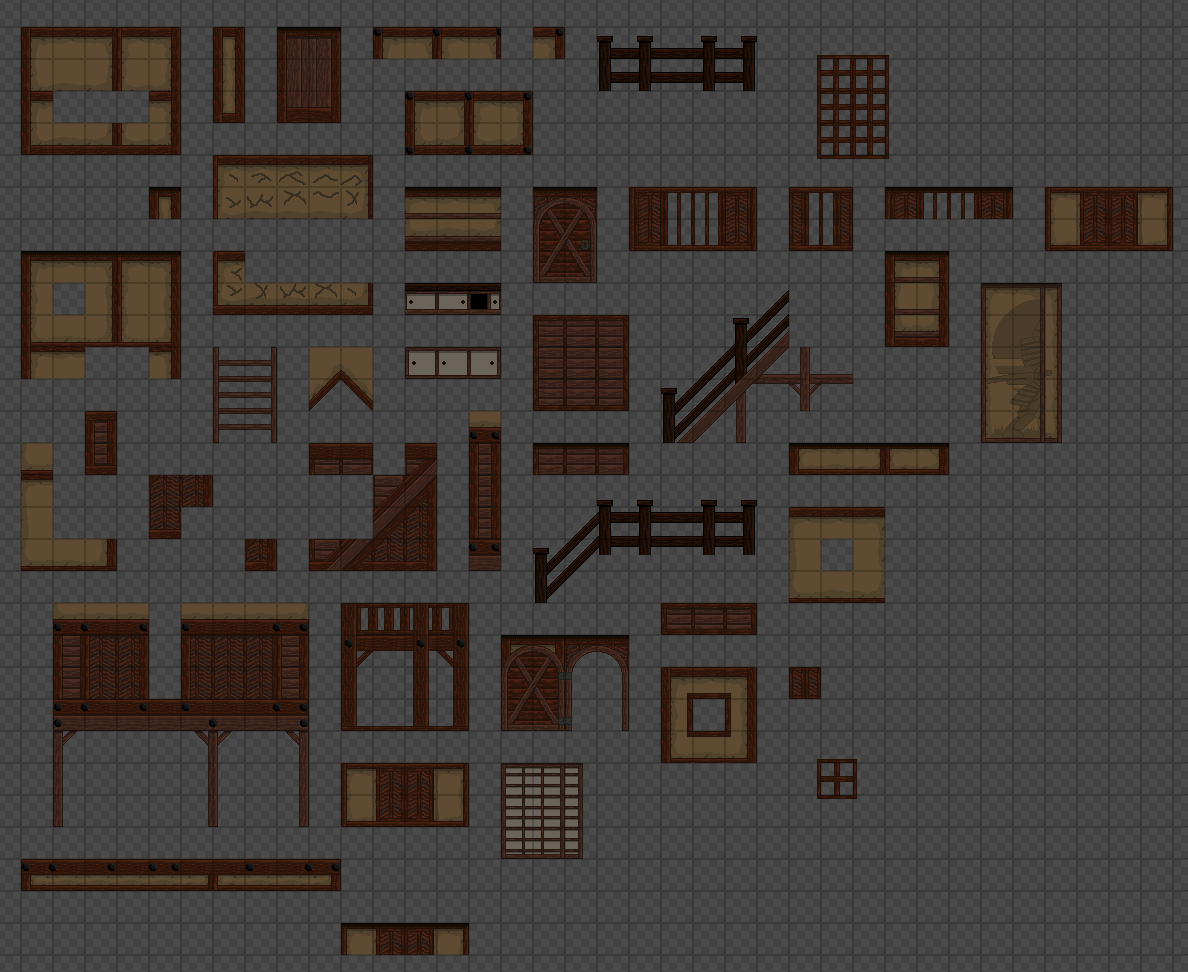
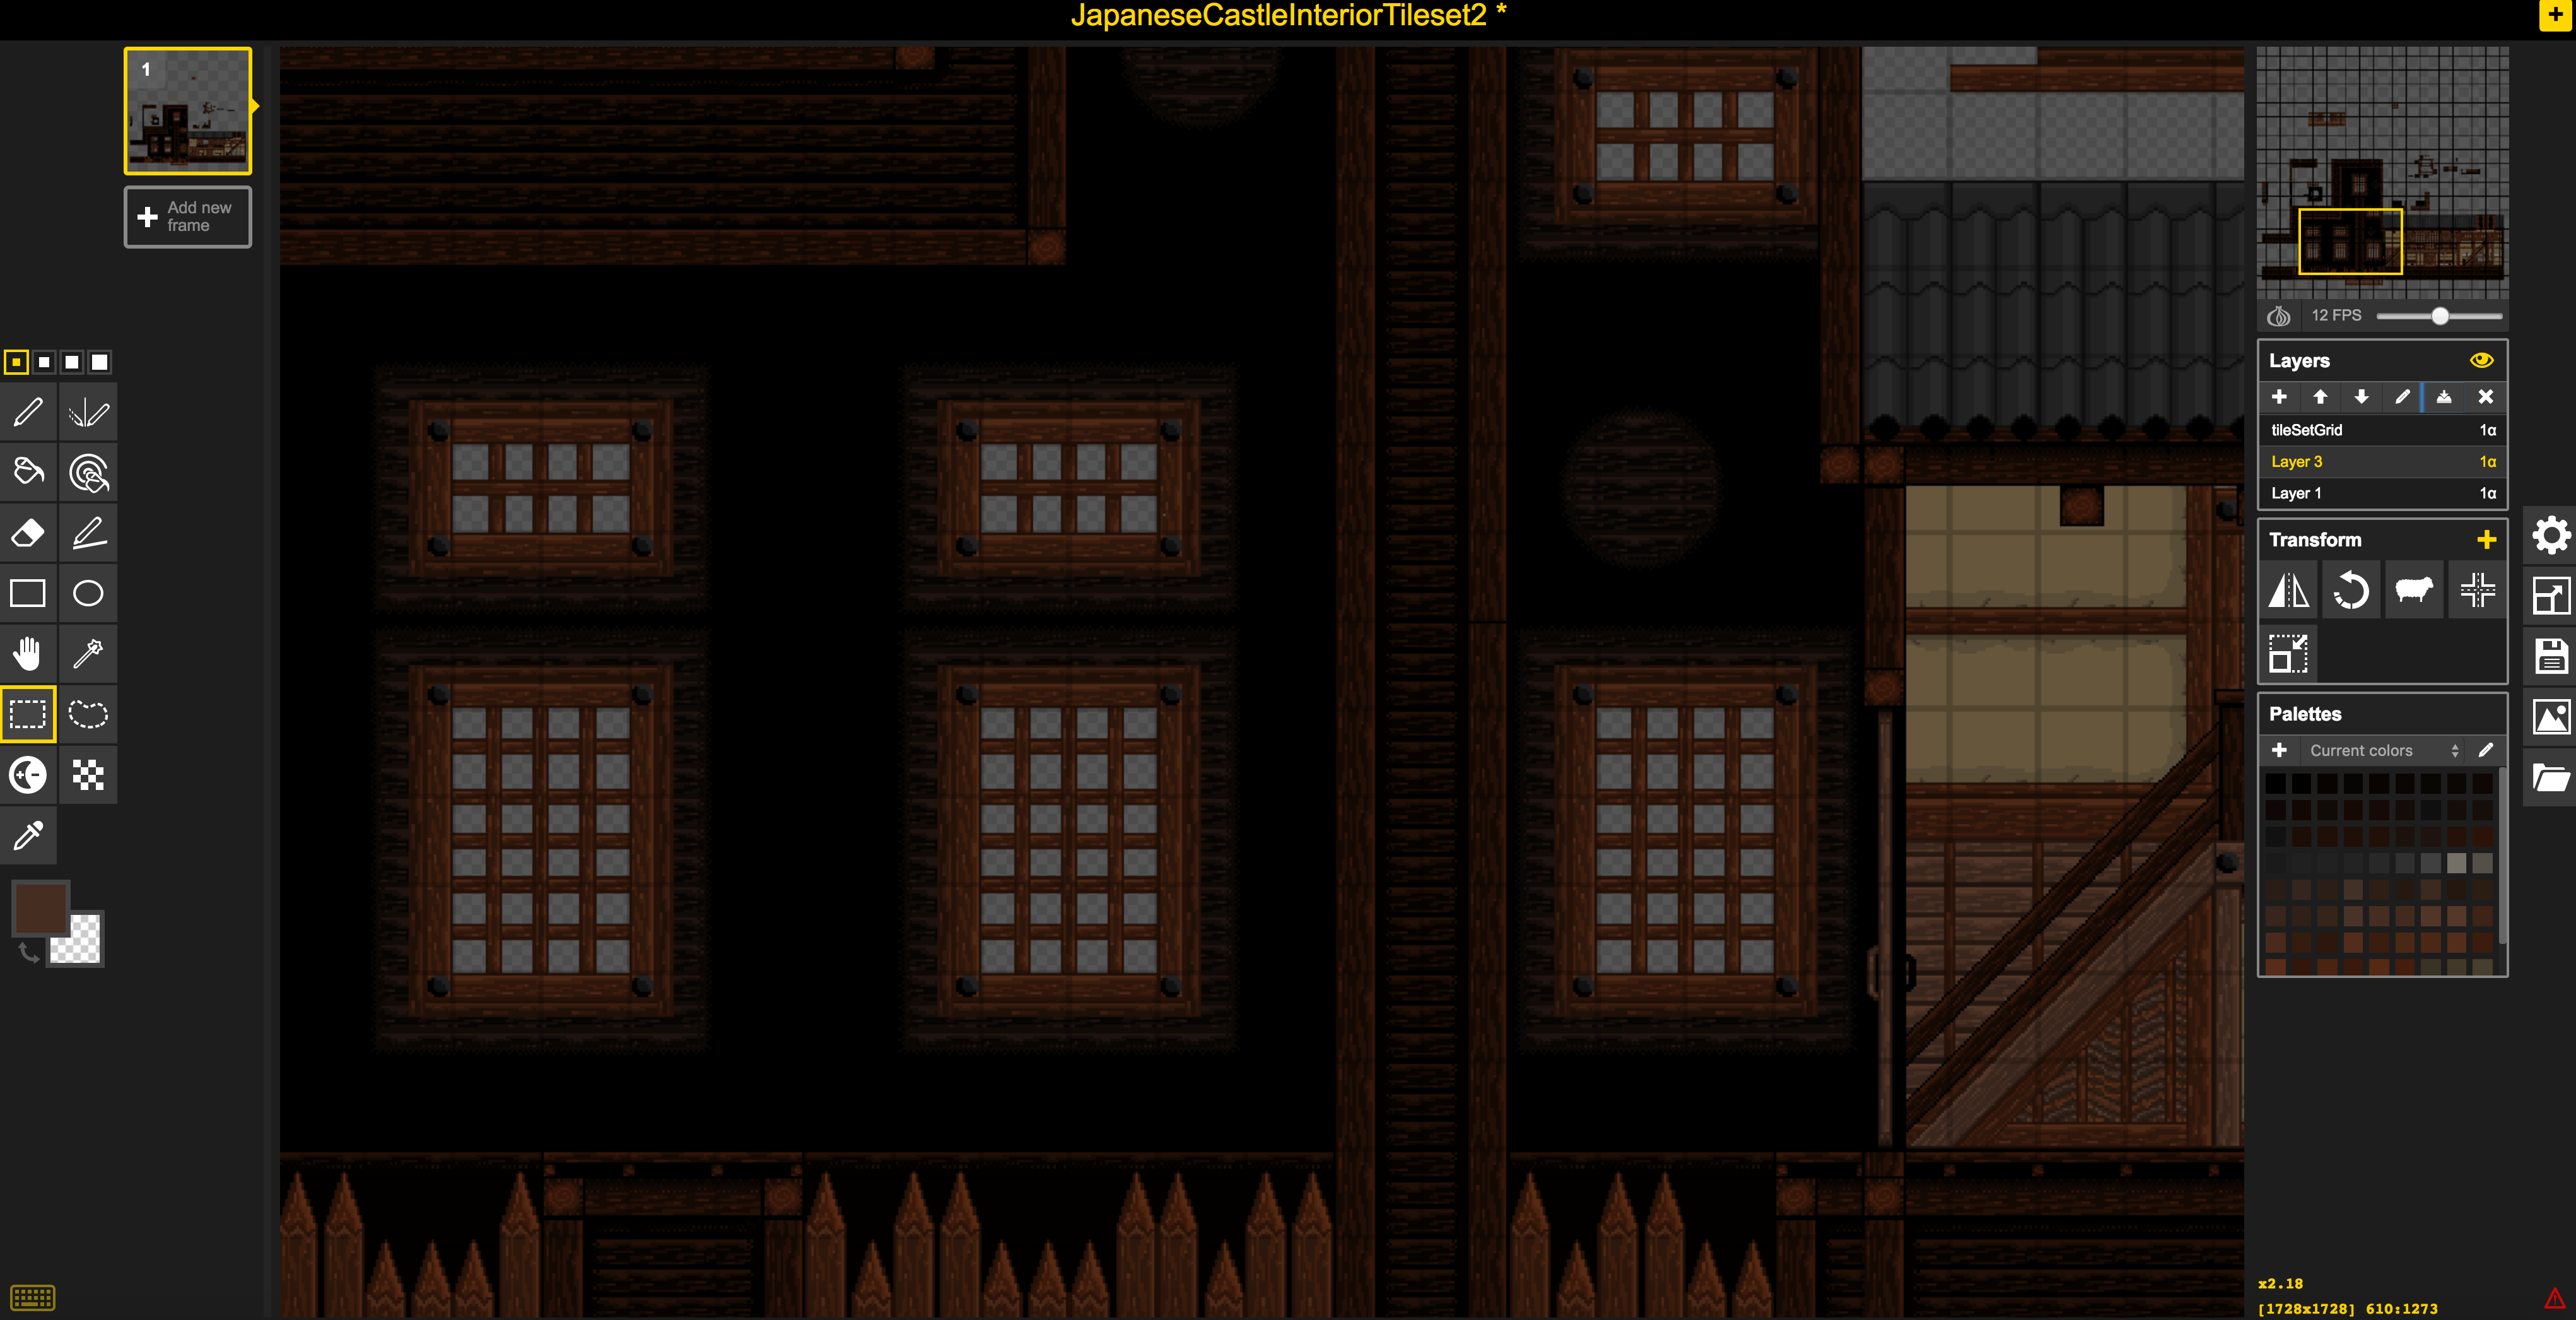
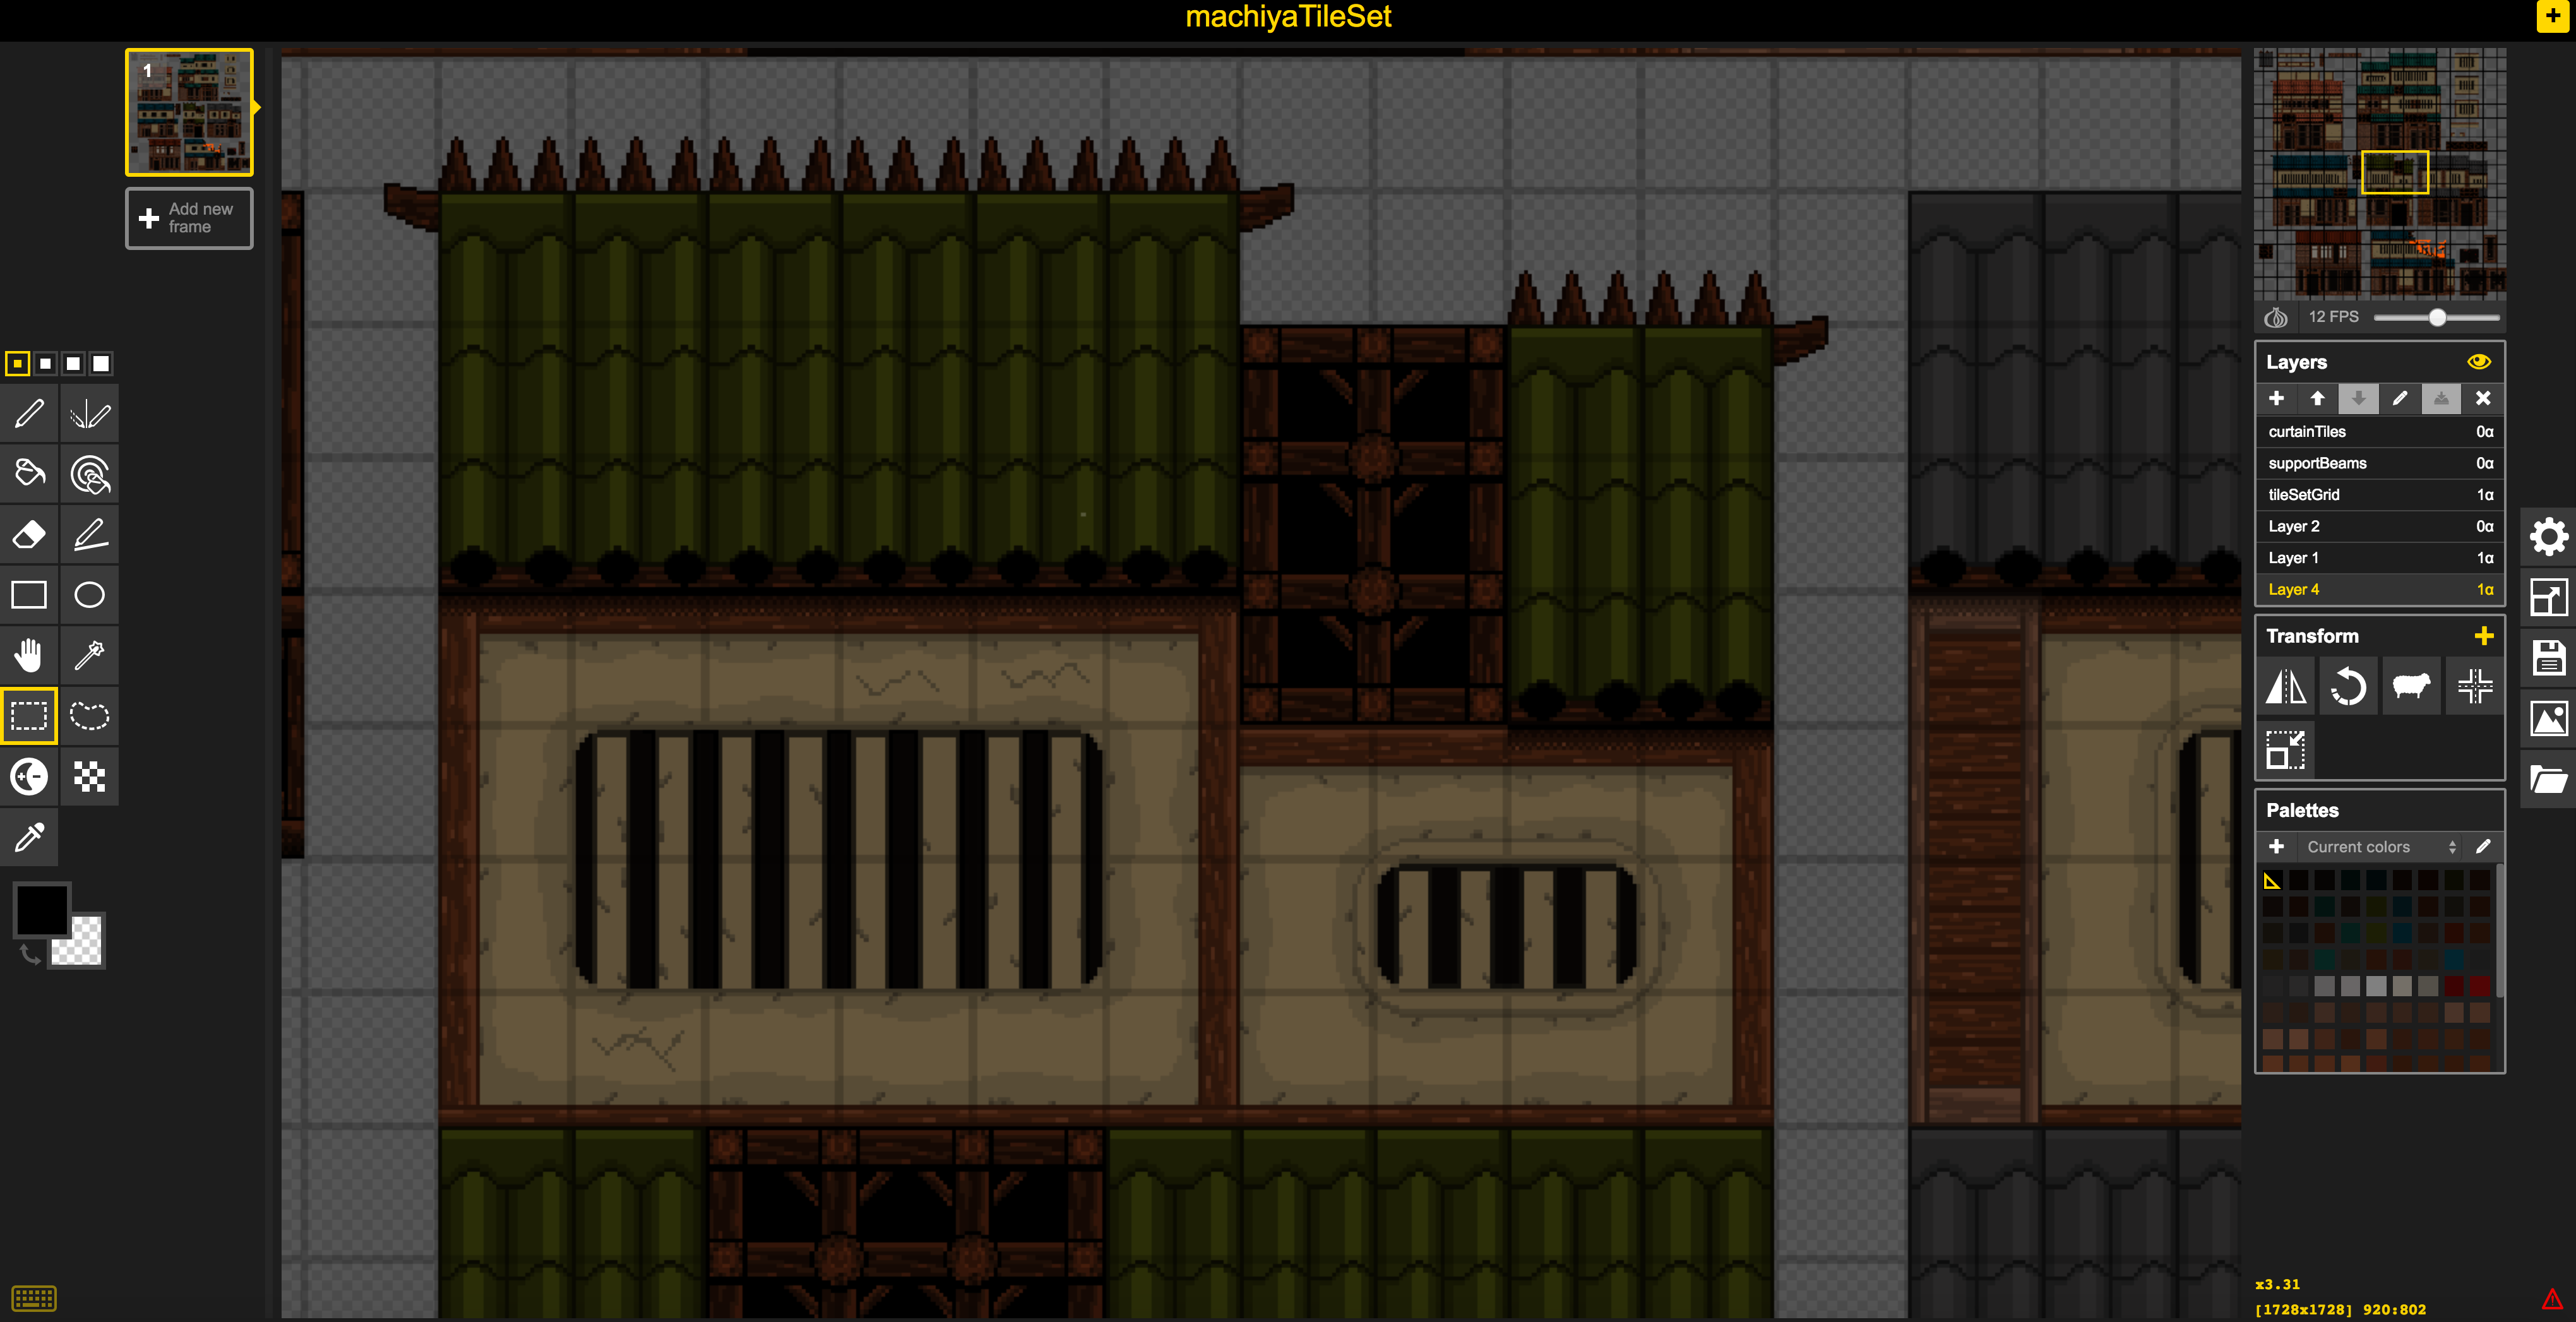
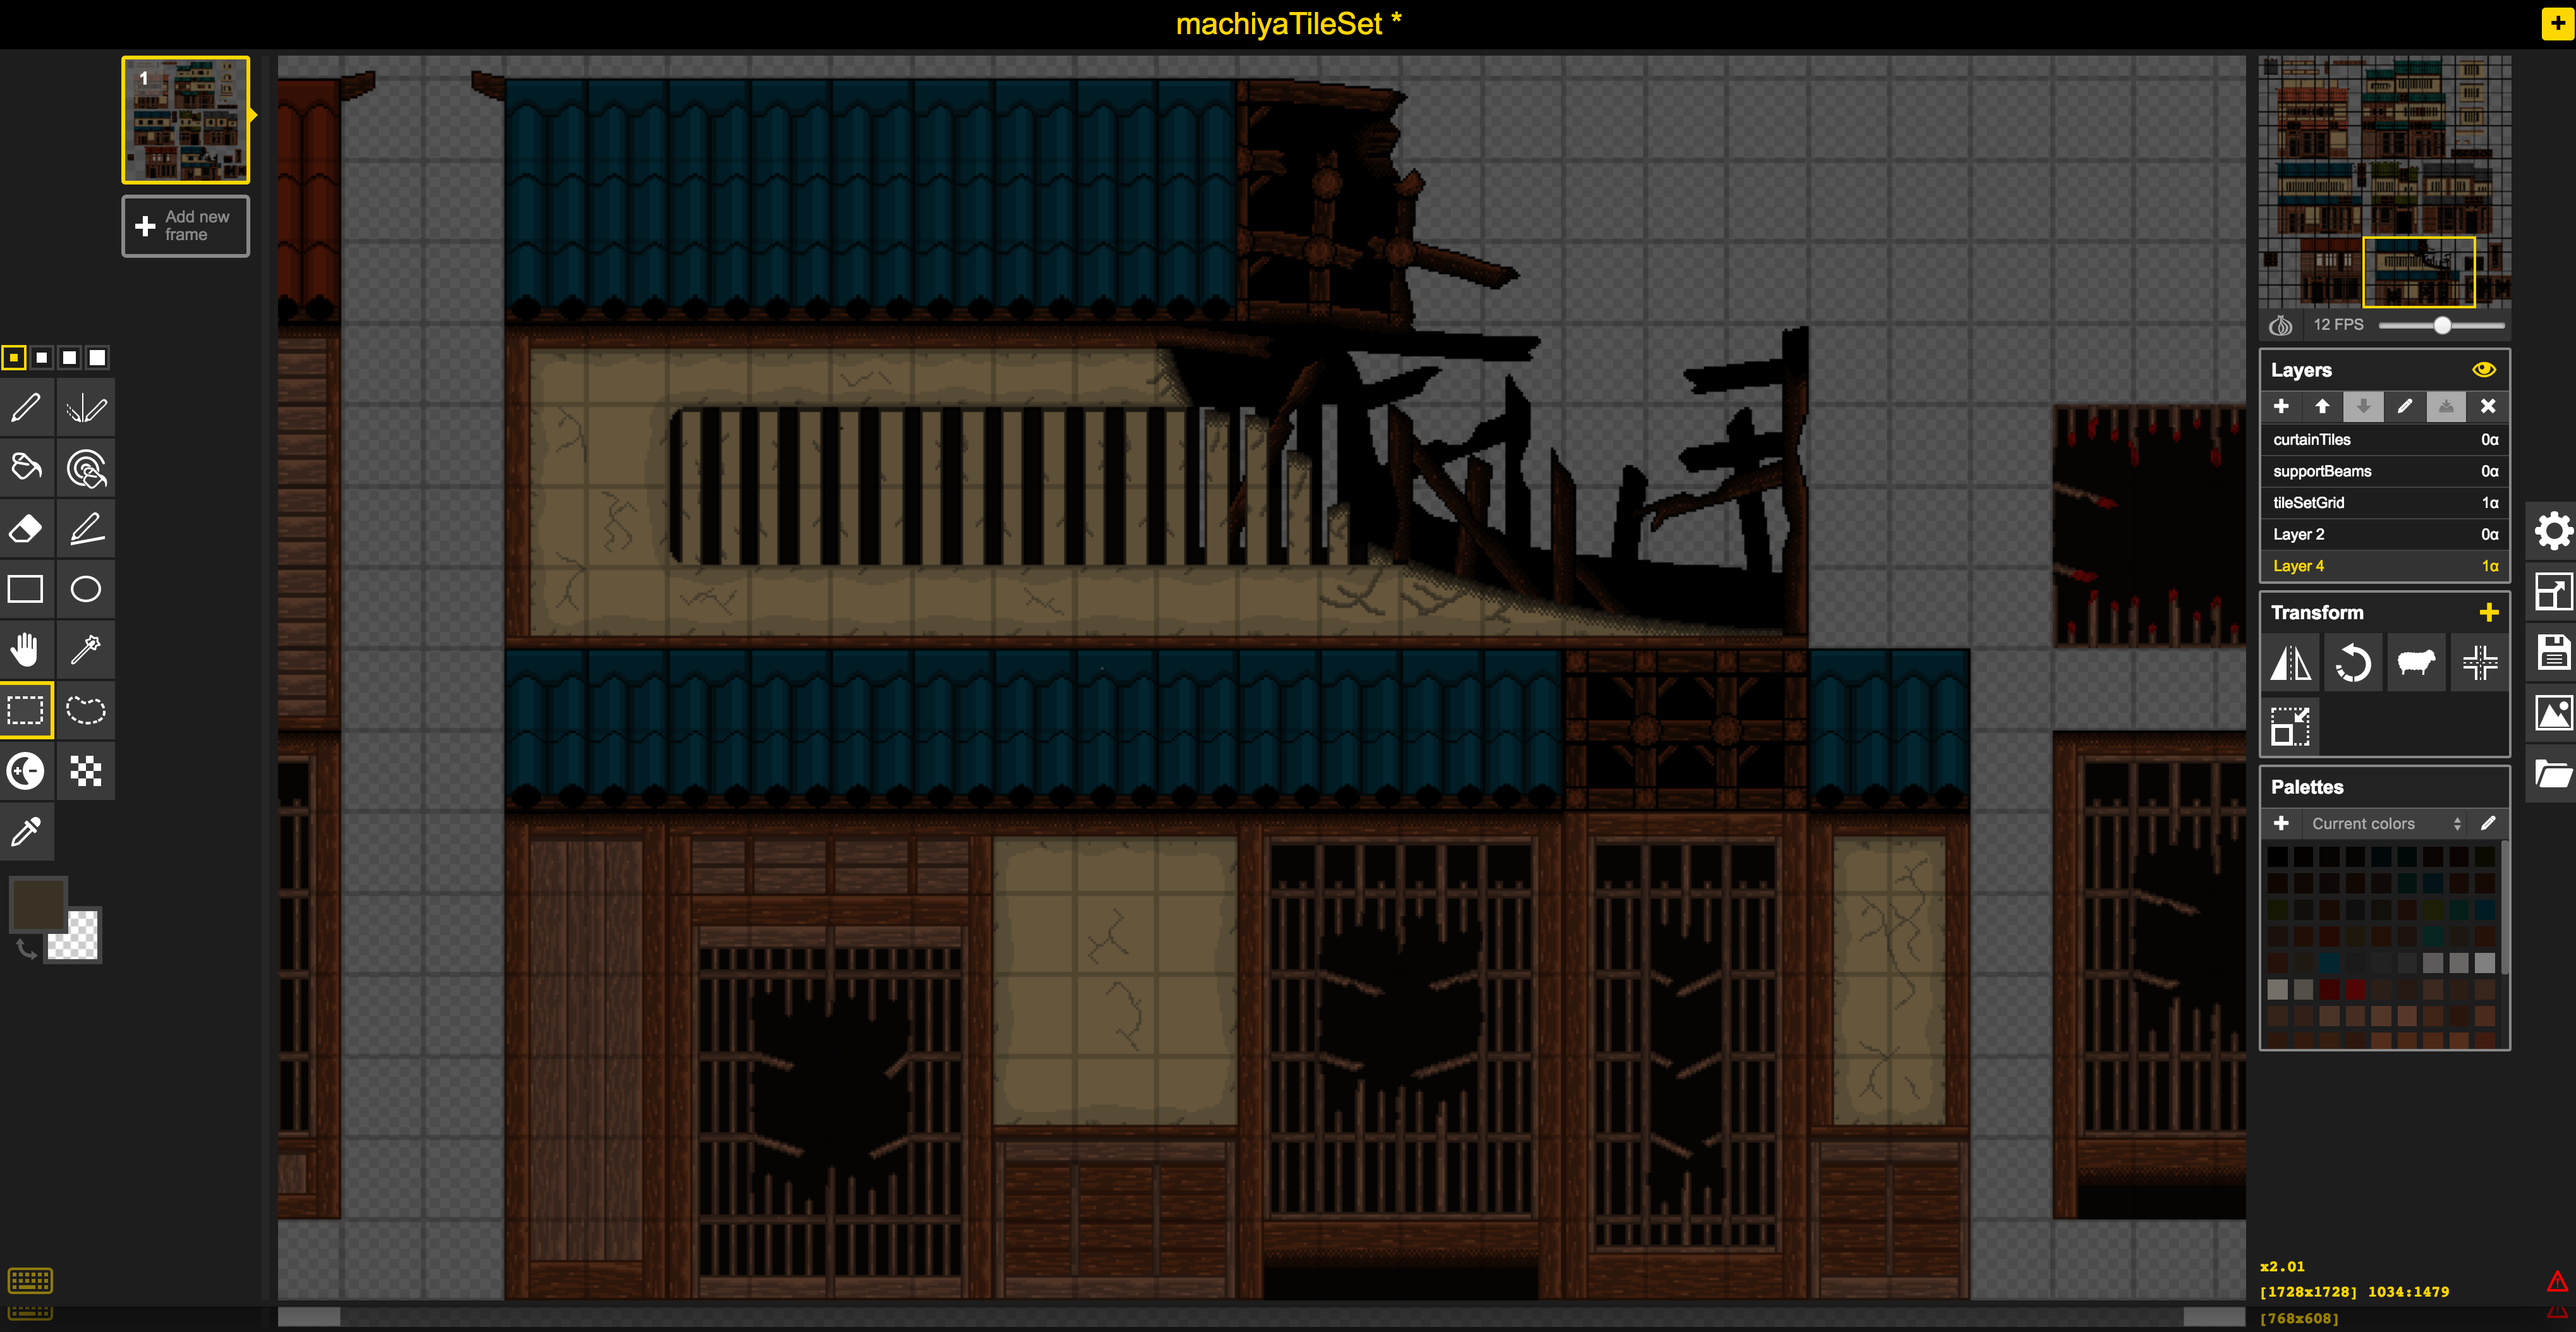
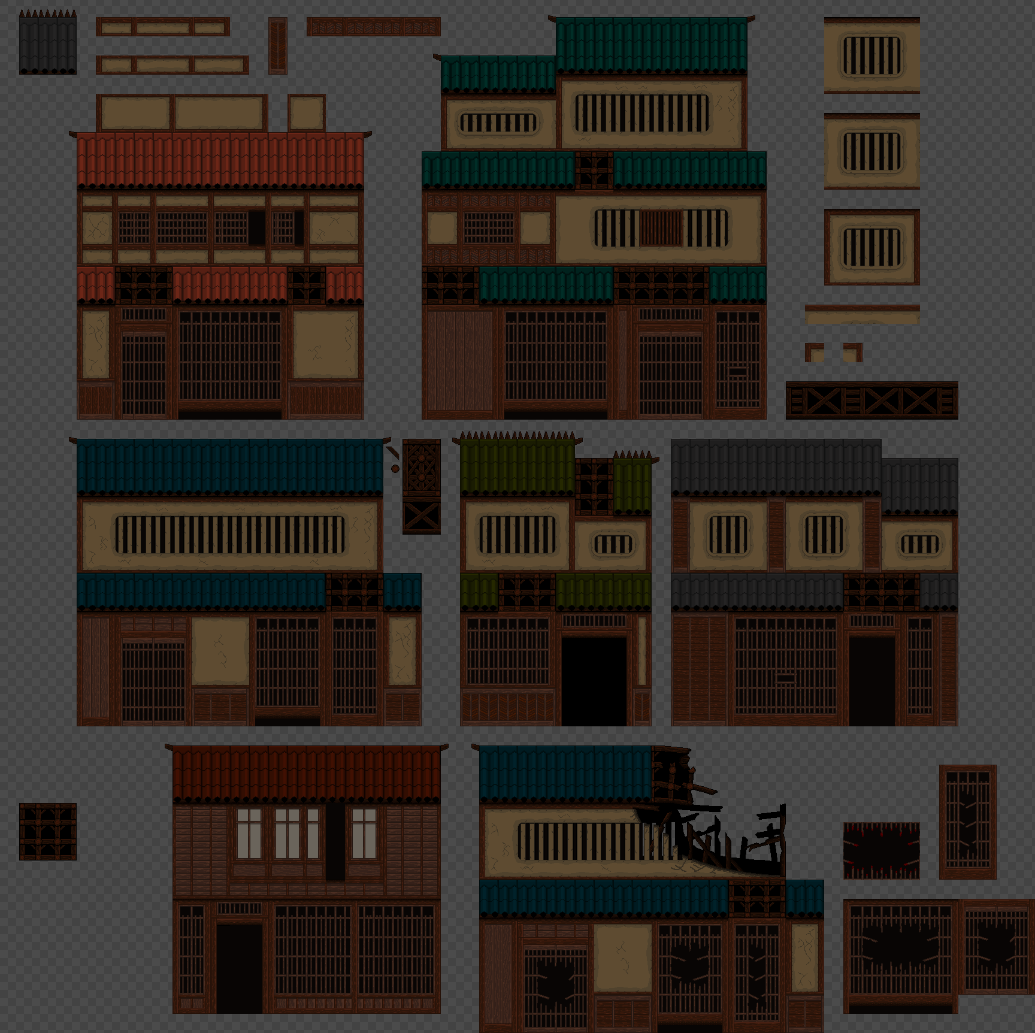
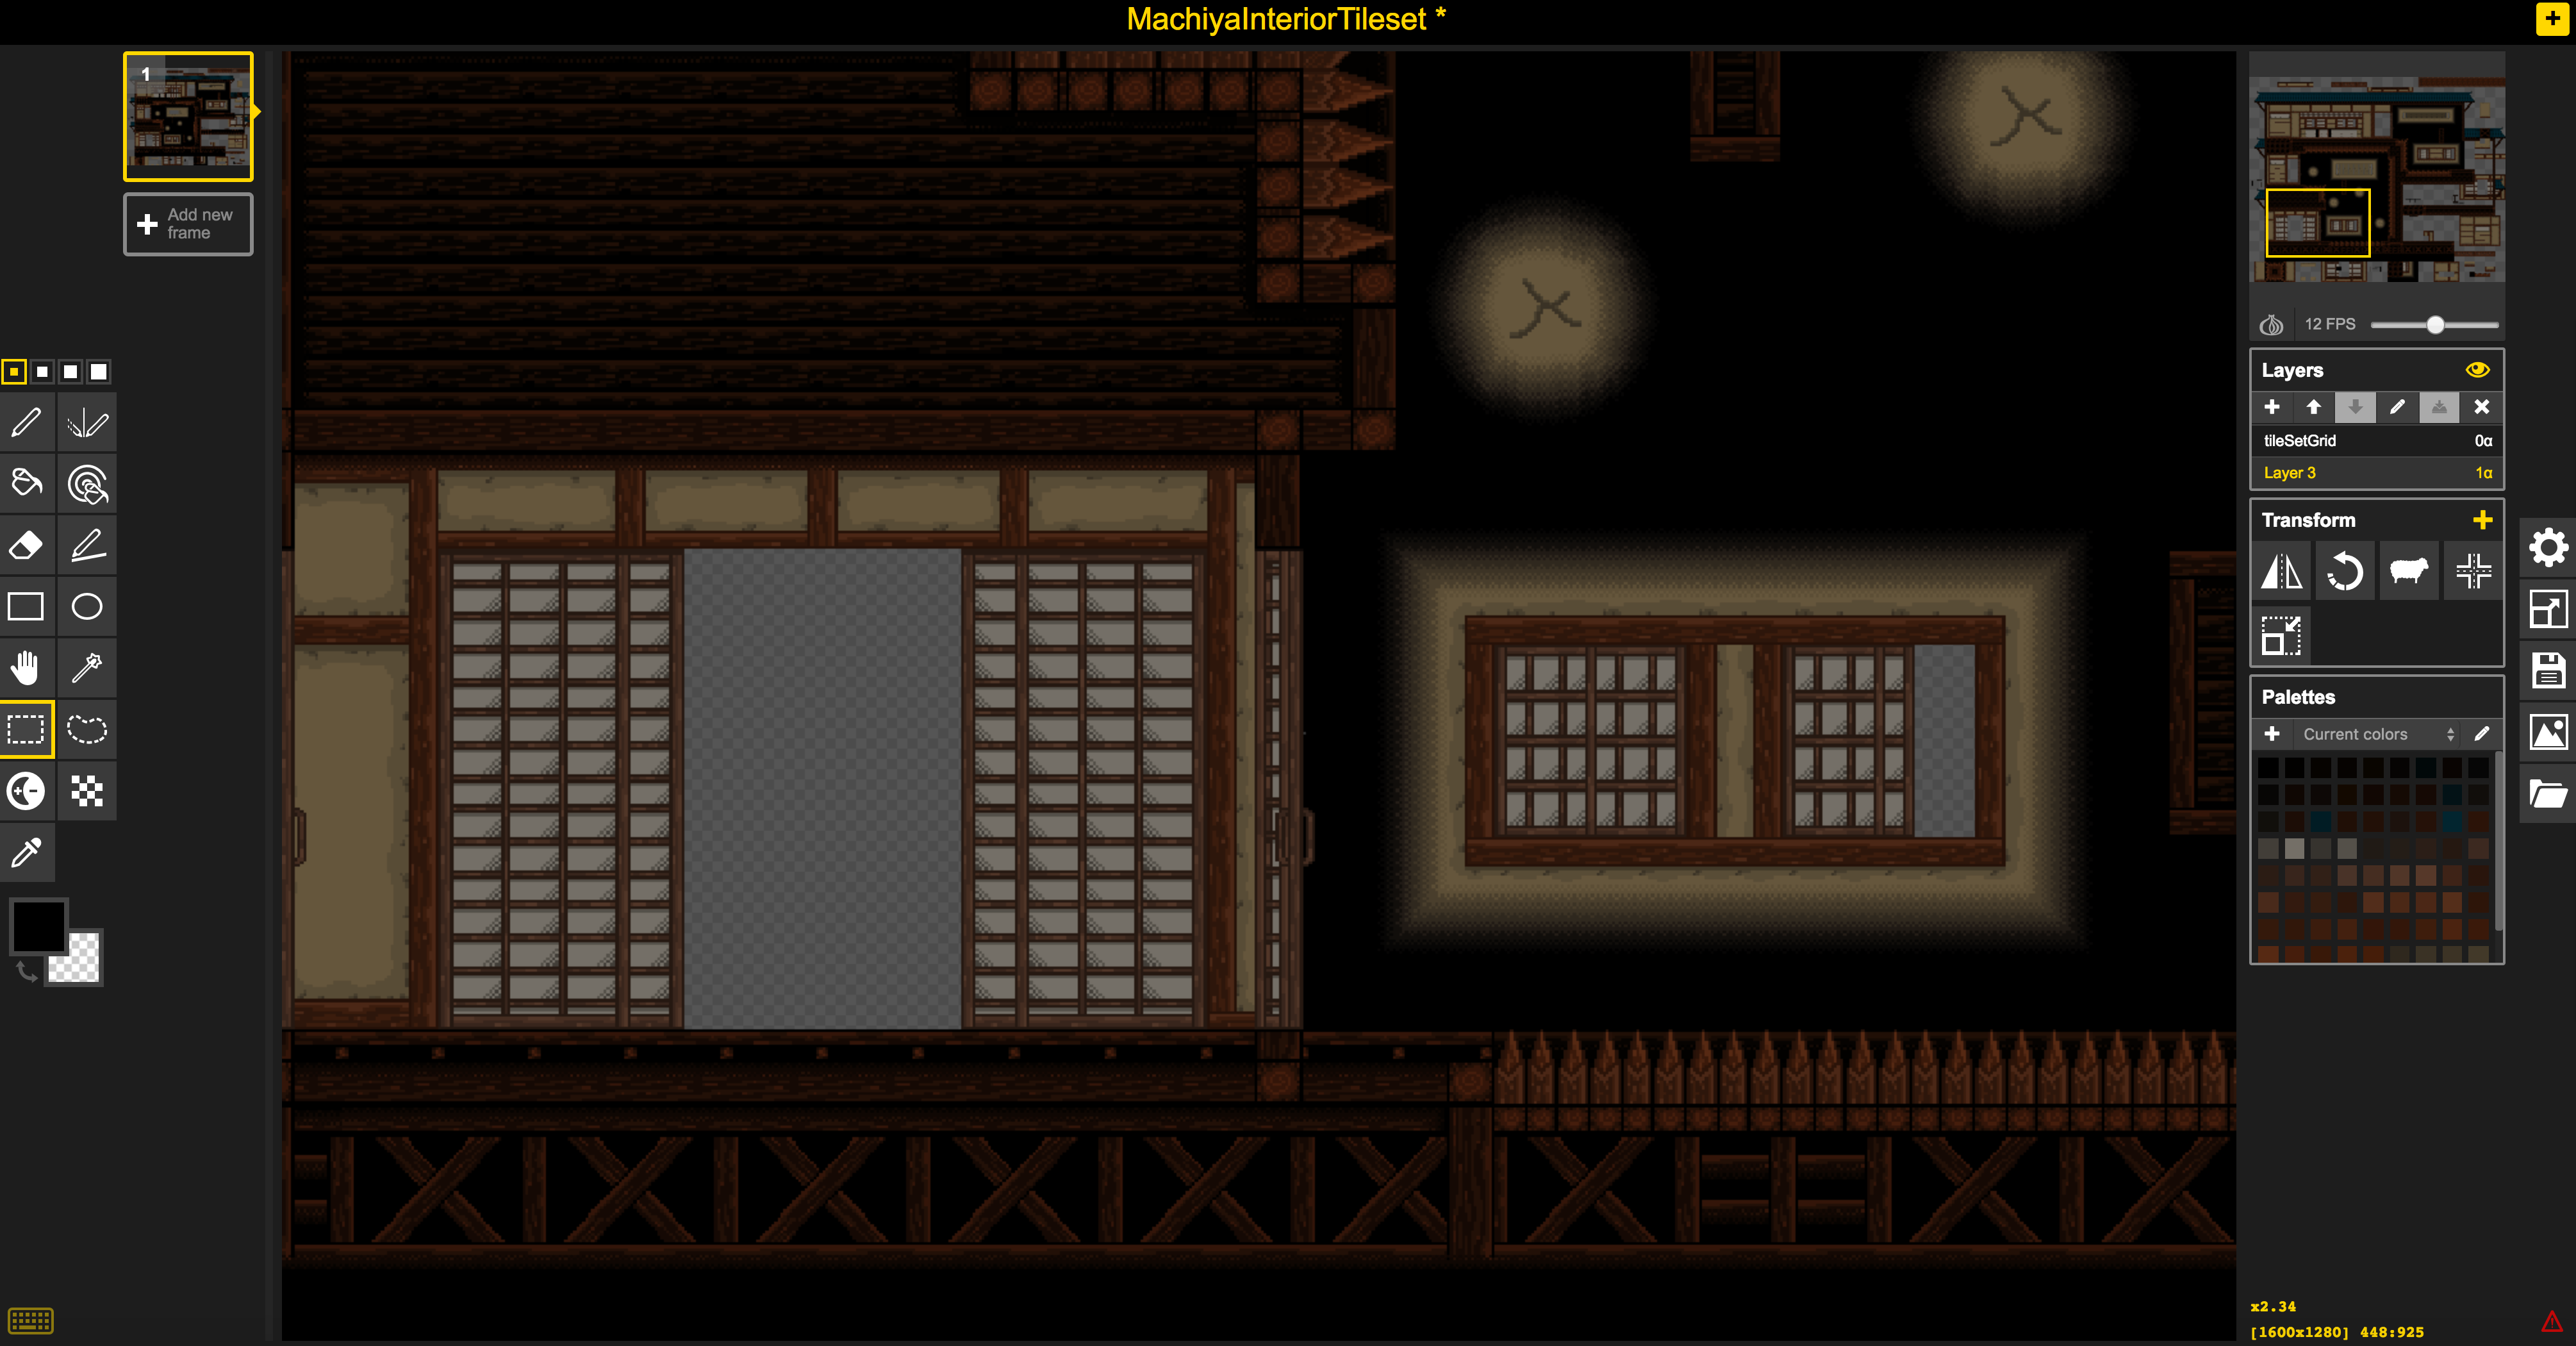
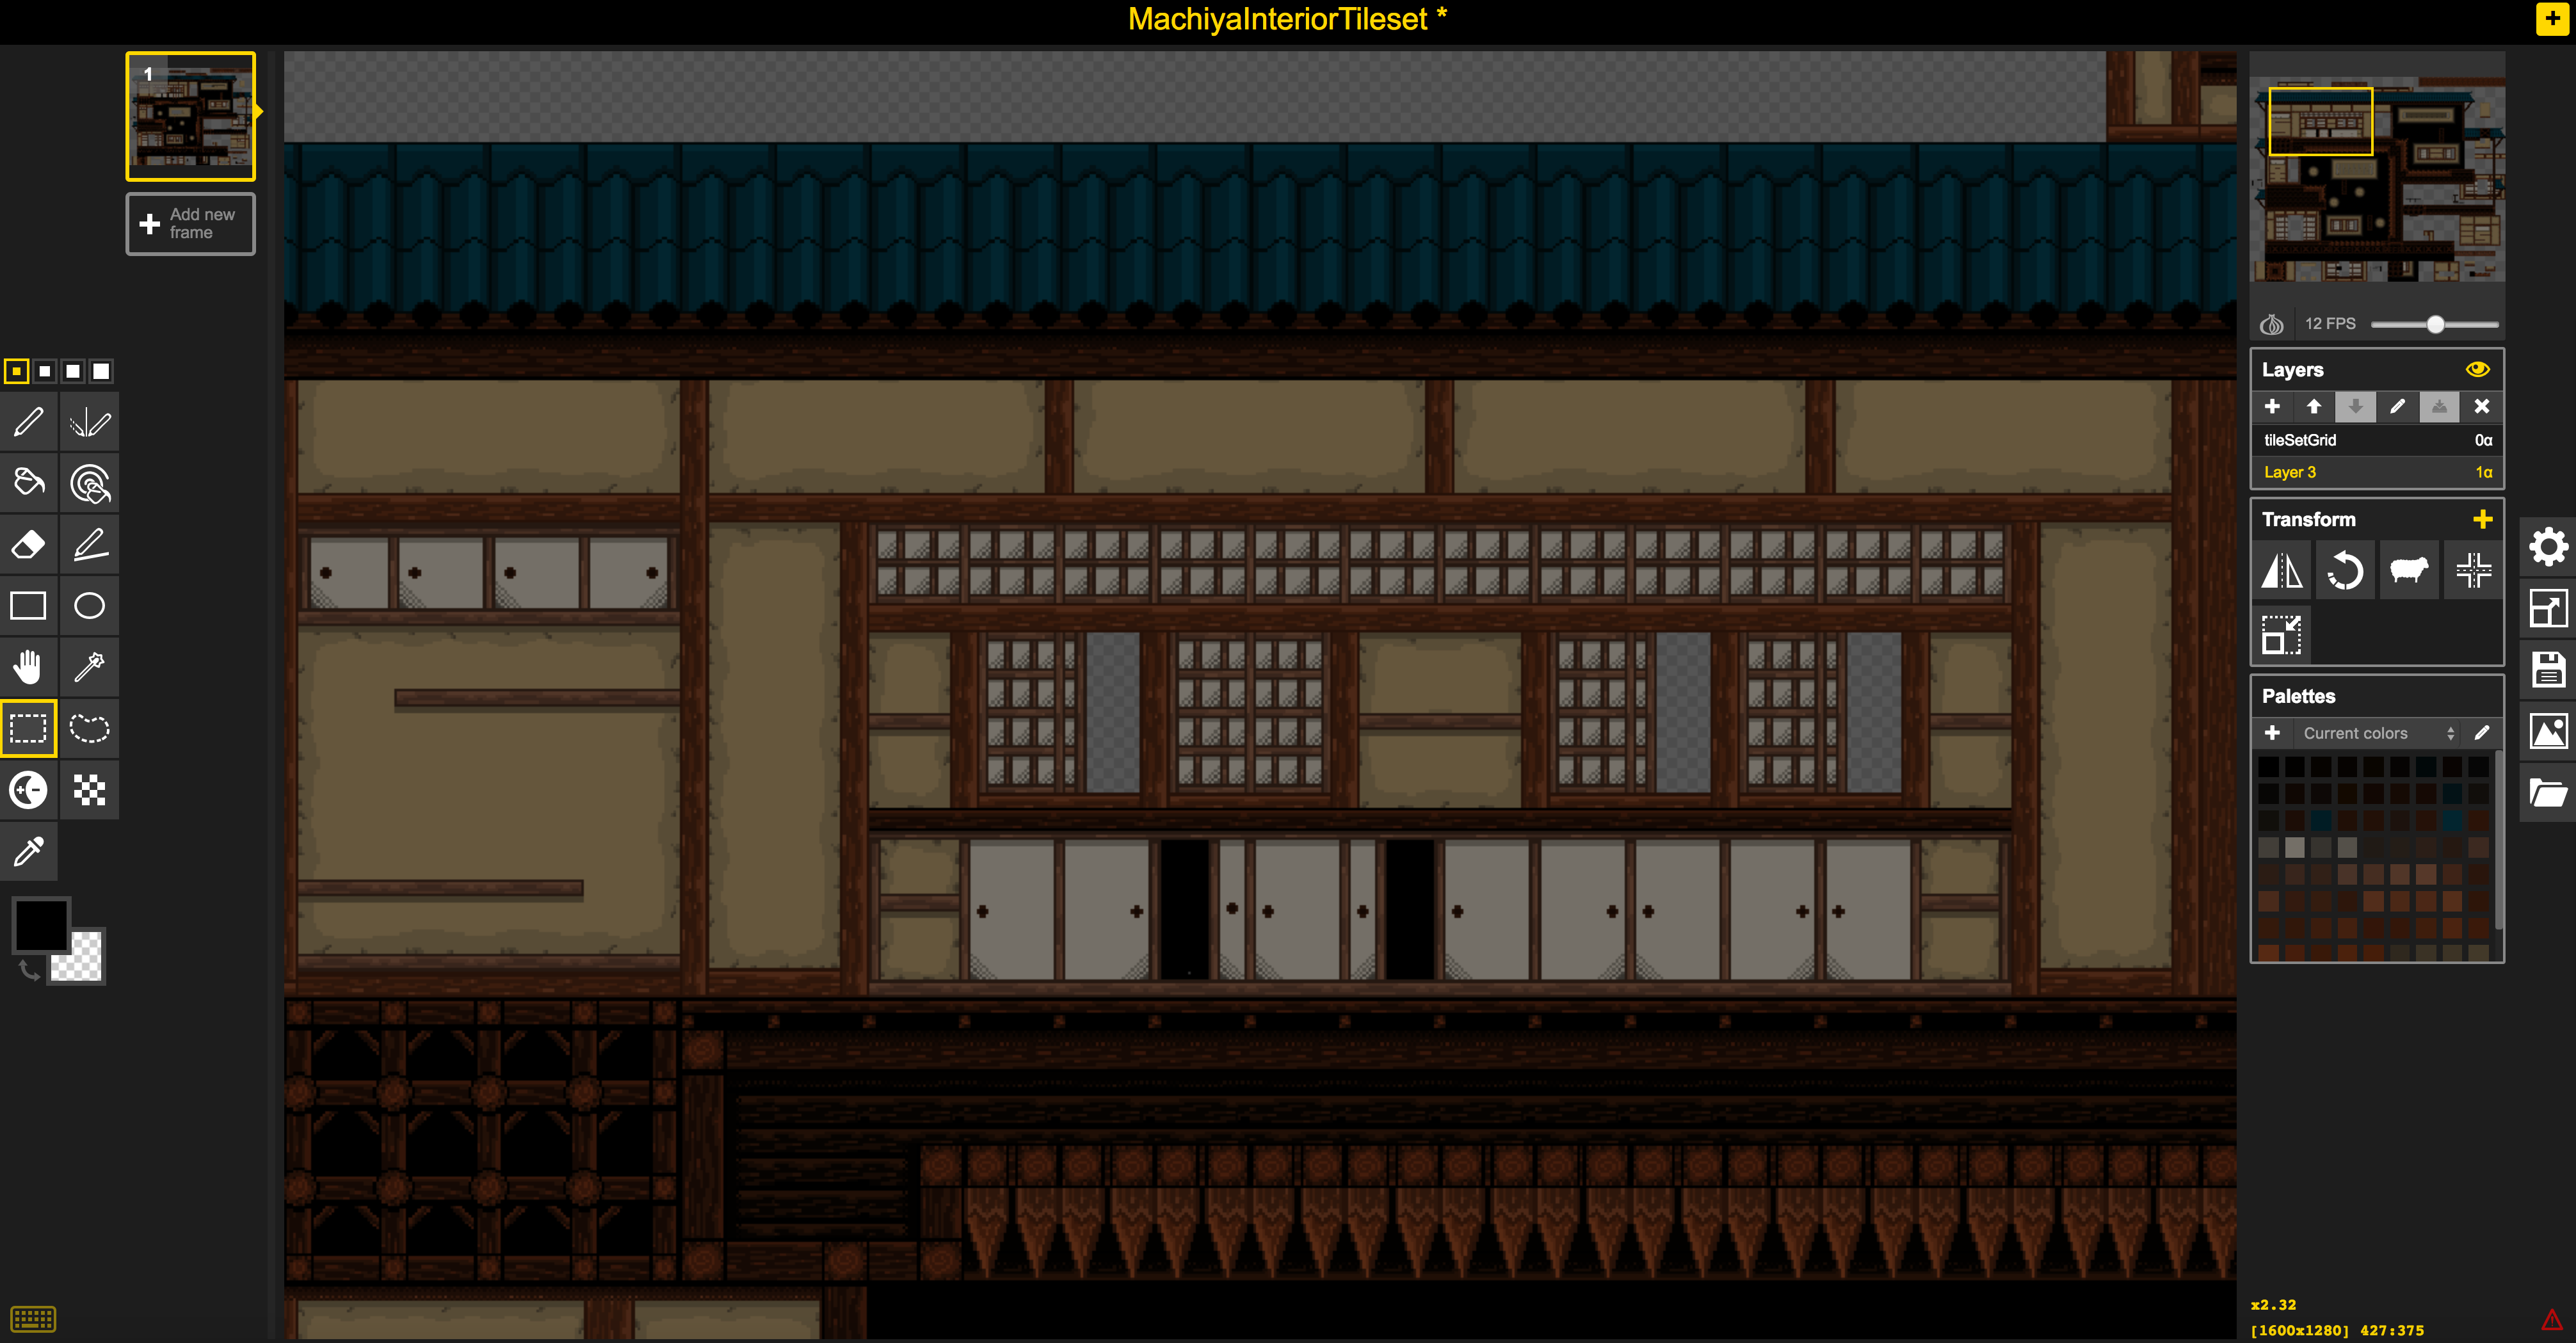
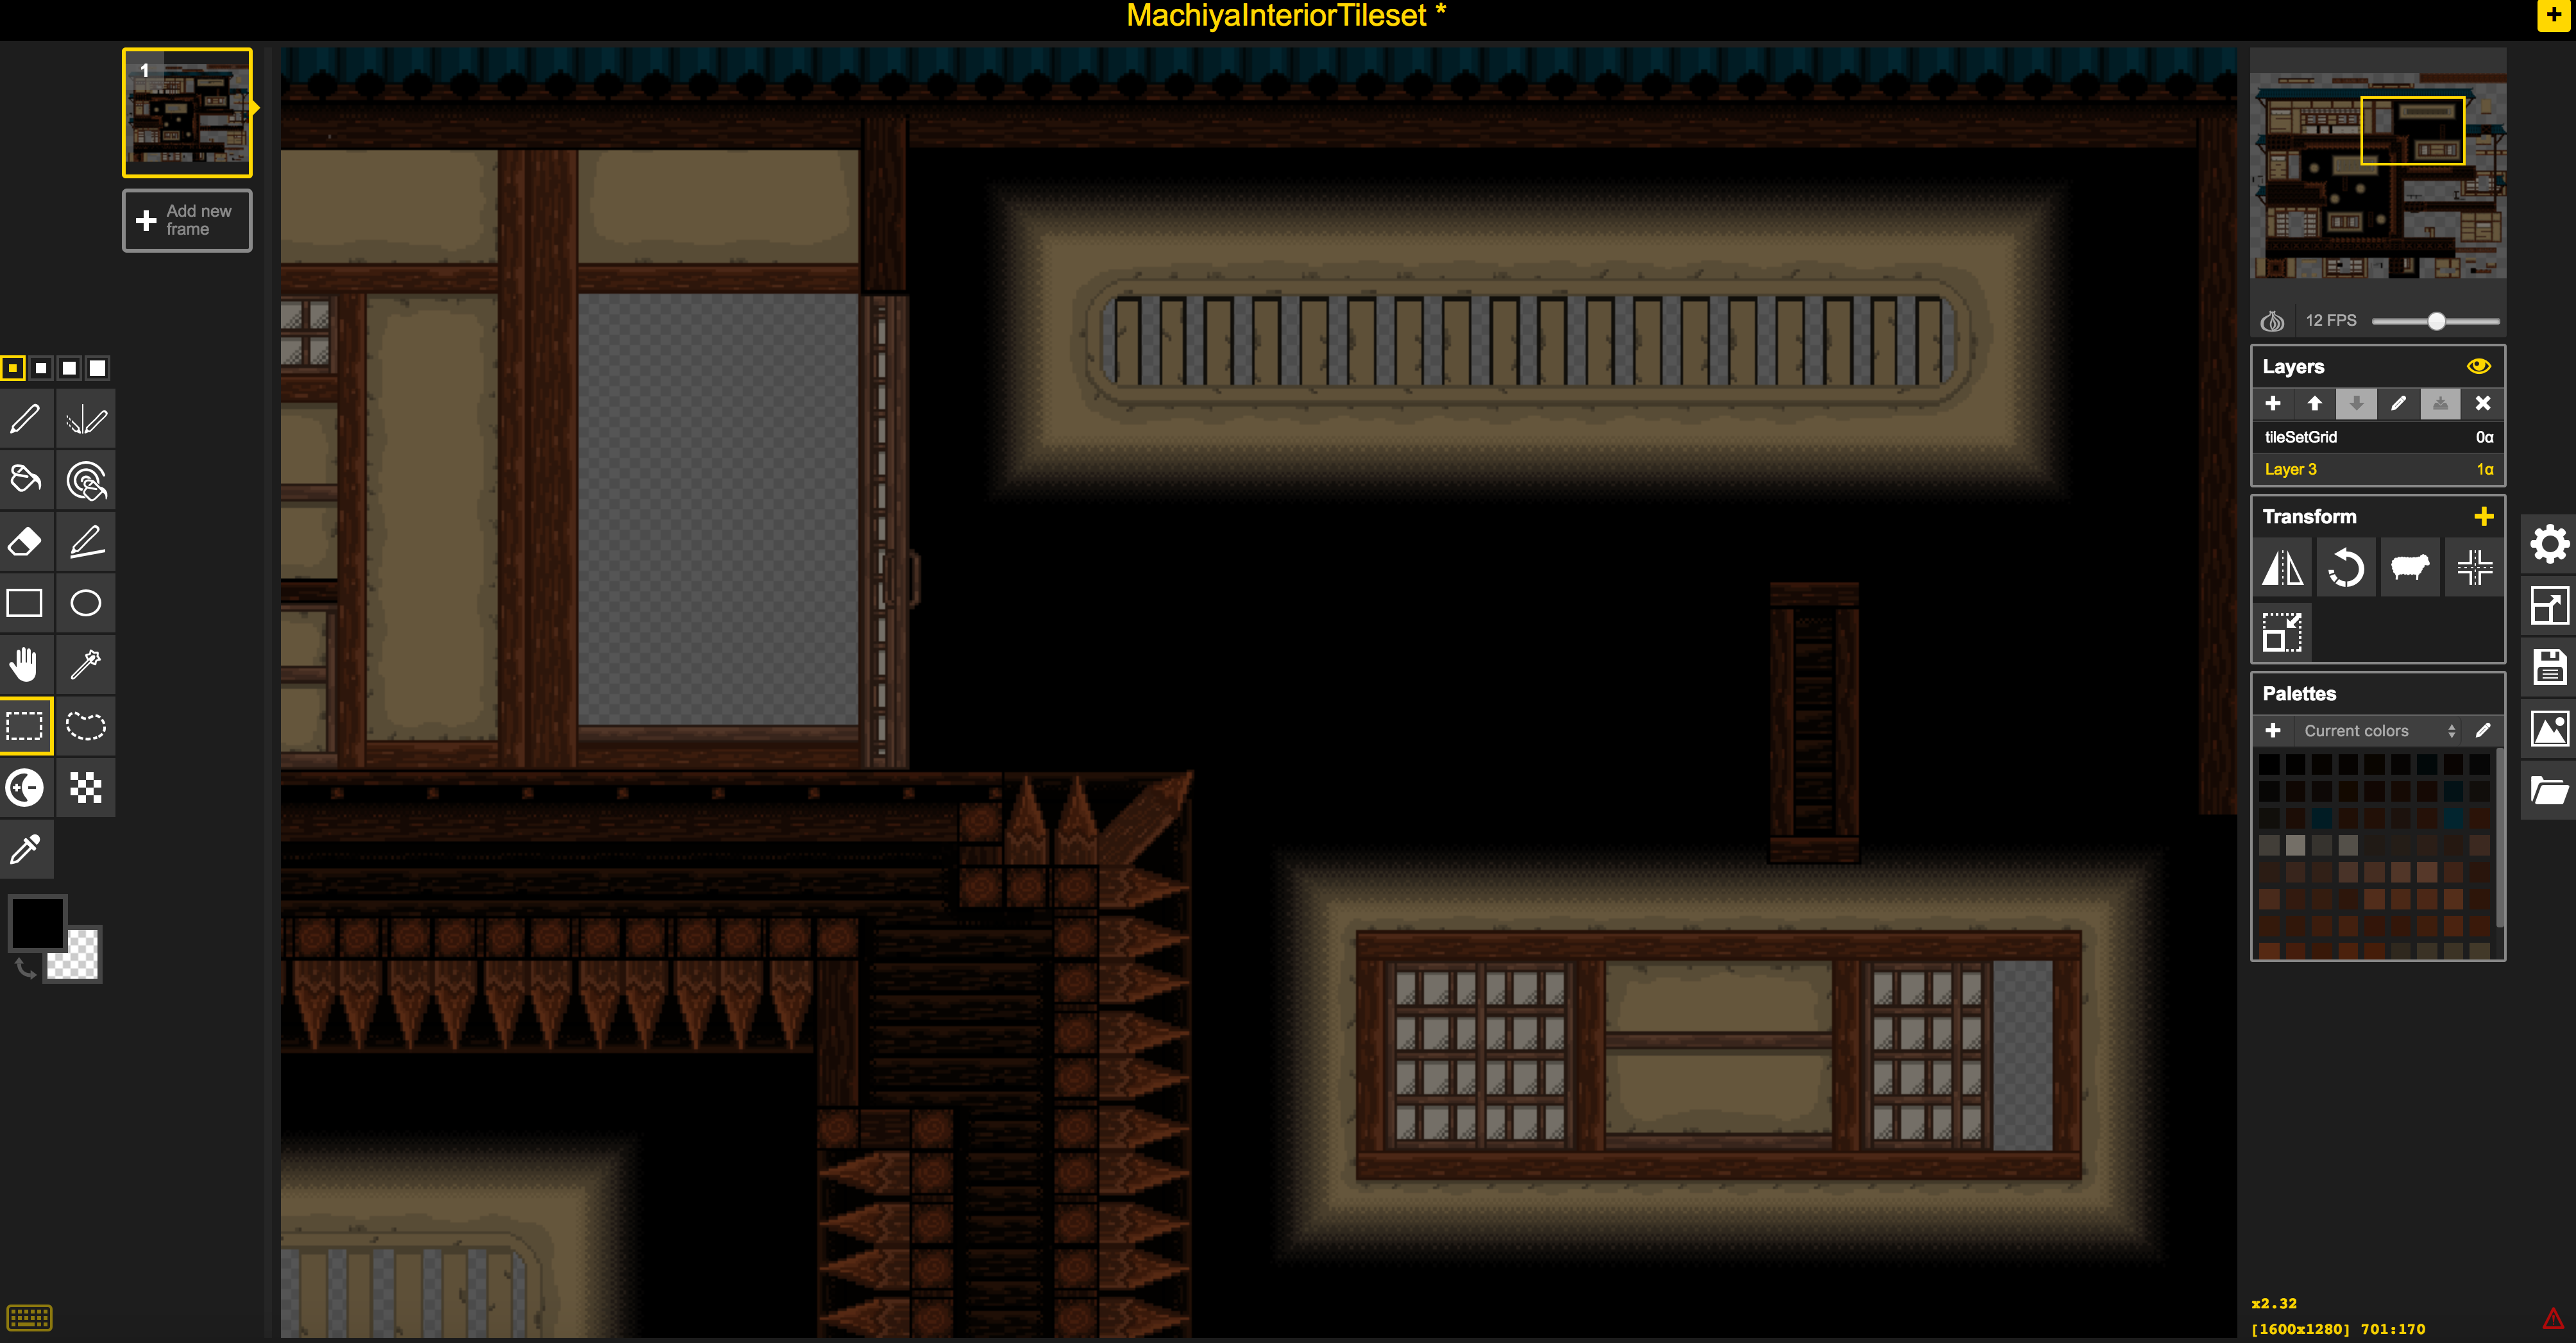
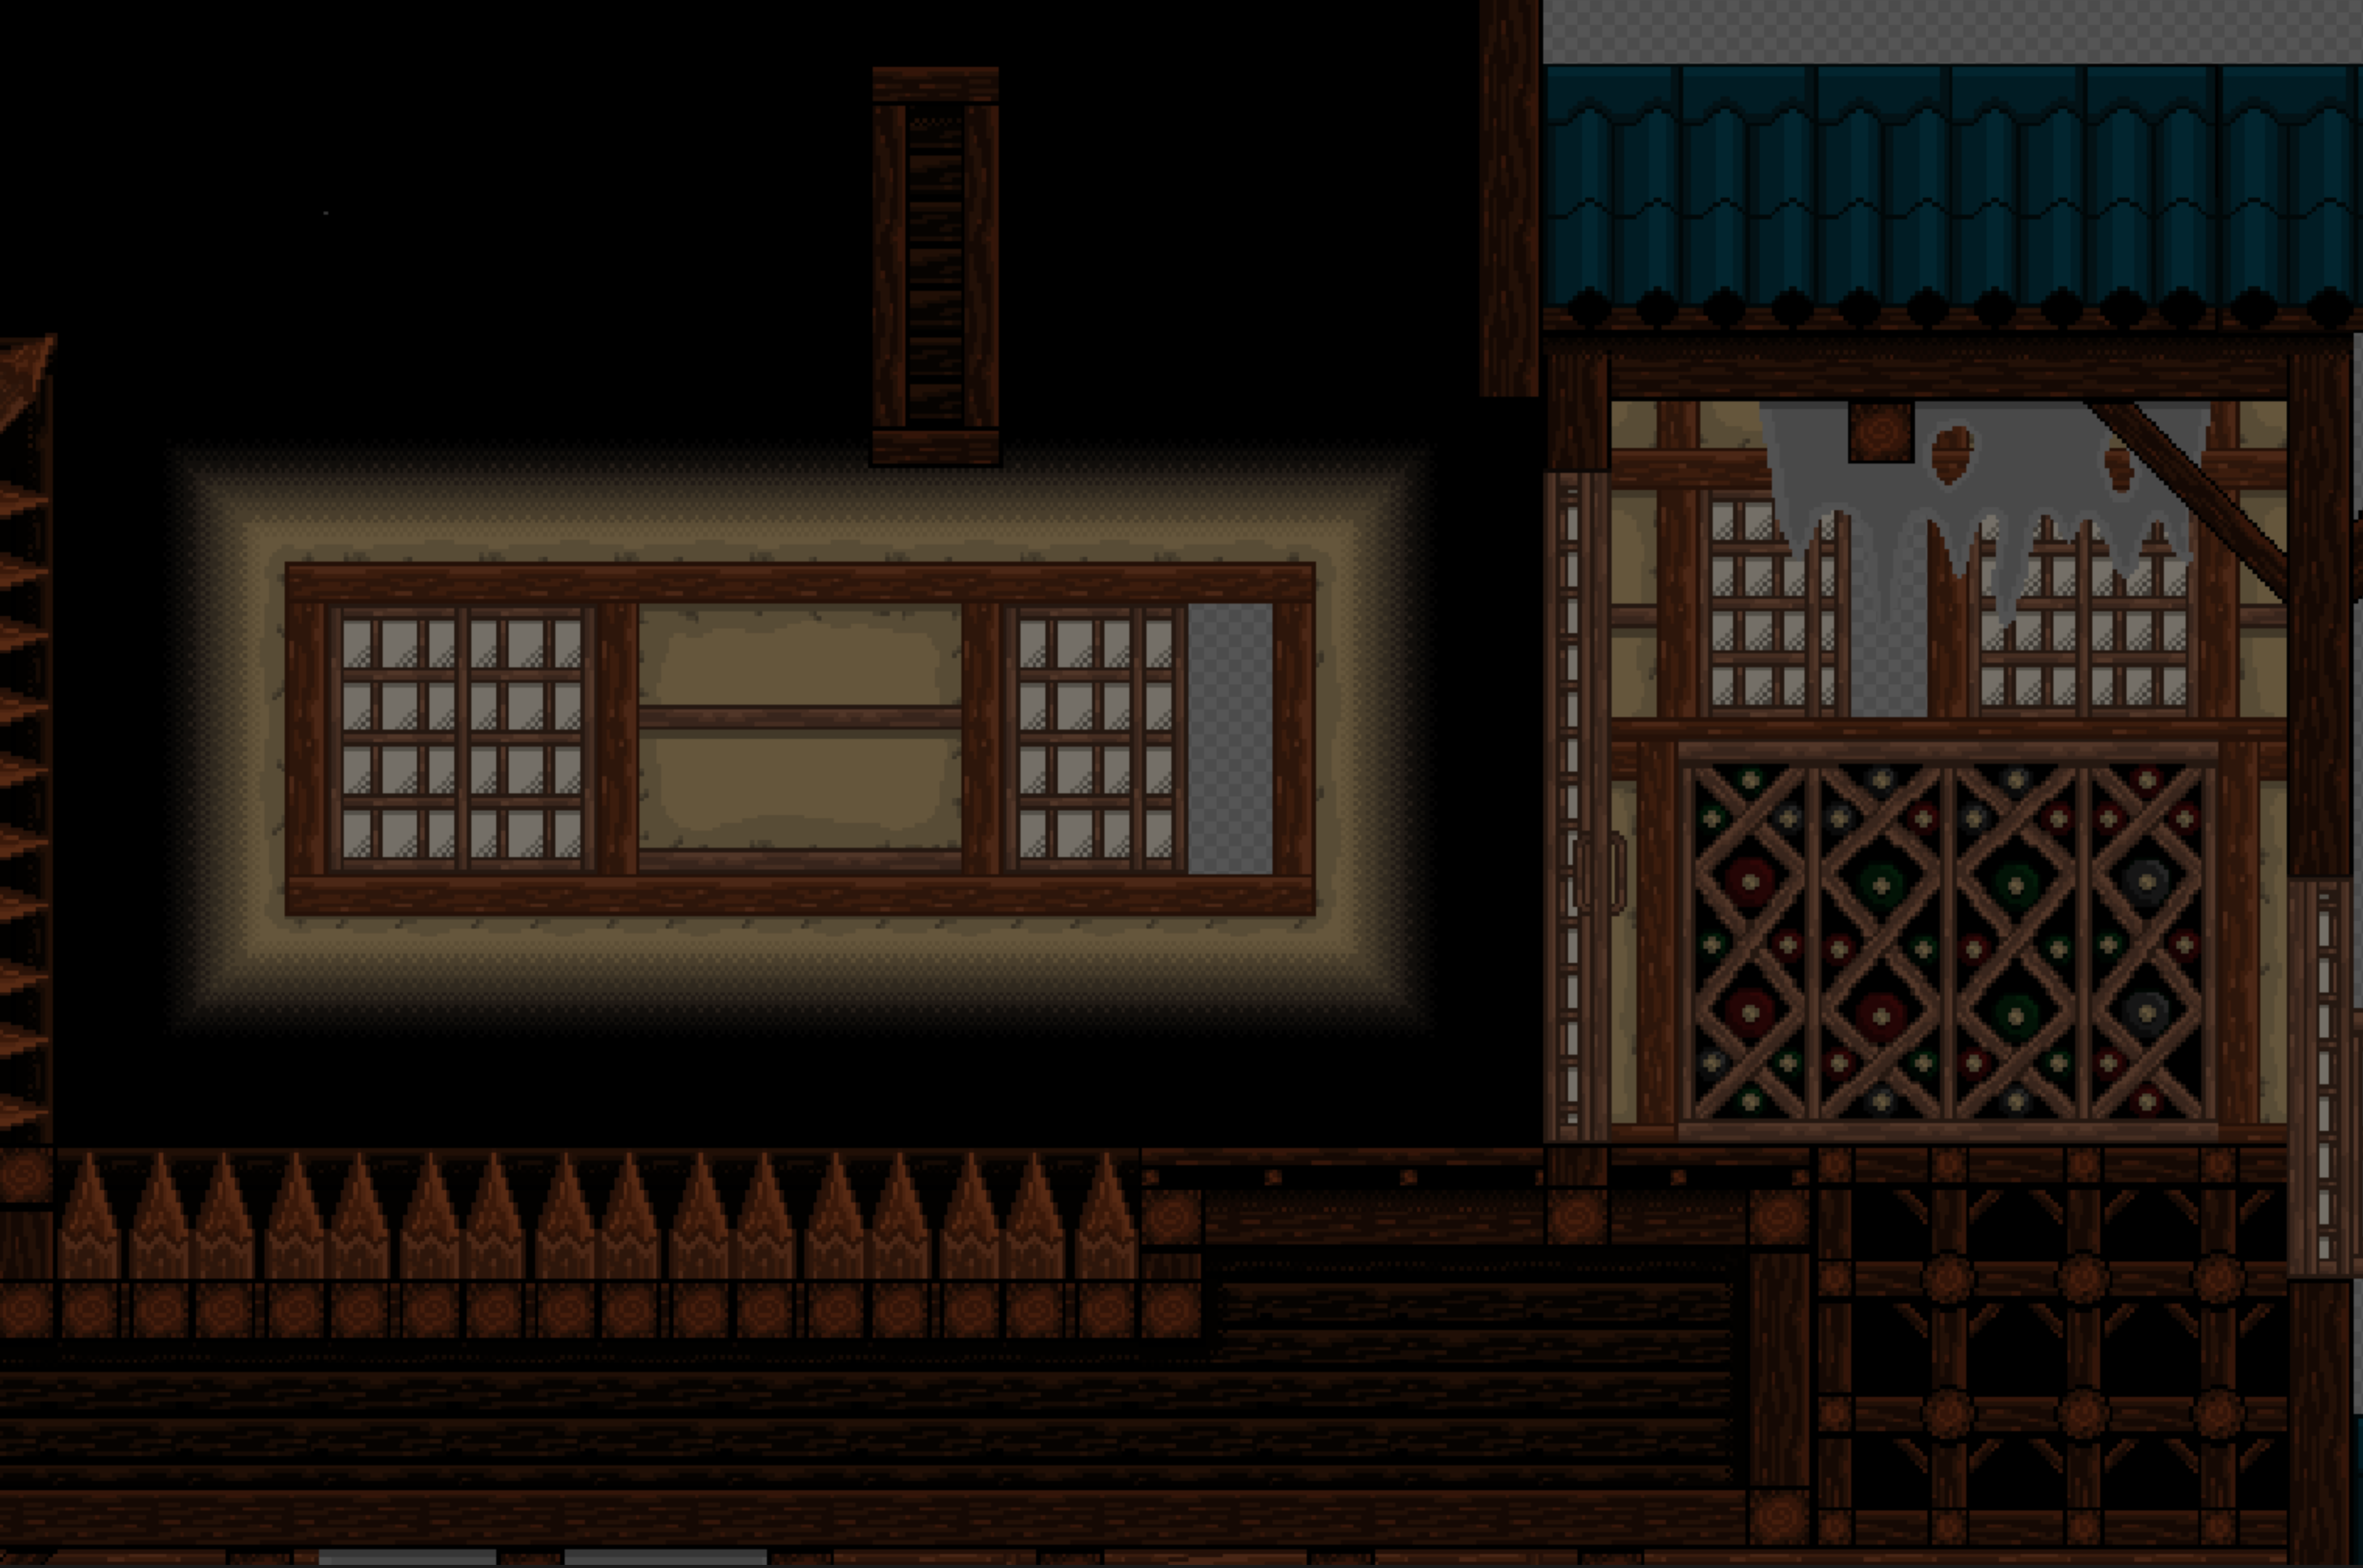
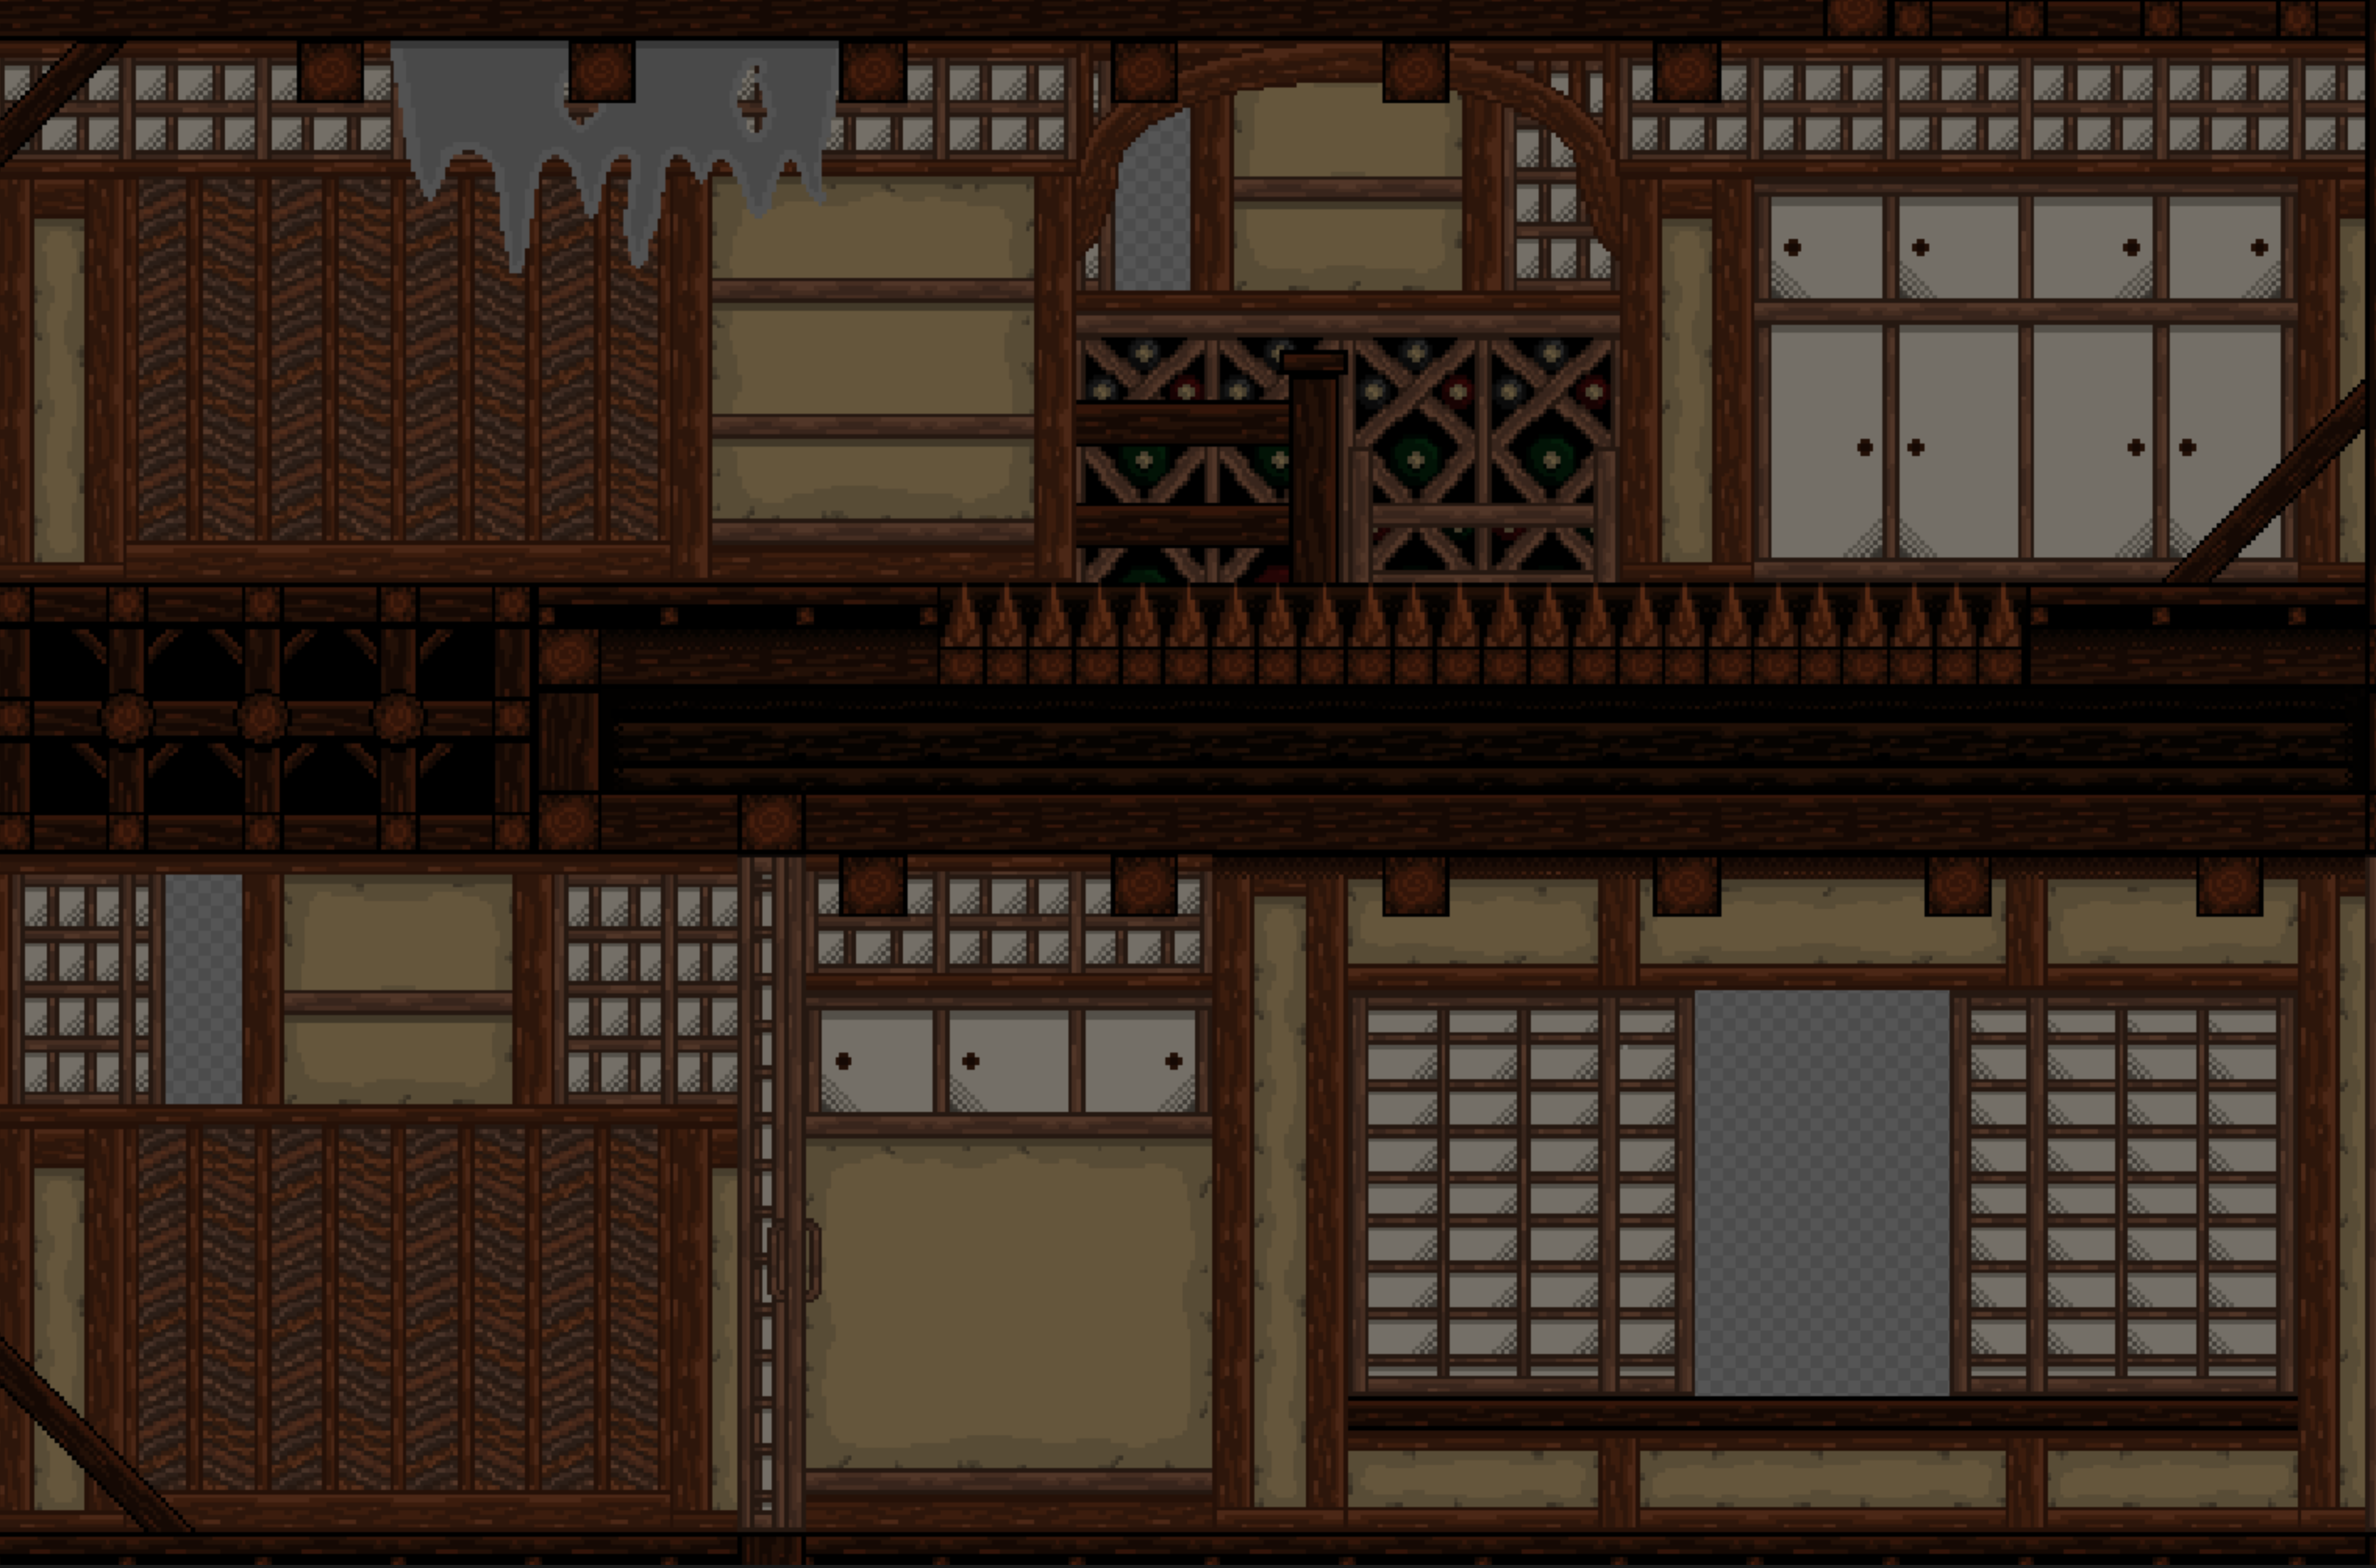
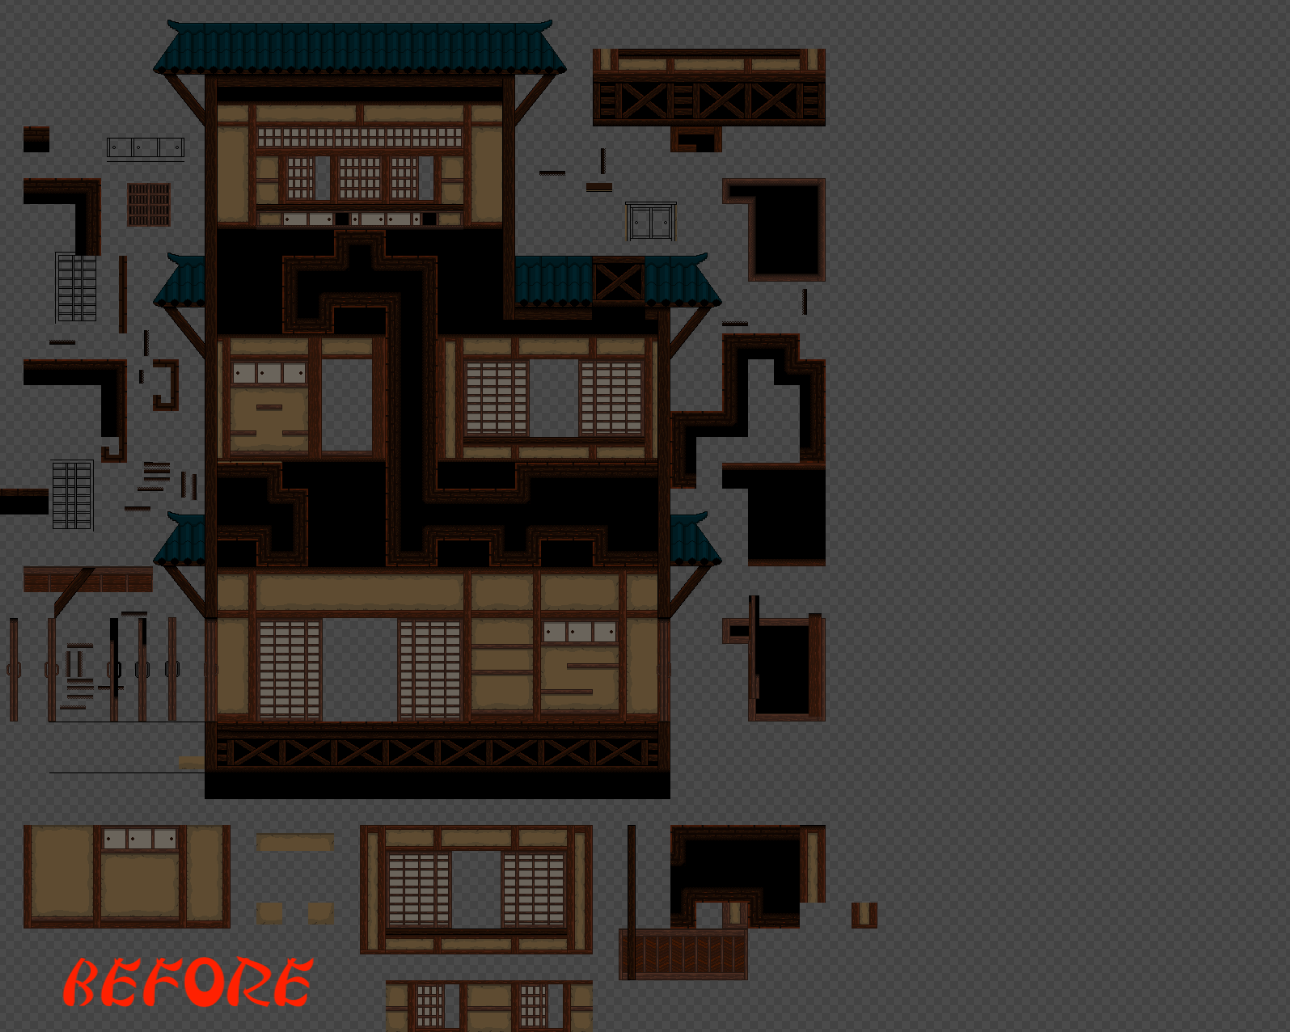
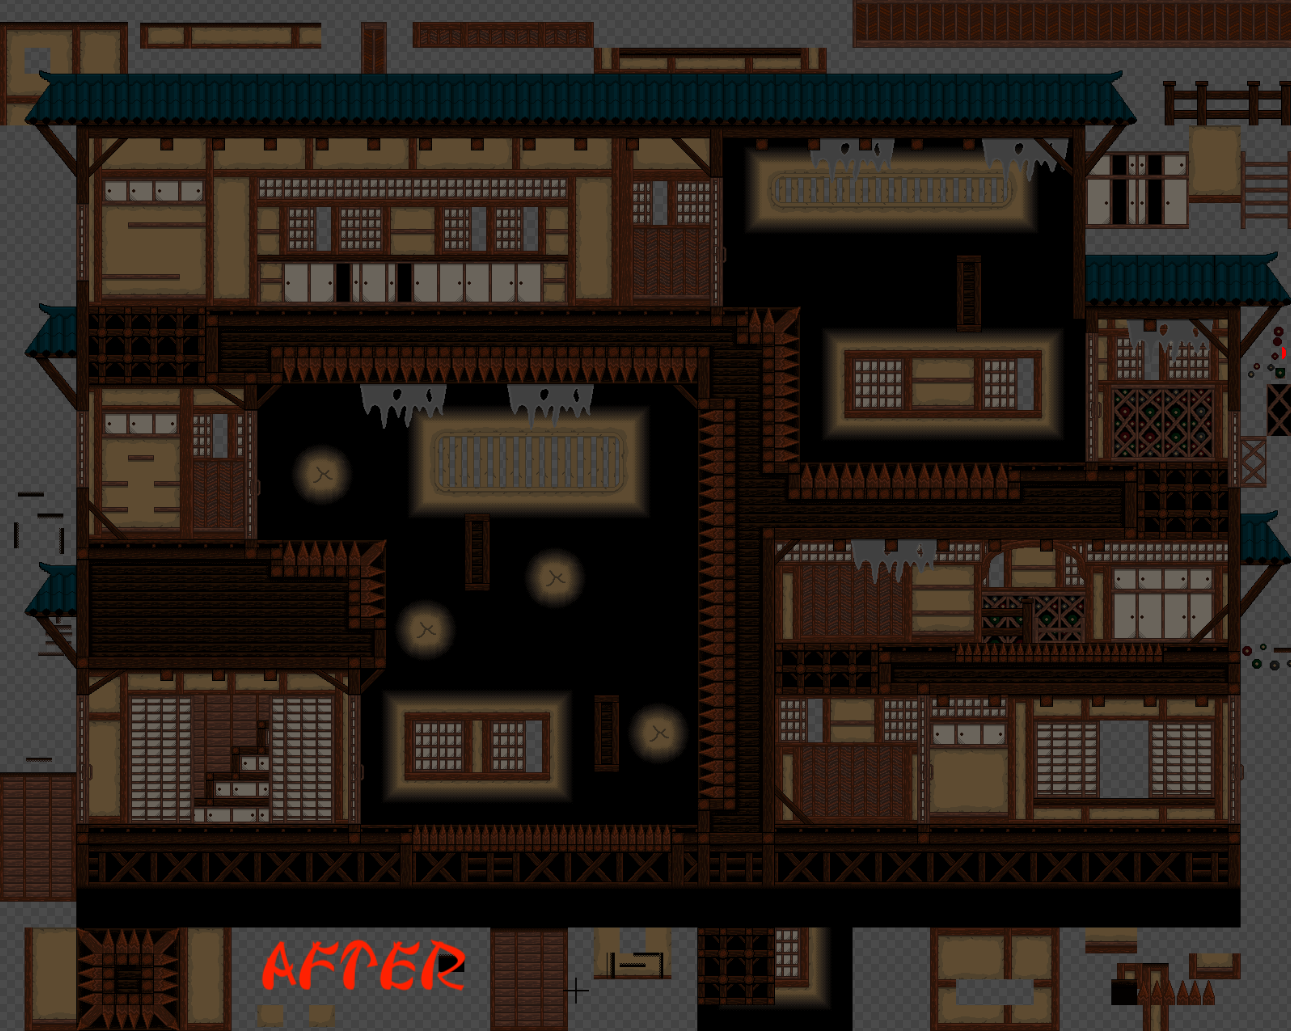
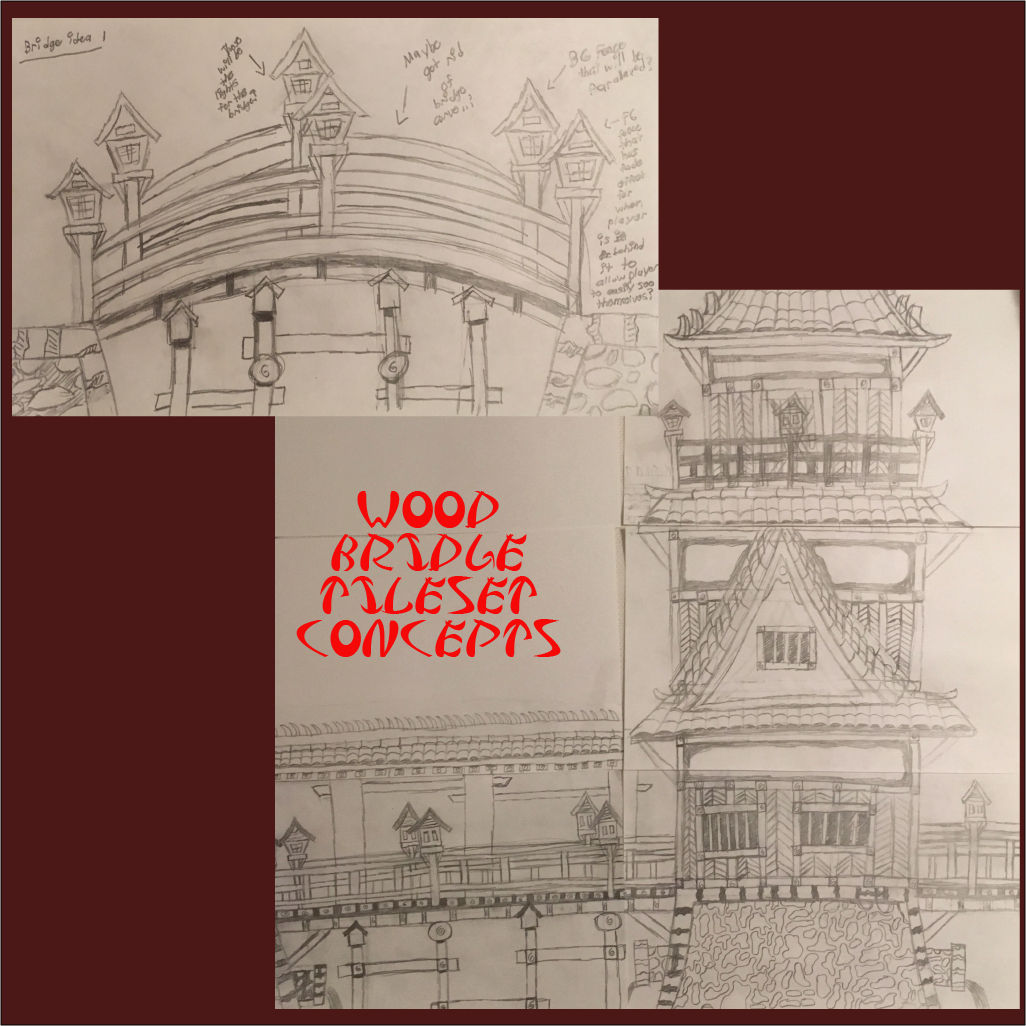
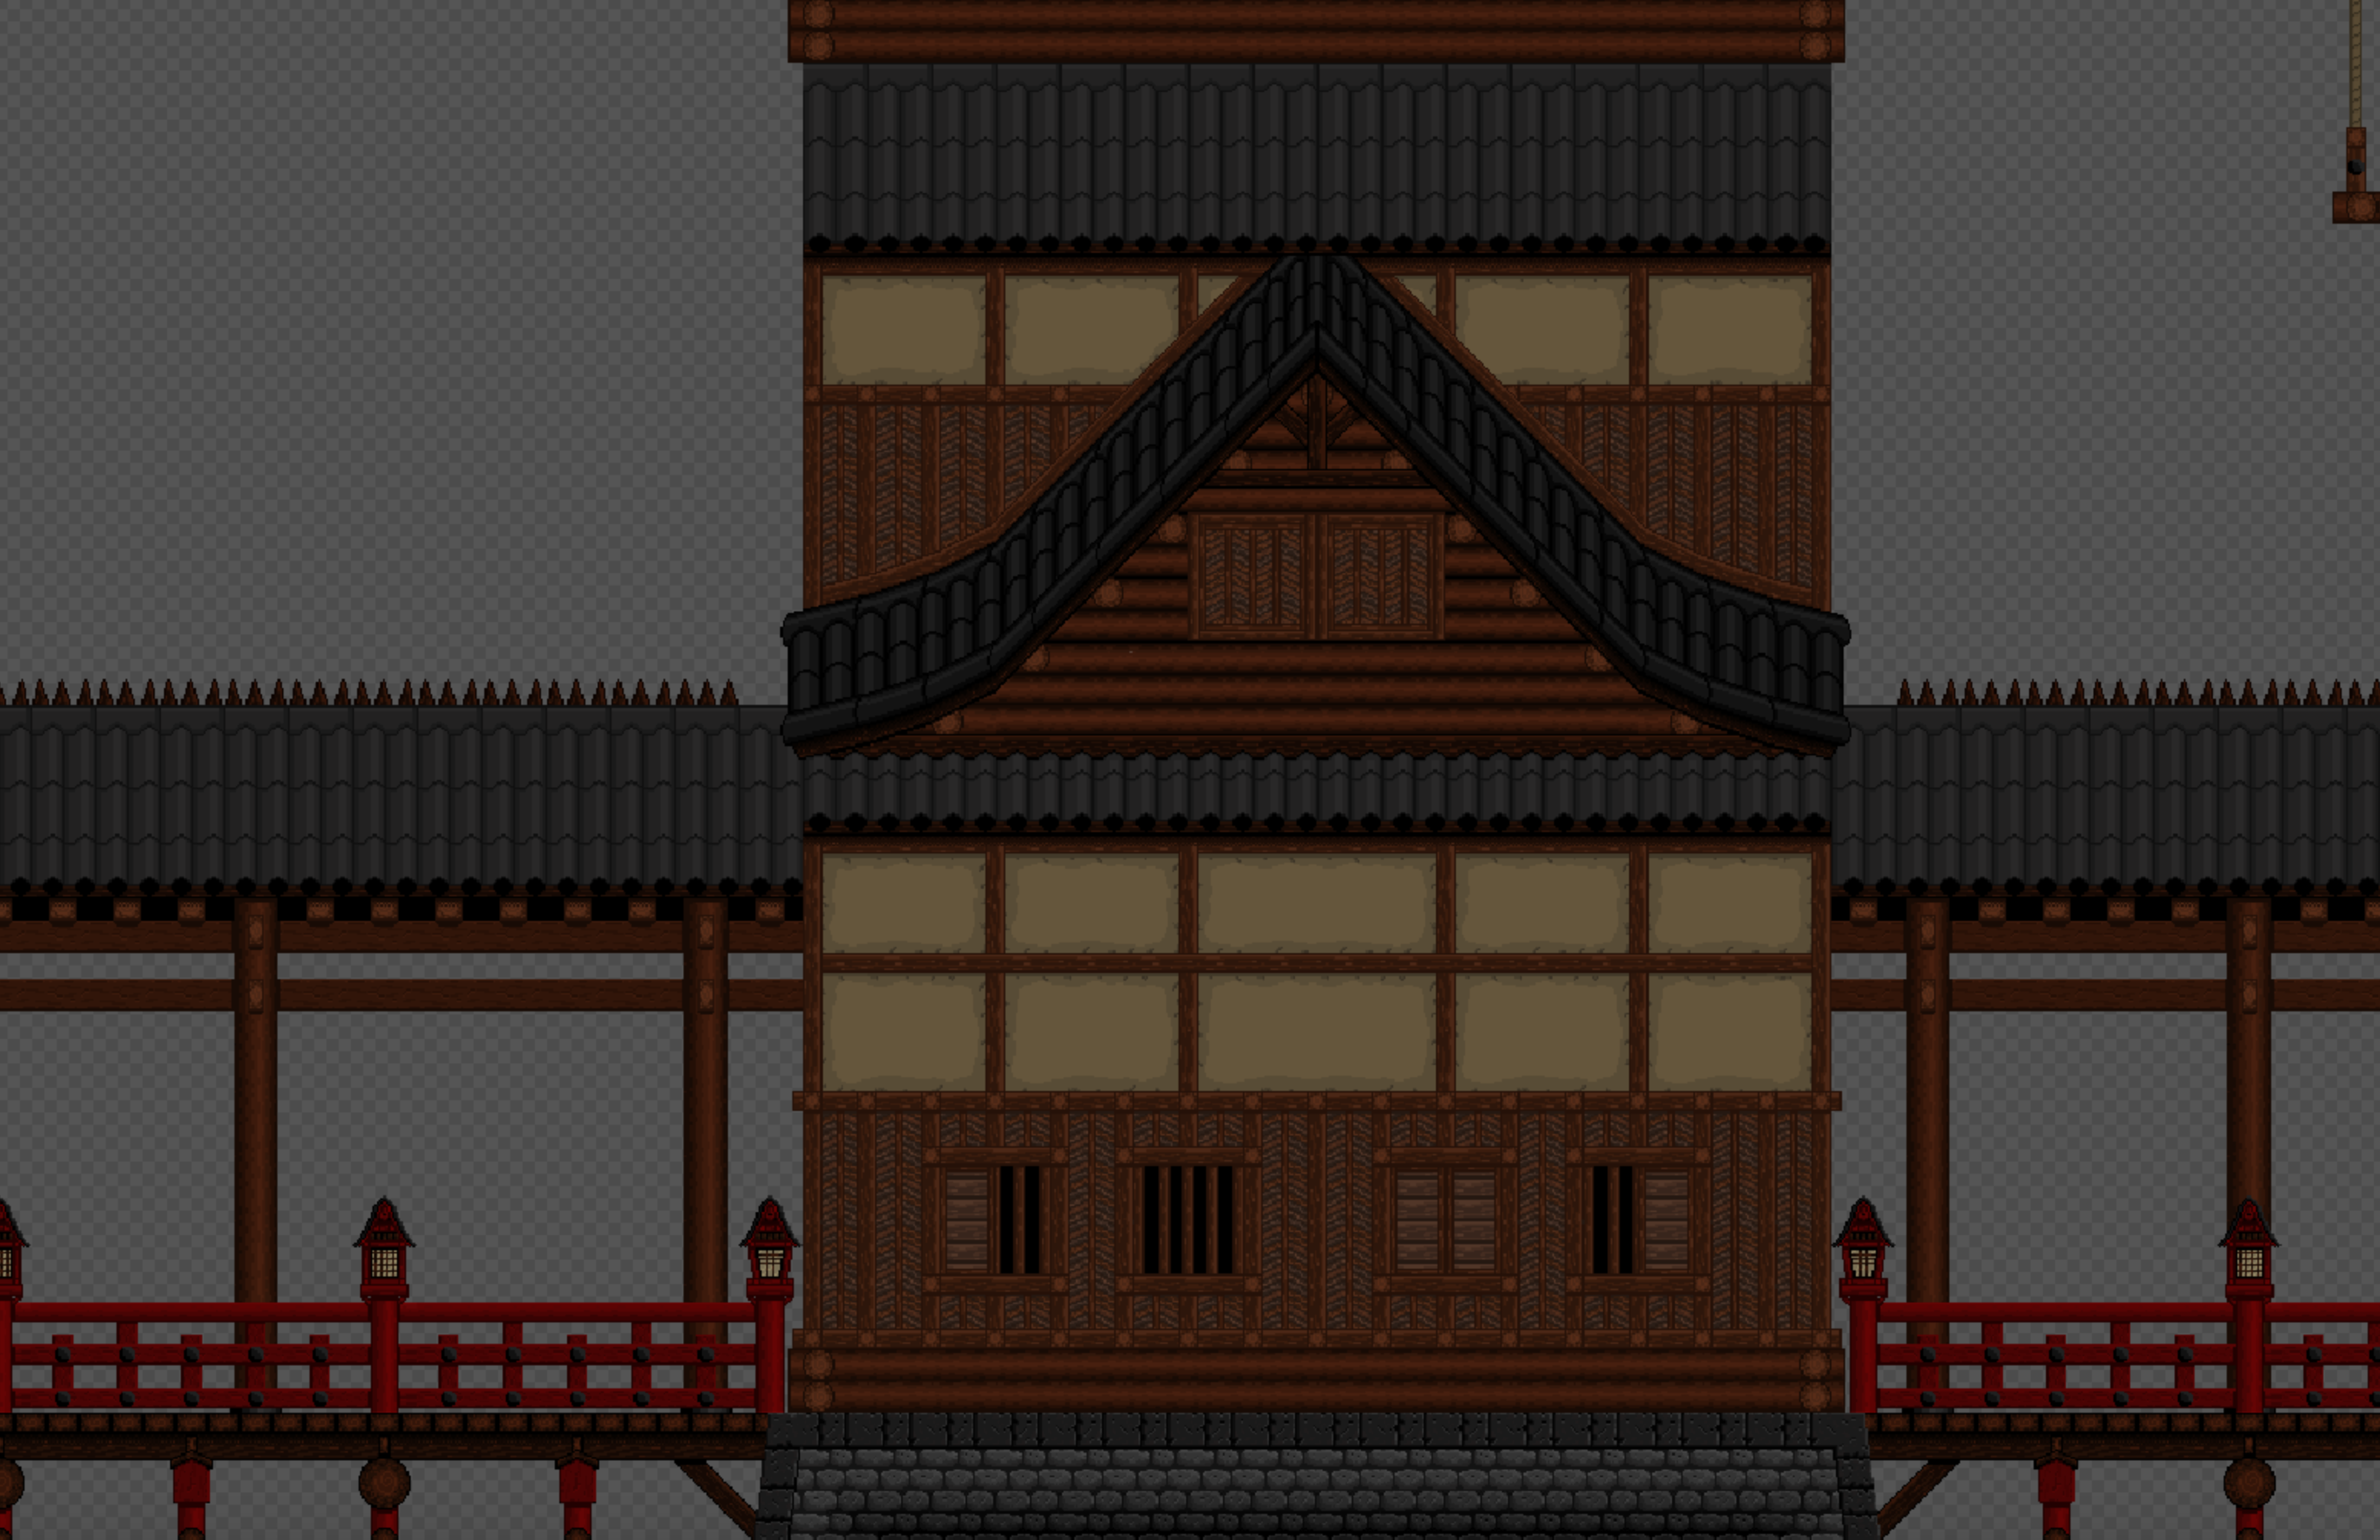
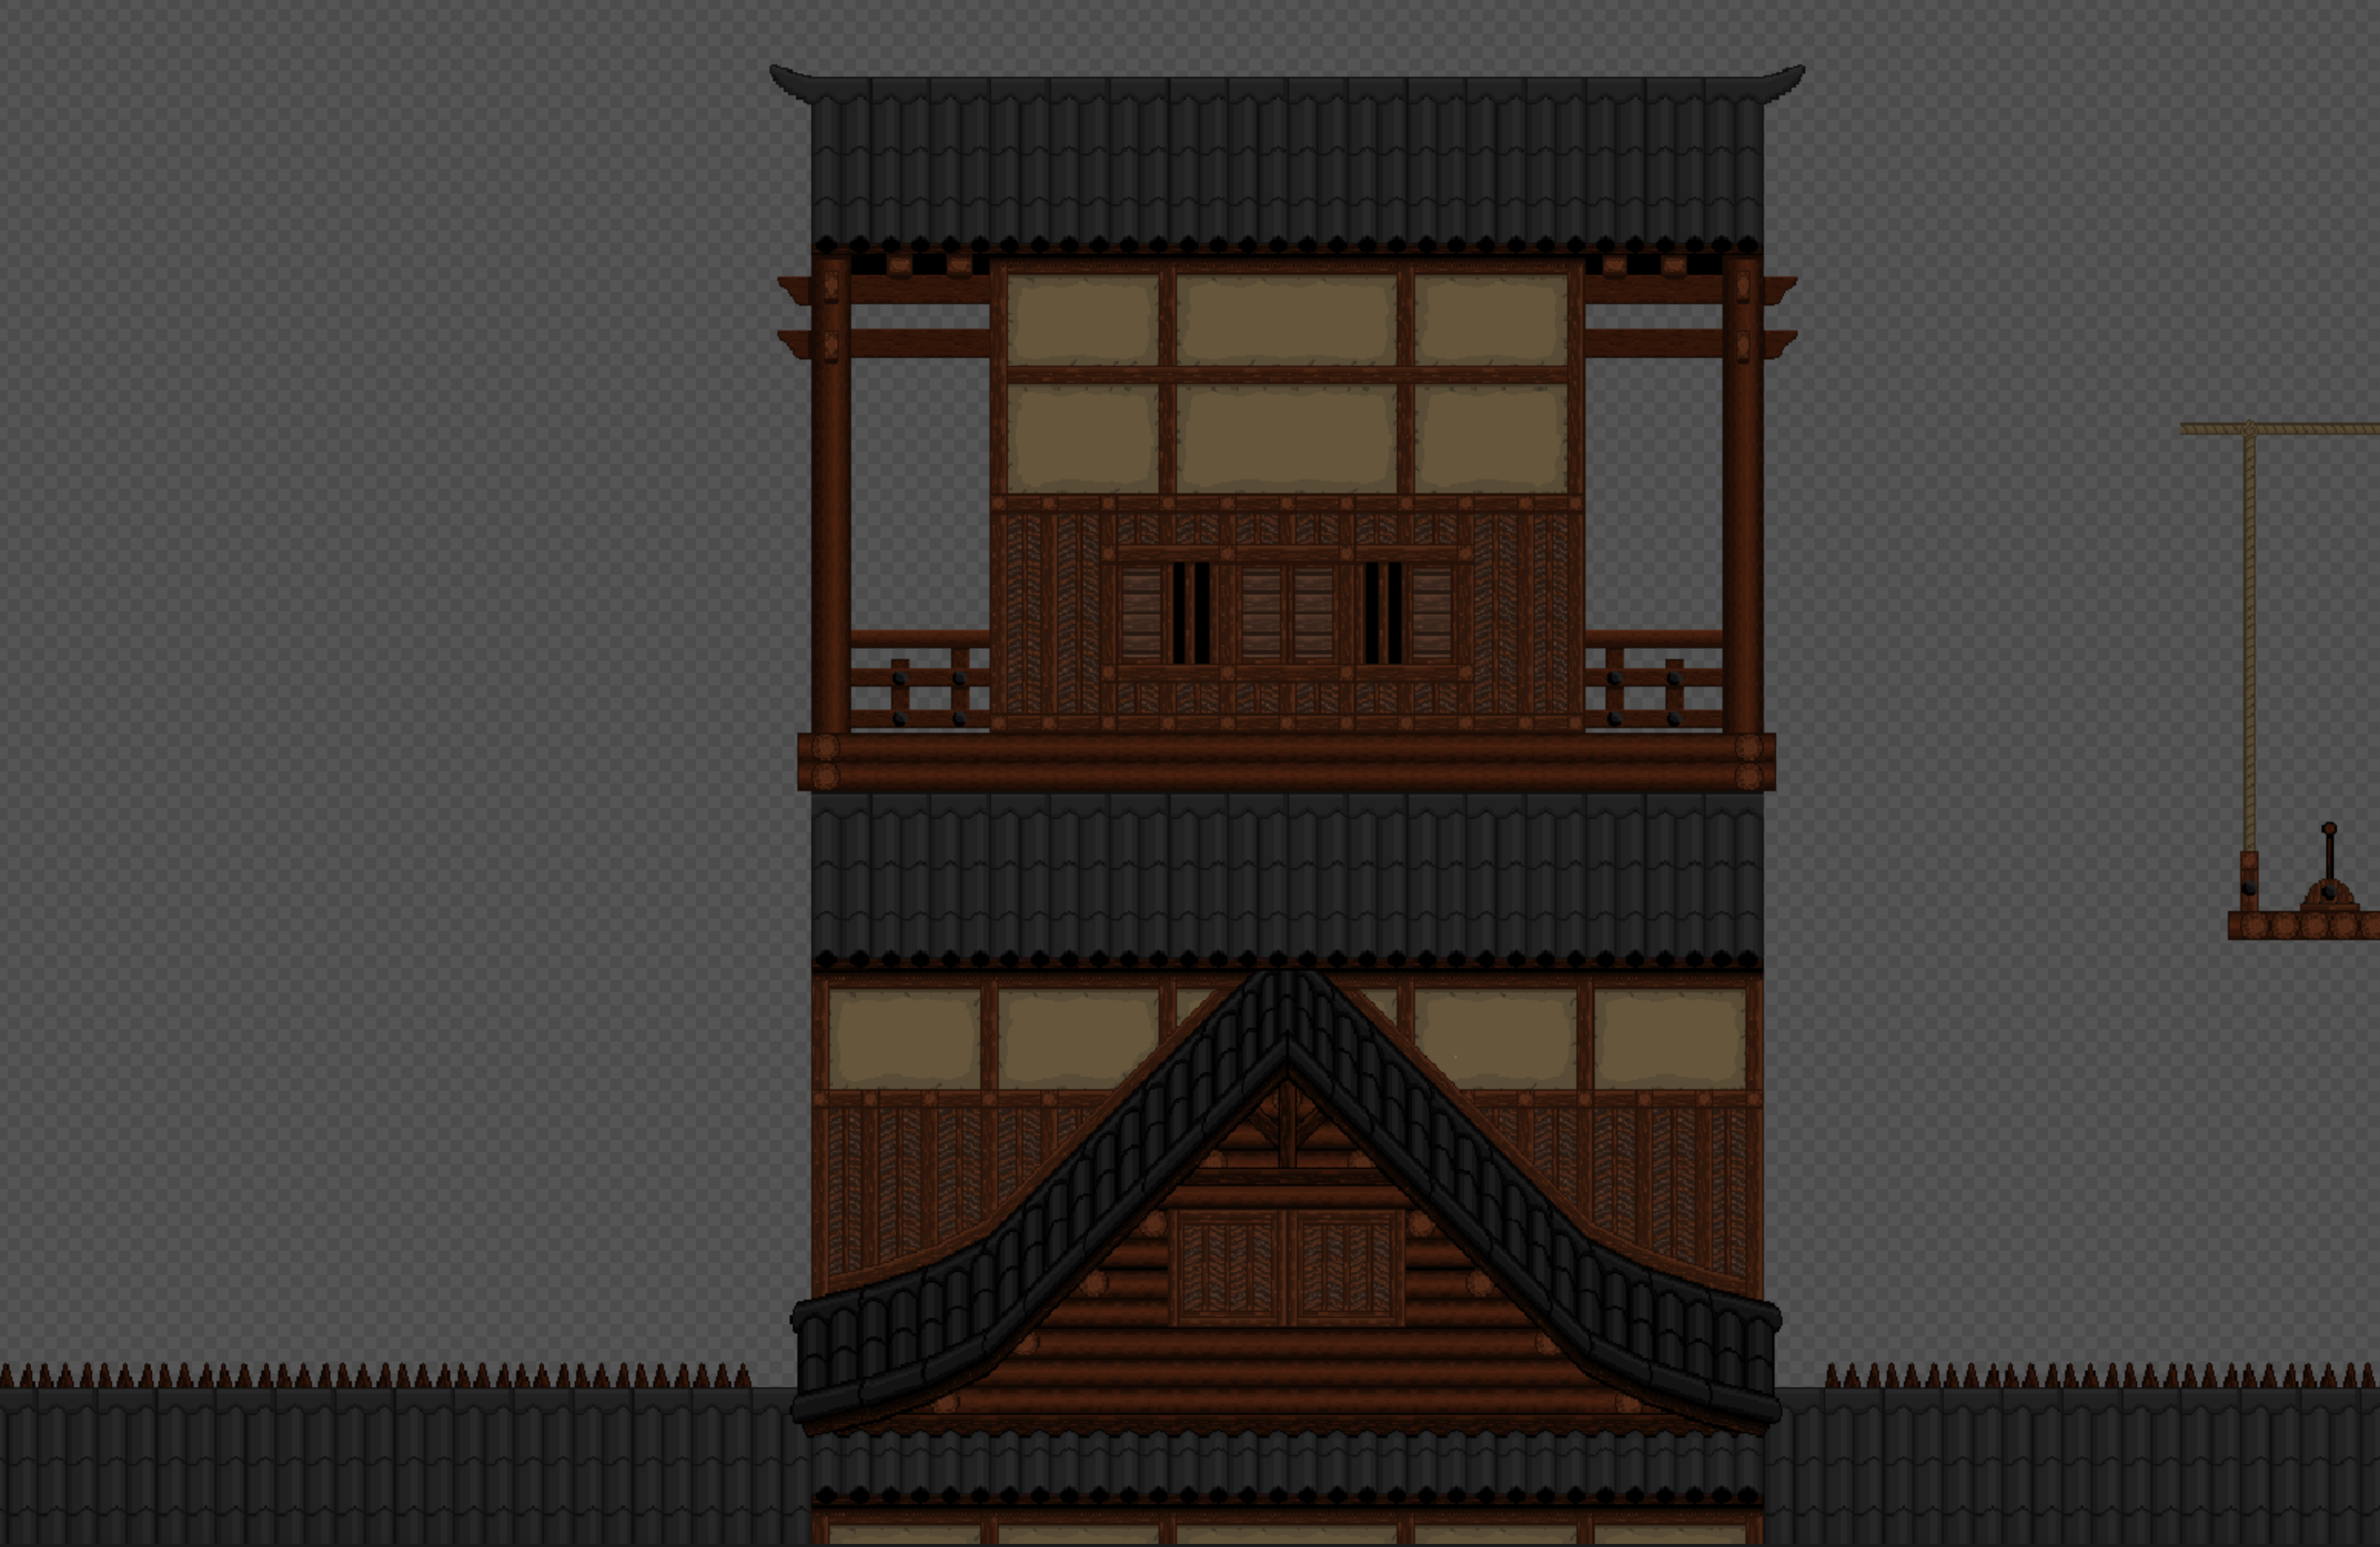
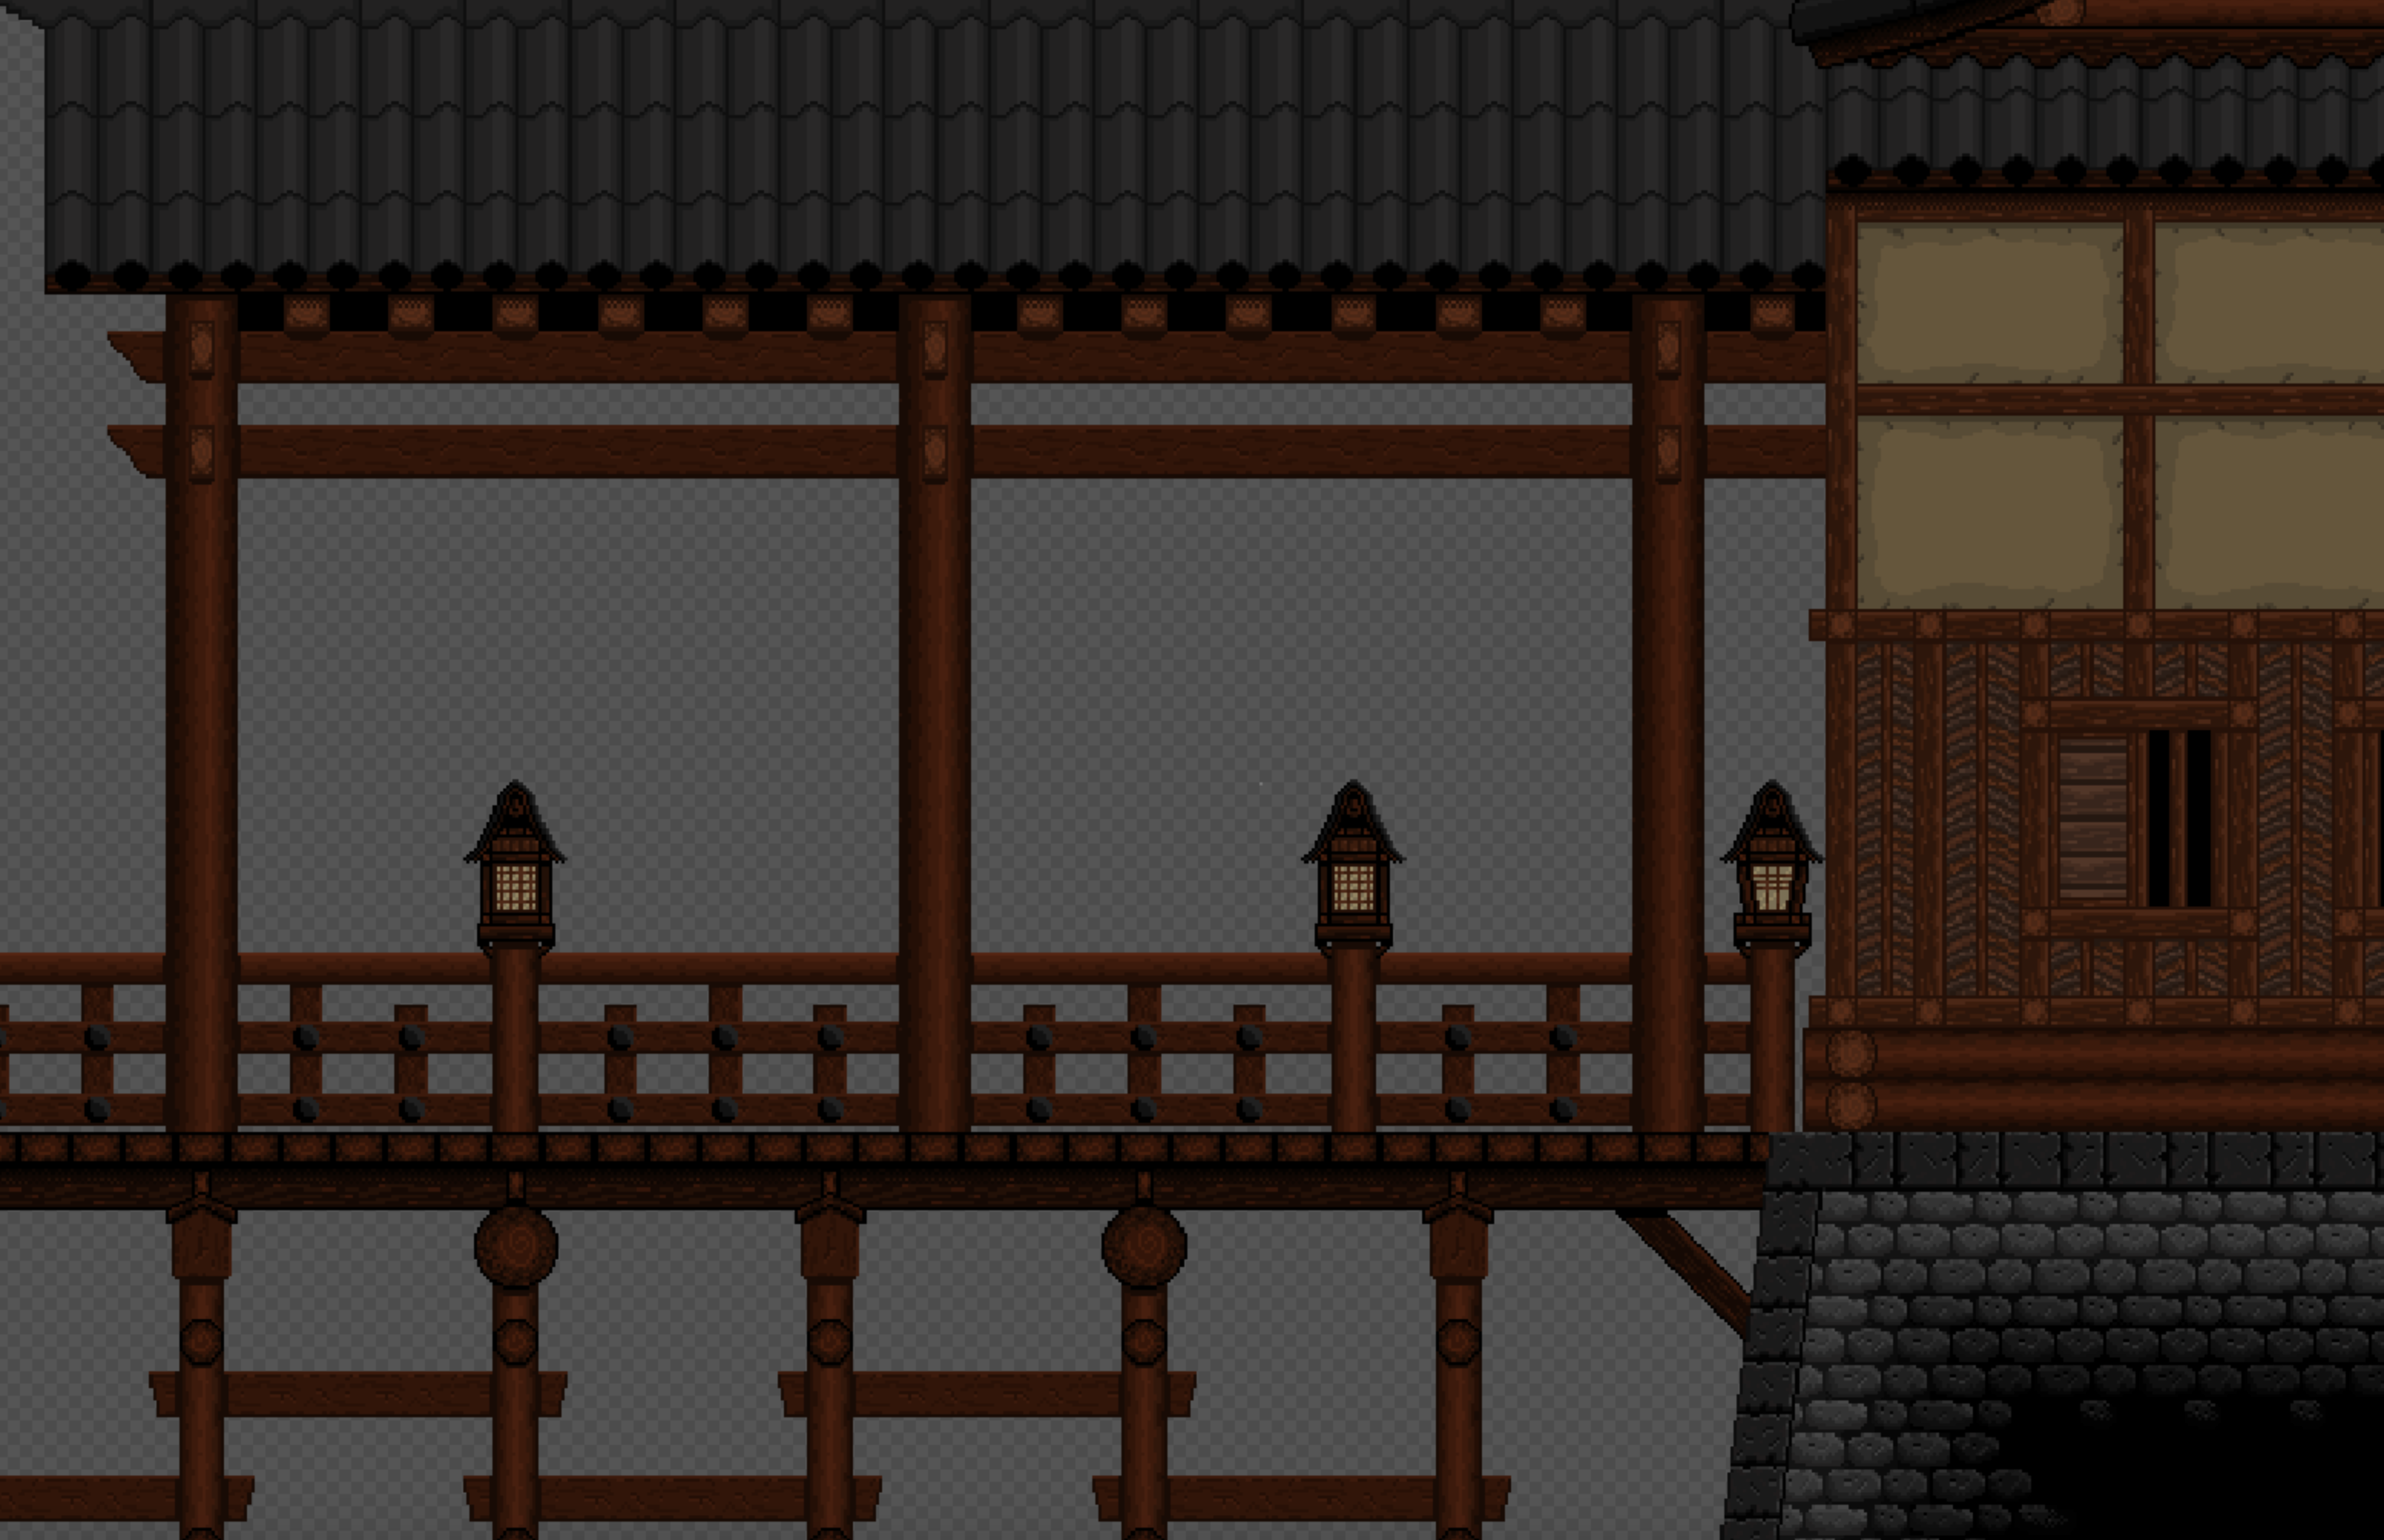
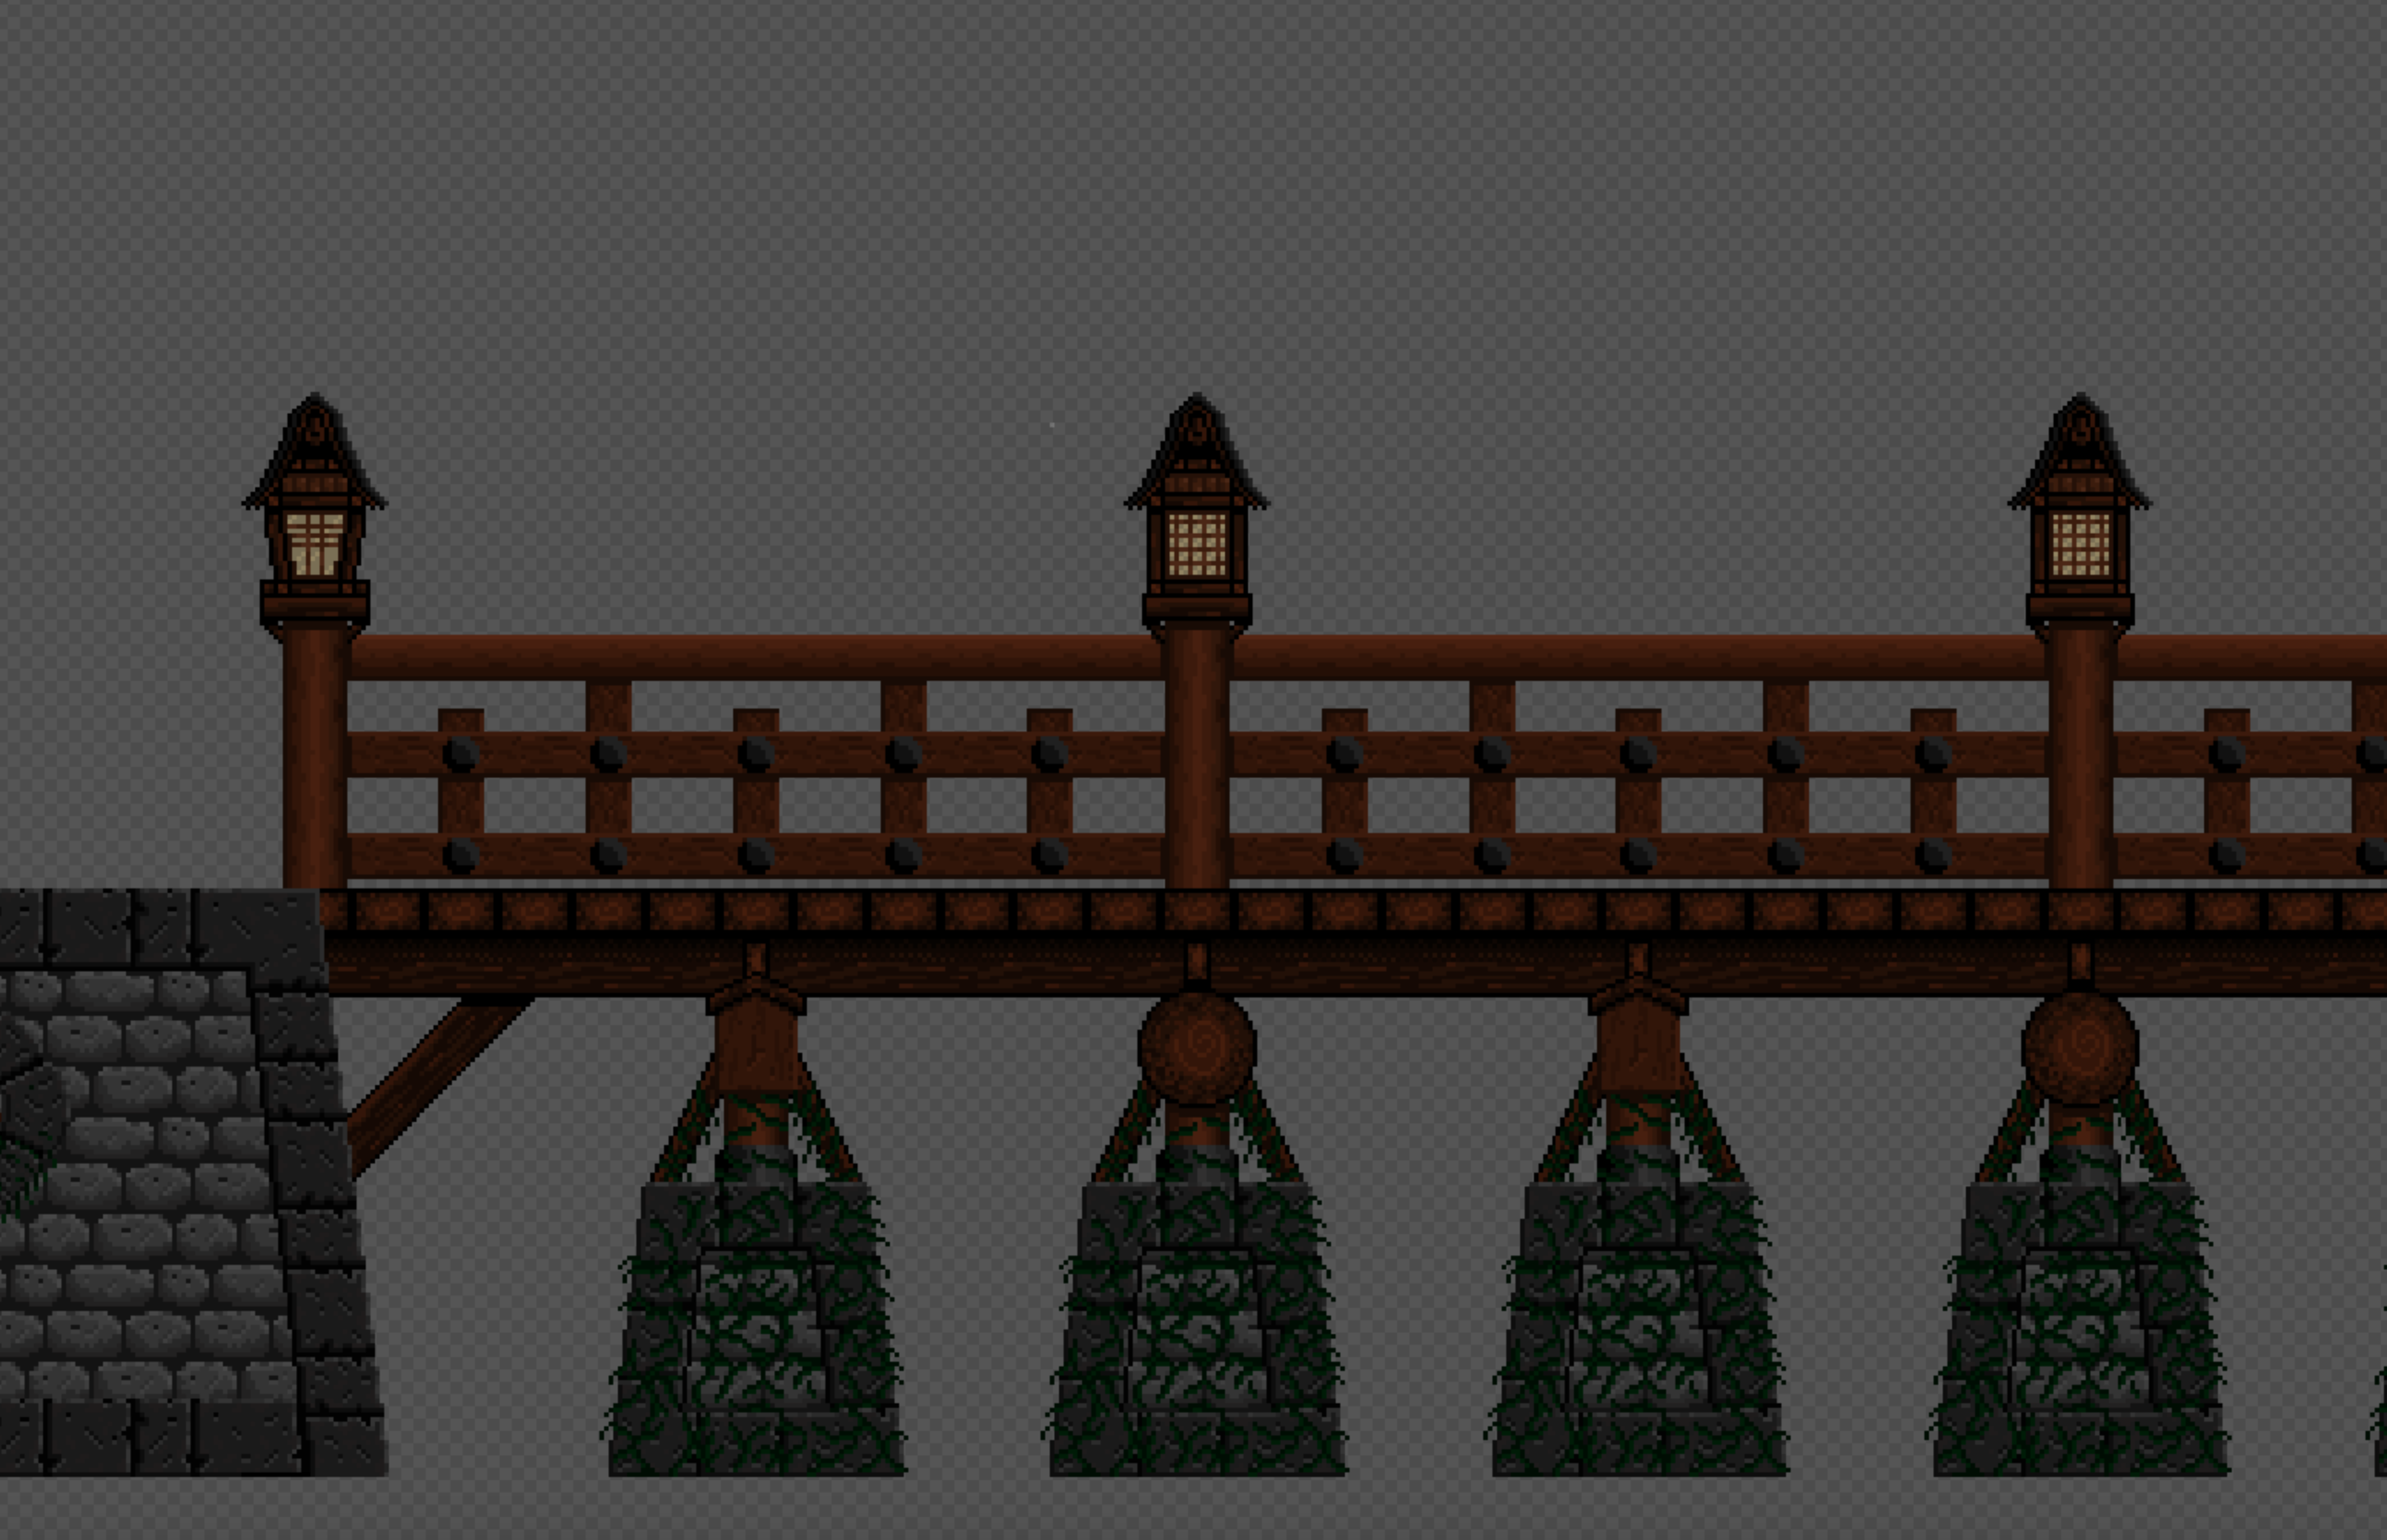
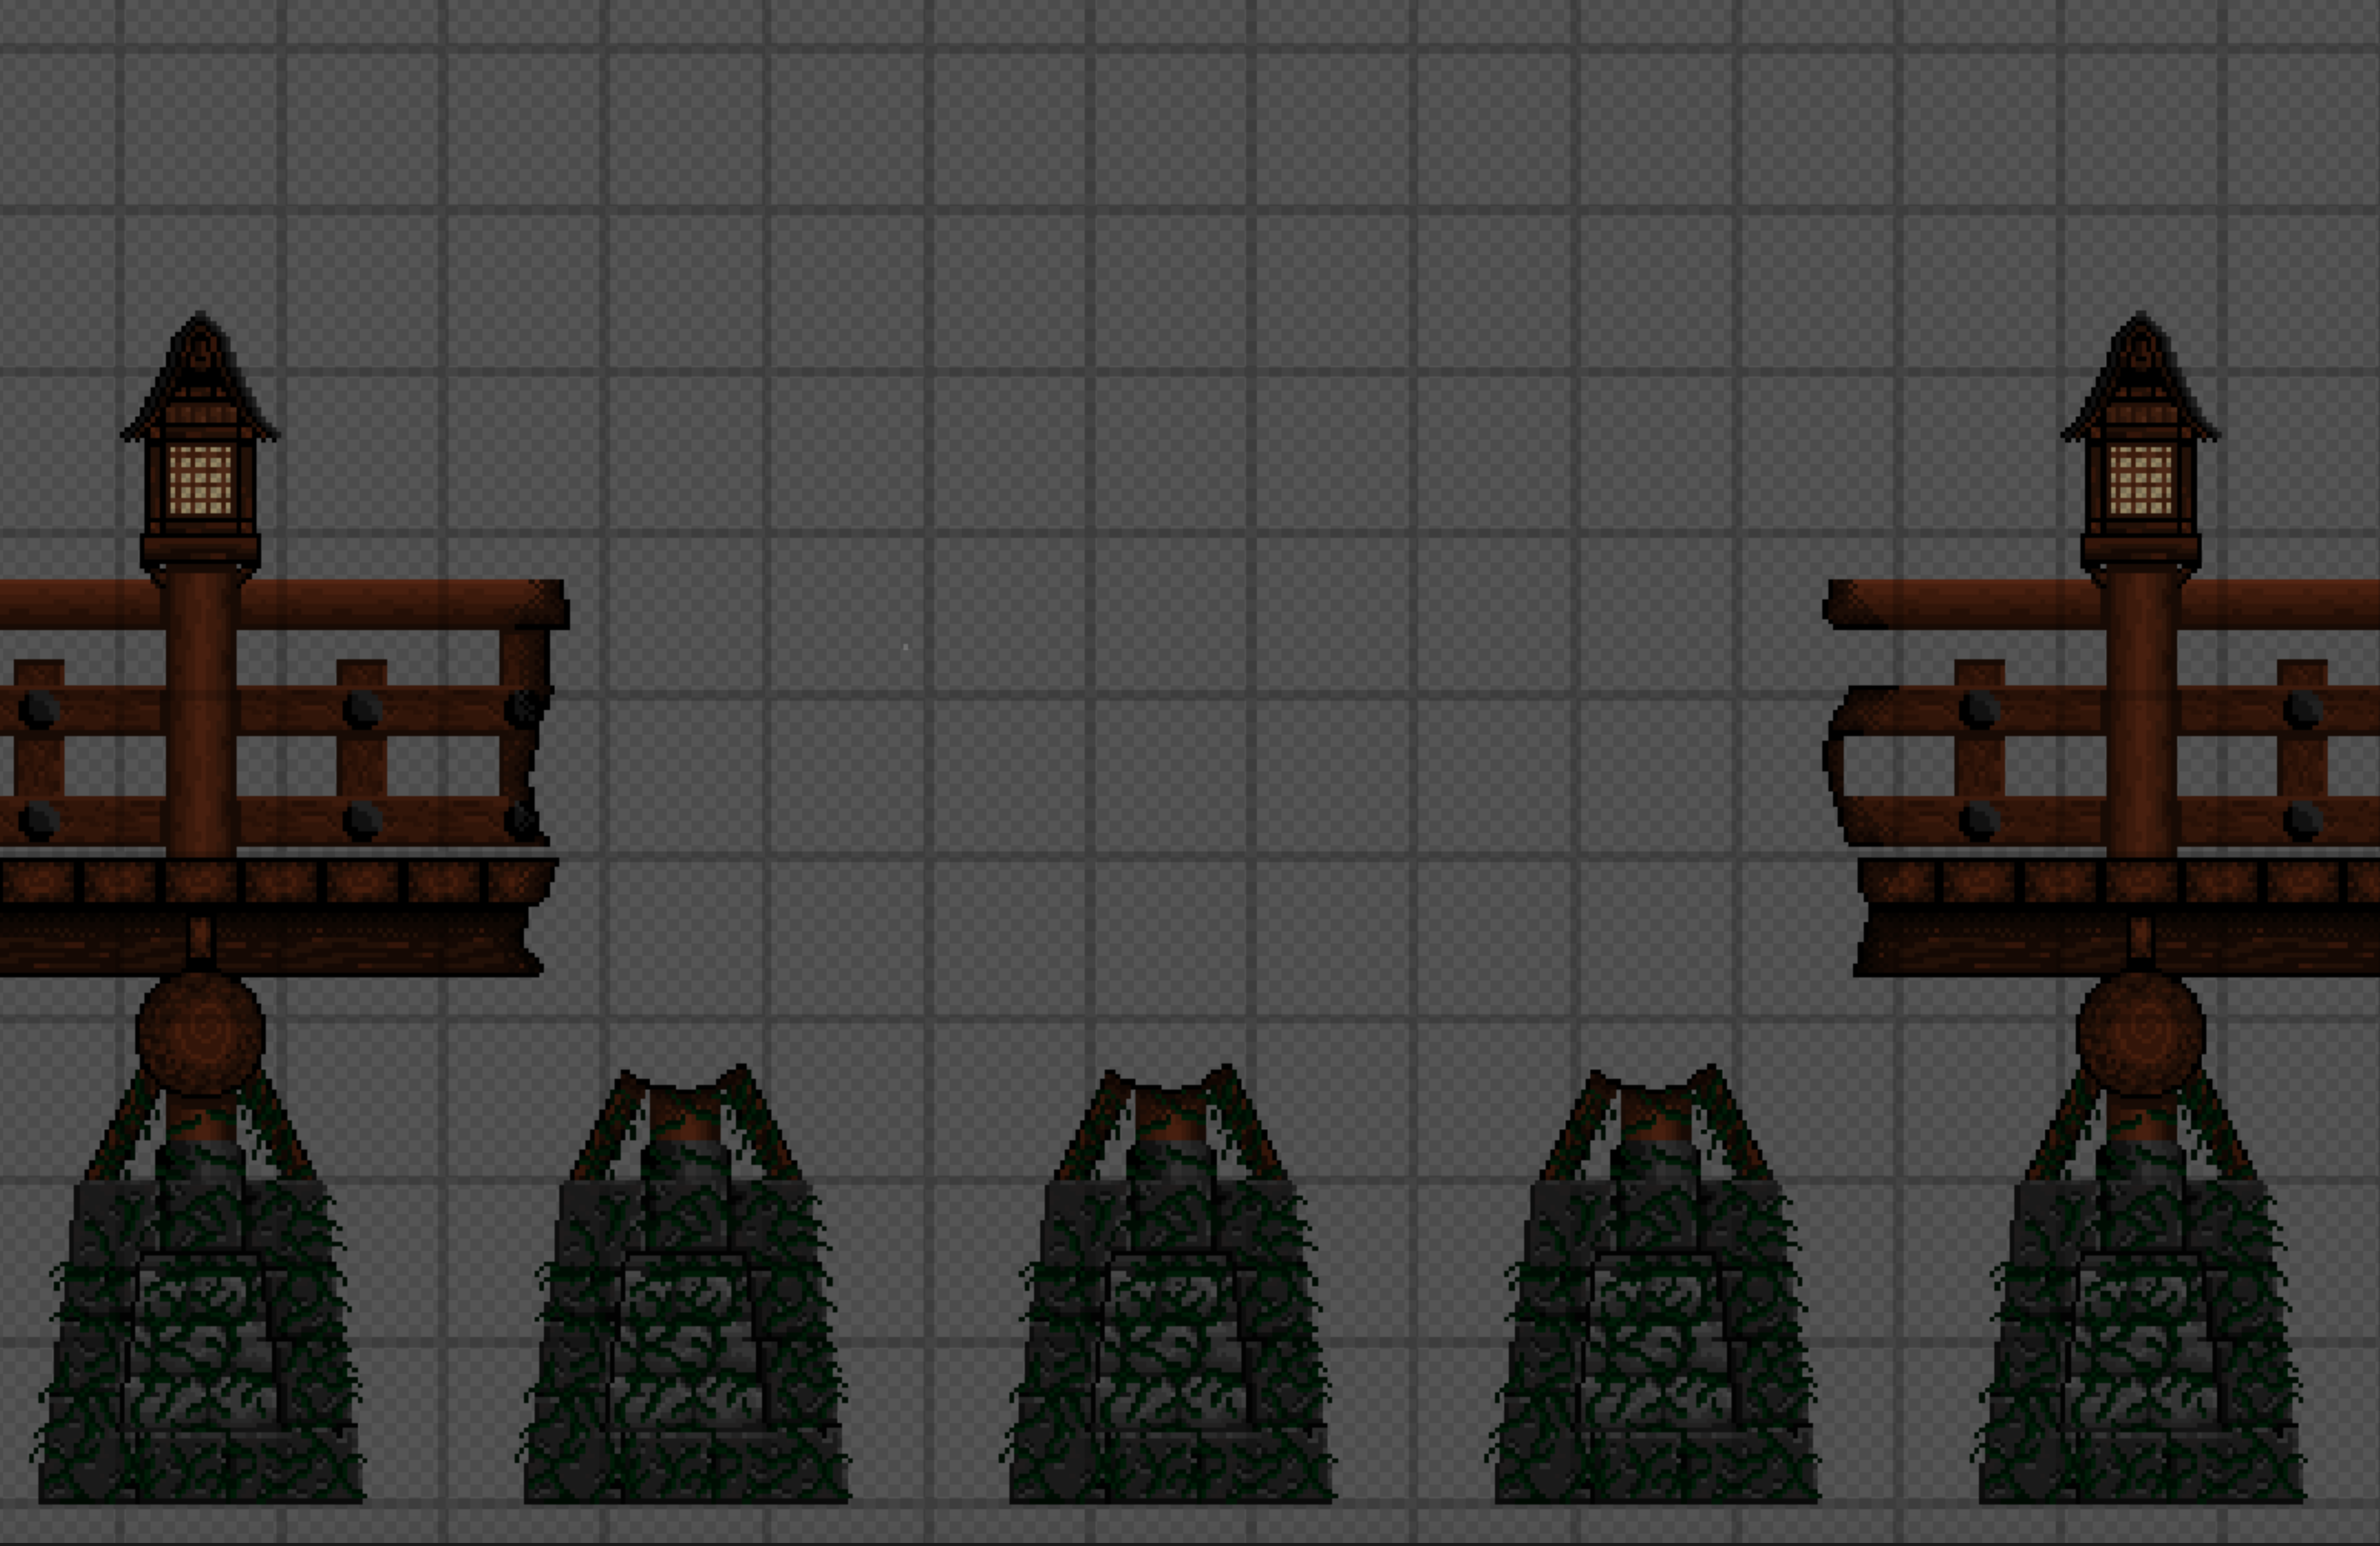
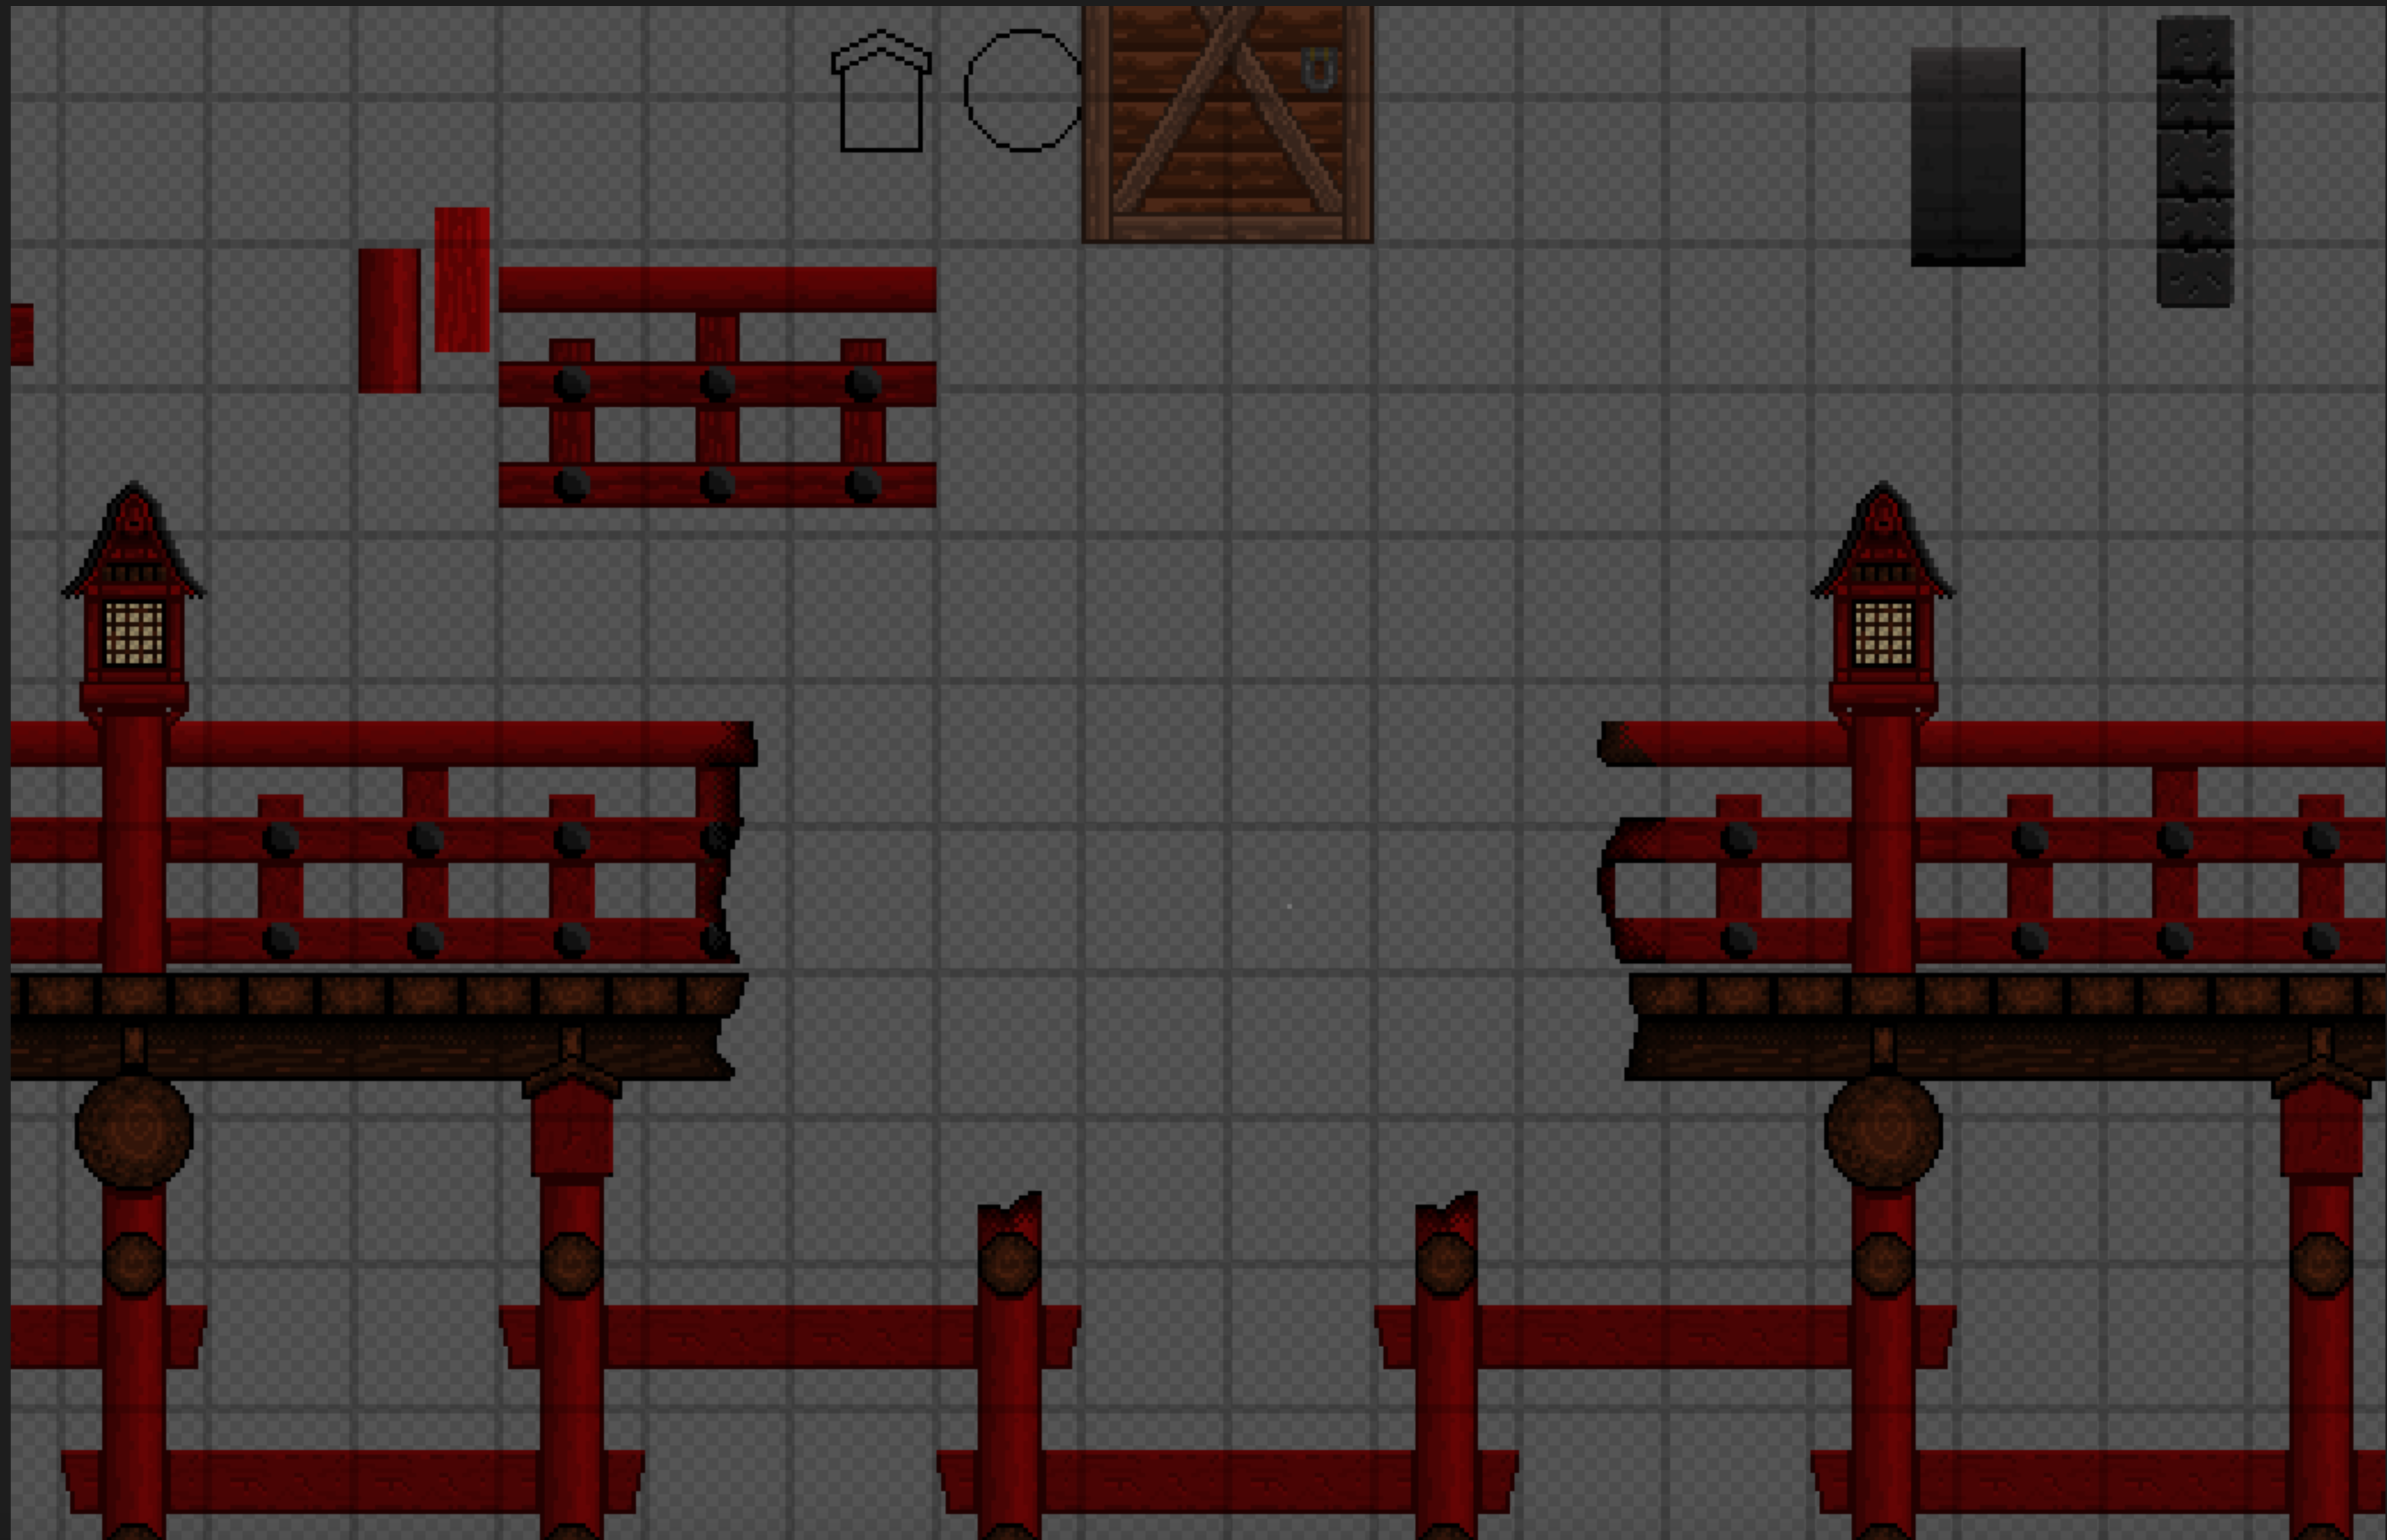
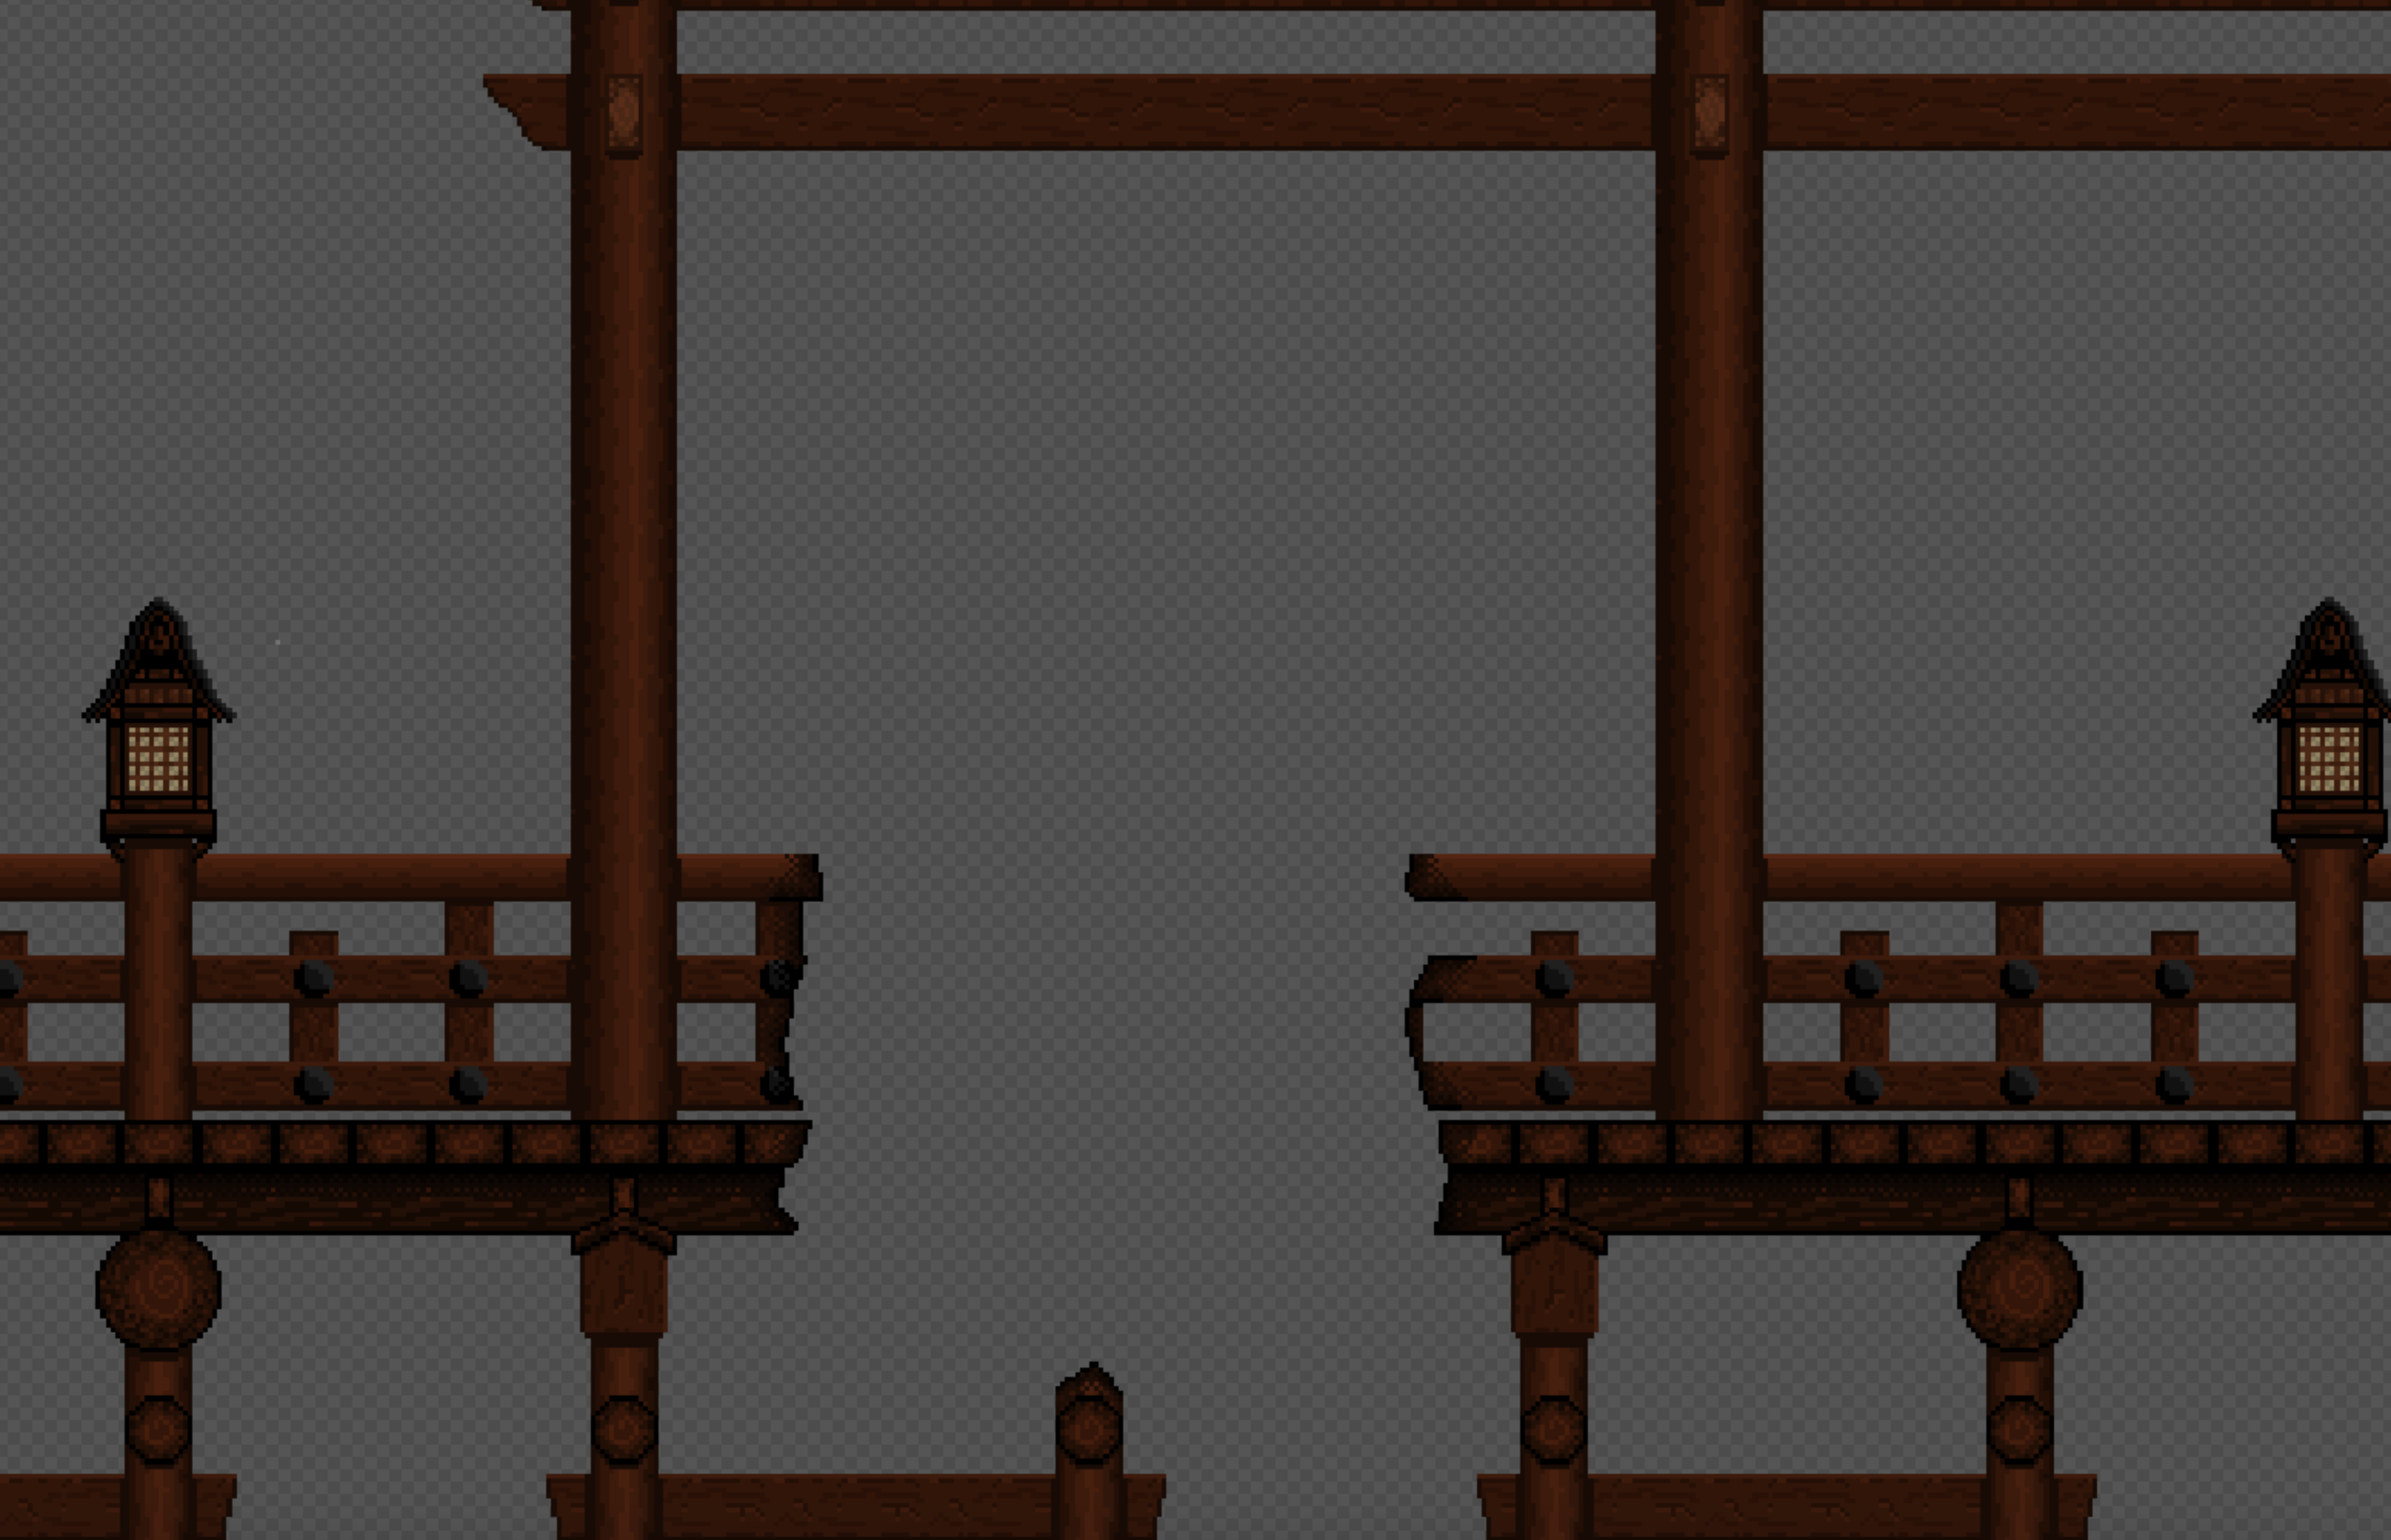
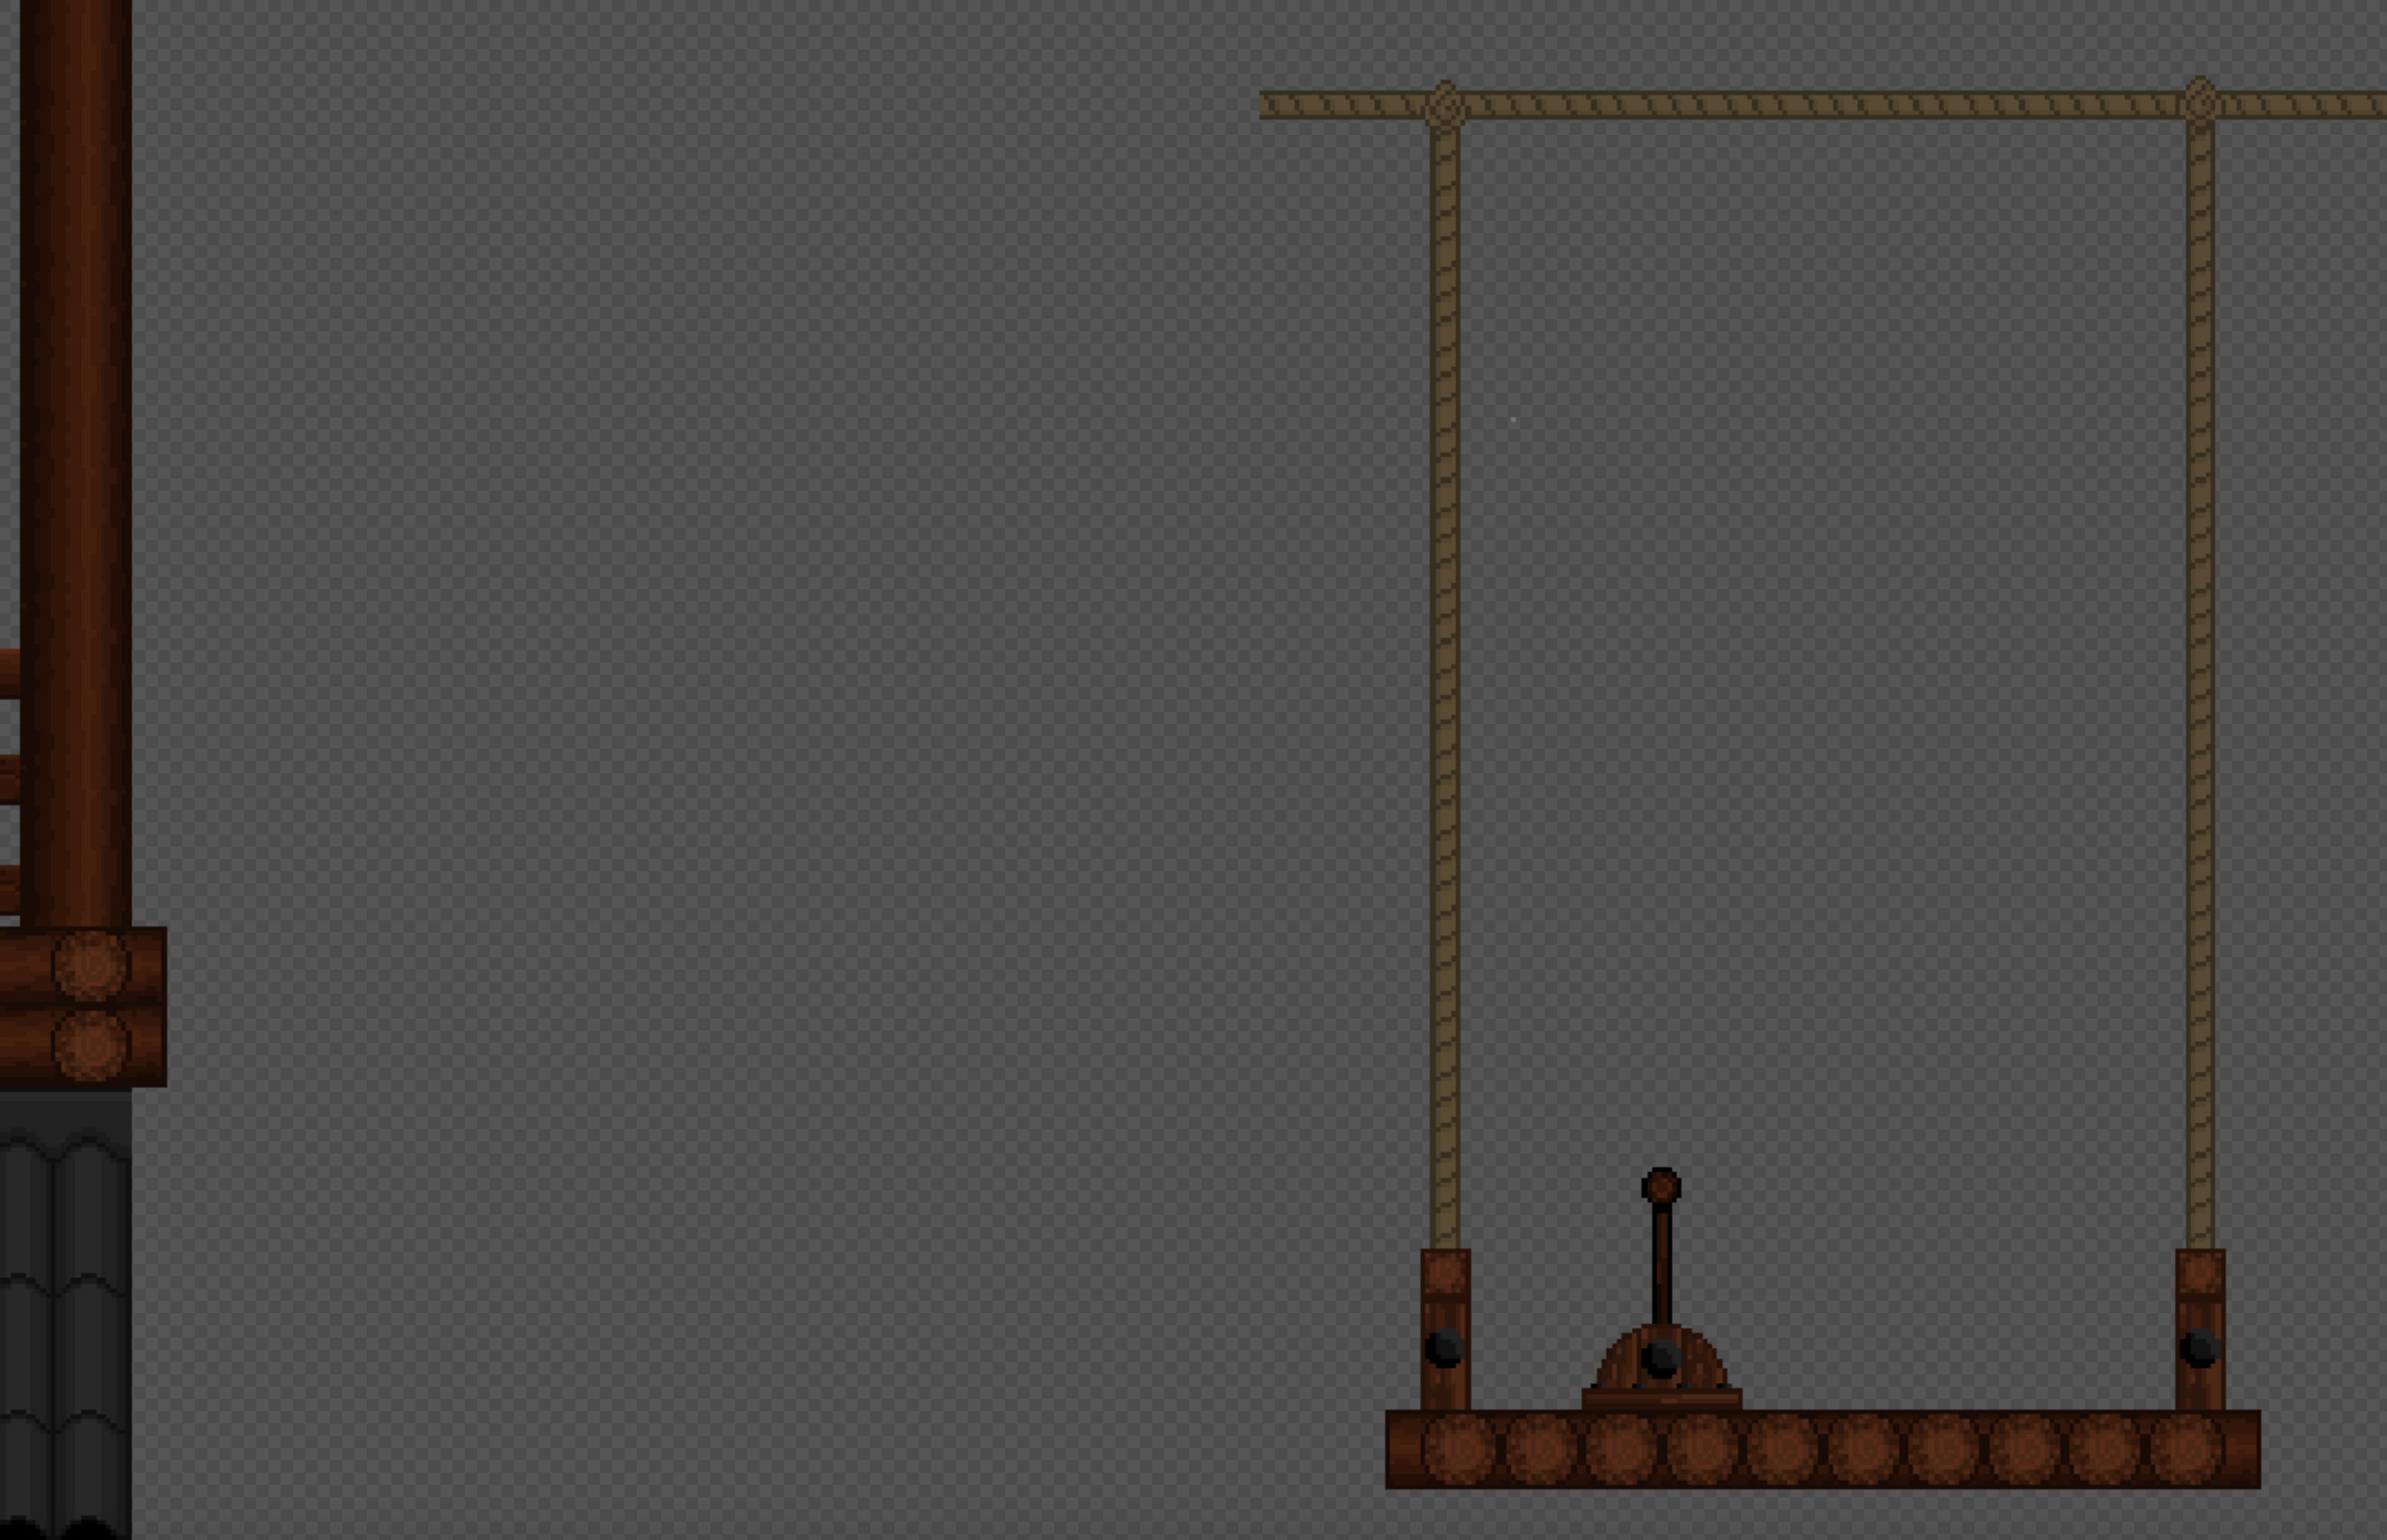
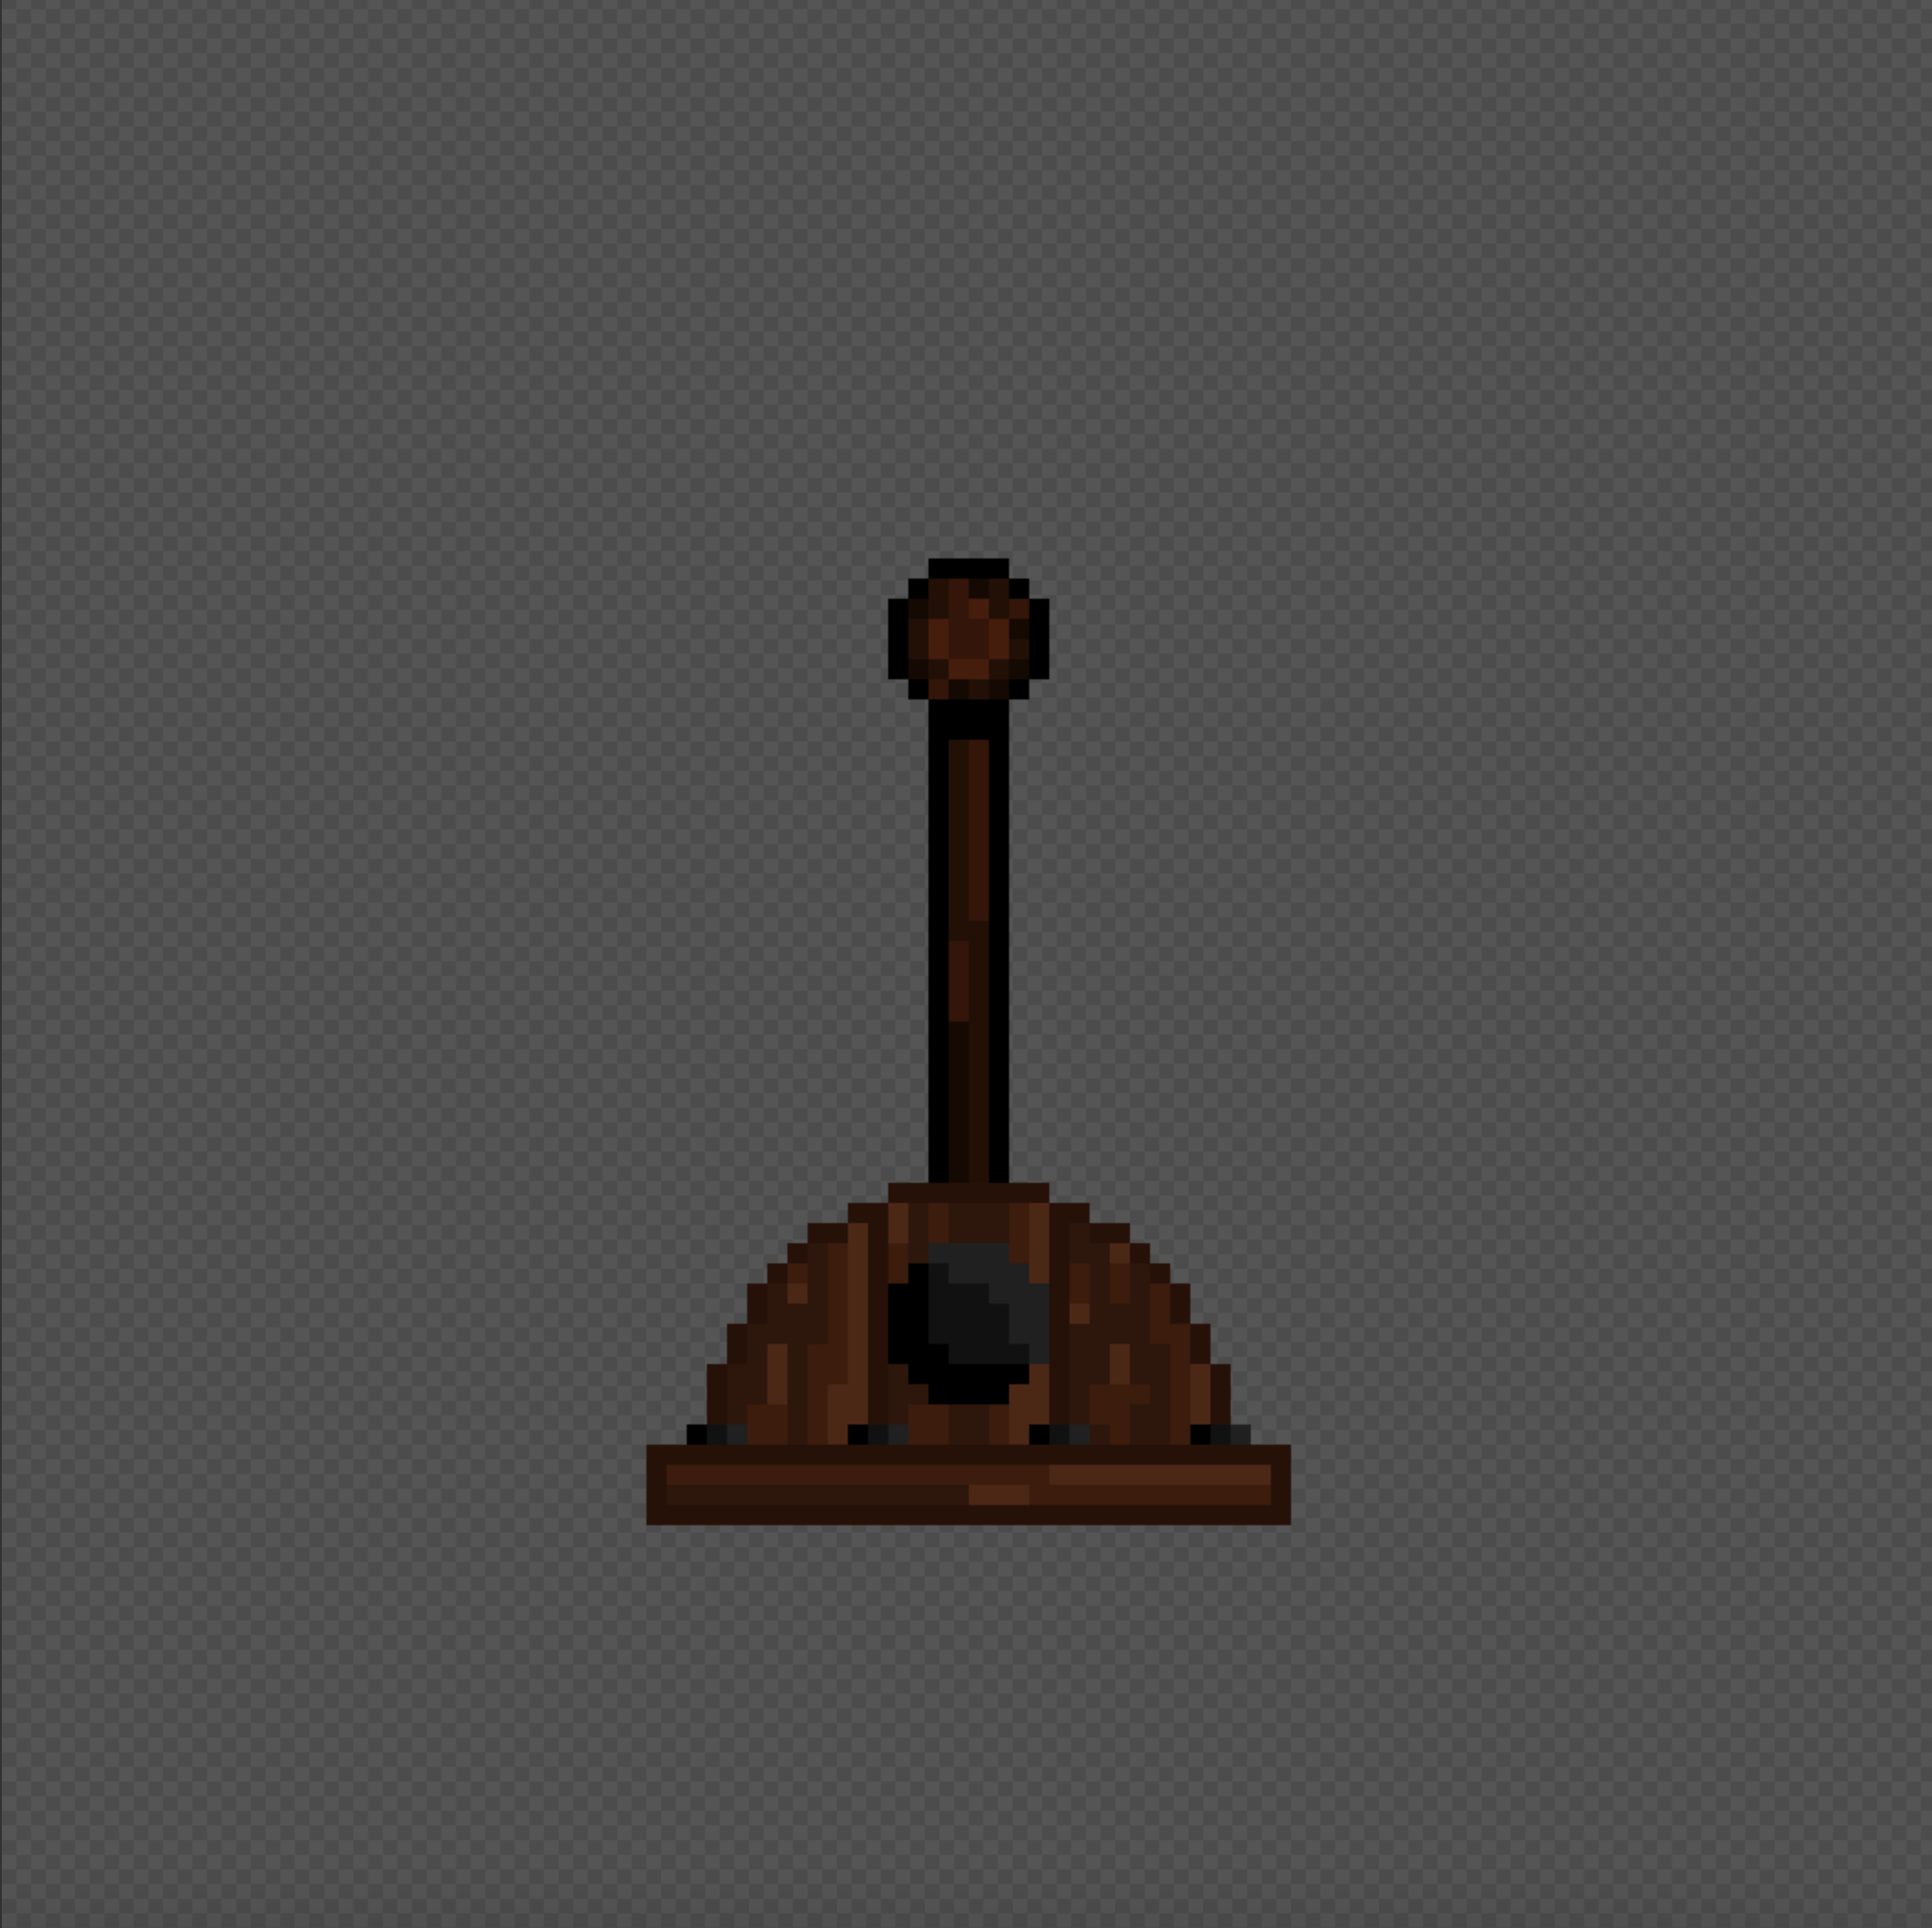
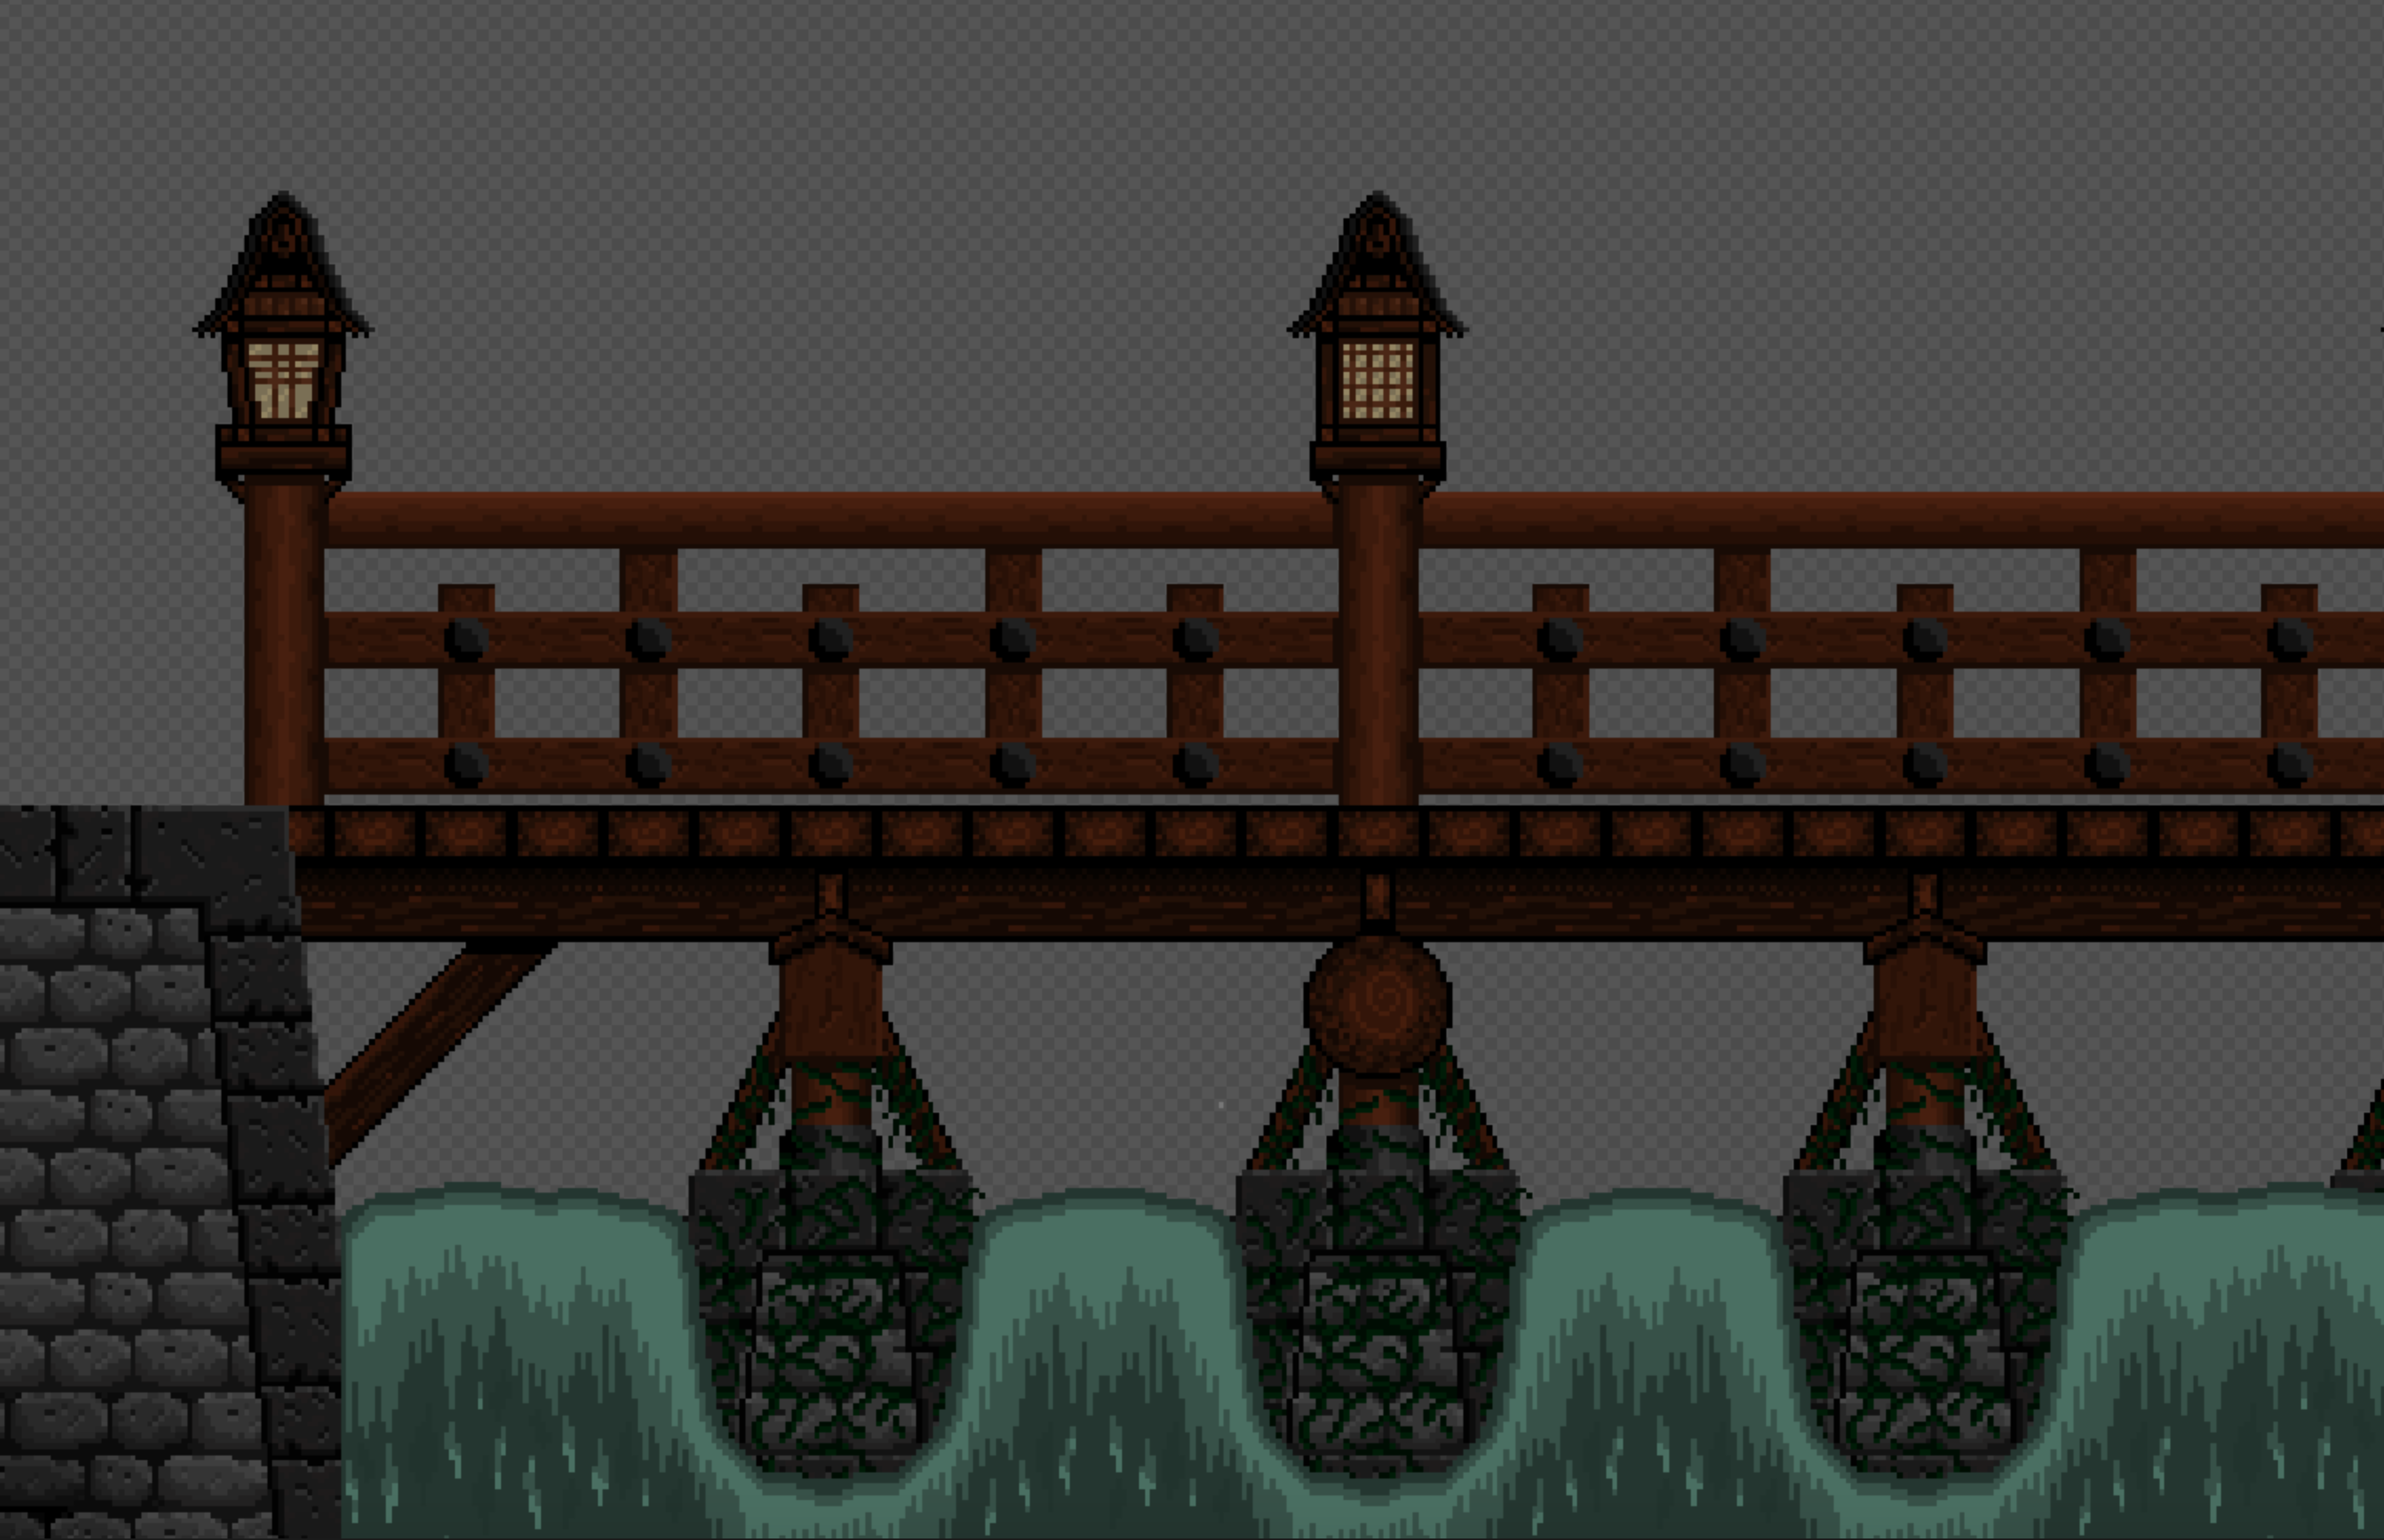
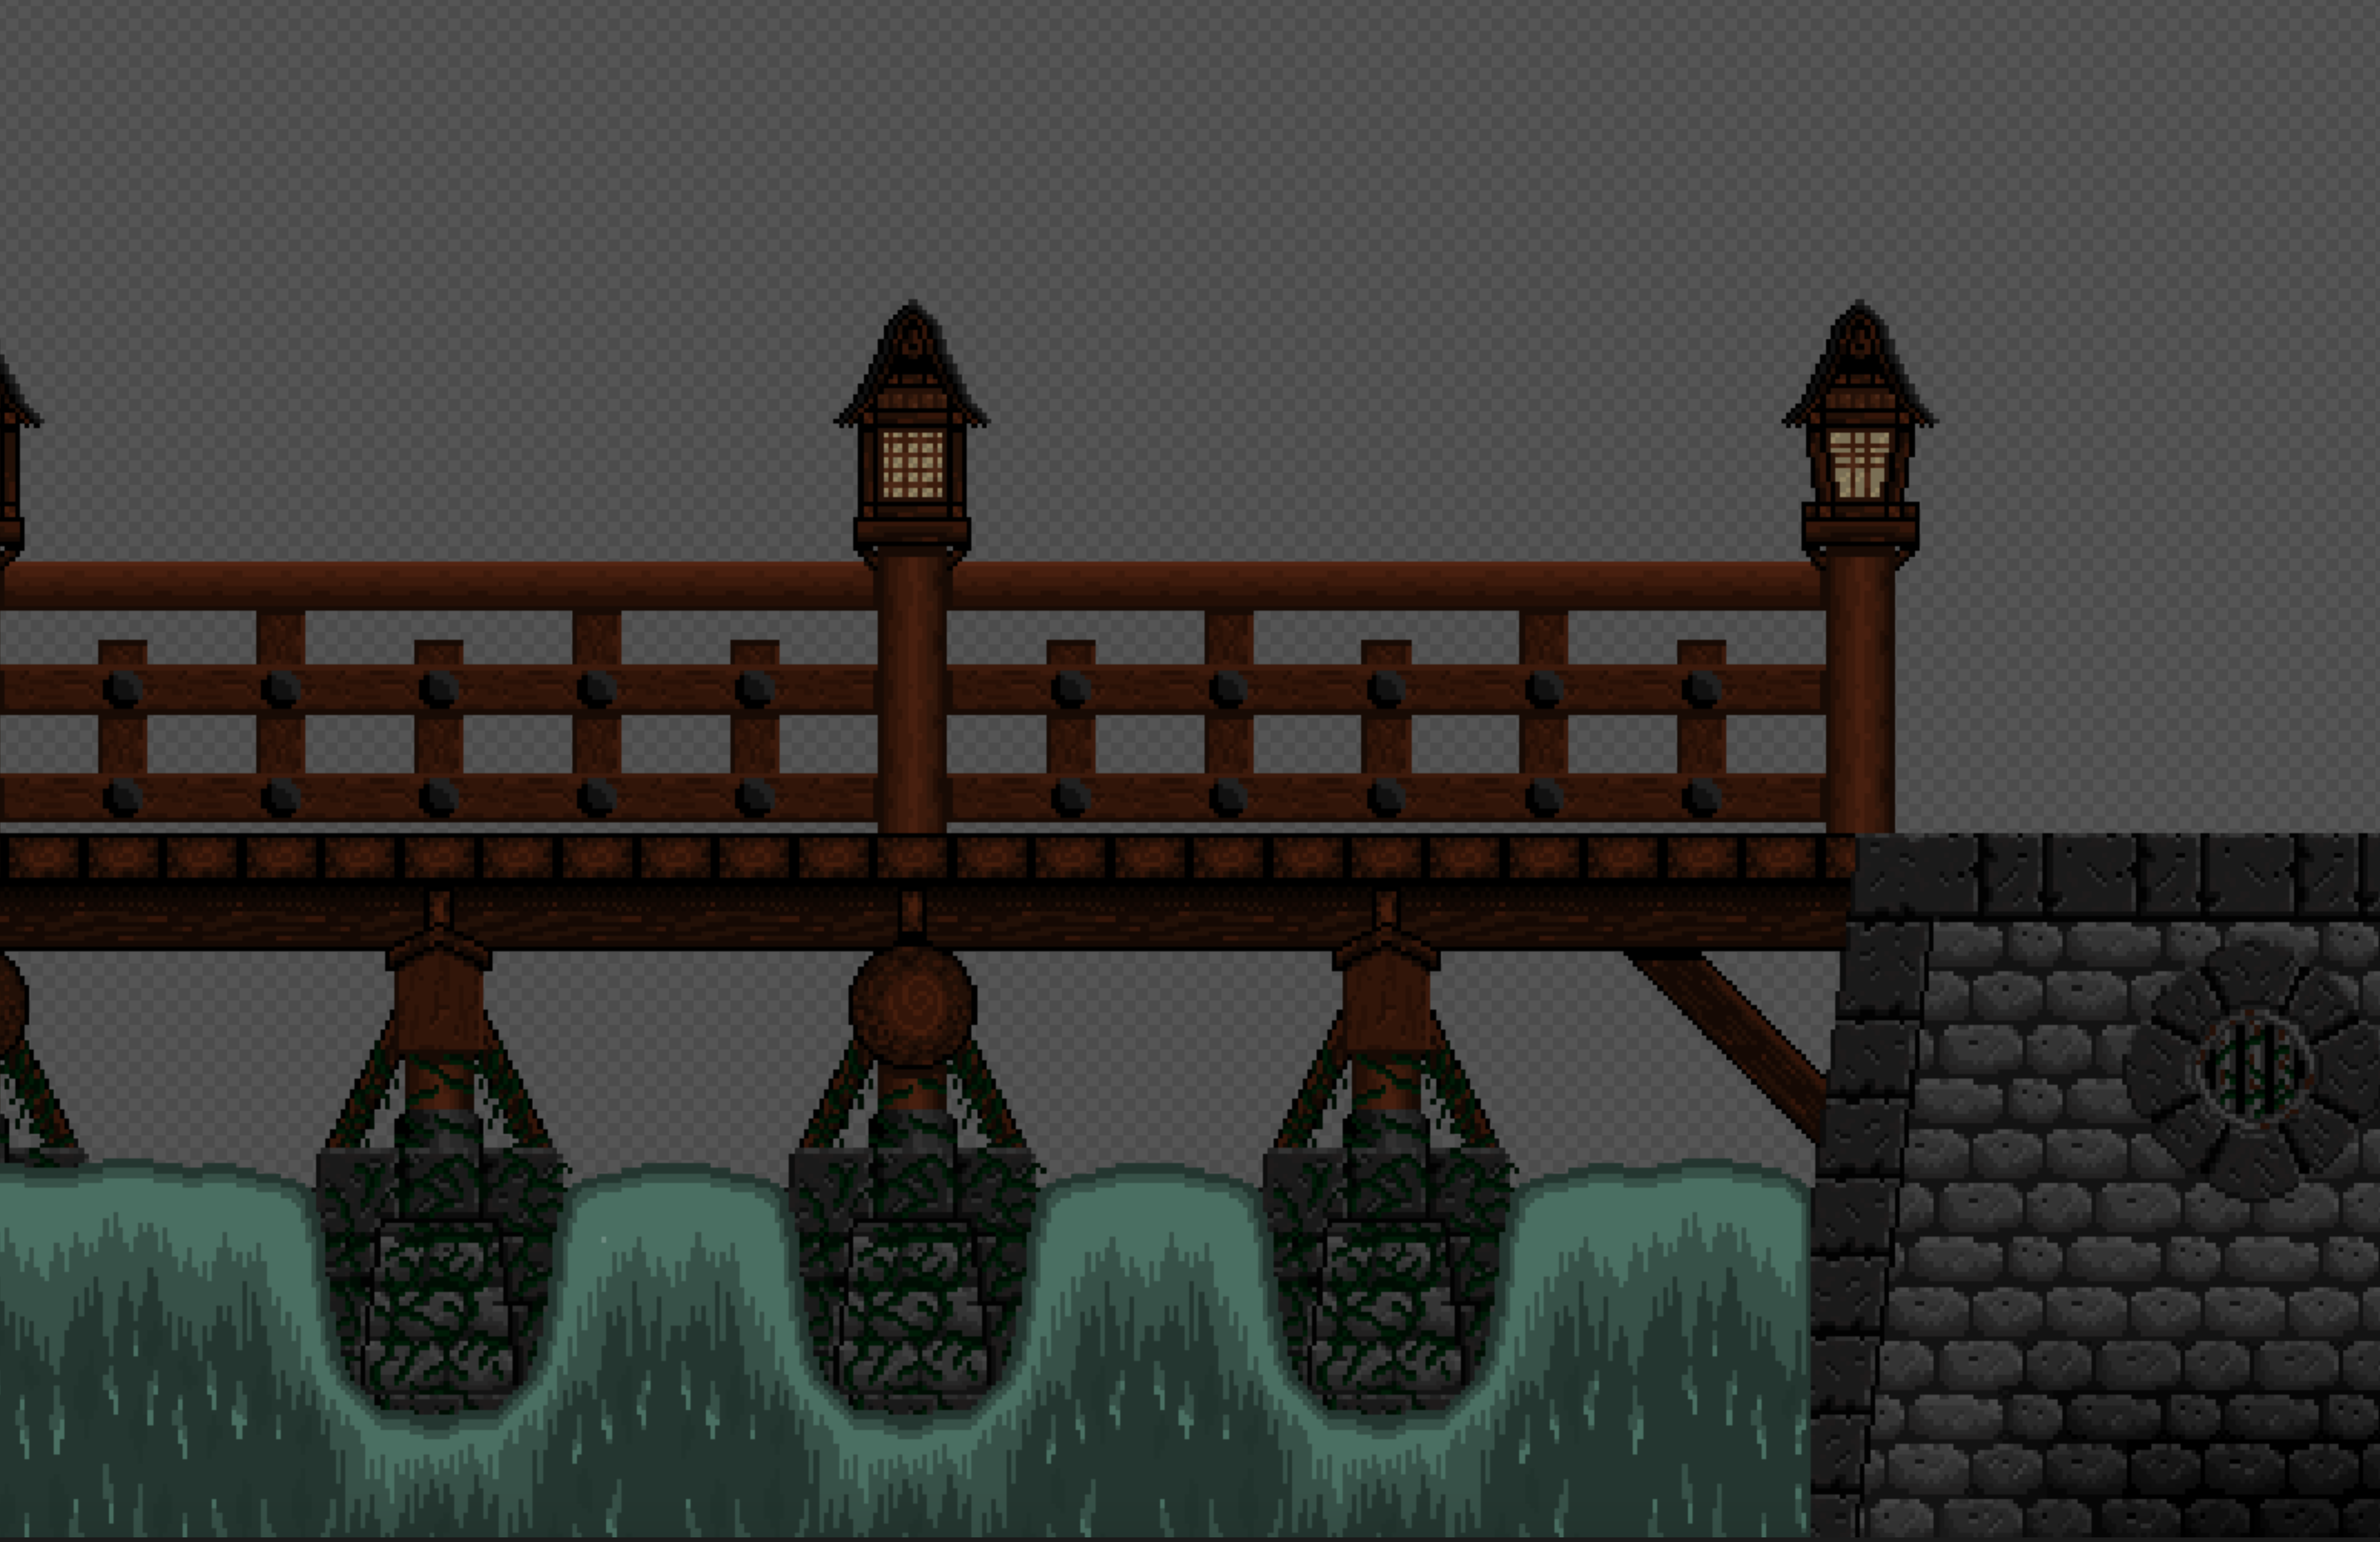
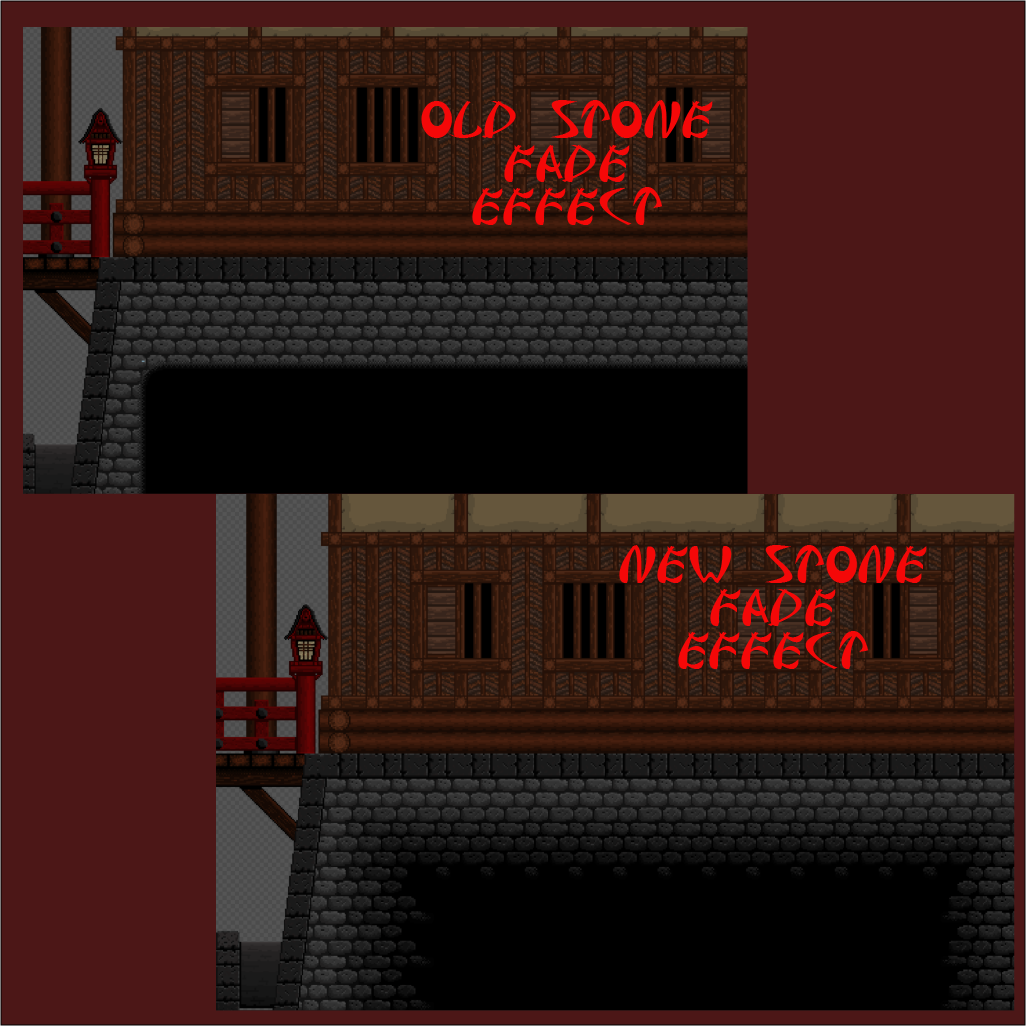
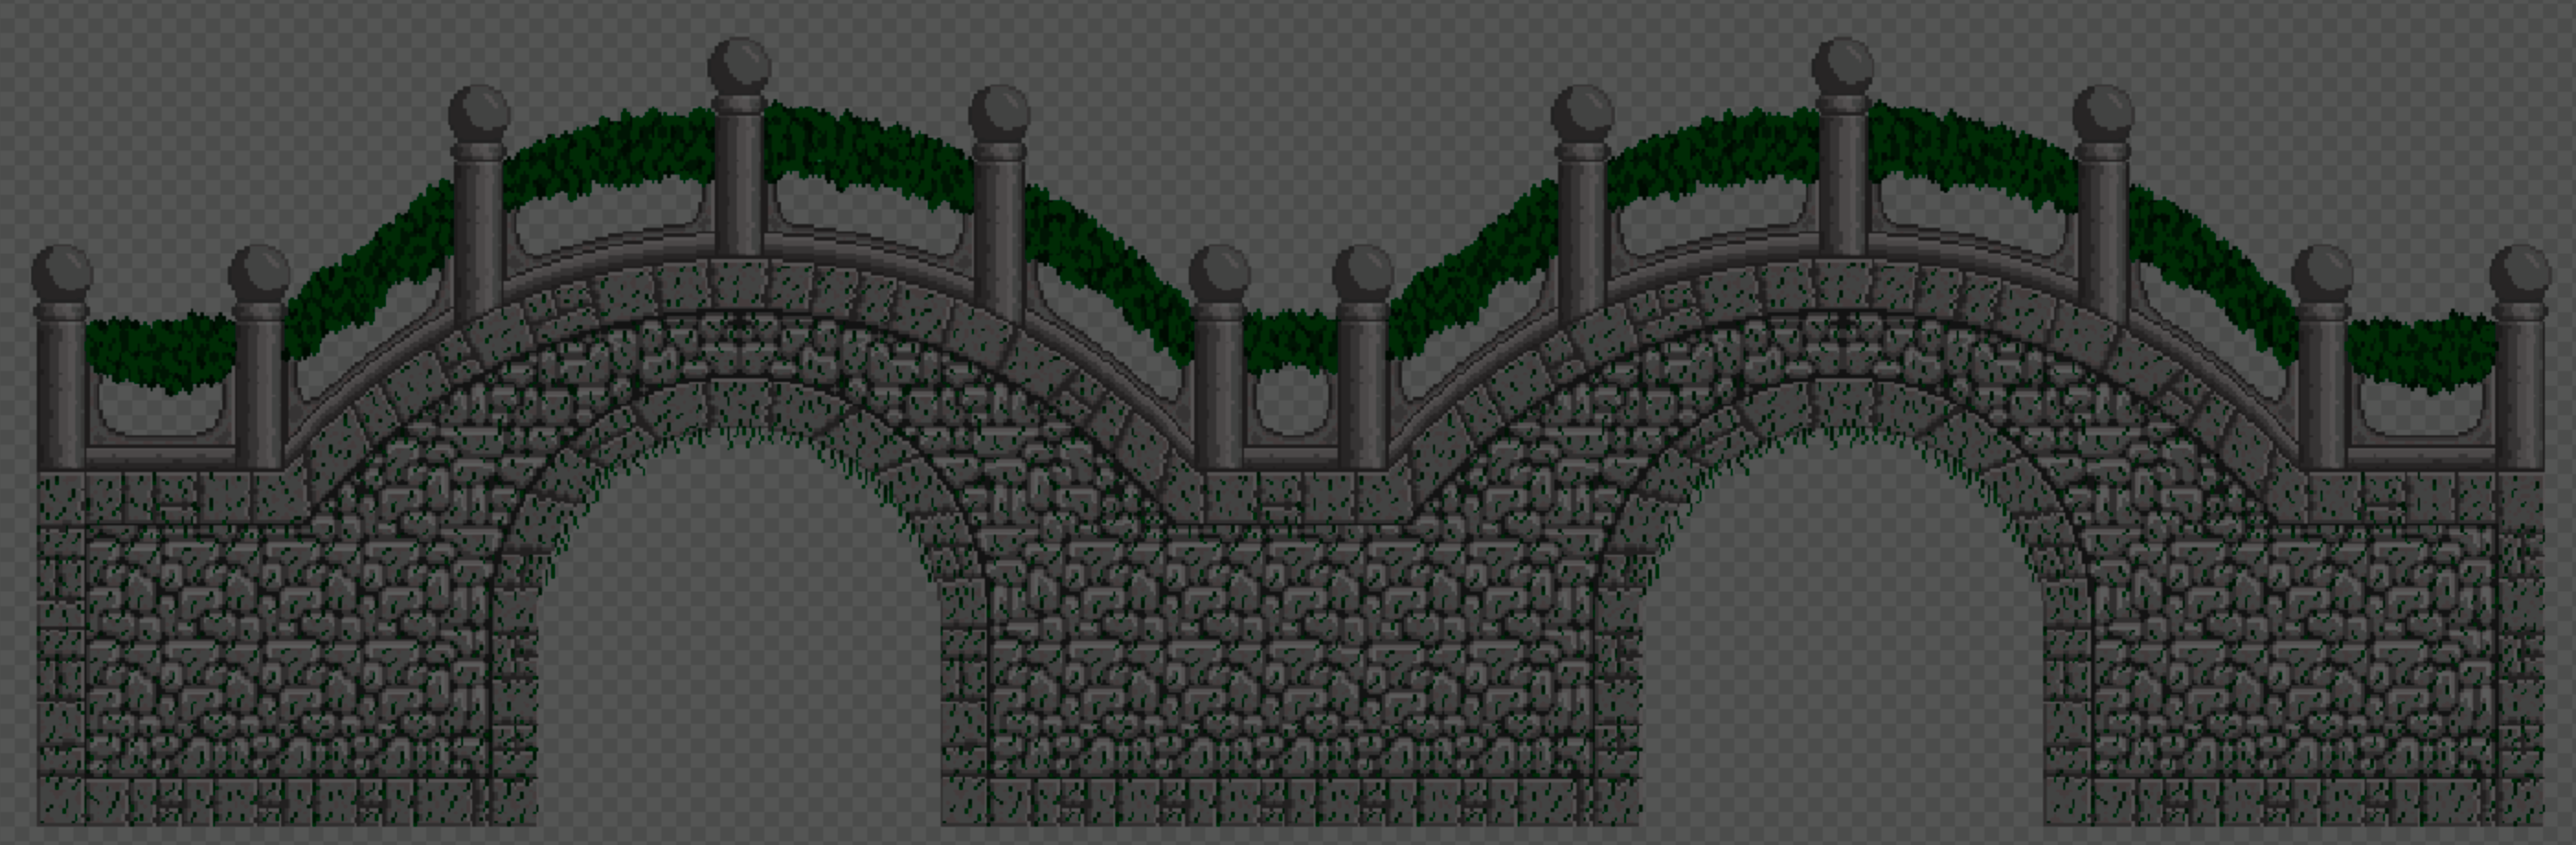
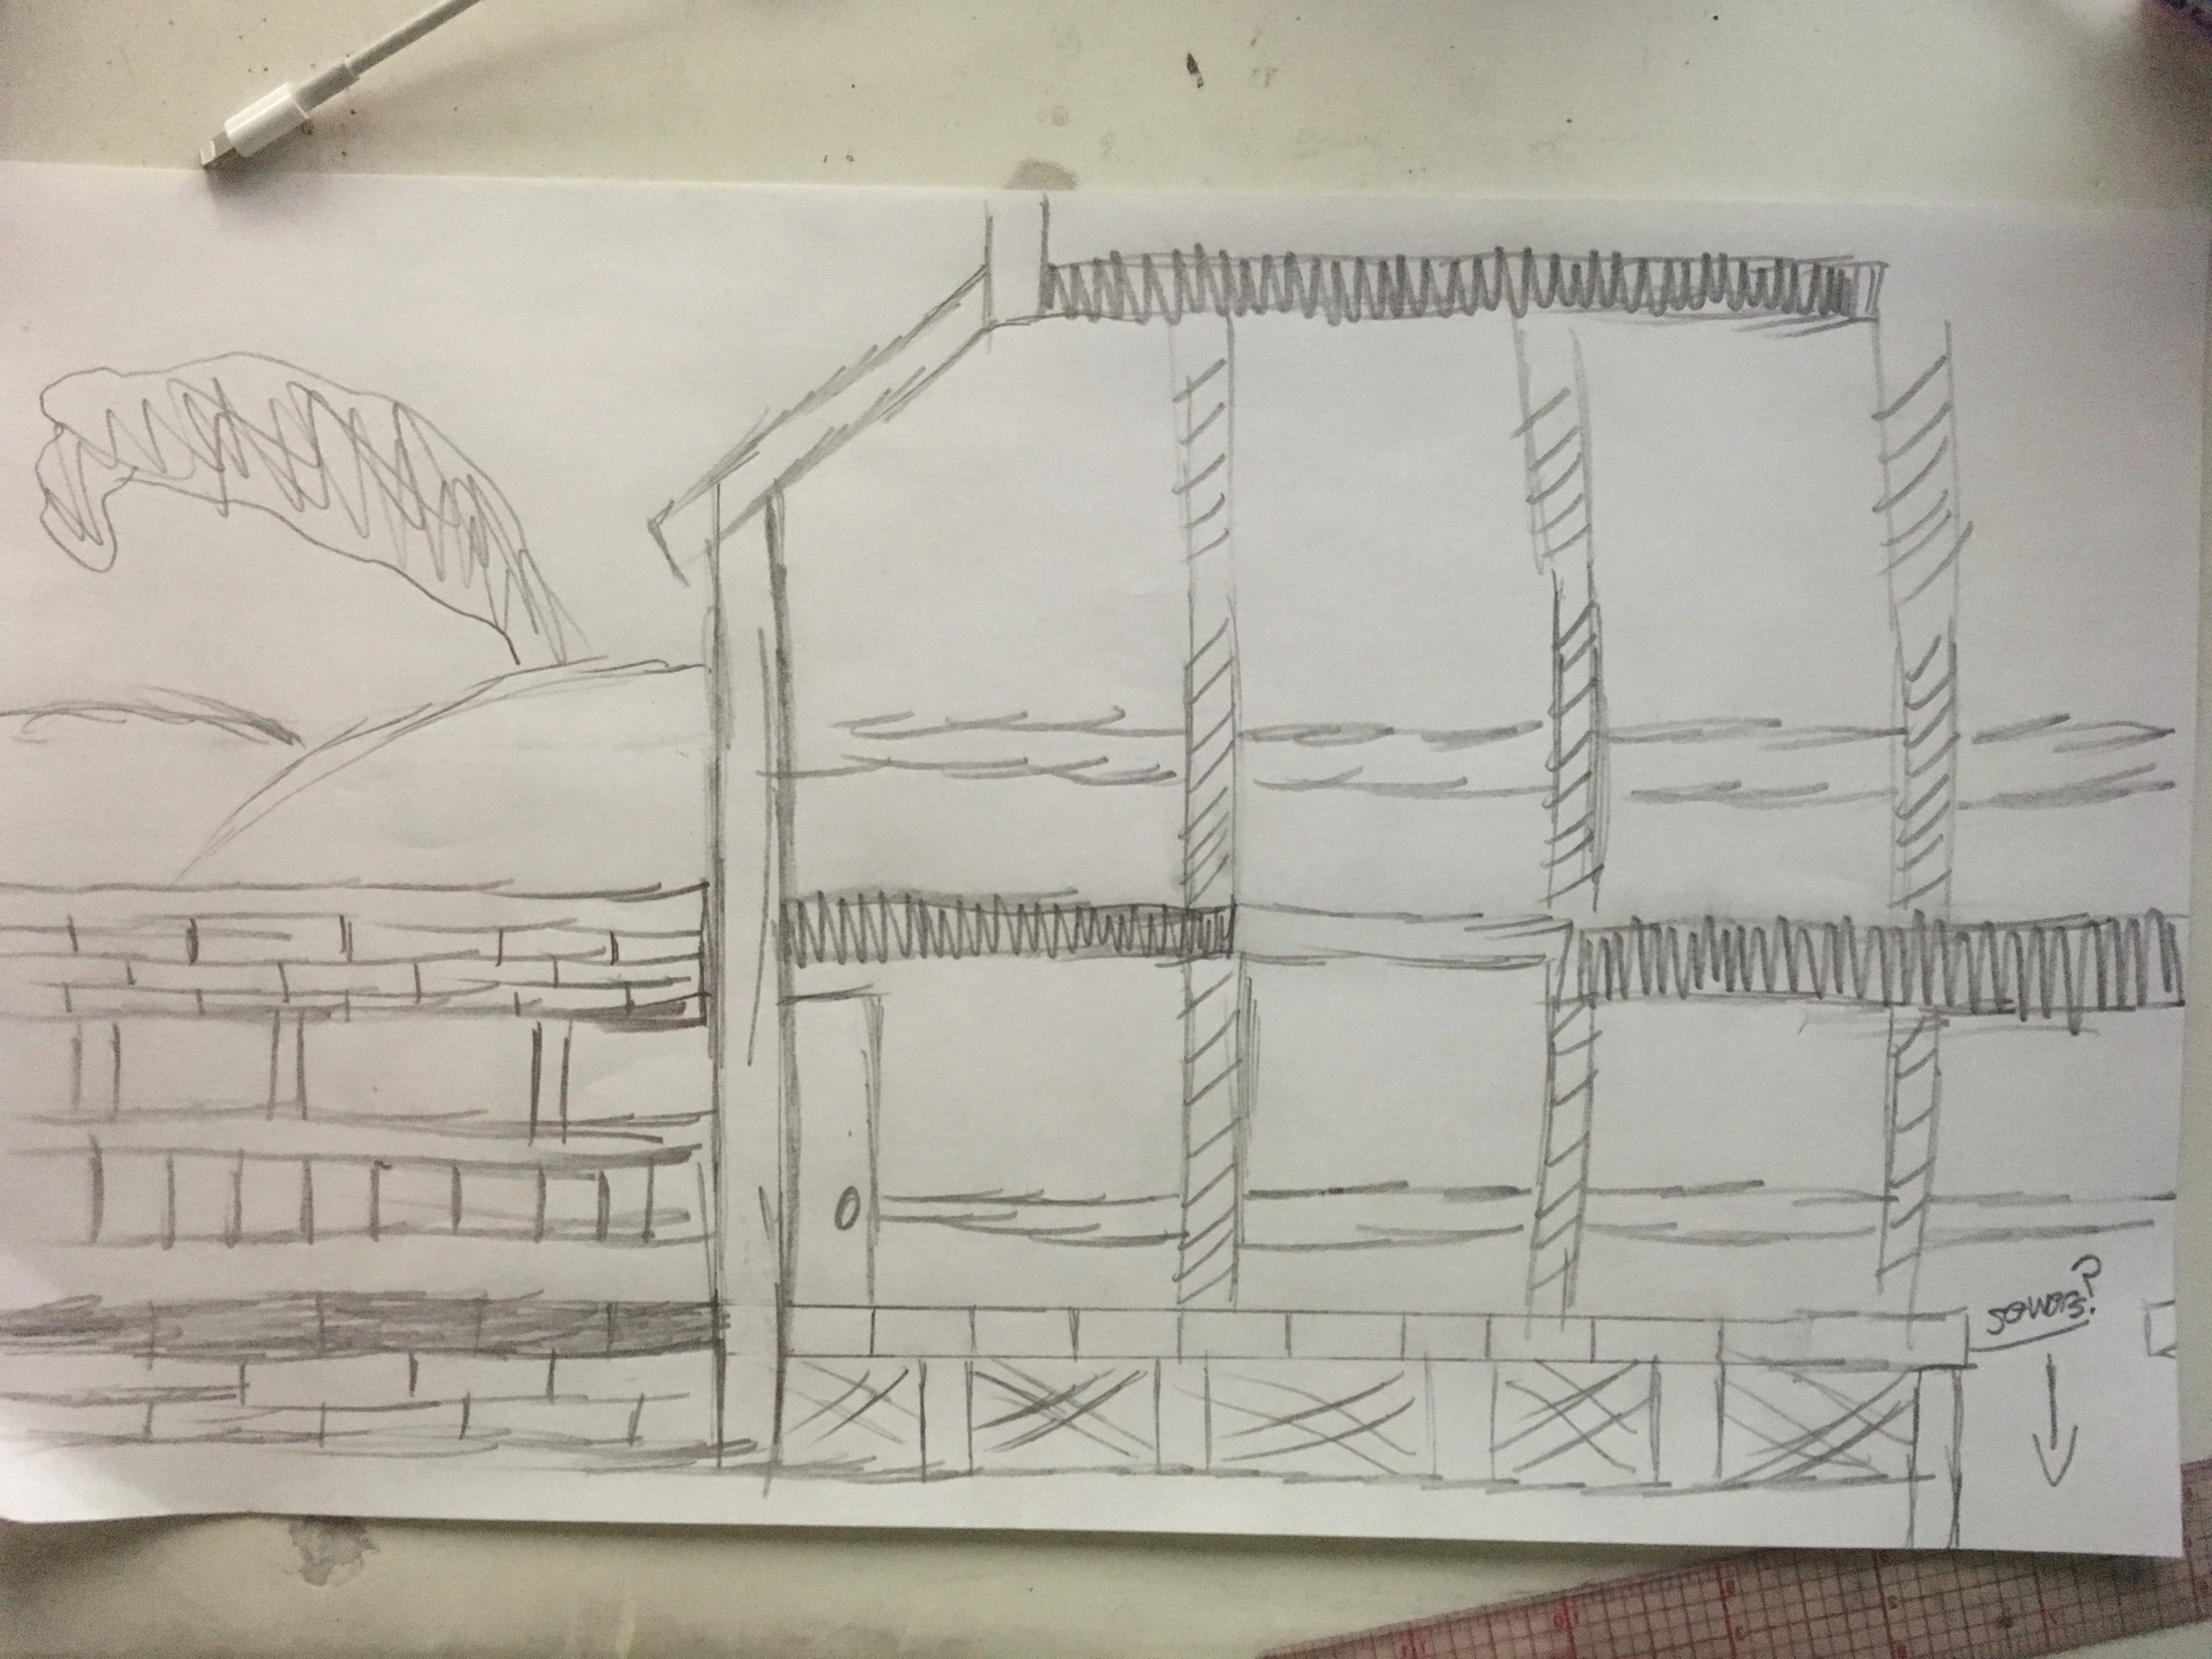
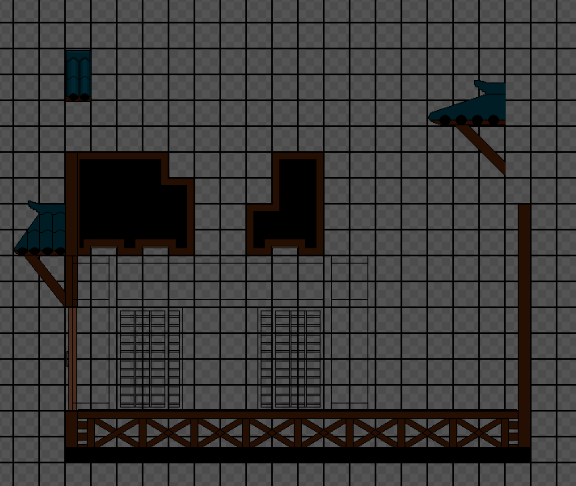
Spirit Dragon Concept

New art: 

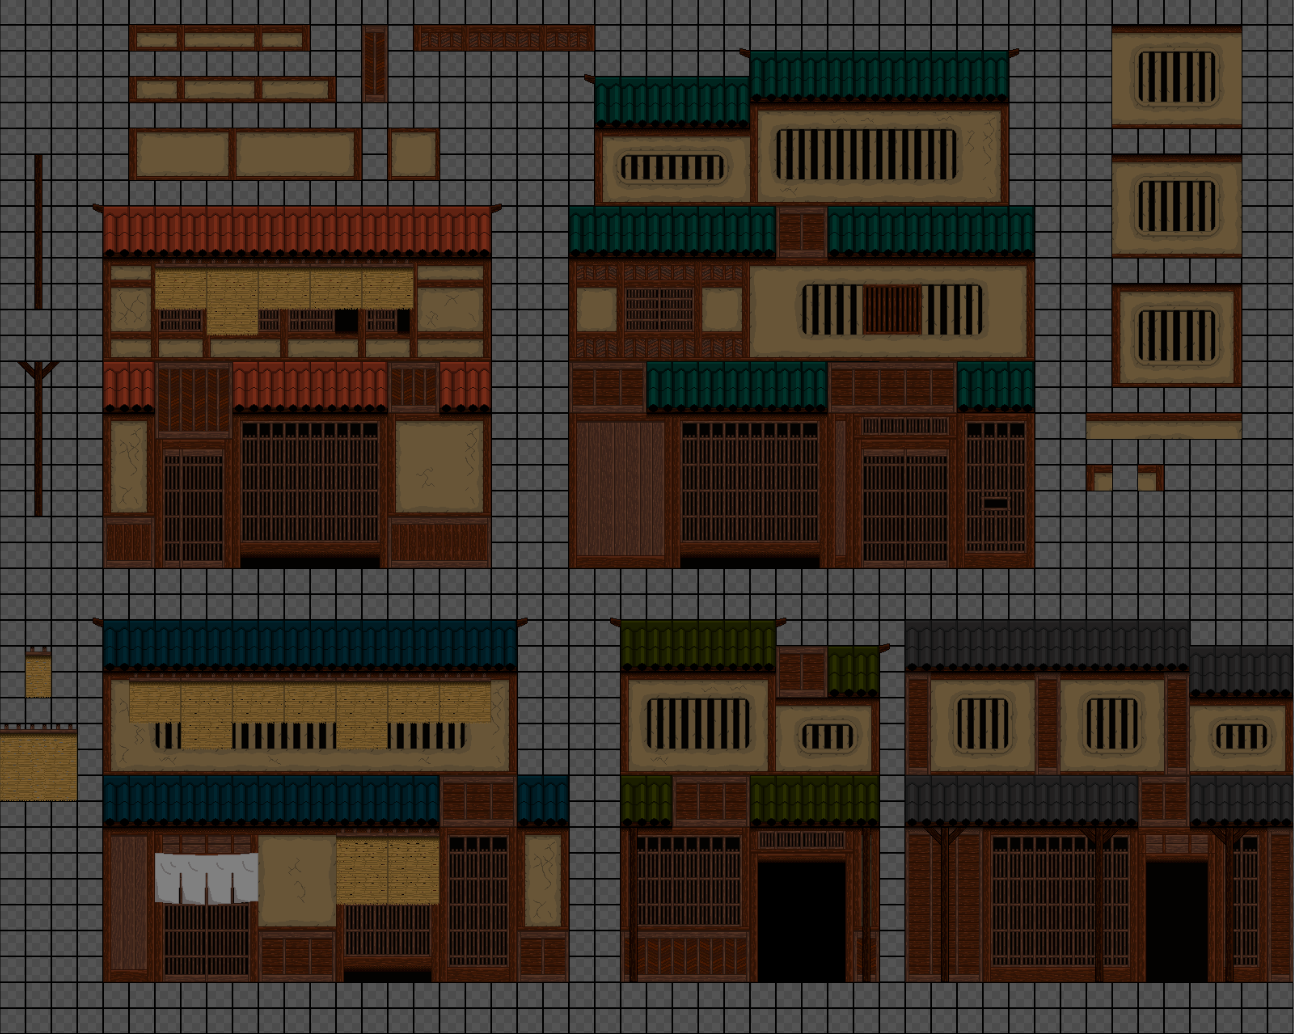
We are updating most of our art, making an entirely new building tile set. The old UI art will most likely be staying though, and we might reuse some of the building assets for some background props. 


A big thanks for taking the time to take a look through this! We are super excited to see where we can take this game! If you are interested in the project, stay tuned! As we said above, we plan on making weekly dev log posts on all of our progress this summer. 

Great to see lots of pictures, I'm interested to see how this project goes. Keep up the good work

A big thank you!

That pixel art is gorgeous... When do we get to see that giant fish??? :D

(+1)

Thanks! We plan on doing the city level first so the giant fish boss will probably come in the later stages, but plans can always change.

Devlog 2 coming Monday!

(+1)

Sengoku Devlog 2

Programming: (Diego Avena)

I started programming the Ninja AI on Friday, the 19th, and was able to complete it last week on Wednesday. In terms of a starting point, I began with the spawning behavior, which was a big challenge. Up to now, all of our enemies were already on the floor fully spawned in, but we wanted this enemy to have a sneaky side to it because it’s supposed to be a ninja, so we decided on making the enemy fall into view from a random side of the player; however, this posed several challenges. 

Firstly, I needed to come up with a way of checking that where the ninja is falling into view also contains a floor beneath it, and that it is the floor the player is actually on, otherwise the ninja can potentially fall and keep falling (or fall and land on the wrong platform). To solve this, I made use of ray casting: so I shoot a series of rays from the top of the camera straight down from left to right and from right to left, and use their collision information to determine if there is a floor under the x cord the ninja will drop from, and if that floor is the floor the player is on. I also shoot the rays straight down from left to right and right to left to obtain 2 potential x cords that the ninja can be dropped at which gives the ninja more options to drop from, since if both x cords are valid (meaning that they will both result in the ninja landing on a platform and that is the platform the player is on), then I can then choose the x cord farthest from the player. 

Secondly, we wanted the ninja to have an attack where it jumps over the player and throws ninja stars back, but we needed to make sure the ninja actually flew over the player. To accomplish this, I ditched the physics engine for the jump over the player and decided to make use of a bezier curve. So essentially, the ninja moves along a parabola that is drawn over the player. In order to do this, I start off by calculating a start, end, and middle position. The middle position represents the peak of the parabola, and the end position and start position represent the left and right side of the parabola. After calculating these points, it is a matter of using Vector2.lerp (linear interpolation basically) to move the ninja through the parabola by first lerping between the start pos and middle pos, and then lerping between the middle position and end position, and finally lerping between the result of those first 2 lerps to get the final position on the curve. 

Another challenge was making sure the ninja AI does not mess up on stairs, but we decided on making the ninja avoid the player whenever the player goes onto stairs. Below is a video of the ninja AI in action, along with the animations Jon made!


Animation (Jon):

This week I finished up the Ninja animations and then moved on to the enemy archer. The idea with the Ninja was a character that surprised the player by appearing suddenly and then confused the player by randomly choosing between two attacks. We achieved his sudden appearance by having him drop down from above and we achieved his varied attacks by giving him two attacks: a dash forward and knife strike and a flip over the player and knife throw. His run cycle is more light-footed than any of the others so far to represent that he is an agile opponent.


The enemy archer was originally thought of as a group of archers, but we decided to go with a scout archer instead. The archer runs away from the player to achieve range, then turns around to fire arrows at the player until the player gets within a certain distance, and then runs again to achieve further range. His armor is the same as the rifle soldier, except with a black shirt instead of white. He has two different animations for loading an arrow, the first is a turn and load, for when he has completed his run and needs to turn around to fire. The second is a forward facing load, which is used when he has time to fire multiple arrows at the player before needing to run again. The archer soldier’s bow is based more on a traditional Yumi, held asymmetrically with the longer side on top, and the shorter side at bottom. 

Environment Art (Diego): 

Last week I also continued work on the environment art and expanded the machiya interior tileset. A major challenge with this tileset was finding the right balance between design and simplicity, so that the player’s eyes do not get overwhelmed. Below is an image of the current look of the tileset: 

Goals for Next Week:

-AI for Archer

-More progress on machiya interior tileset

-More progress on machiya exterior tileset

-Start the wood bridge tileset

-Animation for Spear Samurai

-Sketches for Kami

Devlog 3

Archer AI (Diego): 

Last week I did the AI for the archer, which took about 5 days to complete. The main challenge in terms of programming was getting the archer to run back into the camera and keep its distance from the player whenever possible. In particular, the case for what to do if the archer needs to run back into the camera view but the edge that the archer needs to run back into no longer has a floor that the samurai can stop at, or if there is an obstacle that will prevent the archer from running back into the camera view. Another hard case was in making the archer run to the other side of the camera if the player gets on the side it’s currently running toward. Below is a video of the end result: 


Tileset tests (Diego): 

In addition to working on the archer AI, I also did some tests inside Unity on the city tileset we have so far. So far, the tileset seems like a really strong start, but there are a couple of issues that will need to be fixed. In particular, the second stories of the machiya homes are probably going to be increased in terms of their height by 1 tile. The interior tileset also seems to be a pretty solid start but the hallways are going to be longer to allow for more walking space, and the height will also be increased by 2 tiles to allow more jumping space. We will also need to test the tilesets to see how it looks with the 2d lighting system, since right now there are some parts that can be a little too distracting to the eye. For example, the cage like structure on the front of the machiya’s seems very distracting sometimes, but some possible solutions we have for this are to increase the width of the vertical bars and the spacing between them, and the lighting system should also help to make the player stand out a bit more. For the lighting system, we plan on using Unity’s 2D light package. The chasms that the player jumps through should also be wider, and there were some weird clipping issues being caused when the tileset is sliced. Below is a video of the tileset in action: 


Goals for Next Week:

-Castle Tileset Work

-Spear Samurai Animation Set Completed

-Samurai Champion Animations Start

-Spear Samurai Behavior Programming Start

Sengoku Devlog 4

Castle tileset (Diego Avena):

Last week I started work on the castle tileset, which we plan on using for the first part of our game. The designs for the tileset are based on Japanese castles that existed during this time, but are not meant to represent any of these castles in particular. One major challenge so far is the scale of the tileset. When you think about it, the tileset is actually not that big because tiles with the same design are reused, but I had to lay these tiles out in a way that reassembles a castle in order to help me visualize what tiles are needed and if the tiles connect with each other as intended. For the final tileset, I might just make a separate file that contains only the unique designs to avoid including repeated designs, which can needlessly waste memory once imported into Unity. The problem with this though is that it may make it hard to see how the tiles can be put together to make our castle level, but I think if I include an image of the tileset put into a castle like in the images below, it will be possible, but time consuming in terms of level design; however, I think it is wiser to use memory more efficiently than cutting dev time. I might also use this same approach for the machiya tileset. 

So far, the most time consuming part has been in making the curved roof parts. These roofs (shown in the images below) were extremely tedious to make, and took me about 3 days to do. The coloring process was extremely difficult to do, but I think they add a nice bit of variation to the tileset. Nonetheless, due to their sharp curvature, these roof parts are only meant to be used for looks, and will not be used in areas that the player can platform in. This is why their color is darker than the flat roof pieces, so that this difference can be displayed visually. 

The entire process has also been one of trial and error, as seen in the image below. It took me about 4 different attempts (shown in the image below) to finally get a design I was proud of for the interior platforms. This trial and error process can also be very time consuming. 

One of our bosses is also going to be in a castle like this, and we plan on placing it inside one of the castle towers; however, we need to make sure that this tower is wide enough and tall enough to allow for a boss fight; below is an image of how that room/arena will look like. There are also 2 sliding doors on the side that will be open to allow the player to enter, and close right when the bossfight starts.

A lot more work is still needed in the background tiles, but I think things are off to a great start for this tileset. I also still need to further refine the machiya tileset. 

Spear Samurai Animation (Jon):

This week I worked on the animation cycles for a new Spear Ashigaru enemy type. He’s a more advanced version of the basic Spear Soldier, combining range, speed, and evasive maneuverability. He will patrol a given area and then aggro a player if they come within range, following them and attacking with a low strike and a high strike. After completing both attacks, the enemy will spin away backwards to evade the player before moving into position and attacking again. The Spear Samurai additionally has a ranged spear throw which he will use if the player tries to flee his zone.

The main challenge with the Spear Samurai was to get his cloak to move realistically. The original spear soldier had a grass cloak, so we decided to give one to the Spear Ashigaru as well to distinguish him from the Archer Soldier and the Rifle Soldier. Additionally, the balance of the footwork was a bit difficult to figure out. Like the walk cycle, the evasive spin had to be animated in place and then moved in Unity with code, to allow for the game object to retain a given hitbox.


Devlog 5 is coming soon! 

(+1)

Sengoku Devlog 5

Spear Samurai AI: 

I was able to complete the spear samurai AI last week, combined with Jon’s awesome animations! This now puts us at 6 standard enemies: the archer, the spear soldier, the spear samurai, the heavy samurai, the soldier with the rifle, and the ninja. It took me about 4 days to get this guy up and running in terms of the AI, with the biggest challenge being in determining the exact conditions that have to be met for the spear samurai to do its second attack type: a spear throw. We wanted this enemy to throw his spear at the player when the player was escaping, kind of like a last ditch effort to attack the player; however, defining what exactly we meant by the player escaping in terms of in game behavior was tricky. Did we mean whenever the enemy falls off the camera? Should the enemy throw his spear if he falls out of the camera view as a result of his own action, or should he only throw the spear if the player causes the enemy to fall out of the camera? How can I determine that the player caused the enemy to fall out of the camera view? Should the spear samurai throw his spear if the path it must take to reach the player is obstructed, meaning that it will not be able to reach the player and do its spear thrust attacks? How can I determine that the path to the player is obstructed? What if there is a ledge between the player and this enemy? These are some of the questions that came into mind while trying to get the spear throw in. After 2 days, I got it to where the enemy only throws his spear if he is still running to the player and 1 or more of these 3 conditions are met: 

1.)  The enemy has fallen out of the camera view as a result of the player’s movement, which I determine as the source of the enemy falling out of the view via 2 flags called characterAttempingToMoveLeft and characterAttempingToMoveRight; the condition basically works like this (not exact C# code but good enough to get the basic idea across): 

         if ((enemyXCord < leftSideOfCamera) && (player.characterAttemptingToMoveRight == true)) { 

                 throwSpear(); 

          else if ((enemyXCord > rightSideOfCamera) && (player.characterAttemptingToMoveLeft == true)) { 

                 throwSpear(); 

          } 

Again, this is not the exact C# code, but the basic idea is this: if the enemy has fallen out of the camera view on the left side, and the player is moving right (represented by (enemyXCord < leftSideOfCamera) && (player.characterAttemptingToMoveRight == true)), then it is the player causing the enemy to fall out of the camera view because the player, in moving right, is causing the camera to move right. The same idea goes for falling out of the right side of the camera. Also, I choose to use the boolean flags instead of just straight up checking the player’s x velocity because the player’s x velocity is set to 0 whenever the player is moving against a wall, and this can throw things off for these types of checks because the camera follows the player at a slower speed than the player moves at. For example, this enemy would not throw the spear if it falls out of the camera view but the player’s x velocity is 0 because the user is trying to move the character into a wall. Using the boolean flags allows me to say that the user is still trying to move left or right, regardless if the velocity is set to 0 (I can probably also get rid of these flags entirely and just check if the user is holding the move left or right button, but this check can get longer than it needs to be if I want to do this for other controls like a joystick or d pad, a boolean simplifies this). 

2.) If the path to the player is obstructed and the enemy is still inside of the camera, then throw the spear. Detecting path obstruction is essentially done by raycasting left and right, and if something is hit, then if the x value of the normal vector of that thing hit is greater than 1 it is an obstruction because this means the surface faces either left or right. The code for this is pretty long (but not too hard to understand), so I don’t really show it here; however, raycasting is the basic idea behind it all, just like it is for the final case below. 

3.) If there is a ledge between the enemy and the player, throw the spear. Again, the check for a ledge is done via raycasting straight down at 3 different positions: the bottom left, the bottom center, and bottom right of the enemy. If any of these raycasts fails to hit something, then there is no floor there and the enemy may need to stop or else it will fall. 

Below is a video of the AI in action! 

New blood effect: 

I was also able to update our blood effect last week. I drew up 6 different random red shapes inside of Piskel, along with 5 different blood splatters that spawn in right when a particle hits the surface of something, and self destruct after a time between 6 - 8 secs (assigned randomly in code to give more variation) has passed. In order to know when a particle has hit another collider, I made use of unity’s particle collisions option called SendCollisionMessages. After checking that option on, I then attached a script onto the particle effect itself where I put the method called OnParticleCollision(GameObject other) in, which is where all collision messages get sent for the particle effect game object. Using this method, along with the ParticleSystem.GetCollisionEvents() method, I am then able to handle the spawning in and correct positioning of the blood splatters. Below is a video of the effect in action: 


Some more castle tileset progress: 

I was also able to work more on the city tilesets, particularly on the castle tiles. The section with the tree murals, samurai mural on the sliding doors, and pointed roof is where we plan to put one of our main bosses at. 

Thanks for reading! 

Sengoku Devlog 6

Castle Tileset progress (Diego) :

The work continues on the castle tileset! Last week I showed the room where we plan to put one of our main bosses at. Today, I want to show a nearly complete version of the tileset. All it needs now is the interior tiles, and it should be all set to go! 

New additions include spikes so that we can also have challenging environment parts throughout the level. These spikes should serve to, when combined with some of our ferocious and unique enemies, make the castle level a very intense and action packed level to get through. Check out these images of the spikes: 

In addition, I also created the castle fences and the main entrance that will be used for the castle grounds part of the level. The roofs of these fences contain a curved top wood piece with black roof shingles, since we do not intend for the player to be able to platform on top of these roof pieces. These fences might also be used to populate some of the gaps between the machiya in our city level, which will follow right after the castle level. I added some broken wall patterns as well, to help make it look battle scarred, check it out! 

I was also able to design a stone floor pattern we can use for the castle grounds, complete with sewer line pipelines that show on the sides. I added some variation in these pipelines as well, with some of them having algae growing and some being clean, but rusty. I might add a water animation to some of these vents as well. On top of that, I created some stone stairs that we can use to add greater variation to our levels. Here are some images of these guys! 

The main entrance to the castle keep consists of a wood door that is built right into the stone base of the castle. I included a series of vertical and horizontal wood beam patterns as well to show that this is really the foundation for the entire main keep of the castle. Here are some images of this: 

When the player enters this part of the castle, we are also going to have a little door animation to help show that the door is opening. Here is the single frame we plan to use in order to show that the door has opened for the player to walk through: 

There is also a series of sliding doors throughout the main keep of the castle. I also want to include a little animation to help simulate the sliding of the door. Here is a little video showing a test animation I did for this effect! 

I was aiming to have a video of the current castle tileset in unity but importing it has proven to be extremely time consuming and this devlog cannot wait any longer, so with all this said, thank you for reading! Super excited to show you guys that video of the castle tileset in action inside of Unity in the next devlog! Onto devlog 7 we go.

Sengoku Devlog 7 

Castle Tile set tests (Diego): 

Last week I was able to finally get the draft versions of the castle tile set all imported into Unity and set up into a rough level in order to see how well the art meshes with our game mechanics. It seems like a pretty solid start, but there are a couple of notes I took in order to improve the tile set in the final version: 

  1. The dojo where we plan to put the boss fight will need to be a little more wide. I though I had the tiles that would allow me to adjust the width easily, but I am missing some patterns that will need to be added in in order to allow for this width adjustment. The height of the arena can be increased or decreased with ease though. 
  2. The ideal height for rooms should be 6 tiles tall (almost twice the height of the player) to allow for jumping space. This does not mean that heights of 5 or even 4 tiles do not work, since doing these short rooms will make it harder for the player to evade by jumping and force them to use other means of evasion, like a block parry we have in mind. 
  3. The door height should probably be 5 tiles tall minimum, and a couple of more frames should be added into the swinging door animation to make it more smooth. Blood also looks weird when it gets stuck on these doors, so a possible solution is to prevent the blood from spawning splatters on the doors altogether, or make the blood splatter disappear when the door opens. 

Here is the video of the castle tileset in action! 


This weeks plans (Diego): 

This week, I plan on doing the interior tiles for this castle tileset, making those fixes to the boss fight arena tiles, and adding some more spike variants. I also want to get started on the background castle silhouettes for the castle levels, and make the fixes to the machiya tileset. I have also been thinking about adding some tiles that will allow us to make platforms that crumble and reveal spikes below, like cracked roof tiles that break when the player steps on them. 

Well, that is all for this devlog. Also, I am going to try and start posting something about the game every day on both our facebook page, and on my instagram account so keep an eye out if you are interested! 

Thanks everyone! 

Sengoku Devlog 8

Art progress (Diego):  

Last week I got started on, and finished, the castle interior tileset so that we no longer have just plain black backgrounds. The tiles are designed to be placed on multiple layered tilemaps inside of unity, so that later, we can apply a parallax effect which will add much more depth to the backgrounds. Here is the final look of things (still not inside of Unity though): 

I have also taken care this time to separate the unique patterns out of the rough draft tilesets in order to avoid having to do this all at once on a much bigger tileset, which can be extremely tedious (although I will have to do this for the exterior castle tiles). My reason for making sure to generate a file with only the unique patterns is that these tilesets reuse the same patterns in many areas, so to include them inside of unity is a massive waste of memory as I have seen from my past tileset tests with the machiya and exterior castle tiles. The large memory required to store these wasteful tilesets also leads to longer loading times when swapping between different tile palettes during level design, and when launching unity. I imagine this long loading time will also be translated into the load screens we will have between the level scenes, which is something we can easily avoid by trimming down these massive tilesets into only the unique patterns. Below is an image of the type of file I am talking about: 

The most challenging part was in determining how the background should look in areas that do not really have long hallway-like floors, like long vertical chasms and challenging spike areas. For inspiration on this design I turned to multiple other games I have played and really liked such as Hollow Knight (in particular the city of tears part) and Celeste (in particular, the hotel level). I went ahead and adopted an approach much closer to the look of celeste than hollow knight, using pure black for most of the background of these tough platforming levels but making sure to add window tiles that have a fade in effect along the edges. I also made some circulated fade in wood patterns where we can place torches on, so that it looks like the section is being slightly illuminated by a light source we will place in Unity. Here are the results: 

I also did some more special tiles for the stone floor, such as spikes and a crumbling stone variant, which we can use to create floors that will crumble as soon as the player steps on them, forcing the player to keep moving (and potentially dodge enemies along the way). When combined with spikes, I think this should lead to some interesting and more engaging levels. I plan on doing some variant of this for the wood floors and roof tiles as well. I also drew up some new spikes that can practically be used anywhere. They also have a bloodied up version that will be used when the player just hits one. Below are some images of all of these spikes: 

Finally, I decided to make the fixes I wanted on the doors, since I thought their animations looked a bit off in the last castle tileset test. In addition, I also did a falling water animation for the drains on the stone floor. Currently, the water is blue, but I am also going to make a red version so that we can have bloody waterfalls in areas that are seeing a lot of combat, like the castle level and city level. The water animation was by far the hardest one to do out of all these animations, and extremely tedious as well. Below are some videos of these animations in action inside of Piskel, along with the crumbling stone floor animations: 


For this week, I plan on doing those crumbling roof tiles, creating some more waterfall variants to add some more life to the tilesets themselves, and also finishing up the interior machiya tilesets. The exterior machiya tilesets are done, but I am going to go in and add some spacing in between the vertical beams for the cage like structures since these are too numerous and can become a little distracting at some points. I might also add some burned machiya variants. 

Thank you for reading this!

Sengoku Devlog 9

In this devlog I just give an overview of all the work done on the exterior machiya tileset, along with the interior machiya tileset.

The exterior machiya tileset (Diego): 

Last week I returned to the machiya tileset and started finalizing things. One major change I made to it was I increased the spacing between the vertical bars for the cage structures that are iconic on the real life machiyas. This was done to make these vertical bars less distracting to the player as they run through our city level, an issue that we realized once the tests were run inside of Unity. 


As both videos above show, I also wanted to add in some more variety for the roof platforms, so I did some crumbling roof animations for the red and gray shingles. This will allow us to create areas on top of the machiya where if the player steps on one of these, they will have to move fast or else fall onto spikes that we can place below. The image below shows some of these roof spikes I completed last week as well.

In addition, I also wanted to add some more destruction patterns into the machiya since there will be a battle taking place in this city, so I made some broken cage patterns and also a burnt out machiya pattern. The burnt out variant took a little more long to do than I expected because I made use of dithering in order to make some of the wood beams, along with the earth walls, look charred. I also made sure to put the black tiles on their own layer so that once imported into Unity, we can have another layer between the front and these black tiles where we can place flames at to help simulate that the building is still on fire. Should look epic! I might also draw some more burned out variants, but for now I am prioritizing the wood bridge tileset that we still need for this city level. Check out the image below for that burnt out machiya variant and some of those broken cage like structures I mentioned here:

I also drew up some bamboo curtains we can place on some of the machiya for decoration. The video above shows an animation I am working on in order to help simulate that the curtains are swinging in the wind. Hopefully, little animations like these will help us create environments that are more engaging! The video and image below is a quick overview of the entire machiya tileset as it stands right now.

Machiya interior tileset: 

After working on the machiya exterior tileset, I then returned to the machiya interior tileset I started a while ago. This tileset will allow us to create much more vertical levels for our city layout, while also adding greater variety by allowing the player to go inside of the machiya instead of always running outside of them. Below are some screenshots on the various tile patterns I made for this:

The black part with the spikes and vertical platforms shown in the image above was extremely tedious to make in terms of those tan parts that have the fade in effect on their edges because I had to use dithering once again. I decided to go with complete black for these parts though since this is for challenging platforming parts, so it was important to somehow have a background that is not too distracting, but still not too empty, for the player. The fade in circle tan parts will be where we can place torches that still have to be drawn, which is why the fade in is done in a circle since the torch will emit light in a circular fashion. Below are a couple more screen shots of this interior machiya tileset.

Prior to these additions, the interior machiya tileset was very rough, with only a minimal amount of patterns and a lot of failed test art floating around the canvas, as seen below:

But after working on the castle tilesets, I was able to nail a lot of designs like the interior floor tiles and backgrounds, so that really helped me push this tileset to what it looks like now, as the picture below shows: 

Here is a quick scrolling vid I made for how the tileset will look to the player in terms of the camera size inside of Unity. All of the lighting and color differences between the foreground and background layers still need to be added in though, but that can only be done inside of Unity. We hope to have a vid of these tilesets running in Unity sometime next week though! 

Plans for this week (Diego): 

  • Start and finish the wood bridge tileset 
  • Get all tilesets ready to be imported into Unity for a test run next week 

Thank you for reading this! 

Also, if you are interested in this game be sure to check out our facebook page: https://www.facebook.com/pg/SengokuProductions/posts/?ref=page_internal, where we are posting some updates almost every day of the week!

See you guys in the next devlog!

Sengoku Devlog 10


Animation (Jon):

This week I worked on our second boss, the Traitor Kingdom’s Champion aka “The Ivory Champion”. The second mission of the game is to travel to the neighboring allied kingdom to request reinforcements, little do you realize, however, that this kingdom has betrayed the alliance. After fighting through the guards in the castle, you are challenged to a duel to the death by the Ivory Champion.

The Ivory Champion has a multitude of attacks, but his emphasis is on range and agility. He wields a naginata, which is a spearlike bladed weapon giving him a different combat style from the player samurai. His primary movement includes a slow walk with a spinning naginata defense which blocks all ranged and melee attacks in front of him. He also has a dash and a run, which he uses to close gaps and to move around more quickly during his ultimate ability. The Ivory Champion features three primary attacks. The first is a downward strike followed by forward moving front flip and second downward strike. The second is the same first downward strike followed by a backward moving roll and stab. The third attack is a low crouch and left and right low stabs with the naginata which will send impact waves along the ground. Once the champion is reduced to half health, he will activate his ultimate mode, which includes a move we call “The Whirlwind of Death” where the samurai will run up the wall, flip and smash down sending out impact waves to damage the player. During the ultimate, the Ivory Champion will also start to sequence his previous attacks more rapidly and effectively.

The challenge with the Ivory Champion was making his movements more fluid than other characters despite his bulky armor. It was also an interesting challenge to animate a two handed weapon rather than the sword strikes I animated for the player Samurai. Another interesting note is that I had to animate the movements stationary rather than moving in the pixel art canvas, because this allows us to link the animation to a uniform game object that will be moved in Unity rather than in the animation. This is most apparent in his wall run and flip.

Jump and dash smoke drafts (Diego):

We are planning on putting some jump and dash smoke on our player as well to polish up these mechanics, so I went ahead and dug up some of the frames I drew up for this exact smoke on my last game, and below are the drawings I found. All I have to do really is draw these frames inside of piskel and hopefully they get the job done! 

Bridge Tileset (Diego):

I started the bridge tileset last week as planned. The entire process began with a rough sketch of what I wanted the tileset to end up looking like, using numerous reference pictures of feudal era Japanese bridges. I made 2 sketches, one with a curved bridge and one with a straight bridge connected to a tower, as seen in the images below. I ended up going with the straight bridge design because a curved bridge design would require the use of a stair system in order for the player to elevate over the curve as they cross the bridge, which can get very annoying sometimes when dealing with enemies at the same time. I might still do a curved bridge, but these will most likely not be tiled and will not have any enemies on top of them. 

After drawing the sketches I then began drawing the tileset inside of piskel. I created numerous new wood textures for the railings and also did 2 bridge colors: the classic red bridge color seen in many feudal era Japanese bridges, and a brown wood color. I also made sure to make the bridge tower tiles, which will be seen in a remastered version of the old bridge part we had in the very first version of this game. The lamps seen on the guard rails will also be lit up with a 2d lighting system in unity, and I plan on making some falling water animations for some of the sewer pipes you can see sticking out of the stone bases. 

After getting the main structure of the bridge all drawn inside of Piskel, I then began to add little things in like the broken bridge pieces. These pieces will add greater variety to the bridge level, since the player will also have to look out for these holes they can fall into and die, in addition to fighting enemies along the way. Check out the images of this below: 

I also drew up a wood barge tied to rope. The plan for this is too hang a couple of these on a rope tied between the bridge towers. The rope will be simulated using the textures I drew, combined with Unity’s 2D linking system to get the rope physics right. Basically, the player will be able to jump onto these once they reach the top of a tower, and using the wood lever they can then send the barge flying straight down. There will be an explosive barrel on the barge that will blow up upon impact with the floor. This gives the player a strategy to use against enemies that may be below the tower they are on. The explosion will also break parts of the bridge. Below is an image of this wood barge, along with the lever. 

(Place wood barge and lever image  plus animation here) 

Currently, I am working on a waterfall animation that we can put under the bridge to help make the bridge area more visually engaging. Still need 3 more frames of animation for this to be finished, but I am super excited to see the result. If the player falls into this waterfall as a result of falling through a hole on the bridge, then they will automatically die because of the rapid nature of the water. Check out the image below for this waterfall progress. 

Below is a scroll video I made for one of the bridge tilesets: 


Stone tileset (Diego):

I also did a rework on the stone fade effect, which I thought was too sudden. Check out the picture of this effect below: 

Programming Progress (Diego): 

Last week I also went back and worked more on improving the look of the reactive water I started a while back. The water physics seems good enough to me; however, I thought the idle water movement itself needed to look more like a sine wave, so I worked on that and got it to look pretty good I think. Below is a video of the result: 

Sengoku Devlog 11 

Player Movement Smoke Effects Progress (Diego):

I got started on converting the smoke drawings I made a while back into their pixel art versions for the game. So far I have been able to complete the smoke effects for when the player dashes, and jumps or lands on either a wall or floor. I am planning to make a couple more smoke effects for when the player is walking but changes their direction of movement. Below are some videos I made of the smoke effect animations playing.

The jump and landing smoke animation: 

The dash smoke animation 

Explosion effect (Diego Avena) 

We want to have barrels that are explosive, so that the player can shoot them with arrows and kill large amounts of enemies at a time, and for other scenarios, so I also got to work on an explosion effect we can use for these barrels. This explosion was very challenging for me to make, and one of the most time consuming things I did this week. Adding in the colors is what made the process very time consuming, and I also went through several versions of the explosion. Below is a video and screen shot of the very first version of this explosion: 

I was not too happy with the way this looked though, so I did a major recoloring of the explosion and ended up with the new version below: 


Overall, I think this should do for now, but I might try experimenting with a particle effect that bursts out gray squares of different shades of gray right after the orange burst of energy goes away to simulate smoke, but if I cannot get that to look right then I will just fall back on the gray smoke frames I drew at the end of the animation sequence vid above. 

Plans for this week (Diego Avena) 

This week, I am going to start things off by creating some wood crates and barrels (along with that explosive barrel variant), some torches for lighting up our interior levels, and some abandoned wood wagons. After completing this, I will then start a new tileset we will use for our great plains level, and aim to finish it by Sunday of this week. I do not expect this tileset to take too long because there will be no major building levels (since it's an open field). The background will mostly be hills covered in grass and the floor will probably be grass tiles as well, so nothing too complex. If I can finish this sooner, I might even start working on some more background art for our city level. After this week, I plan on diving back into unity to program our second boss fight, make all of our UI work with Unity’s UI system, and delete a lot of things that are no longer needed in hopes of making our game able to be played in a browser! So stay tuned, we might have some awesome gameplay vids on the horizon if you are interested in our game! 

This is probably the most detailed dev log I've read here

Haha, thanks!

(+1)

Sengoku Devlog 12

Intro:

It has been a while since our last devlog, but the progress on Sengoku continues! A lot of new things have been added into the game, with version 1 of our first world in the game, the City, completed and ready for the numerous iterations it will most certainly undergo after play testing. We also now have 2 more team members, Ellen and Kaylee, who are taking on the massive task of making the various art assets needed to spice up our levels and mechanics! We got a lot to share regarding the work done this month, so lets dive right in! 

The Results for this update:

Here is a game play video of level 3, from world 1, the city! It gives a brief visual summary of all the work done this month, and is the product of a combined effort between all 4 of us! If you are interested, check out below for a more in depth description of how it all came together!

The new additions: 

The collapsing platforms: 

The game now has platforms that can collapse, something that the first version of this game did not have. There are 3 variants, a single tile collapsable tile which only involves 1 tile breaking, a simultaneous tile collapse platform in which all the tiles start and finish disintegrating at the same exact time, and a sequential tile breaking platform where the tiles start breaking 1 by 1 starting on the side that the player landed on. The main objective with these platforms is to get the player moving, which can help us intensify our platforming challenges. Below is a video showing all of these collapsing platforms in action: 

New NPCs:

 The NPC designs and animations (Jon): 

Jon did all of the designs and animations for these new npcs, all within the pixel art drawing program called Aseprite. 

The guard npc, has a cape flutter animation that is looped in game to give it a warrior like look. These are the guards that greet the player as they enter the other castle they went to in hopes of getting support to retake their city. Here is what these guys look like: 

The father NPC is one of our important NPCs, as he will have a crucial part later on in the story. For this npc, Jon had to animate a walking cycle, and idle cycle. The father is also designed to look slightly like the main character samurai, but with more decor since he is a wiser and more experienced warrior. For the intro level, this father npc will serve as a way of telling the player the main controls of the game, while also conveying bits of our story. (See video below called father NPC to see how this all turned out) 

The last NPC we added this month was the lord of the castle the main character travels to. This NPC will greet the player at the very top of the castle, and will serve as another important part of our story in leading the player to the first boss fight of the game: the ivory champion. For this NPC, Jon had to animate a moving head cycle, since we wanted this lord to look at the player while the player battles the ivory champion, sort of the way that the devil, from end of Cuphead, does, or the way Godseeker, in Hollow Knight, does while you battle through the Pantheons. Below is a video showing that animation in action inside of Aseprite! 


 The Programming (Diego Avena):

A couple of the NPCs needed to have some more special behaviors than just the normal npcs we had in the first version of the game. For example, the father npc needed to be able to move left or right out of the camera view after delivering dialogue, and the Lord of the castle the player travels to needed to be able to move their head in order to look at the player as they battle the Ivory champion. 

For both of these, the process was really simple since all that was required was an extension from a base script I already had. The movement for the father NPC was also extremely simplistic: the father can only move left and right, there will never be any obstacles in his walking path, and as soon as he exits the camera view, just despawn him. 

I will say though that the lord head movement behavior was a little more interesting to program. In order to program this behavior, I used 2 arrays, 1 array stores all 3 of the move left head frames, and the other array stores all 3 of the move right frames. I then defined a total of 7 regions that the player can be in that pertain to a specific head twist sprite in the array. 3 of those regions belong to the left side, and 3 of those regions belong to the right side. 

As seen in the image above, if the player is on the left side, within the bounds of the region with index 0, then this means use the sprite at index 0 inside of the leftSideArray. If the player is in region 2 or beyond, then this means use the sprite at index 2 of the left side array. This is the same idea for the right side. This was the basic idea I used to implement this head movement behavior. 

Below is a video of the father NPC in action! If you want to see the lord NPC in action, checkout the video in the Ivory Champion Boss fight section! 

The  Horse: 

At the end of level 3, the main character must leave their home/city and begin their search for reinforcements. We wanted to make the entire exit sequence a type of sad and at the same time heroic part of our story, so we decided on adding in a horse that the player can ride on through an open battlefield that is littered with the corpses. Here is a basic outline of the work undertaken to get this part of our game working:

The animations (Ellen - Horse design and animation cycles with no player yet, and Jon - put the player on the horse): 

The horse design and animations without the player riding on top were completed in Photoshop by Ellen! One of our new artists on the game! There were a total of 2 animations made, each with 4 frames: an idle animation and a gallop cycle. The horse was also drawn at about the same size that our initial main character, the red samurai, was drawn at, in order to help maintain a consistent look between the 2.  The video below shows what those animations looked like in game: 


After the horse without rider animations were completed, Jon then had the task of taking the 4 frames of the gallop animation and adding the main character on top. This was done by importing the sprites Ellen drew in photoshop into Aseprite, rescaling the images in such a way that they are all about the same size, and drawing the player animation cycles on top of the horse. The same cycle was also undertaken for the mount and dismount animations (see the videos below): 


The sounds (Jon): 

The horse sounds themselves were collected by Jon. A total of 2 sounds were collected: a sound which plays when the horse just starts running, and a sound for when the horse runs.

The programming (Diego):

Once the first horse animations were completed, I started putting together a horse movement script. The horse movement script was a way more simpler than our other character movement scripts because the horse is only able to move left and right. The challenging part was coming up with a way so that when the user presses the move left button, or move right button, the horse gradually speeds up. If the horse instantly ran at full speed, it would not feel right. 

I also put together a little sound script that controls 2 sounds the horse makes: a getting ready to run sound which plays whenever the player has just started moving the horse or starts moving the horse in a different direction, and a gallop sound that plays while the horse runs. The challenging part in terms of this script was figuring out the exact conditions that mean the player has just turned the horse around and is moving in an other direction. Luckily though, every movement script extends from a base class I made that has 2 booleans called characterAttemptingToMoveLeft and characterAttemptingToMoveRight, and through these I was able to easily determine that condition. 

Below is a video of the horse in action in the game with all of these things (animations, movement systems, sounds, sound sytems) implemented: 

The Reactive grass for the open plains:

The grass tiles (Kaylee): 

The design and animation for the grass tiles was done by Kaylee, inside of Adobe Photoshop. They are each on a 32x32 cell, and there are 2 variants: a short grass variant and tall grass variant. We also wanted to make the grass sway to simulate a windy environment, and on top of this, we also wanted to make it so that the grass gets pulled in the direction the player is moving in, so both the tall grass and short grass variants contain several frames for animations like the idle cycle, the push left cycle, the retract left cycle, etc. Check out the video below to see all these animations in action inside of Unity! 

The reactive grass system (Diego): 

The programming for the reactive grass was one of the most challenging things to do this month, besides the programming for the Ivory champion. Basically though, the way it works is  I used 2 arrays: an array that contains all of the push left sprites, and an array that contains all of the push right frames. I then used the width of the grass tile in the game to define the region the player must be in for this grass tile to react, like this: 

leftBoundOfTile = xlocationOfTile - (widthOfTile / 2) 

and 

rightBoundOfTile = xLocationOfTile + (widthOfTile / 2) 

If the player is within this region, then it can be said that the grass tile needs to start reacting to the players movement because the player is over it, but in order to determine just how much the tile should be pulled, for example, in the left direction. If the player was all the way on left side of the this tiles region, then this corresponds to the final index in the pushLeftGrass arrays, which is the max pull left sprite. As the player walks into the region from the left, then this corresponds to smaller indexes in the push left array, which maps the to sprites that are pulled less and less left, which in the end, allows the grass to react to the player movement. Again, this is just sort of the rough basic idea for how I got this to work, but understanding this allowed me to program the interactive grass system with greater ease. Below is a video of the reactive grass system, combined with Kaylee's sprites, in action! 

Level design:

Level outlines and sketches (Jon)

Before diving into the actual engine and laying out our level, we first drew out each and every level on paper, by hand. The task of drawing every level for world 1, the city, was left to Jon. He drew up sketches and plans for 4 levels: The castle keep, the castle grounds, and city, and the other castle level with our first boss fight. After completing these sketches, Jon then did the prototype layout for each of these 4 levels inside of Unity, using simple box colliders with a sprite renderer component on them. After some play testing, the next step was to tile the skeletons of these levels up, another massive task due to the high amount of details we wanted to capture from actual Japanese castle and home architecture of the era our game is set in. Below is a video of the sketch Jon drew for level 1: the castle keep. 

Level tiling and polishing (Jon and Diego): 

Jon did the tiling for 3 out of the 4 levels, and I did the tiling for the city level. One of the main challenges with the tiling was laying it out in such a way where the background does not make it impossible for the player to see their in game character. To counter this, we made use of Unity's new 2d lighting system, and also made it so that the rgb values on the background tilemaps were set to values below 150 so that they are less bright. Overall, we think the lighting really helped to put things into perspective: the backgrounds actually look like they are in the back, and the foreground platforms actually look like they are in the front, protruding out for the player to step on. There is still a lot of playtesting the levels will go through though and we also plan on cleaning up some of our tile work, since we had to work fast this time around, but we are super happy with the outcome. On top of that, the new tilesets also capture a lot of the details that can be found in real Japanese architecture from the Sengoku era! Below is a video of one of our lighting tests: 

The Ivory champion boss fight:

There is a ton more to talk about still, but to keep things short, from here on out there are only quick bullet points, followed by screenshots and vids, of these new features!

  • Programmed by Diego Avena, took about a week to fully implement
  • All animations and the design for the ivory champion were done by Jon, inside of Aseprite! 
  • Background art is from the castle tileset Diego drew over the past summer

Here is a vid of the fight without lighting, the final lord npc, and sounds added in: 


And here is a vid of the current sound implementation progress made on this boss fight: 


Further reading: 

More information on this months progress, such as our reactive water, some awesome castle props like armor stands, new sound effects and hanging barges that make use of Unitys 2d Hinges, can be found here in our complete devlog post: https://sengokuproductions.itch.io/sengoku/devlog/185686/sengoku-devlog-12

(+1)

Wow. This looks pretty good!