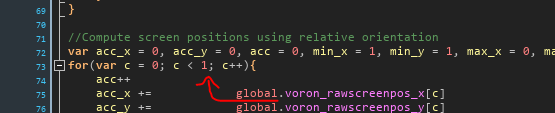


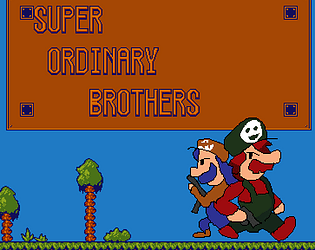


I'm using GMS2. GMS1 had issues running on this computer so I ended up uninstalling it, and especially array literals and function variables (added in GMS 2.3) are both so insanely useful features it's impossible to go back to GMS1.4 GML now!
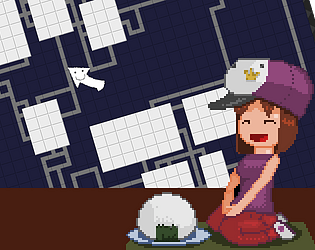
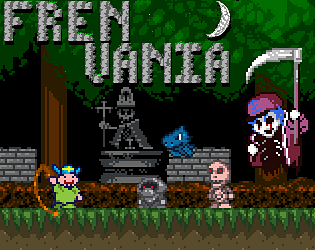
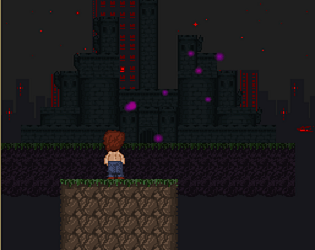
And yeah, I'm insane so I decided that my goal with the game is to make "the largest metroidvania ever". Originally my goal was 50 Crystal Burgers but with the current progress it looks like I'll surpass it and hit 100 or 120 by the time I finish every area + the gimmick levels I've got ideas for.
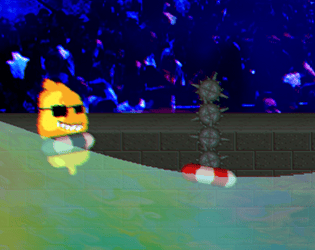
Currently 2 areas are complete out of a planned 7, so something like 65-72% of the game remains (more than half of Castle Town is in place and I'm currently working on Lake Slushi). Also depends on the number of secrets and sidequests I go for, I've gone back and added new optional areas to both Chessmaster's Tomb and Ancient Labyrinth for instance.