
Yes.
A member registered May 05, 2018 · View creator page →
Creator of
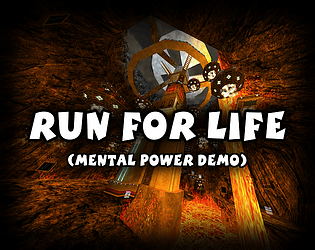
Sam finds himself on a fiery arena in the middle of an inter-galactic show where he has to Run For Life!
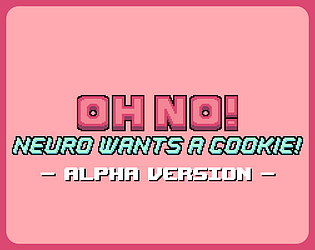
Neuro ran out of her cookies and she needs more, otherwise she can't stream!
Platformer
Play in browser
A restoration of one of my earliest mods from 2012 called "Crazy Mod".
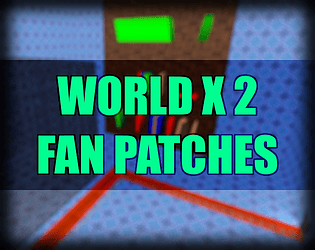
Fan-made patches for the infamous Serious Sam and World X 2 mod by vanya109.
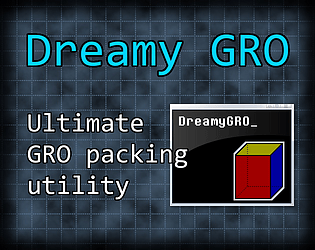
Utility for games on Serious Engine 1 for packaging files with their dependencies into GRO archives.
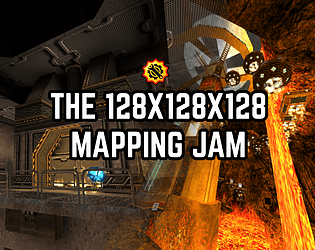
2 maps. Released in August 2022.
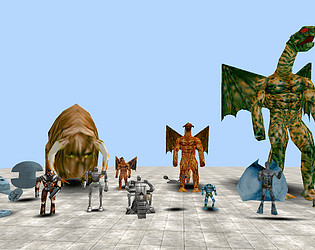
An entity pack with Serious Sam Alpha enemies. Available for Serious Sam TFE/TSE.
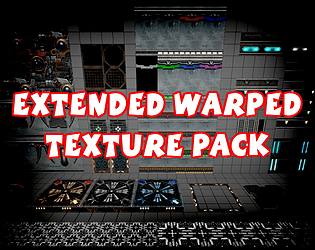
A texture pack with variations of textures from Seriously Warped Deathmatch 3.0 mod.

Pack of voice lines that replaces voice of Serious Sam with Heavy from Team Fortress 2.
A mod that consists out of many smaller mods and ideas, which give you chaotic experience when combined together.
A collection of very small Serious Sam projects that don't need a dedicated page for each of them.
A mod that adds extra options for multiplayer games including TFE map support and Coop support for Singleplayer maps.
A mod that adds a lot of multiplayer features and a Cooperative support for Singleplayer maps.

A port of the Bright Island campaign back to The Second Encounter.
A source port of Serious Sam Classic: The Second Encounter and a complete overhaul of Serious Engine 1.10.
Shooter
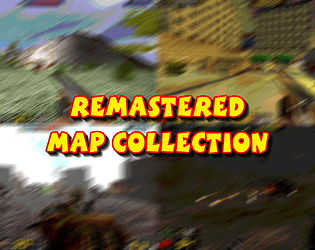
A collection of old maps with small refreshing updates to them.
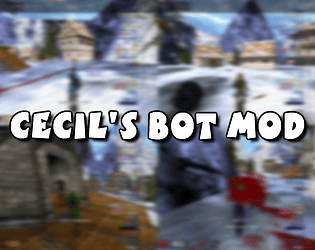
Mod that adds Cooperative and Deathmatch player bots.

Mod that recreates Half-Life 2 atmosphere on Serious Engine 1.
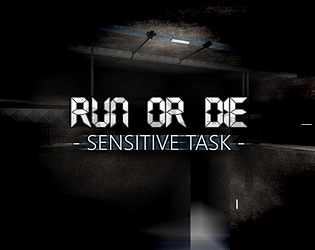
A spin-off of a hardcore map franchise called "Run Or Die".
Recent community posts

Serious Sam: The Sequel (Public Beta) comments · Posted in Serious Sam: The Sequel (Public Beta) comments
Hello, I like what you’re doing here, just awesome. However, I have a major problem with the way it’s packaged, more specifically the source files.
What is the point of packing the entire development folder with literally thousands of Alpha, TFE and TSE resources? I have tried building the mod myself and all I needed is to copy EntitiesMP and GameMP folders on top of the clean SDK (and some folders with model headers).
If you can, please start packing the source code very minimally.
(1) Firstly, please remove everything other than .h files from AREP, Models, ModelsF and ModelsMP under Sources. It can be done manually by searching under each folder in explorer using “NOT type:h NOT kind:=folder” query (no quotes) and then pressing Ctrl+A to select all files and deleting them.

(2) Secondly, you may also want to delete Debug and Release build folders from EntitiesMP and GameMP because the files in there are generated each time you build the source code anyway.
(3) Thirdly, you probably only want to pack EntitiesMP, GameGUIMP, GameMP, AREP, Models, ModelsF and ModelsMP folders from Sources. But, if you’re really worried about forgetting something or just too lazy to do it, just pack the Sources folder alone.
From my testing, you can simply place the release files on top of the sources and the mod that you build yourself works as intended.
And finally, if you still wish to share all the development resources for some reason, just pack them separately and please get rid of the vanilla assets that are already in SE1_00.gro.
P.S. The current source files lack the HiveBrain entity. In fact, there are absolutely no changes to the code since Update 16 from what I can see.