


Great catch! Thanks for the help :)
A member registered Sep 25, 2019 · View creator page →
Creator of
Add audio captions and let players choose which sounds will not play.
Use the mousewheel or pinch gesture to zoom in and out of a viewport.
Comprehensive set of features to improve controller support in Ren'Py.
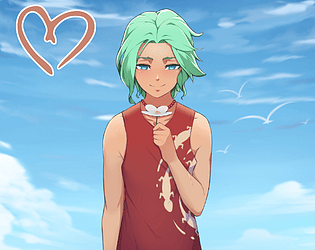
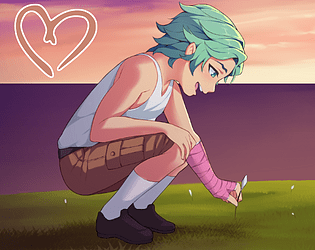
A lighthearted and playful fantasy story about accepting change and finding a new home.
Visual Novel
Adjust resizeable backgrounds and padding in Ren'Py
Simplify adding blinking to your sprites in Ren'Py.
Add parallax to viewports in Ren'Py.
Add circular bars to Ren'Py.
Gradient shaders for unique effects in Ren'Py.
Create scrolling effects for text and other content larger than its container.
Fully featured music room with improved usability and setup for Ren'Py.
Additional quality-of-life features for the Colorize Tool.
Adjust in-engine recoloured images in real-time.
Use a shader to closely replicate hand-coloured images in-engine.
Better color sliders for skin tones and character creators
In-depth ingame achievement support for Ren'Py that plugs into the Steam backend.
Preview & apply tints to images in Ren'Py
Easily select colors in Ren'Py
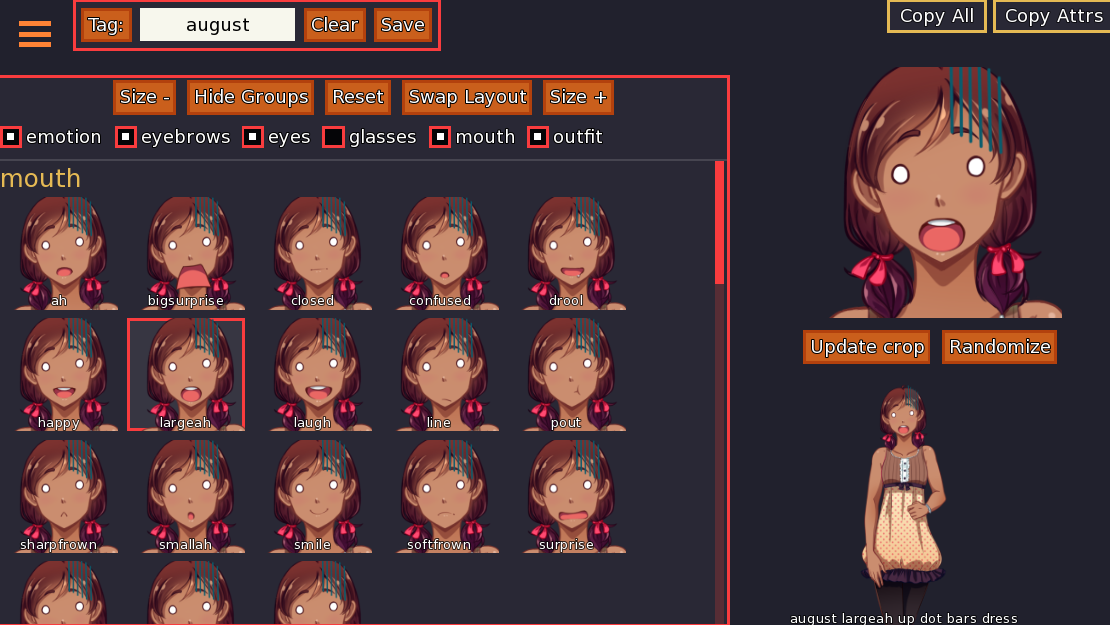
Visually construct character expressions to paste into script
Preview and test character expressions and more
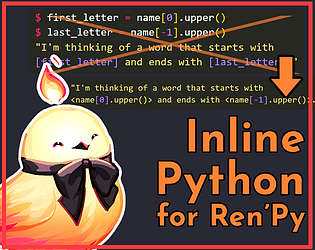
Use Python right inside dialogue in Ren'Py
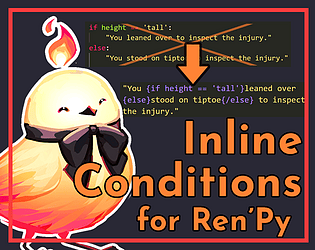
Use if/else logic right inside dialogue lines in Ren'Py
A feature-packed gallery with touch controls for Ren'Py
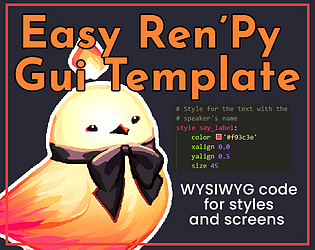
A simplified Ren'Py template for easy GUI coding.
Have multiple thumbs for bars in Ren'Py
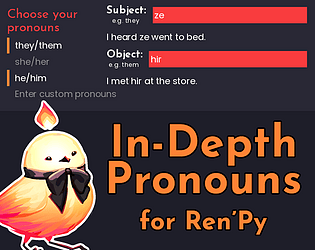
Use multiple pronoun sets in Ren'Py
Easily mask Ren'Py layered images
Enjoy exciting summer days in the company of Baxter Ward during Steps 3 and 4!
Spend wonderful summer days in the company of Derek Suarez during Steps 2 and 4!

Plan and experience your ideal wedding with Cove James Holden in this romantic side story set during Step 4!
Apply dynamic outlines in-engine to buttons, images, and more.

A custom transition to displace the screen for dream sequences, water or magic effects, and more.
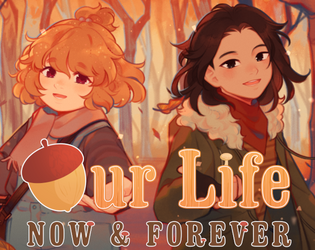
A paper airplane, two new neighbors, four autumns, and a one of a kind life.
Visual Novel
Spend even more time in the summer of young adulthood by doubling the amount of Moments available in Step 3!
Download a collection of preset names for the protagonist that come with voice acting!
Make even more memories during your summer of adolescence by doubling the amount of Moments available in Step 2!
Enjoy the summer of childhood even more by doubling the amount of Moments available in Step 1!
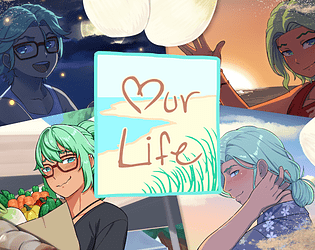
Grow from childhood to adulthood with the lonely boy next door in this near-fully customizable visual novel.
Visual Novel
Recent community posts
Sound Disabler and Captions Tool for Ren'Py community · Created a new topic Need Support? Post here!
Layered Image Visualizer for Ren'Py [Addon] community · Replied to lazybott in Need Support? Post here!
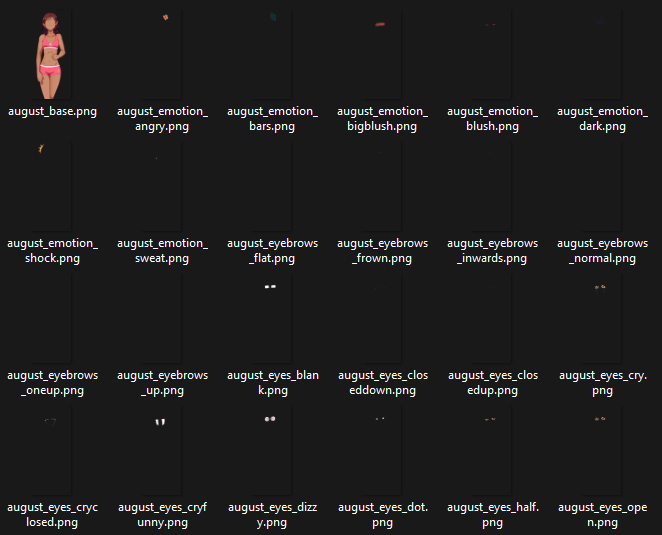
Hello! I'll need you to be more specific about the errors you're encountering; the layered image tool is set up to work with basically any layered image declaration as it only checks the LayeredImage object after Ren'Py has already handled all the groups and such. I tested it with the following code:
layeredimage august:
    always "august_base"
    group outfit auto
    group eyes auto:
        attribute open default
    group eyebrows auto:
        attribute normal default
    group mouth auto:
        attribute smile default
    group glasses auto
    group emotion auto
and had no issues using it in the tool. These filenames have underscores in them also (august_eyebrows_frown.png and so on), so the file naming is not inherently a problem. The intention is that the tool supports as many layered image declarations as possible, which is why there are not limits listed on the itch page.